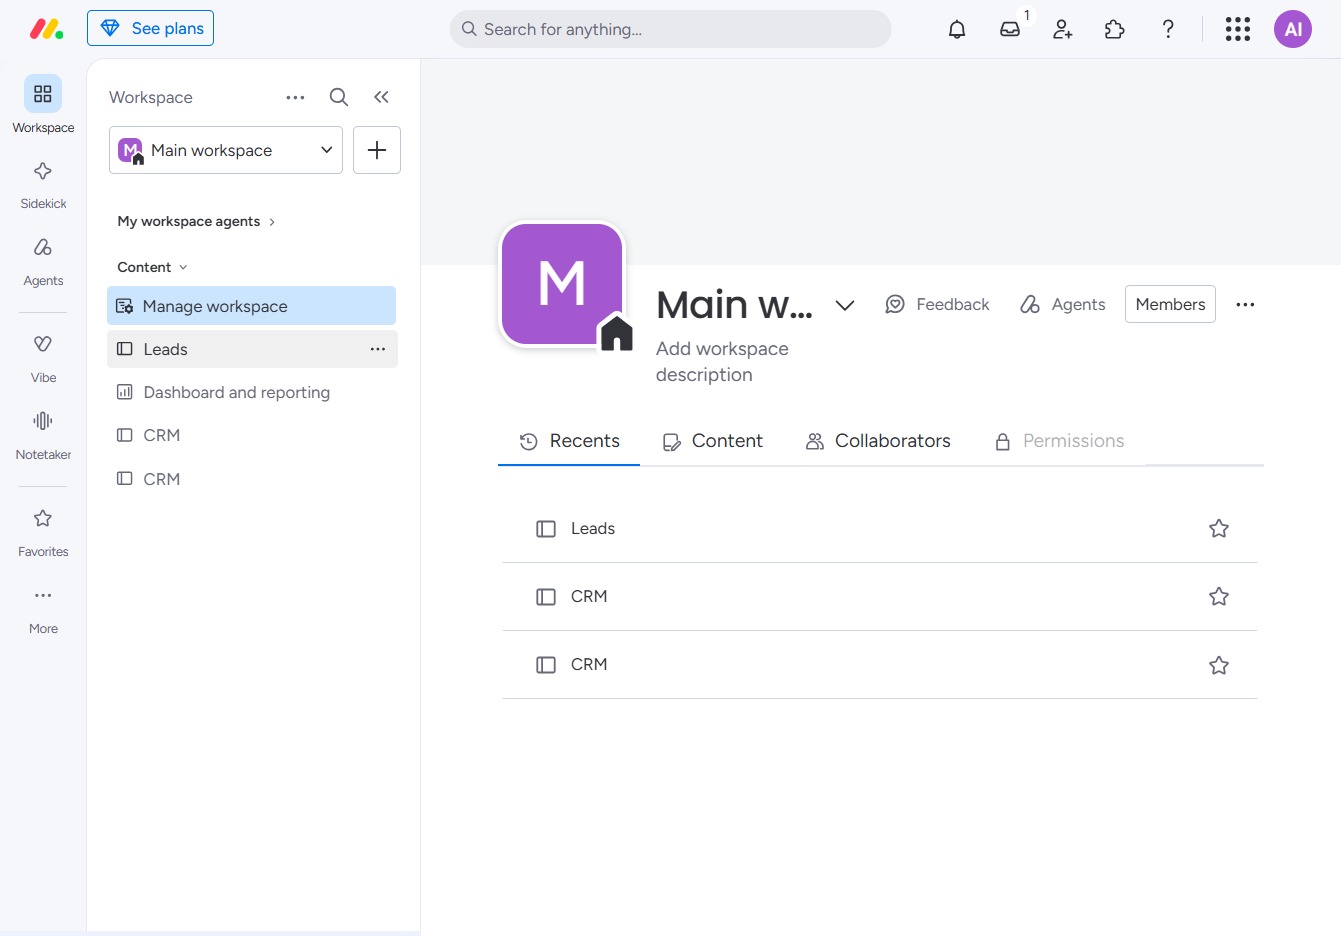
Click the BoardLeads section
This action takes you to the BoardLeads workspace, where you can manage and view your leads and related activities within the project.
Loading screenshot…
100%
This how-to guide provides a step-by-step process for creating and customizing saved views in the BoardLeads workspace.
 viktoria
This how-to guide provides a step-by-step process for creating and customizing saved views in the BoardLeads workspace. Learn to manage your leads effectively by organizing tasks, updating statuses, and applying filters to enhance your workflow and focus on what matters most.
This action takes you to the BoardLeads workspace, where you can manage and view your leads and related activities within the project.
Clicking 'Click here' will allow you to create and customize additional views for your Leads table, enabling better organization and management of your tasks.

Selecting the Table view will display your leads in a structured table format, allowing you to easily manage and organize tasks.

Selecting the 'Table' option will display your leads in a structured table format, allowing you to view and manage tasks more effectively.
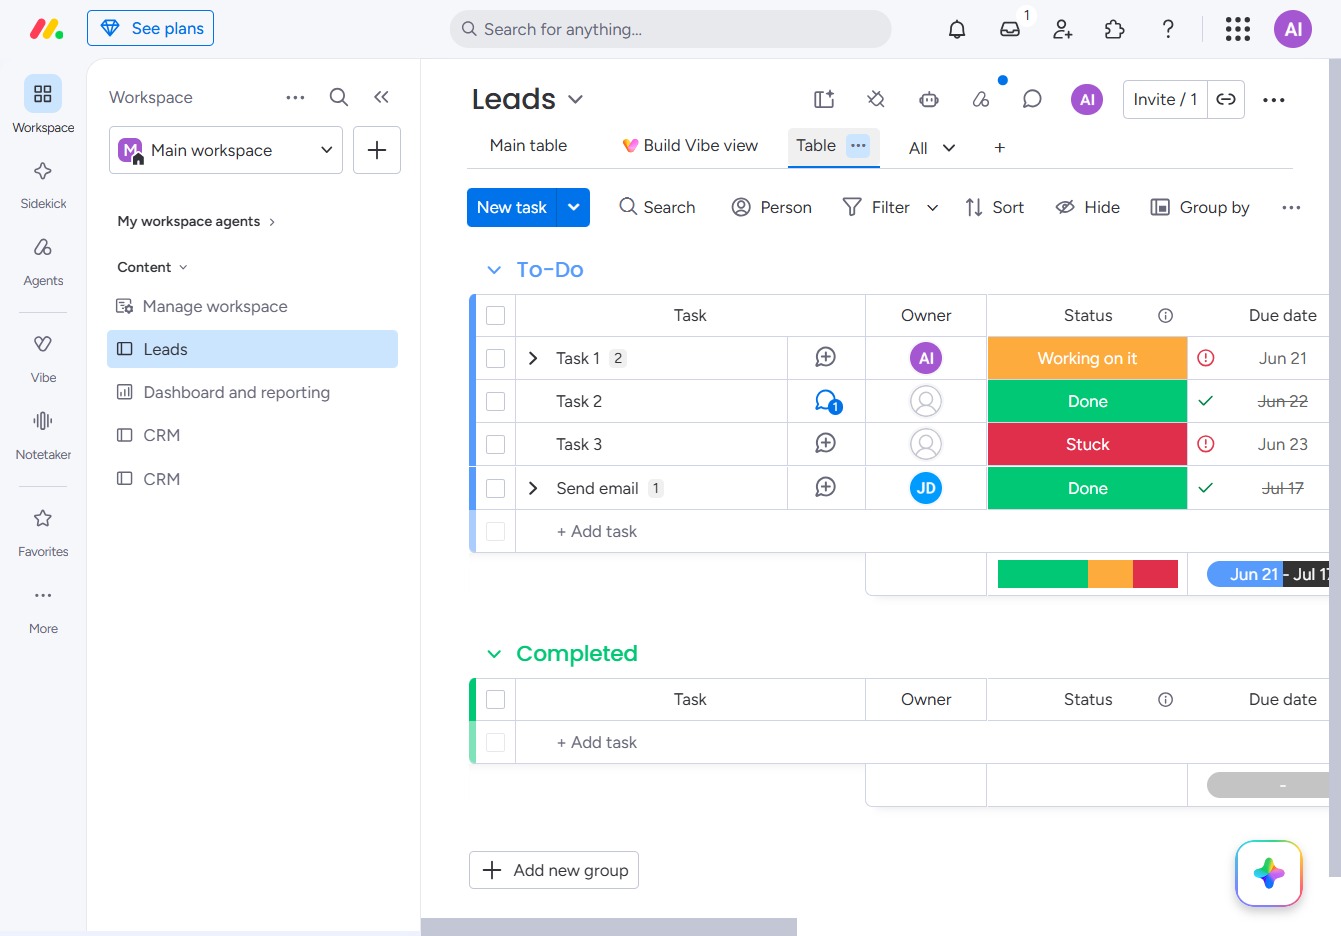
This action allows you to change the name of the current view within the Leads section, enabling better organization and identification of views for your workflow.

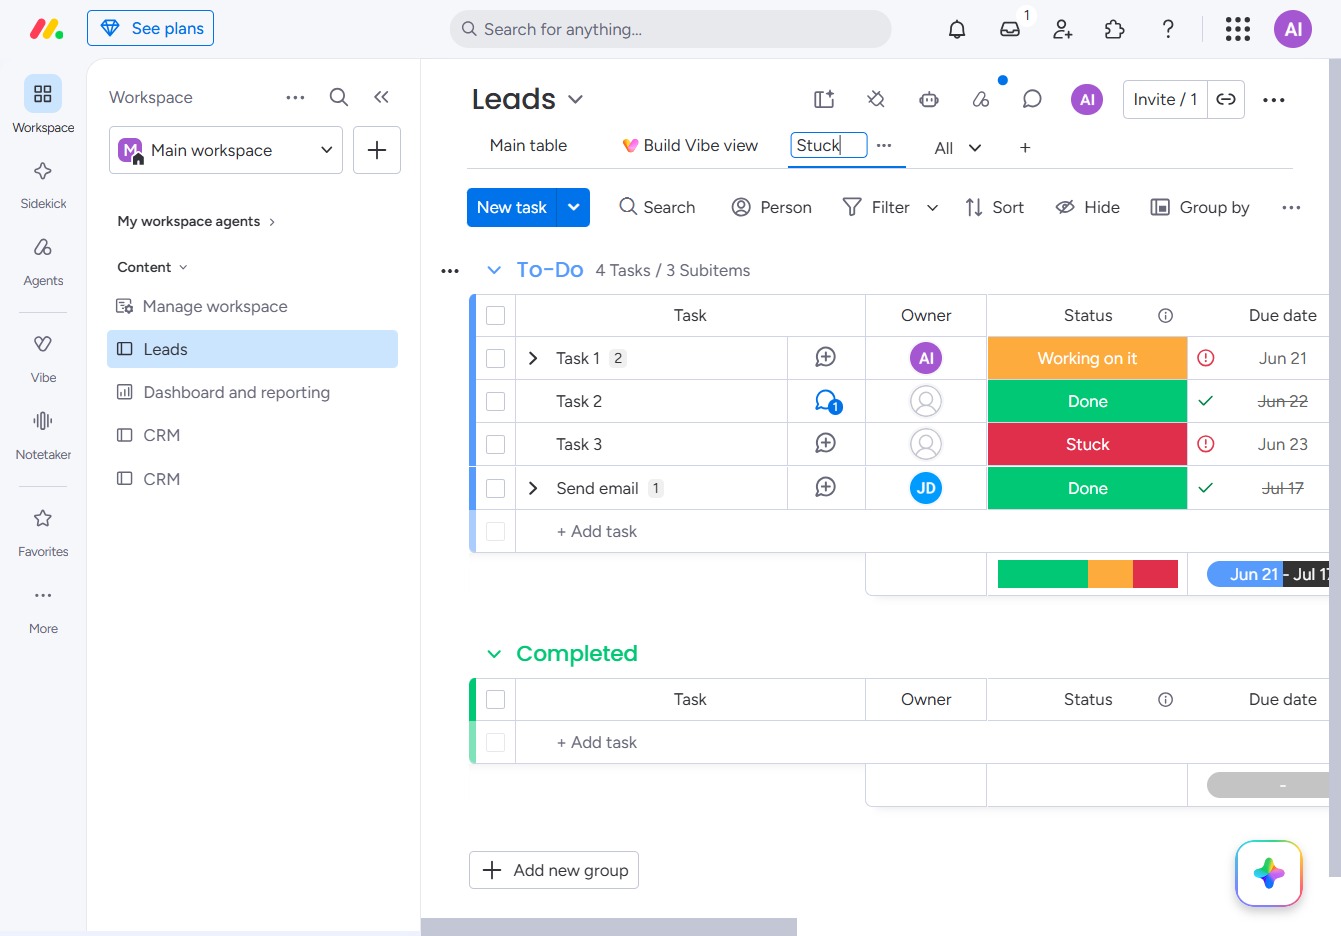
Enter the word 'Stuck' to indicate that a task is experiencing delays. This status update helps team members quickly identify tasks that require attention.
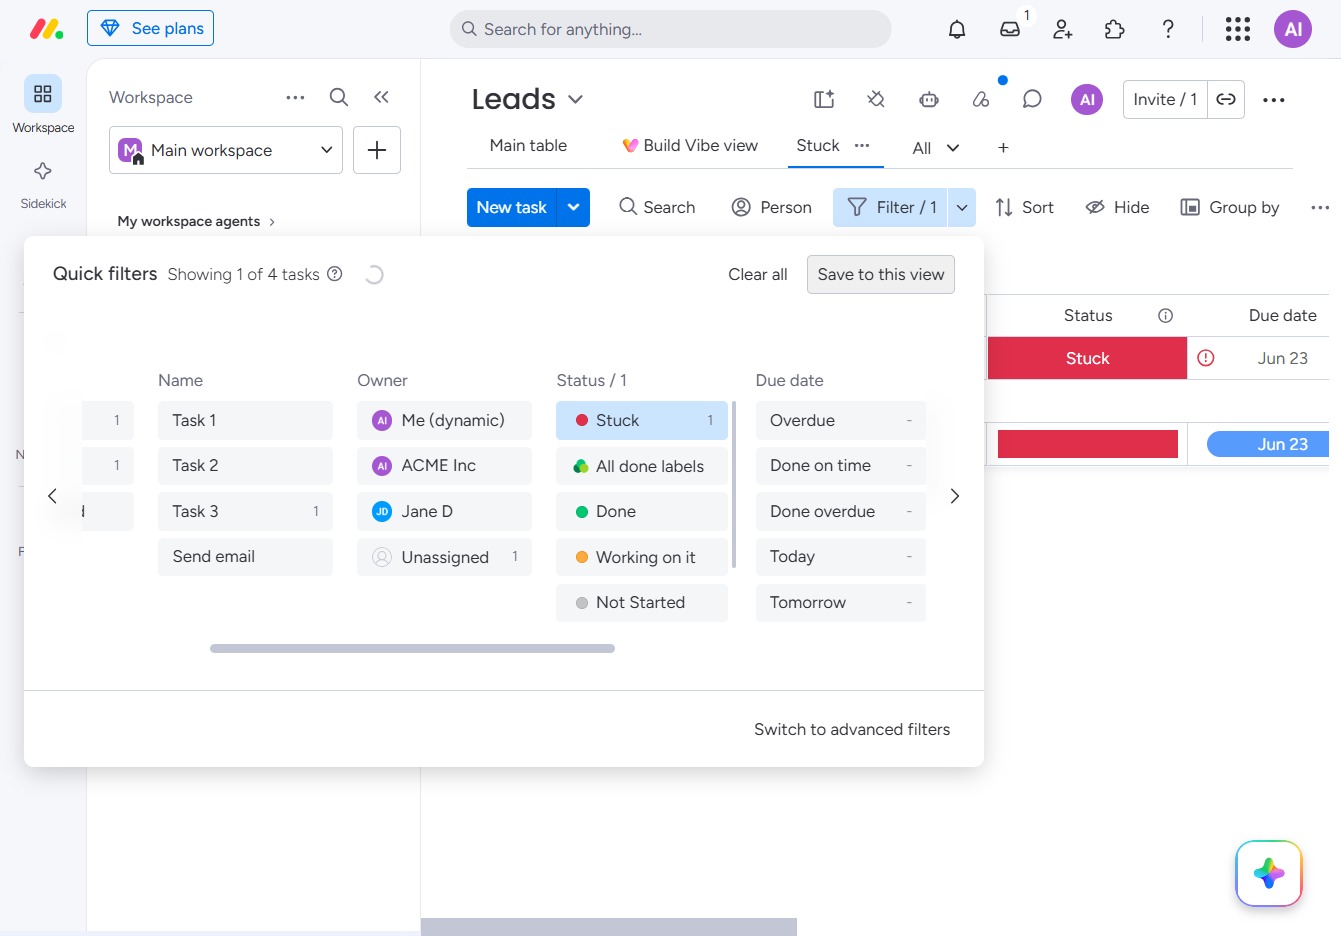
Clicking the Filter option allows you to refine the visible tasks based on specific criteria, helping you to focus on particular items within your Leads.

Clicking the Status filter allows you to select from different task statuses like 'All done', 'Working on it', or 'Stuck' to refine your view of tasks in the Leads section.

This action will save your current filter settings, allowing you to easily apply them in future sessions. Your selected view will be stored under your preferences in the Leads section.