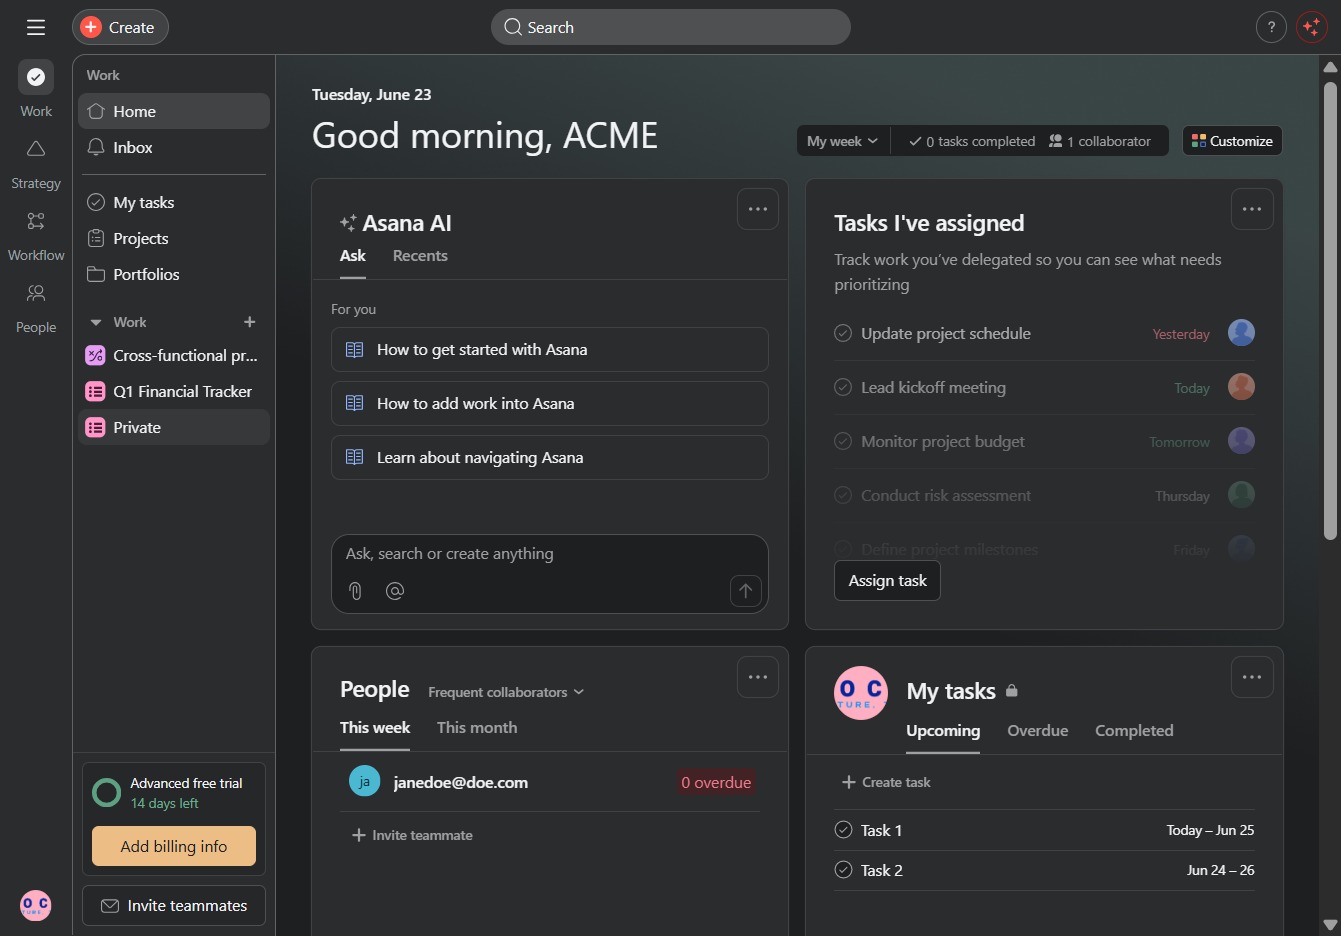
Click the Private, Project link
This will open the Private Projects section, allowing you to manage and view your private project settings.
Loading screenshot…
100%
In this guide, you will learn how to create project sections for better task organization within your private project settings.
 viktoria
In this guide, you will learn how to create project sections for better task organization within your private project settings. By following the steps, you'll be able to add specific sections like 'Q1 2026' and 'Q2 2026' to streamline your project management effectively.
This will open the Private Projects section, allowing you to manage and view your private project settings.
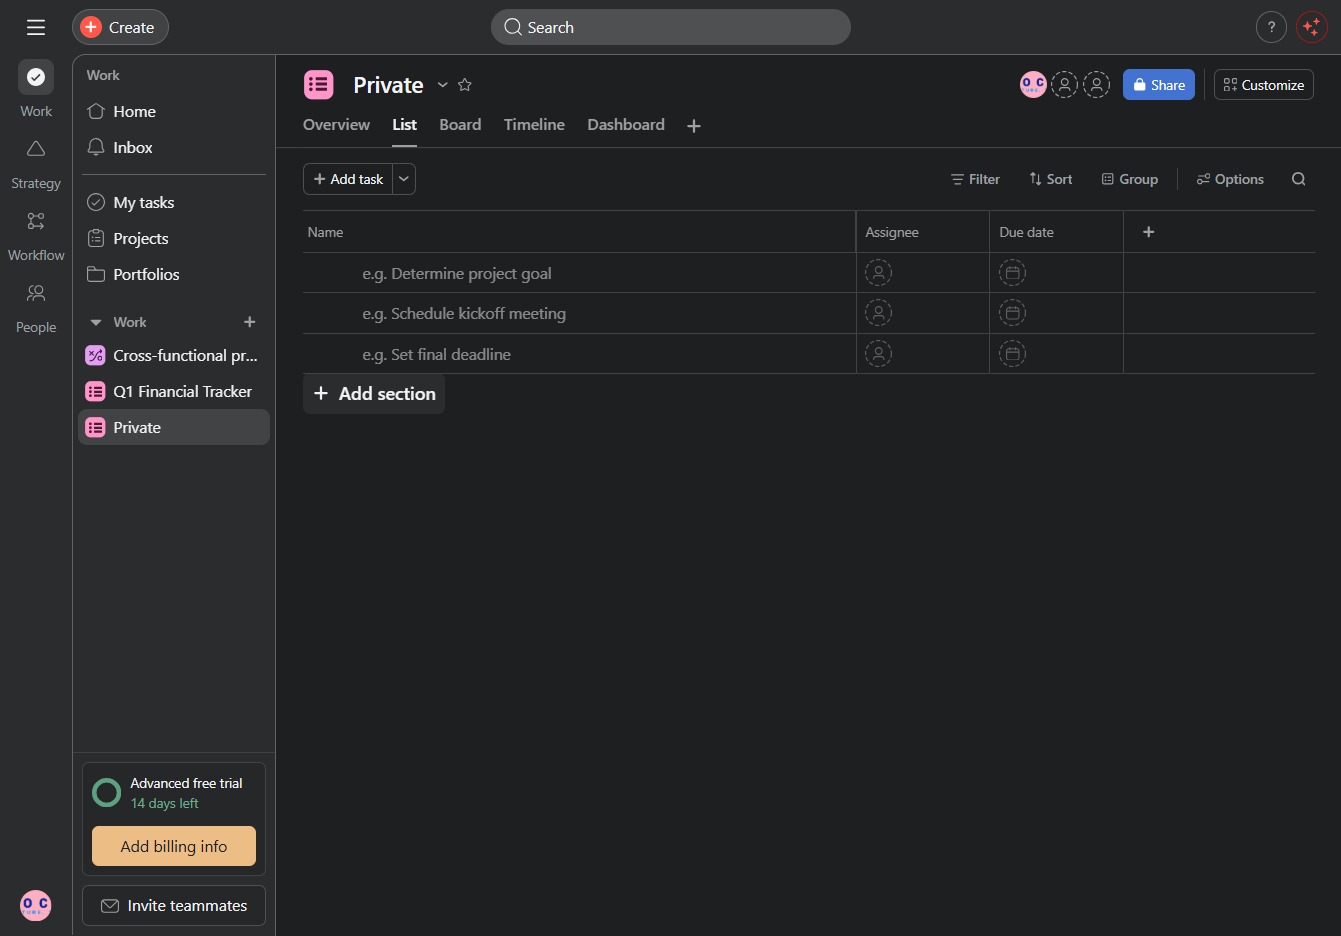
This action allows you to create a new section within your task list, helping you organize tasks more effectively. After clicking, you will be prompted to name the new section.
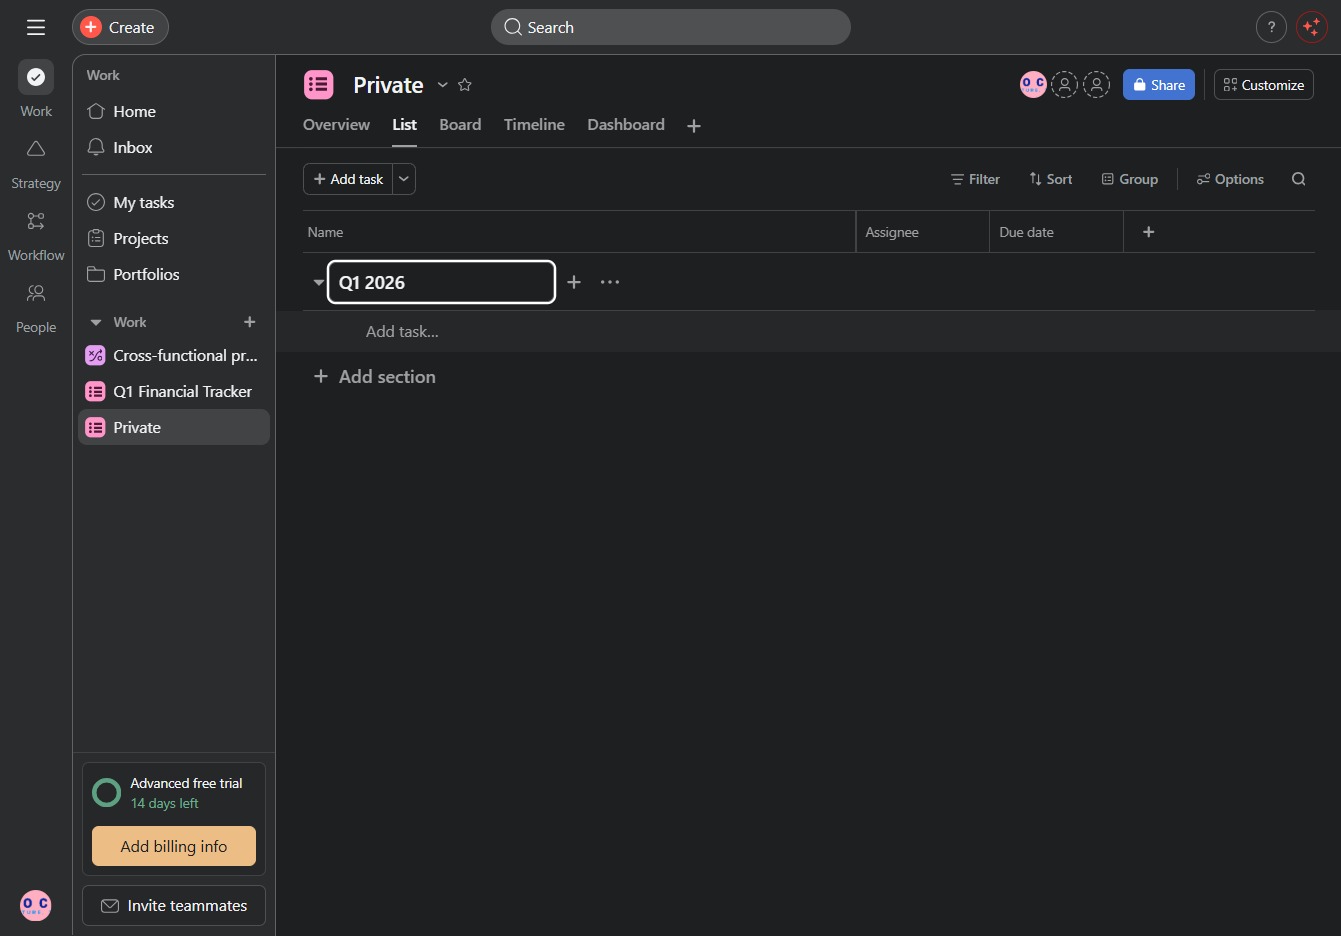
Enter 'Q1 2026' in the designated text area to create a new section within your task list, enabling better organization of tasks for that specific period.
Clicking this button allows you to create a new section within your project, helping to organize tasks more effectively.
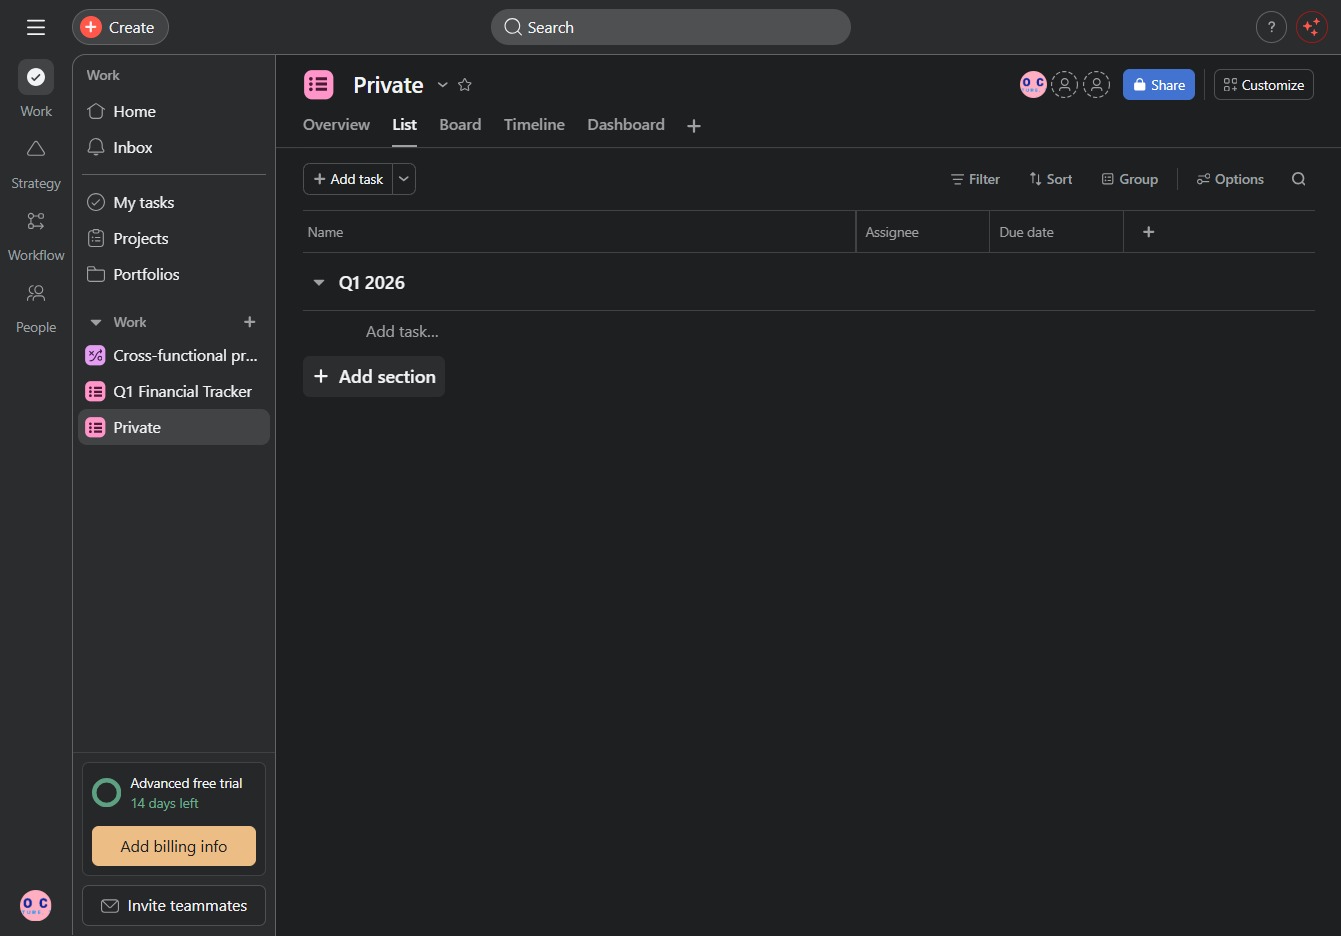
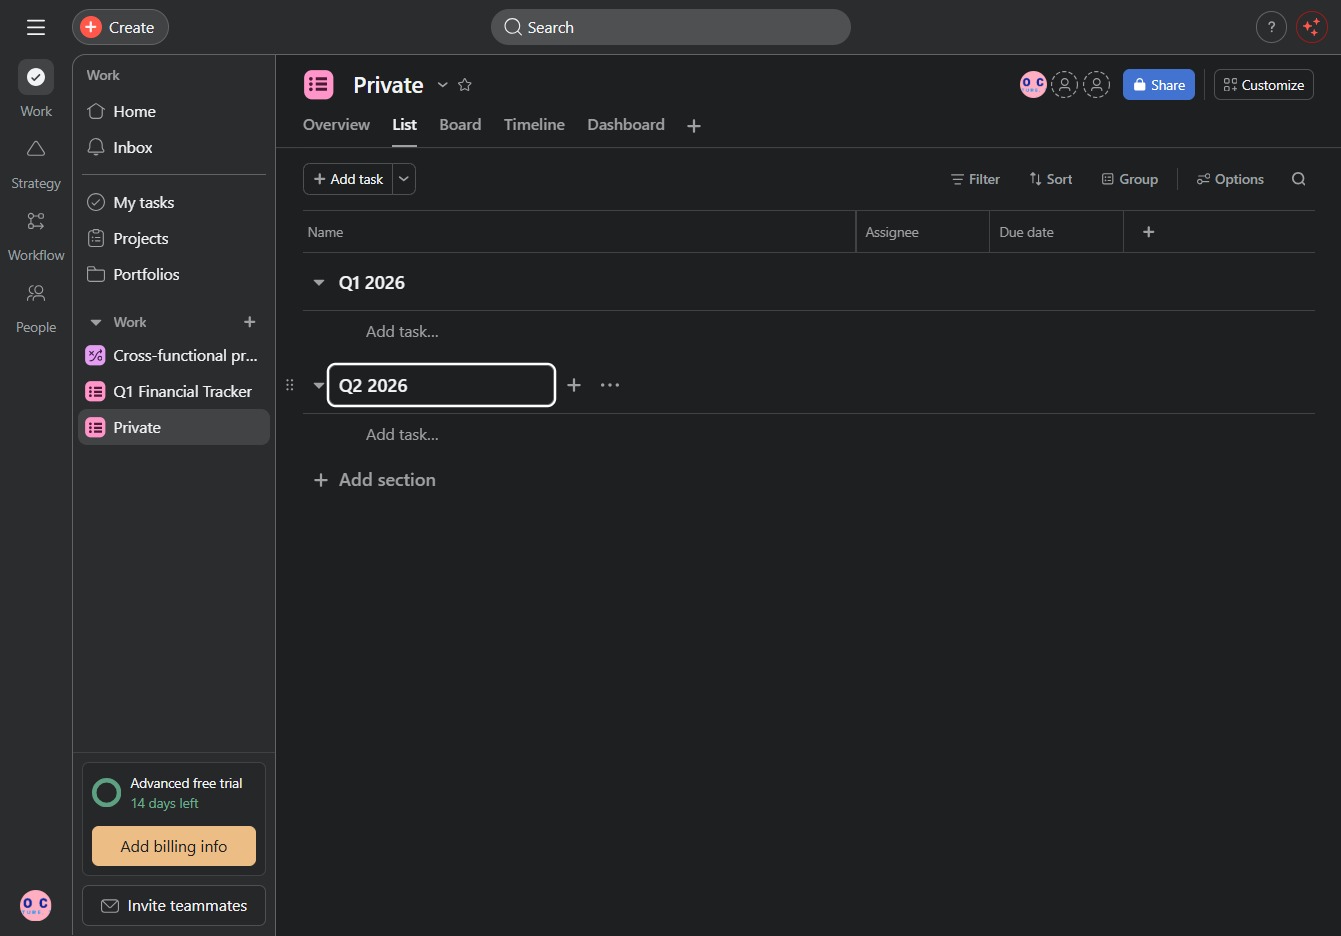
Enter 'Q2 2026' in the designated New section to create or update a task. This will add the specified label to the task list, helping you organize your projects effectively.