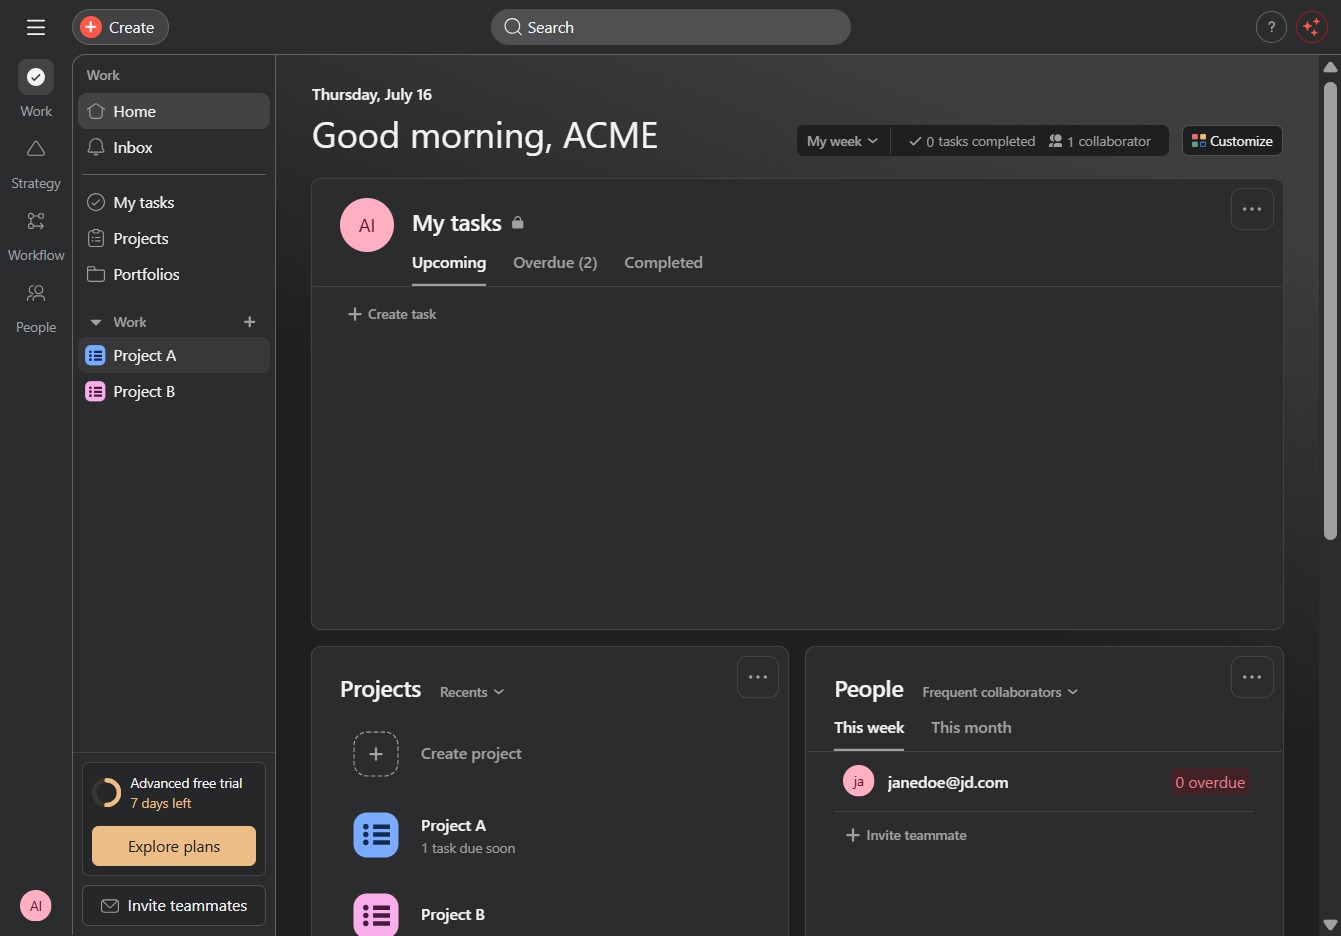
Click Project A
Clicking on 'Project A' will open the details and tasks associated with this project, allowing you to manage and view specific items within it.
Loading screenshot…
100%
This how-to guide teaches you the essential steps to create effective project roadmaps, from navigating project details and utilizing Gantt chart views to managing tasks and…
 viktoria
This how-to guide teaches you the essential steps to create effective project roadmaps, from navigating project details and utilizing Gantt chart views to managing tasks and deadlines. Learn to visualize timelines, update tasks, and streamline project tracking for maximum efficiency.
Clicking on 'Project A' will open the details and tasks associated with this project, allowing you to manage and view specific items within it.
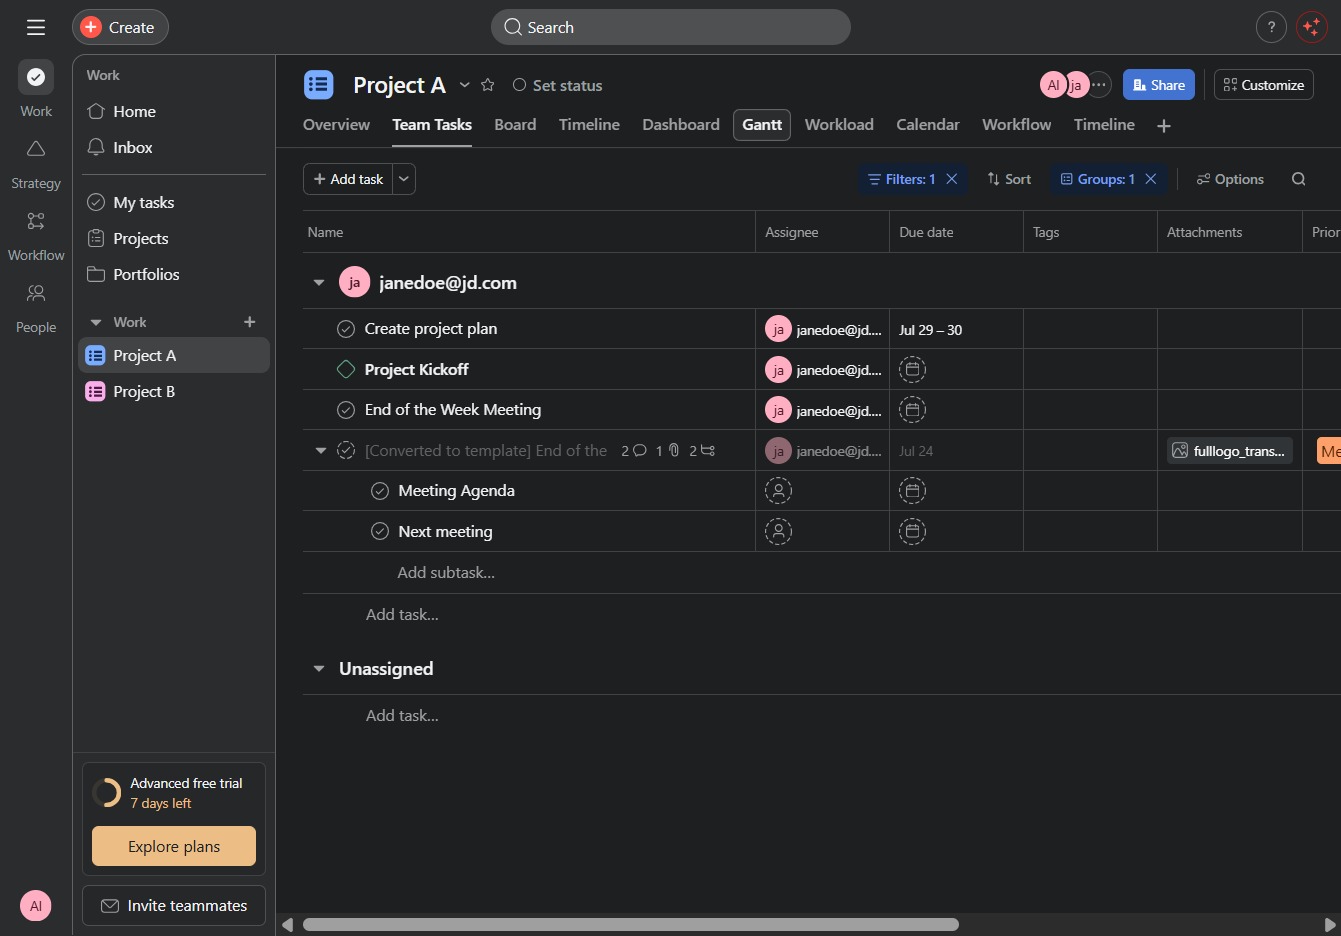
This action opens the Gantt chart view, allowing you to visualize project timelines and task dependencies for better project management.
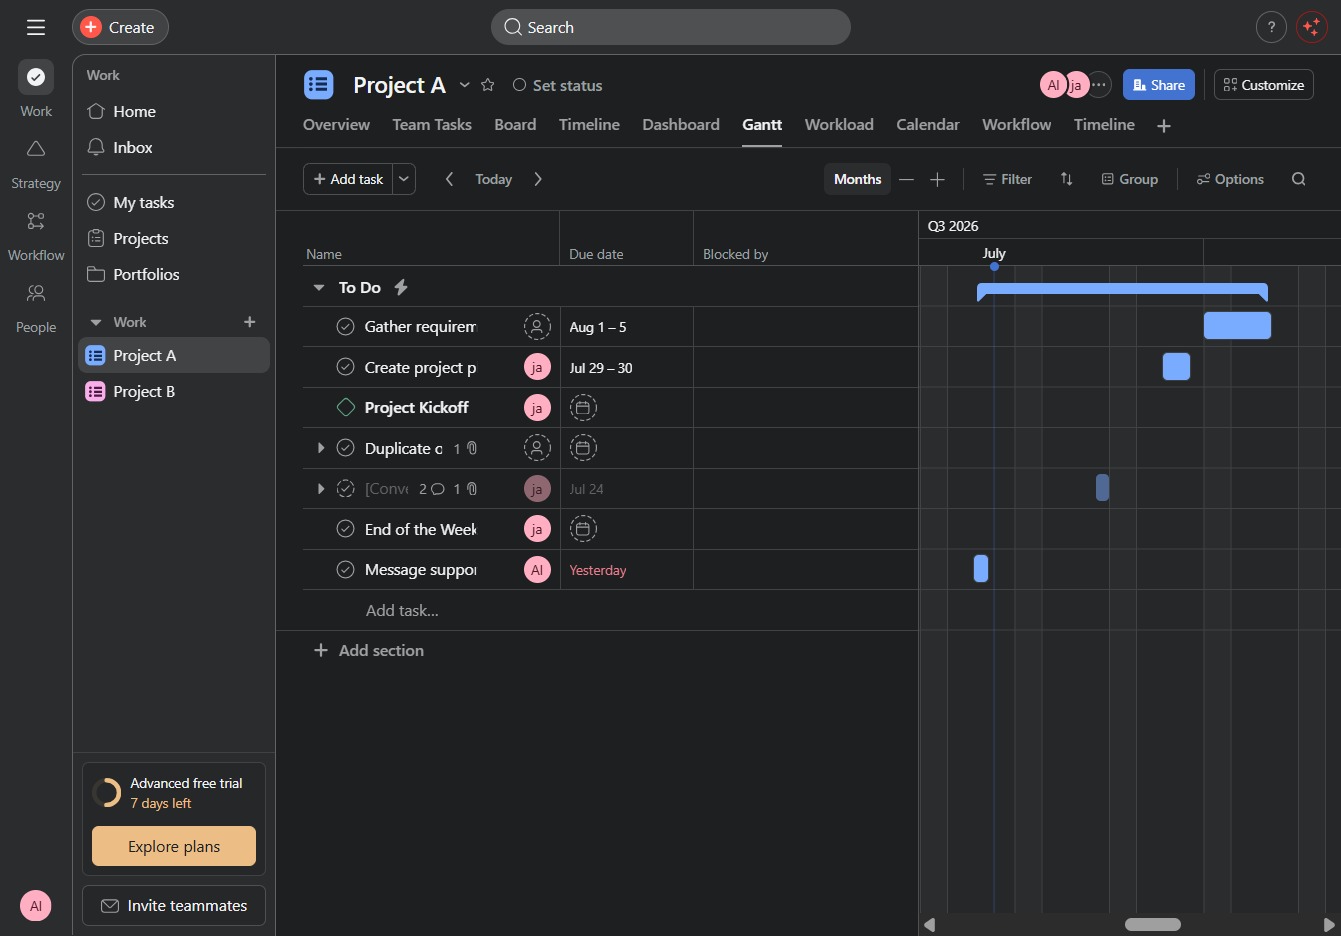
This action displays the monthly view of your project timeline, allowing you to monitor tasks and deadlines for each month.
This action opens the options to select the time frame for tasks on your Gantt chart, allowing you to view tasks organized by days, weeks, months, or other intervals.
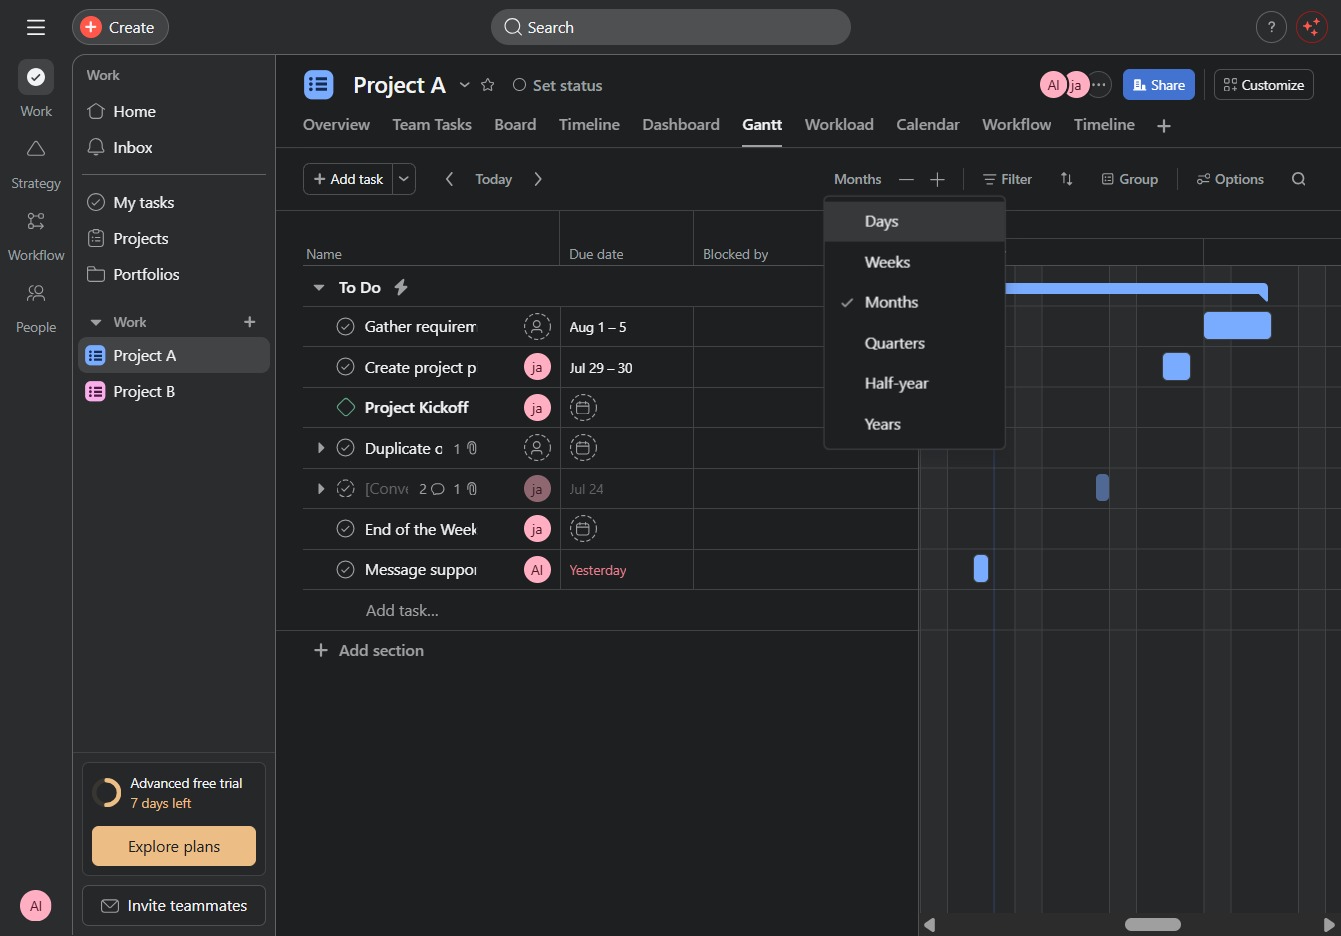
Clicking this link will open a form that allows you to add a new task to your project, enabling you to manage and assign tasks easily.
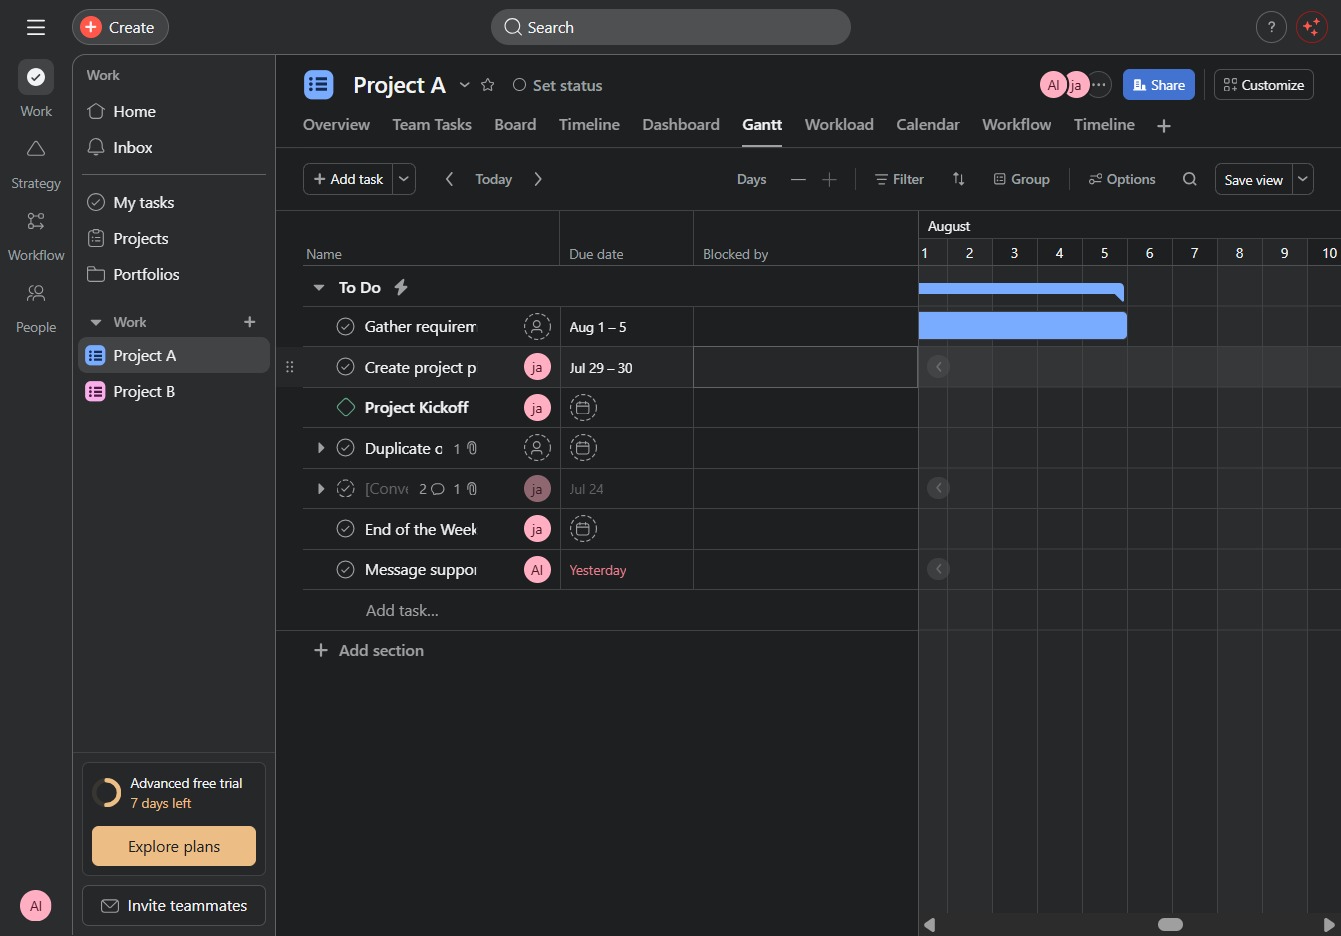
This action opens the detailed view for gathering requirements related to Project A, allowing you to input specific details and requirements for the project.
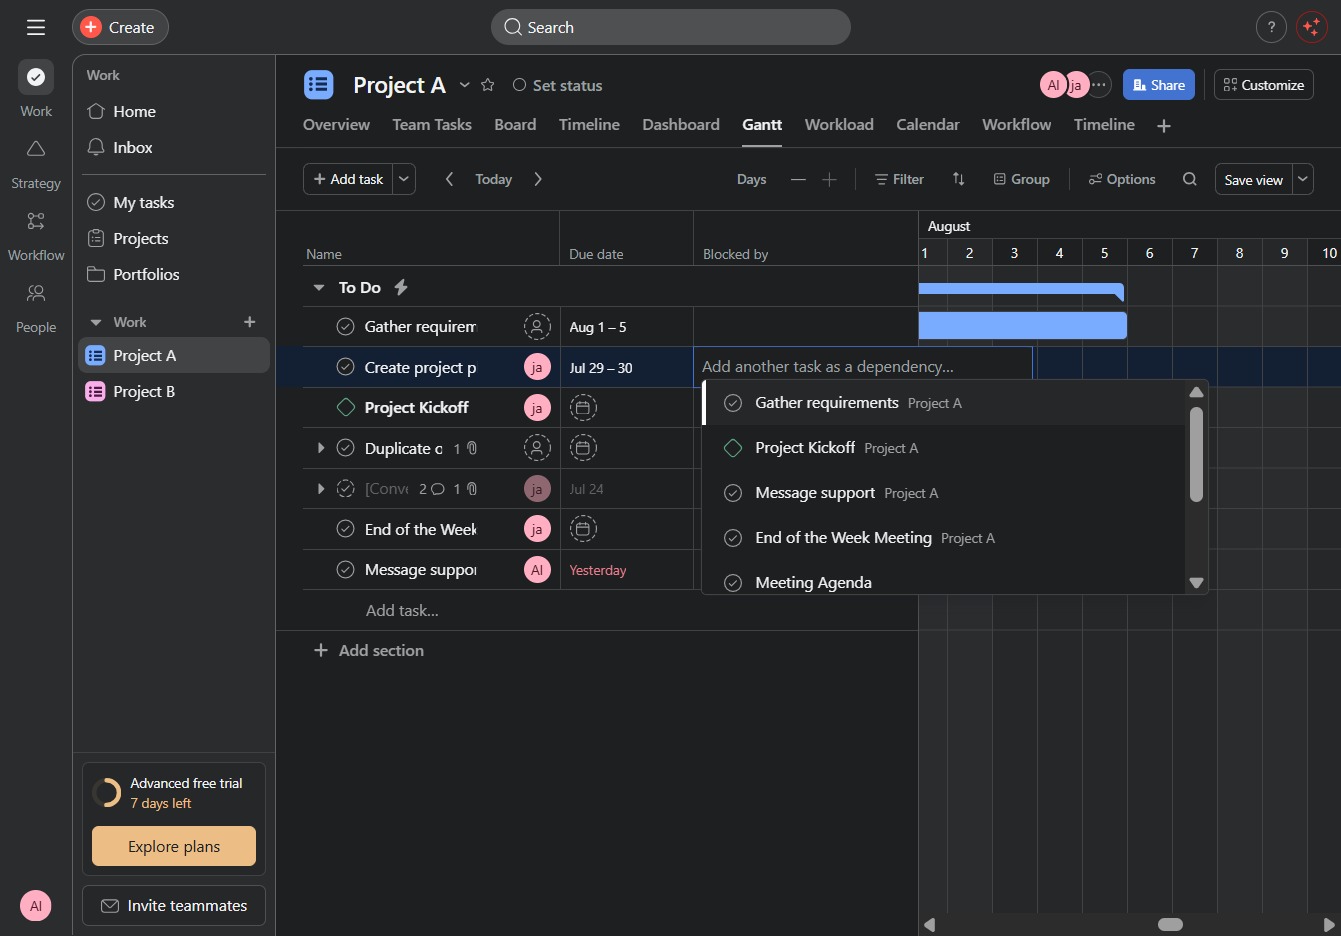
Enter 'PRO' in the designated input field labeled Lui 10056 to specify the required status or identifier for your project task. This action will update the task information within your project management interface.
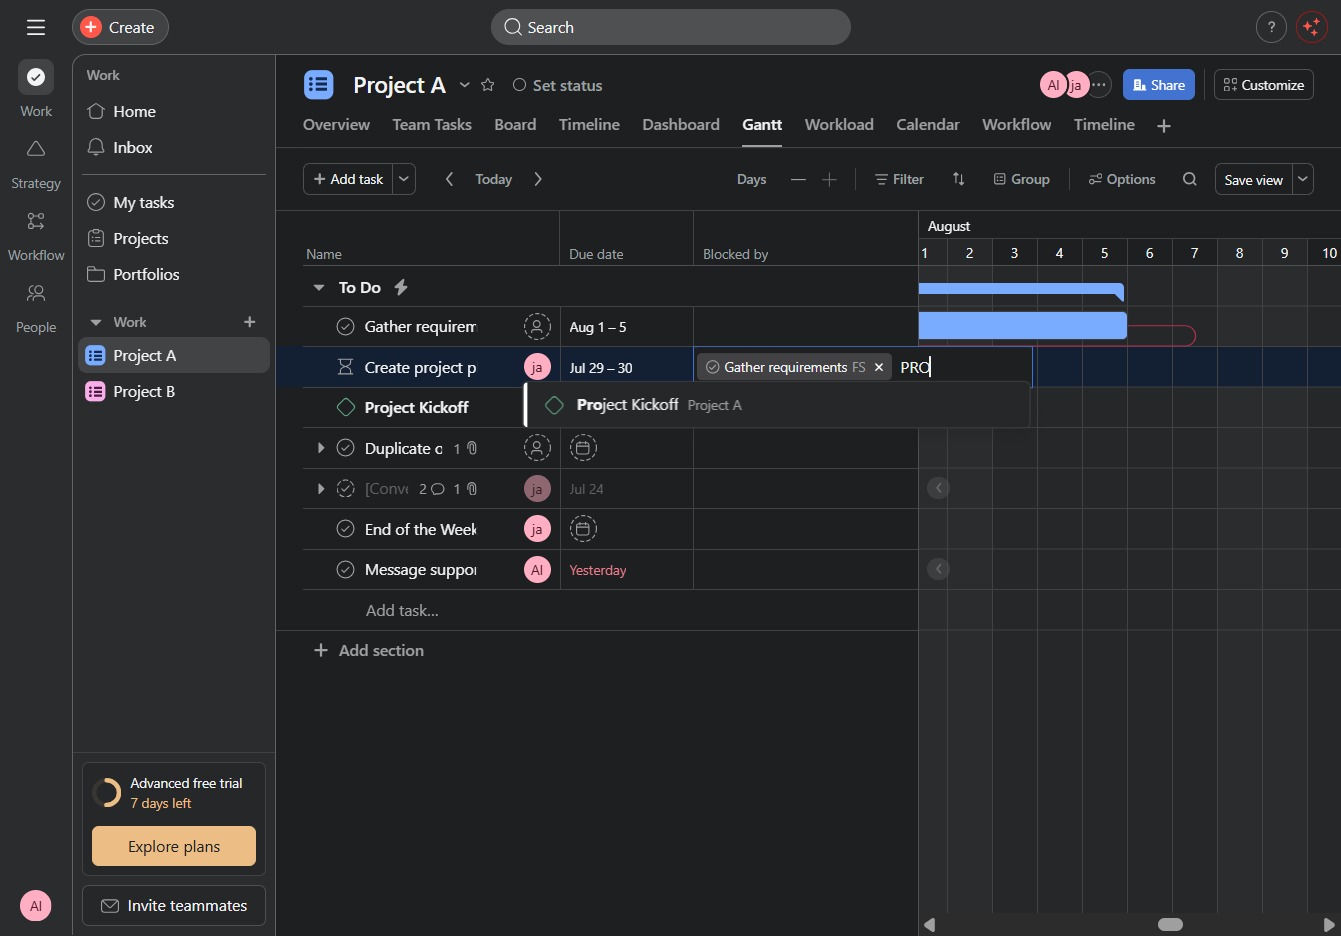
Clicking this link will take you to the details page for the 'Project KickoffProject A', where you can view and manage tasks, timelines, and overall project settings.
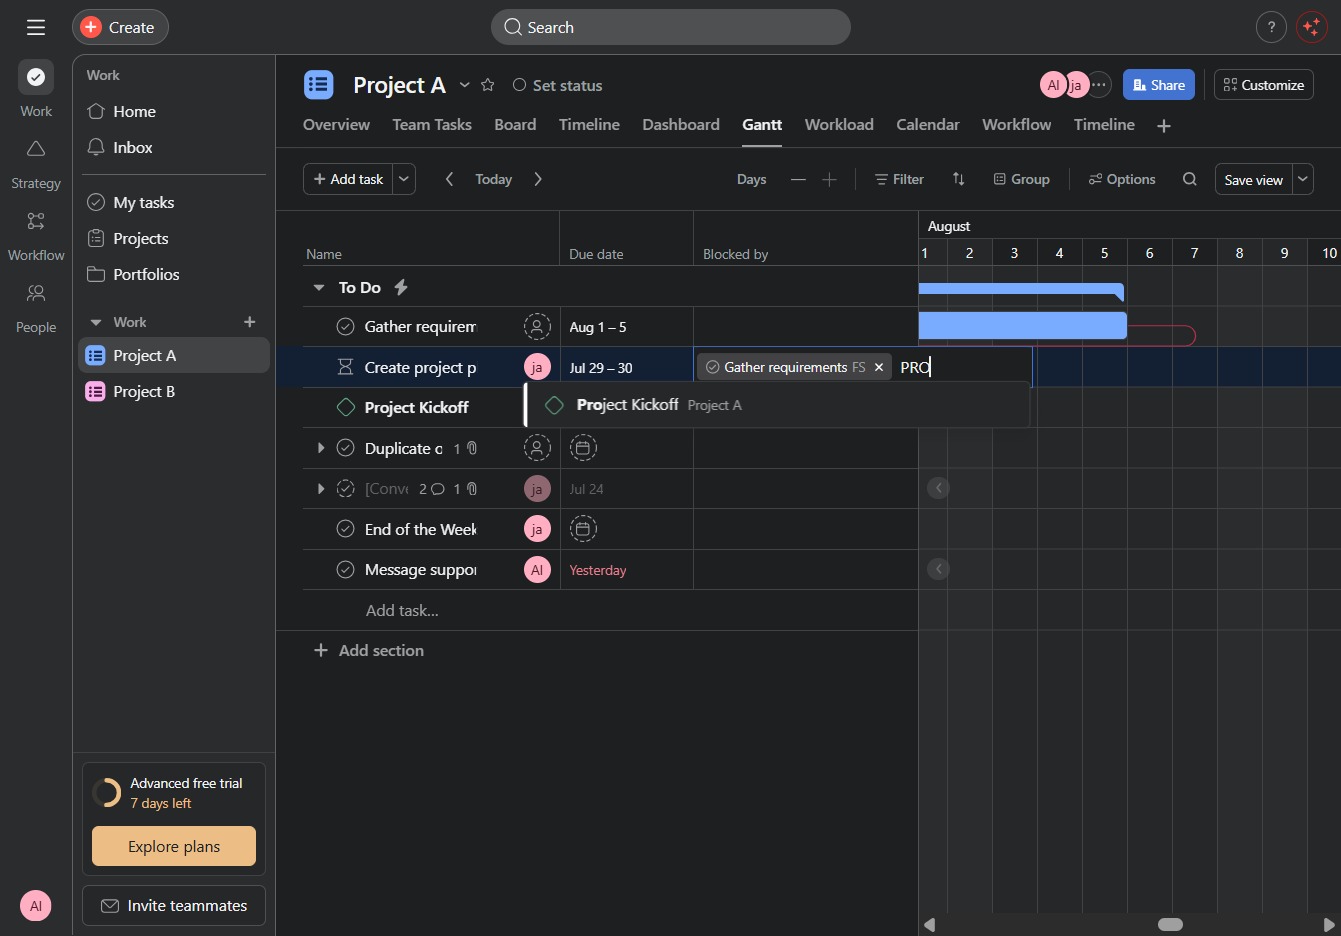
This action will save the current layout and settings of the Gantt chart for your project. You will be able to quickly retrieve this view later for consistent project tracking.
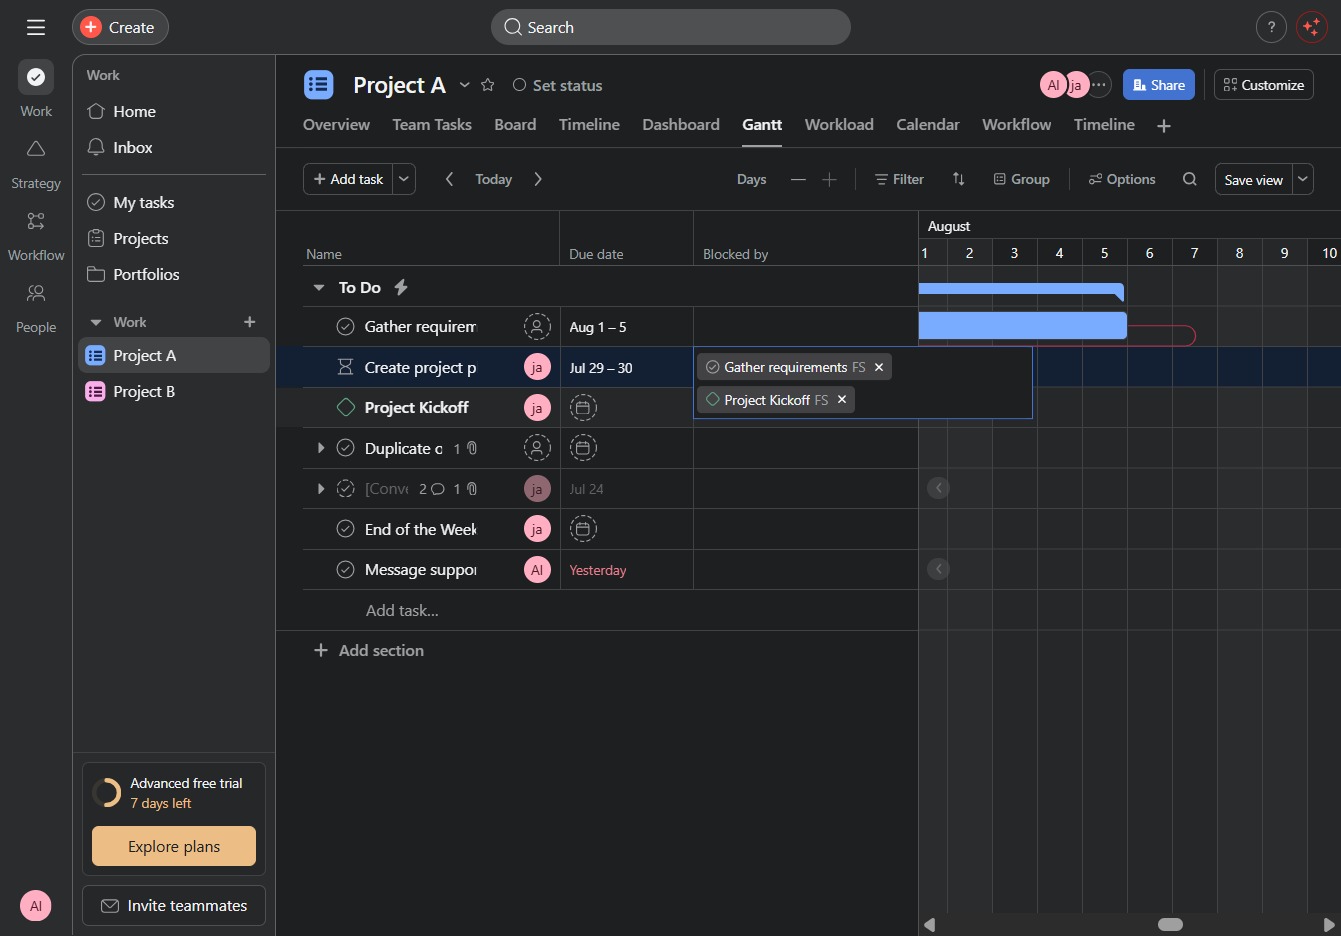
By clicking here, you can open a form to input details for a new task in the Gantt chart for your project.
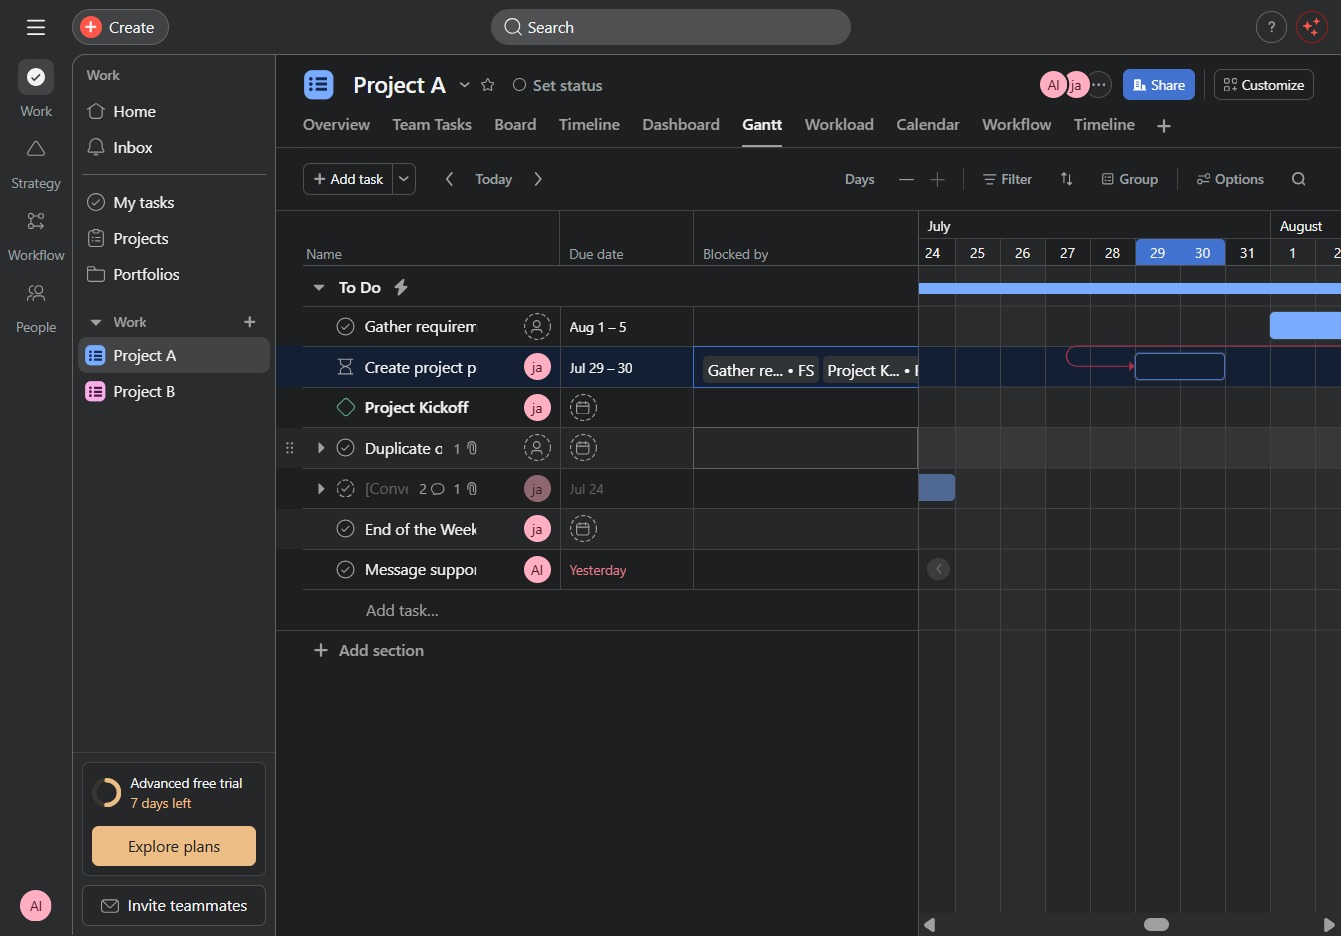
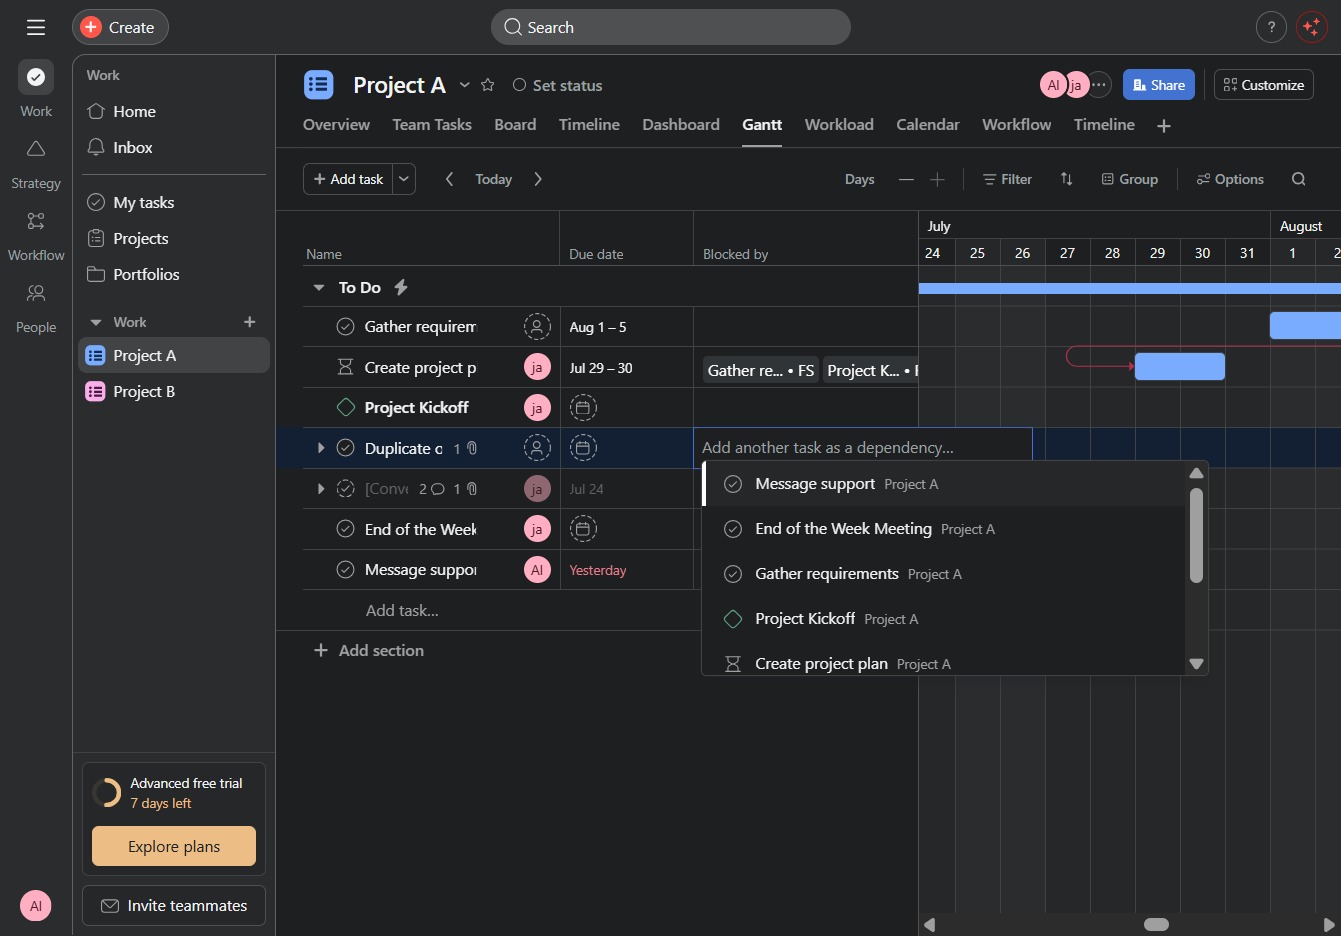
This action adds the 'Message support' task to your project list, allowing you to delegate the support messaging function to the relevant team members.