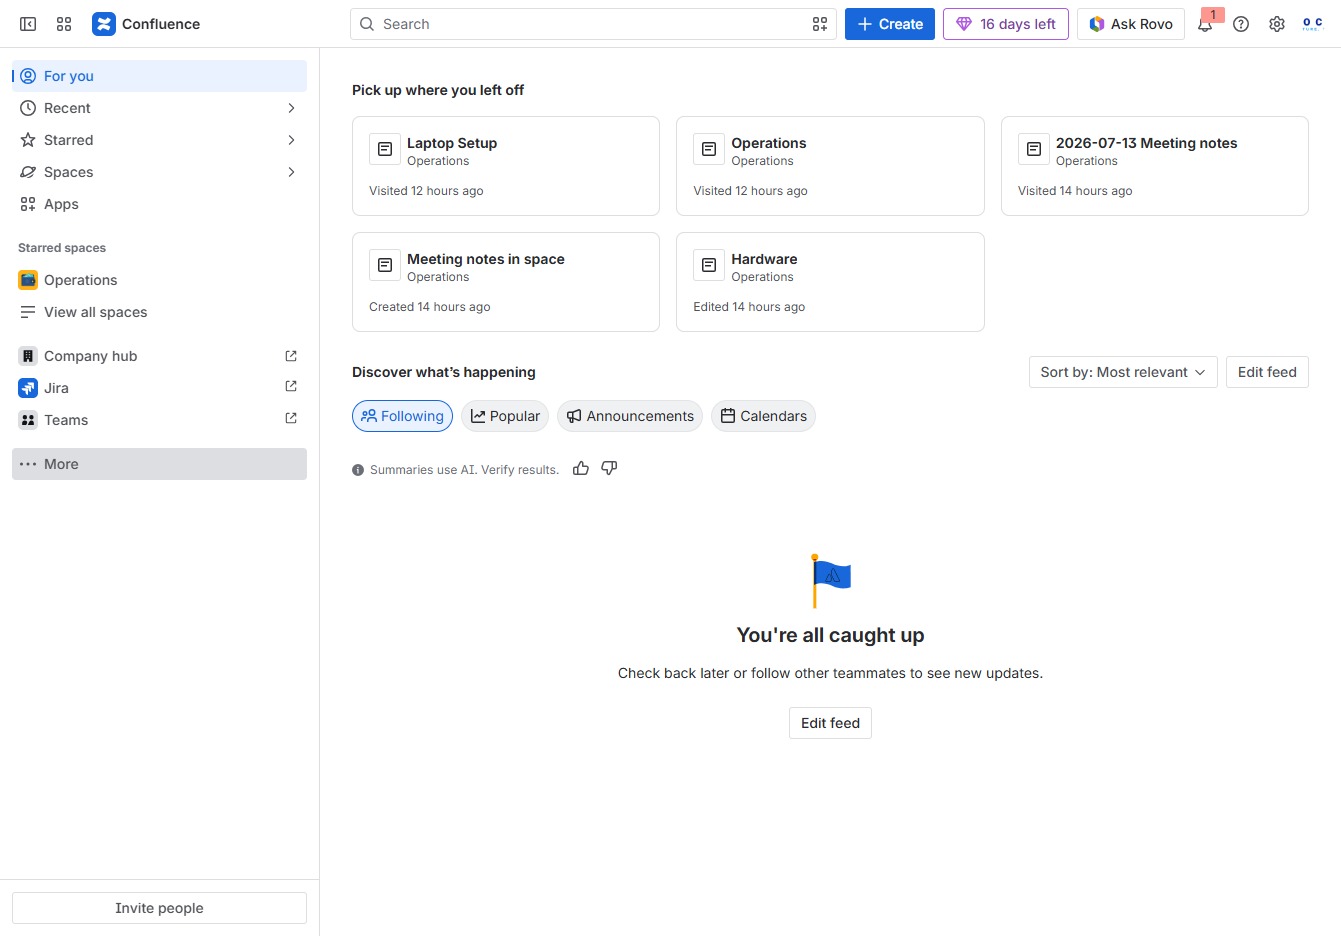
Click the More button
Clicking the 'More' button will expand additional options or features within the current view, allowing you to access more functionalities in your Confluence workspace.
Loading screenshot…
100%
In this how-to guide, you'll learn the step-by-step process for creating effective project documentation in Confluence.
 viktoria
In this how-to guide, you'll learn the step-by-step process for creating effective project documentation in Confluence. From accessing templates to publishing your document, this guide provides all the essential actions needed to streamline your documentation workflow and ensure your project details are well-organized and easily accessible.
Clicking the 'More' button will expand additional options or features within the current view, allowing you to access more functionalities in your Confluence workspace.
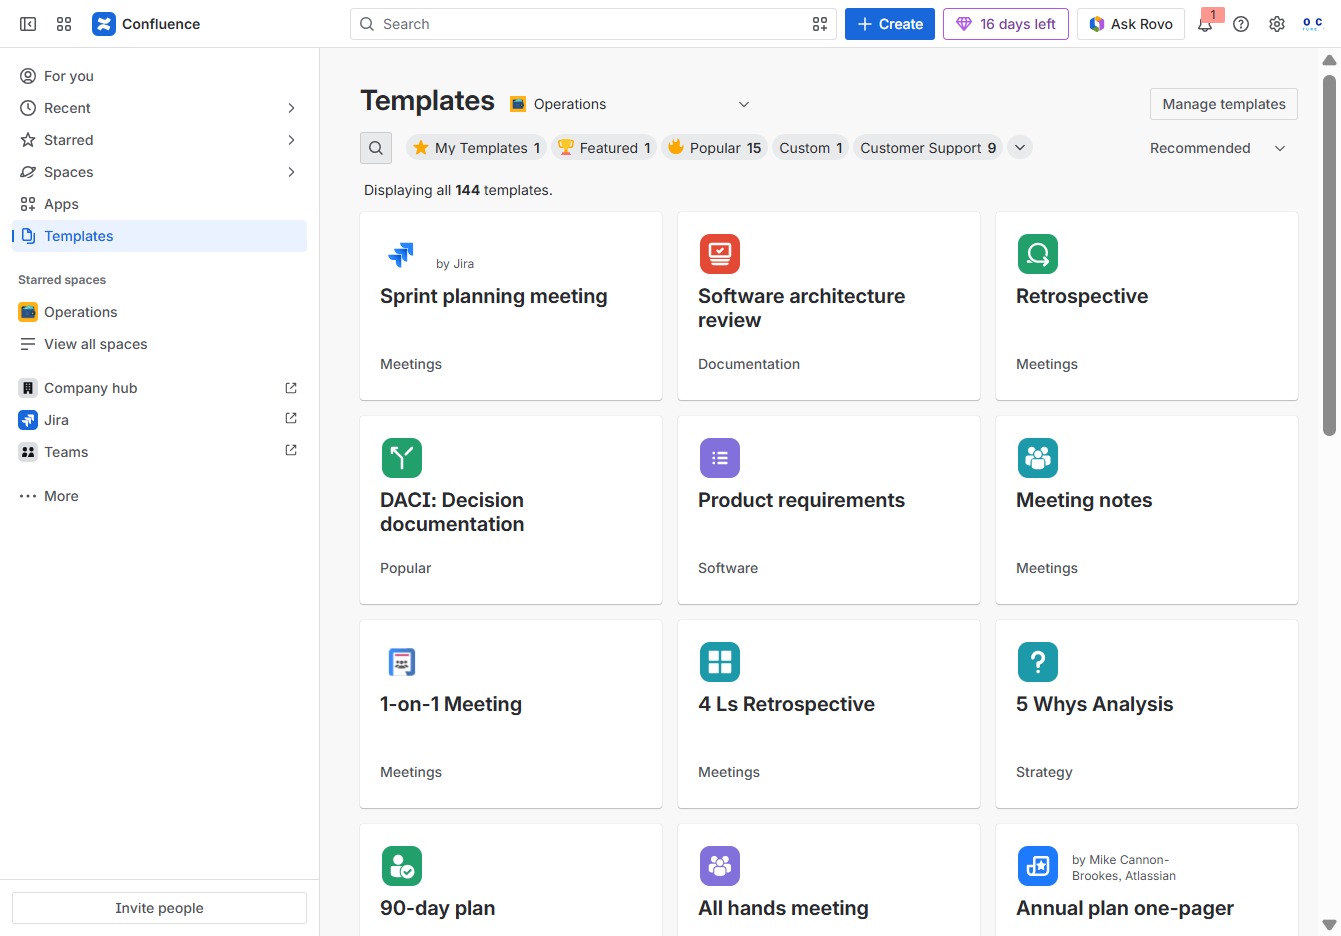
This action opens the Templates section, allowing you to access and manage document templates for your Confluence pages.
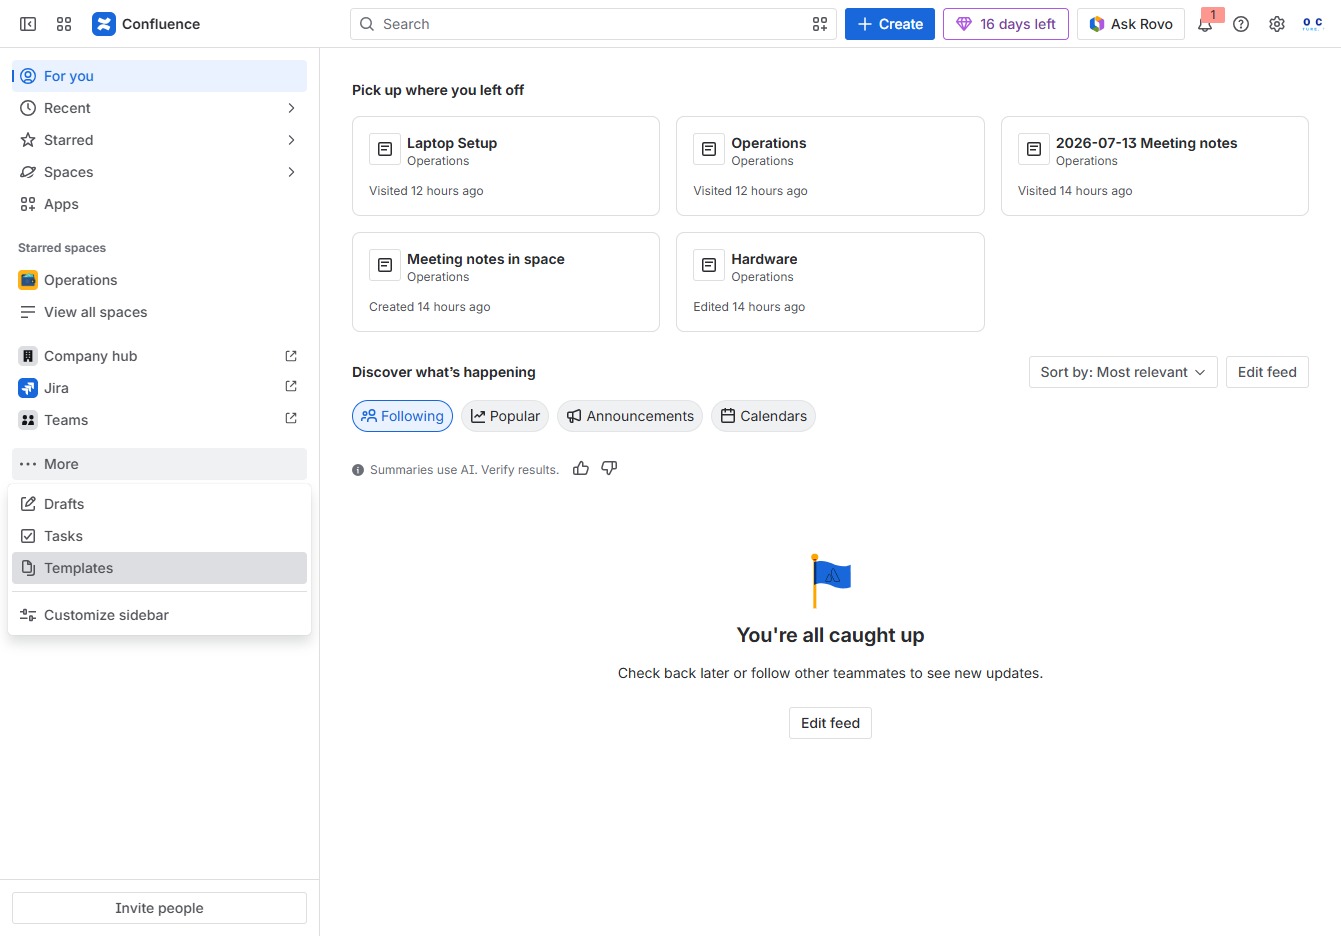
This action opens the search functionality, allowing you to find specific templates or content within your space. Use the search bar to quickly locate the resources you need.
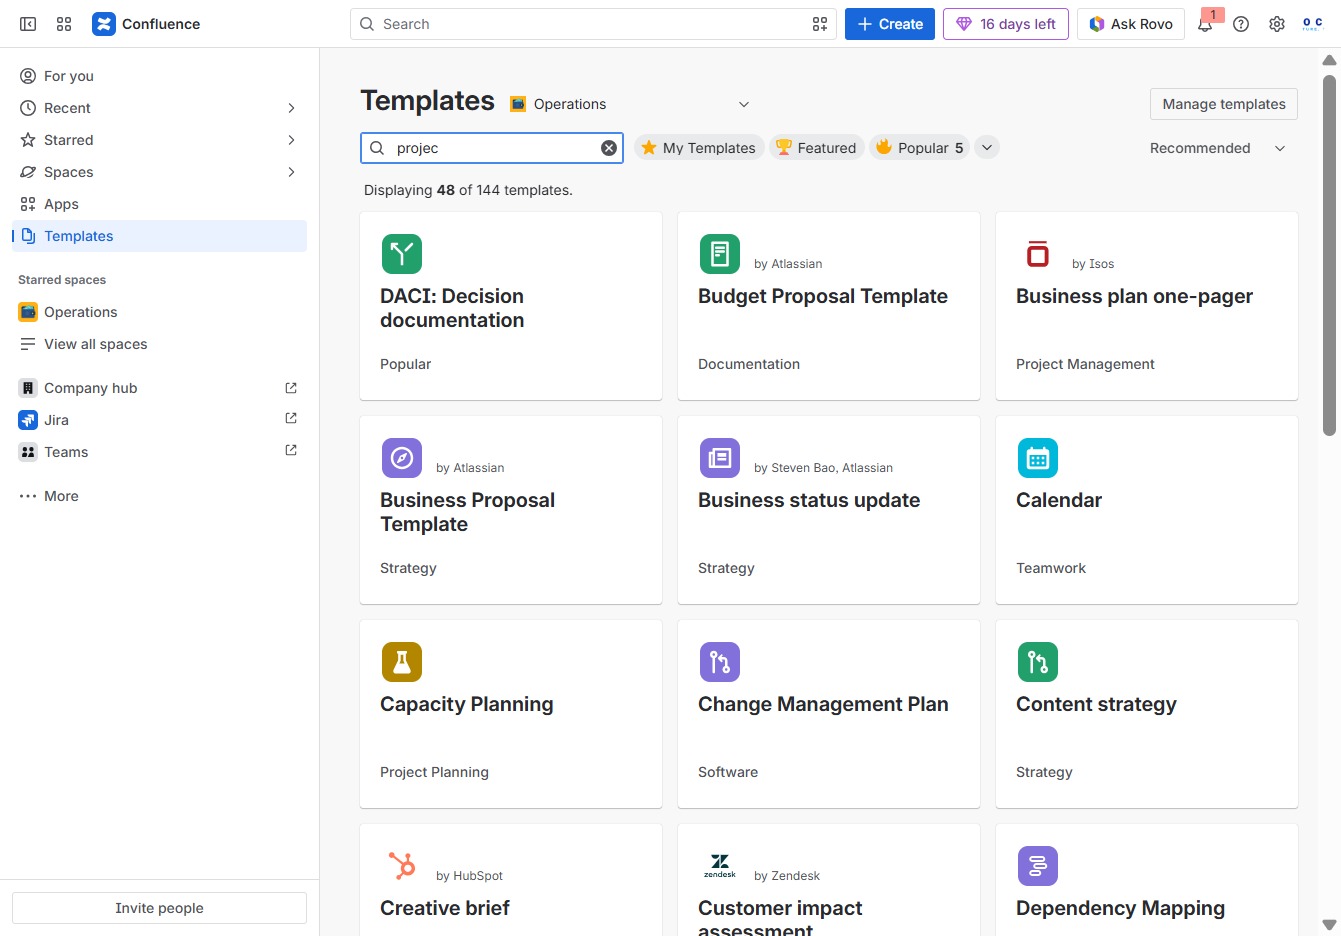
Entering 'projec' in the Search author, category, topic field filters the available templates, allowing you to quickly locate relevant project-related documents.
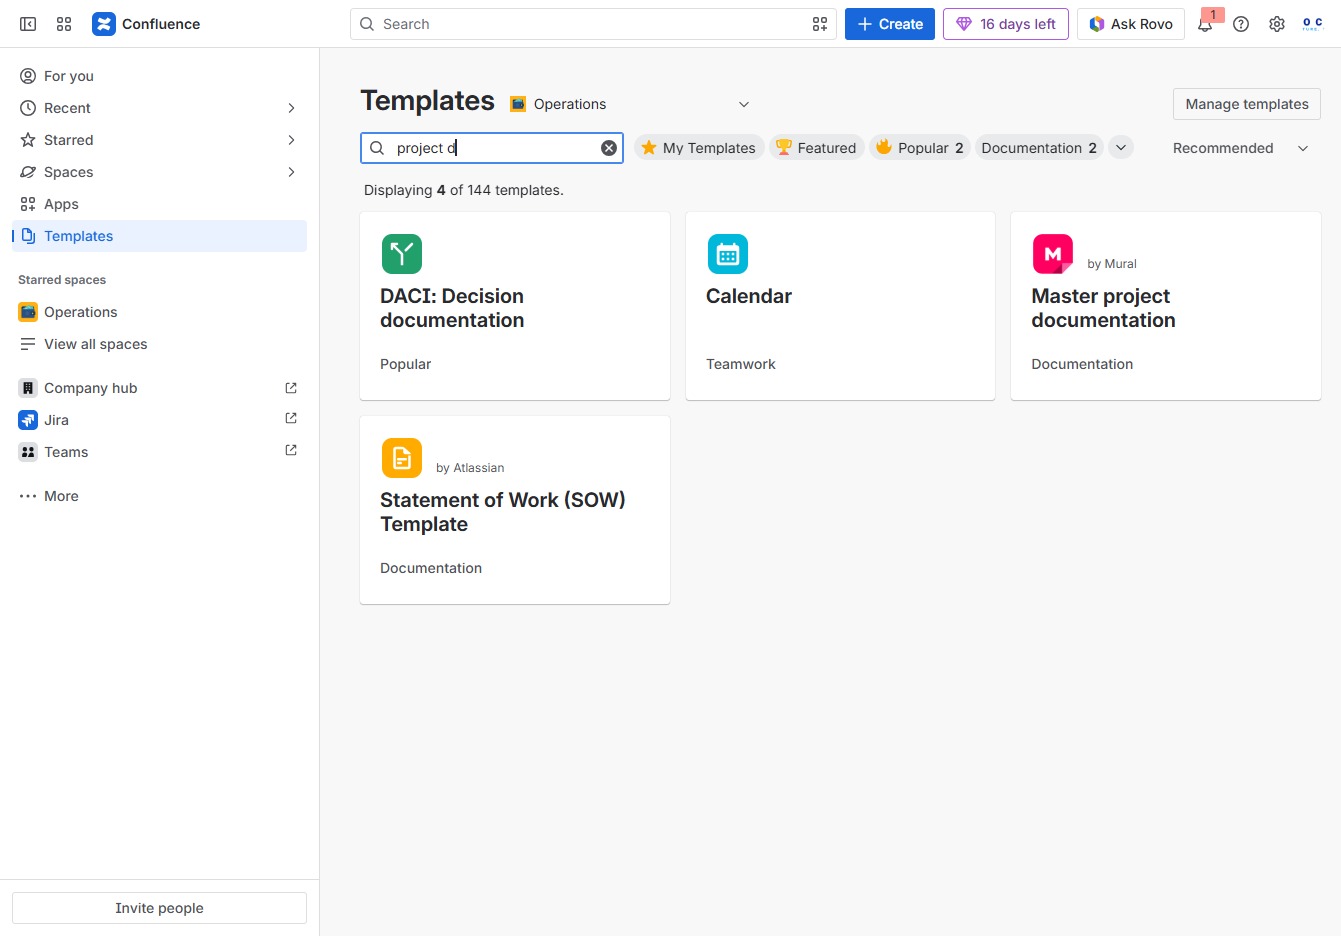
Enter 'project d' in the 'Search author, category, topic' field to filter the templates based on your query. This will help you find relevant documentation templates in the Confluence space.
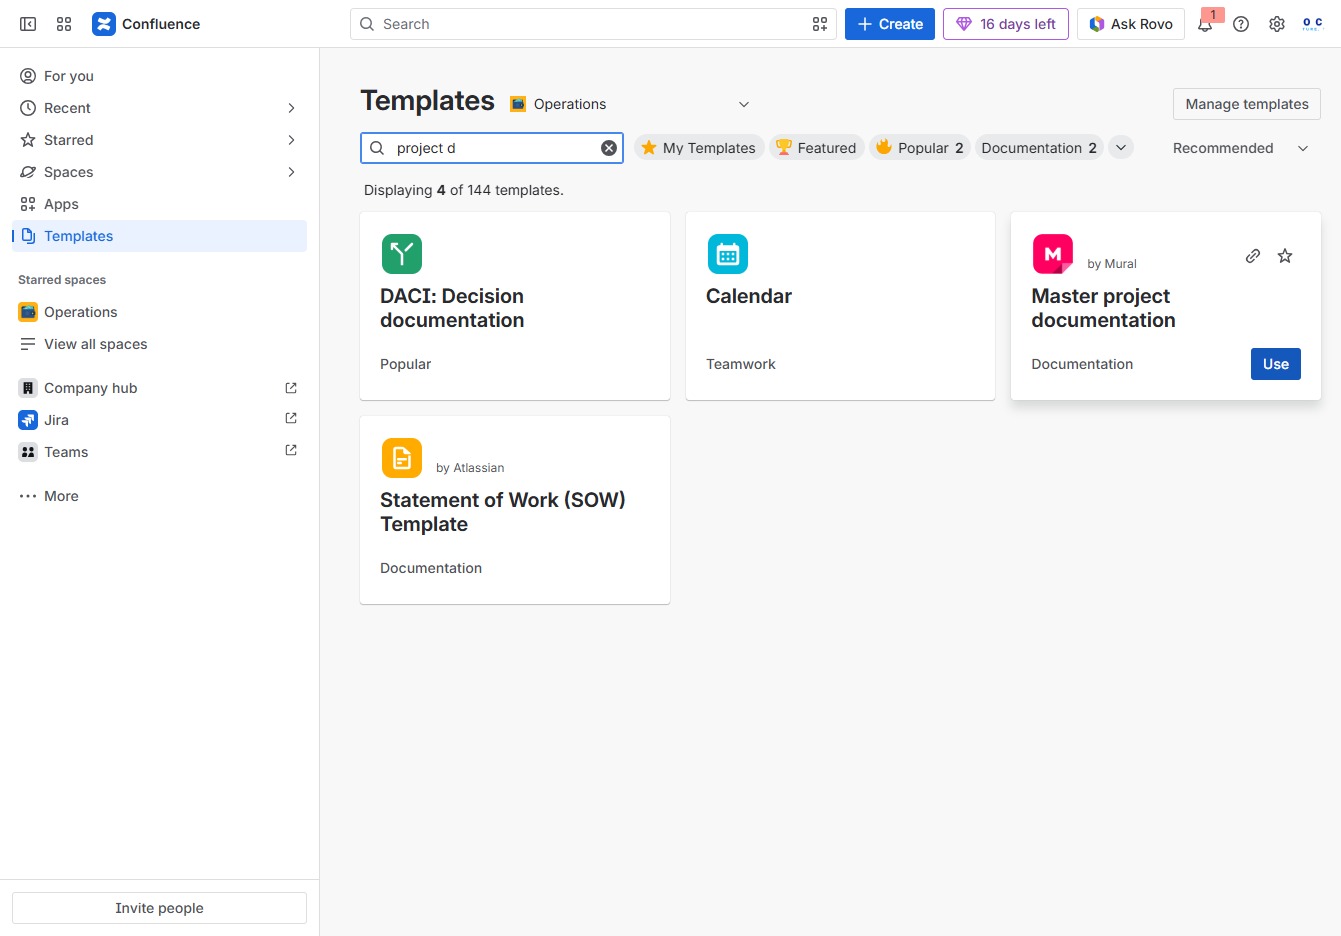
This action will open the Master project documentation template, allowing you to start creating a new document based on this template.
Enter the title you wish to assign to this page, which helps in identifying and organizing your content within the document. This title will appear prominently in the page header once published.
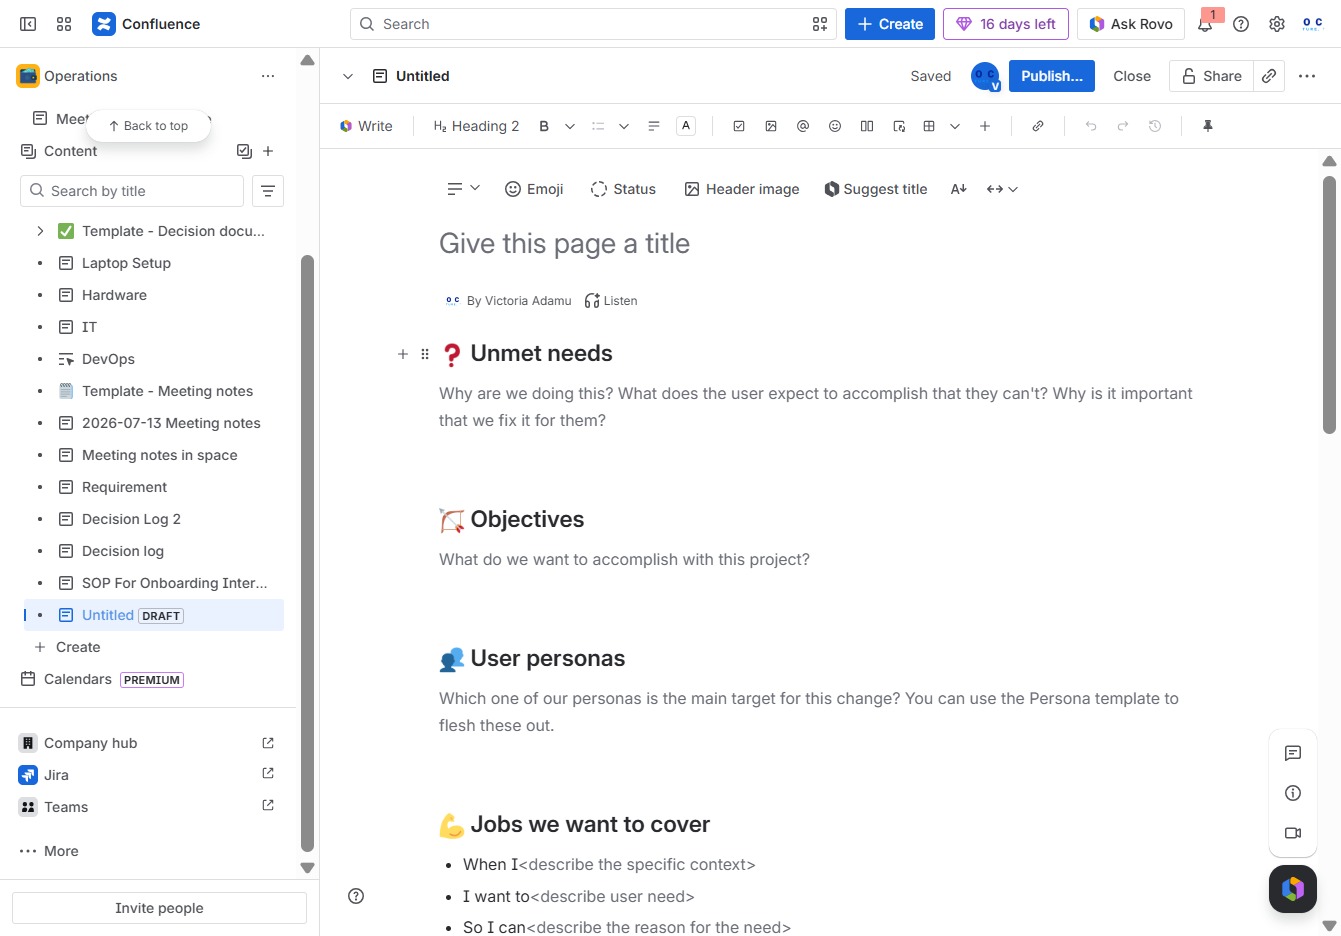
Enter 'Project A' in the 'Give this page a title' field to set the title of your project page. This title will be displayed at the top of the page and referenced in the project list.
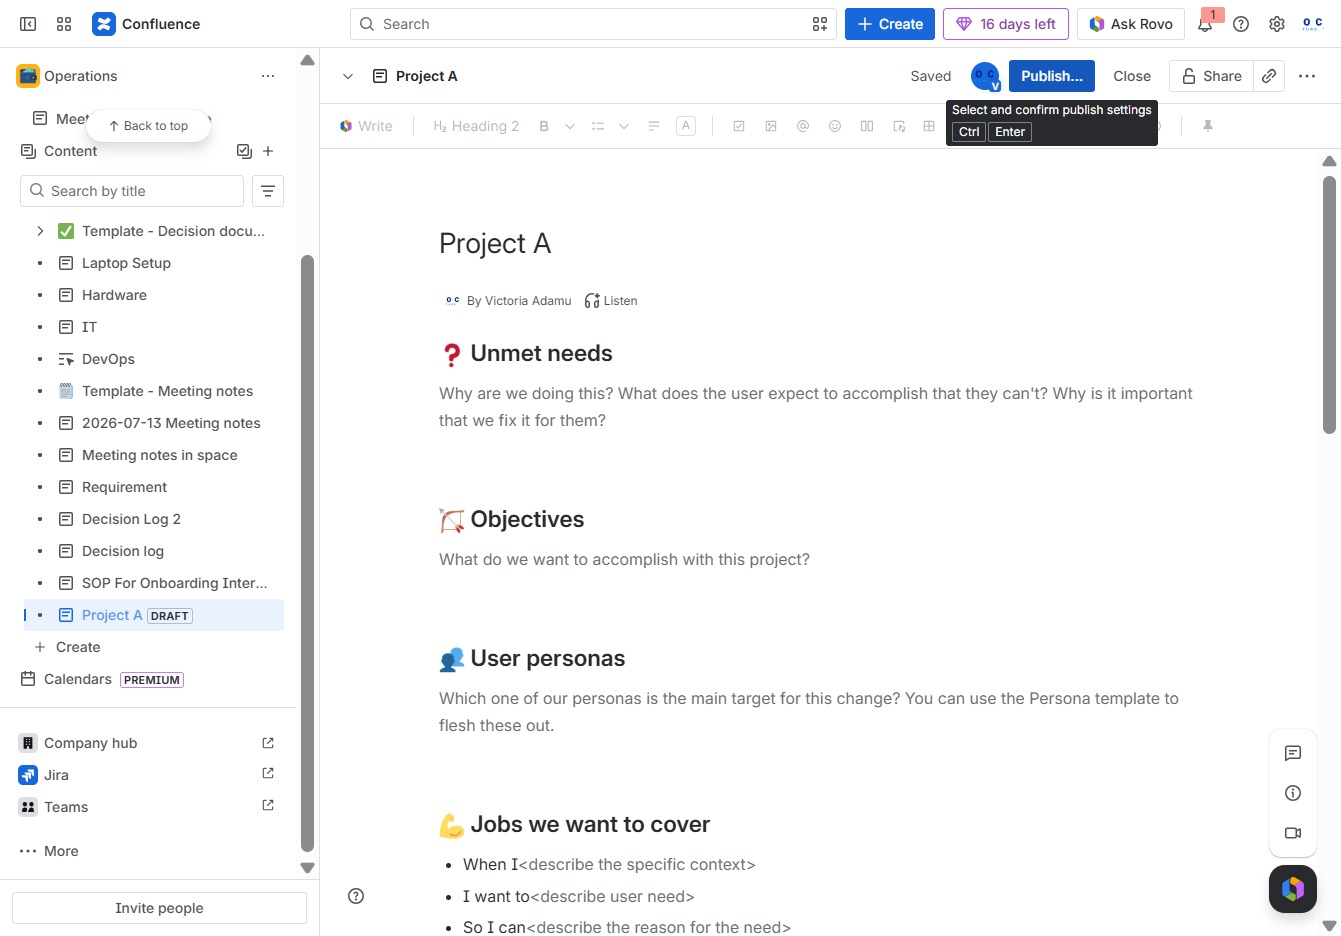
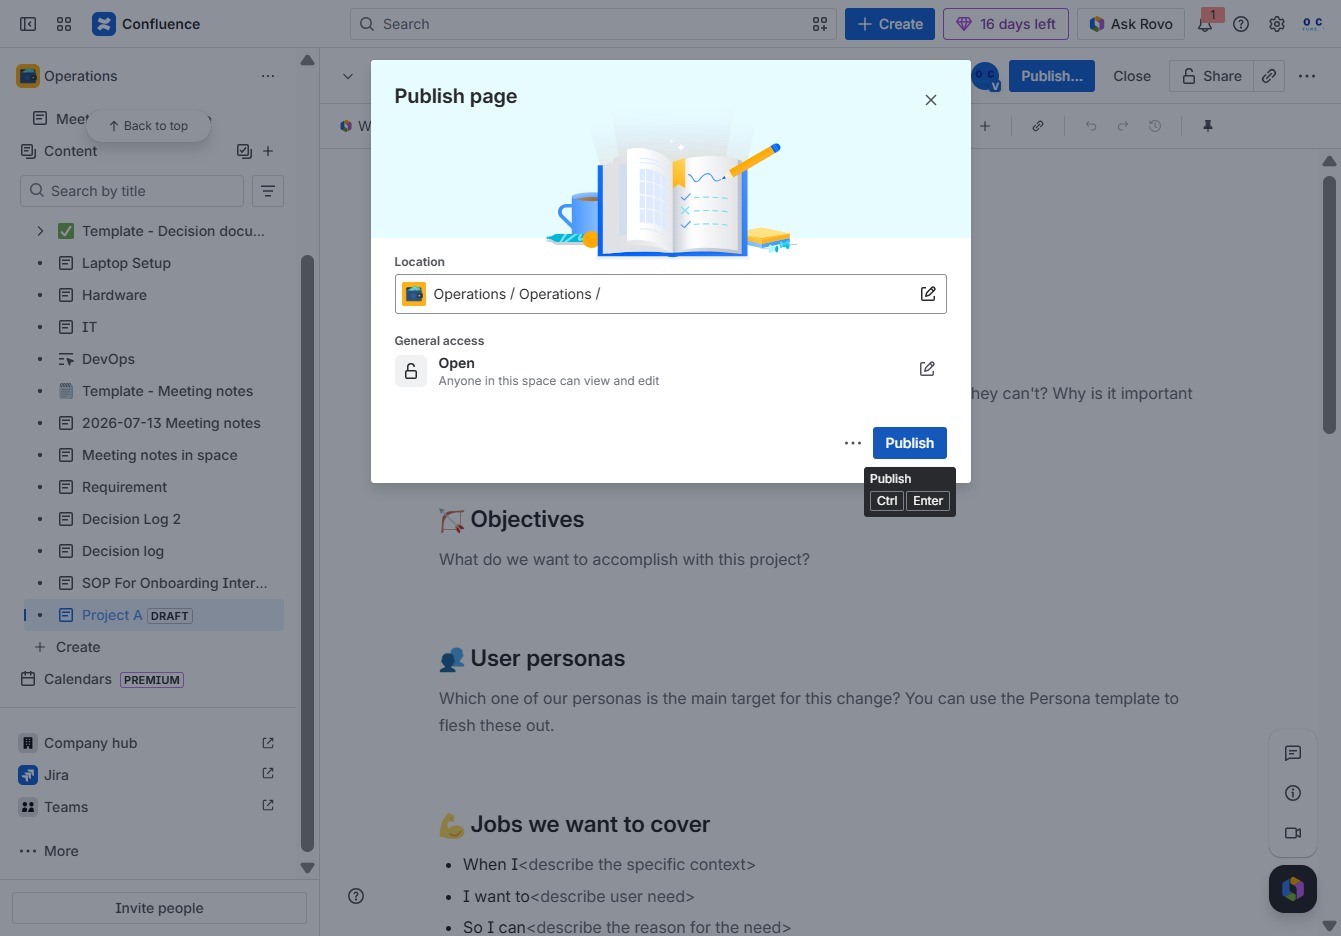
Clicking the 'Publish...' button will make your current document or changes visible to others in the workspace. This is an essential step to ensure that your updates are shared with team members.
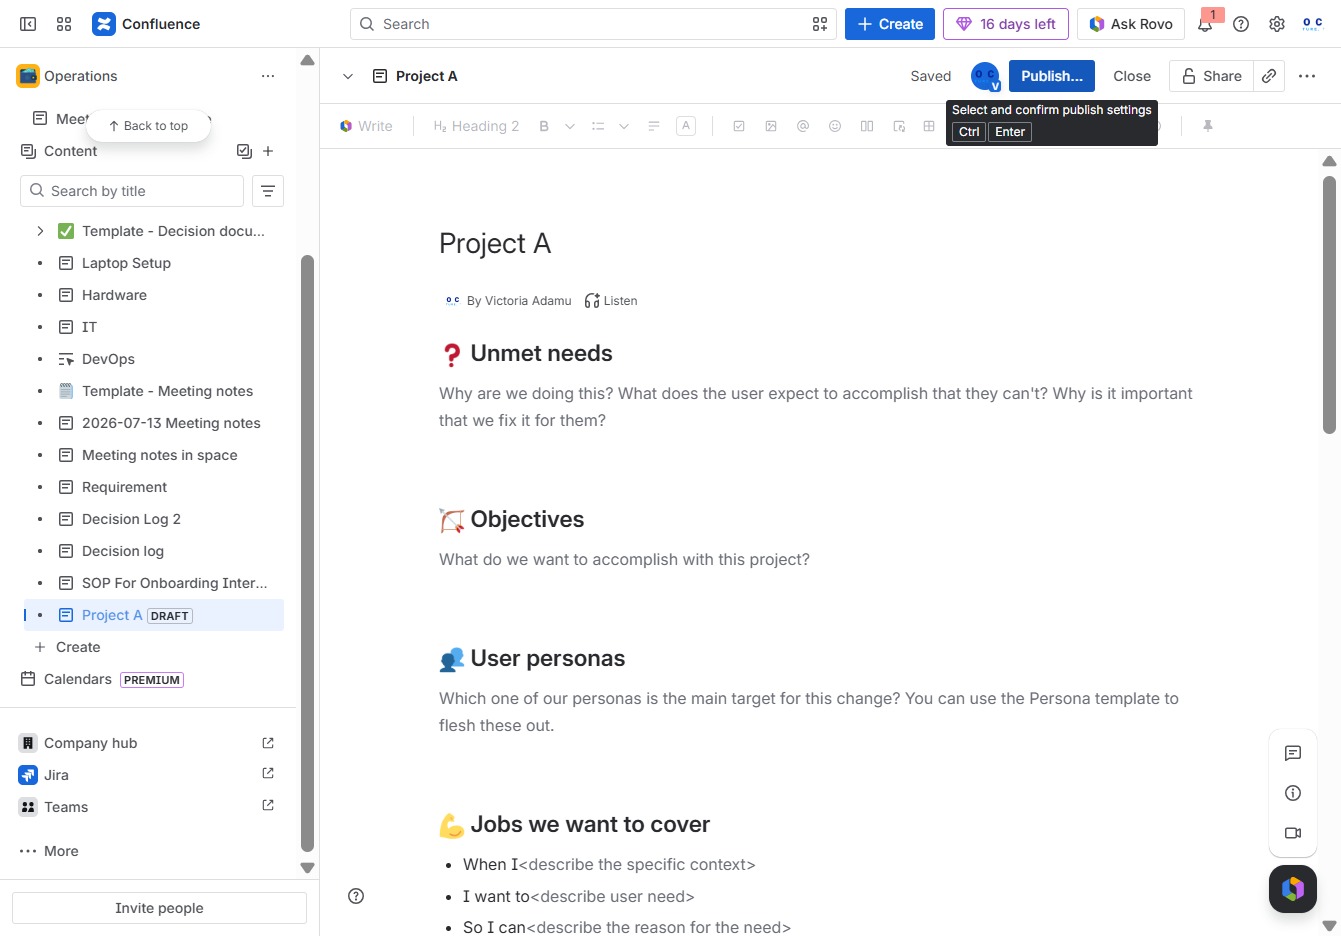
This action finalizes your changes and makes the page visible to others in the designated location. Ensure all necessary content is complete before publishing.