Click the Operations section
Selecting the Operations section will display a list of related tasks and documents, allowing you to manage workflows and track ongoing operations in your project.

Loading screenshot…
100%
In this how-to guide, you will learn step-by-step how to create page hierarchies in Confluence, including selecting the appropriate operations, entering titles for your new…
 viktoria
In this how-to guide, you will learn step-by-step how to create page hierarchies in Confluence, including selecting the appropriate operations, entering titles for your new pages, and publishing them to make content accessible to your team. Follow these simple steps to effectively organize and manage your project documentation within the Confluence platform.
Selecting the Operations section will display a list of related tasks and documents, allowing you to manage workflows and track ongoing operations in your project.
Clicking this button will open a menu to start creating new content in the Operations space of Confluence.

Selecting the 'Page' option allows you to create a new page within the current Confluence space, where you can add and organize content.

Enter a title for your page in this designated field. This title will help identify the content of your page within the document.
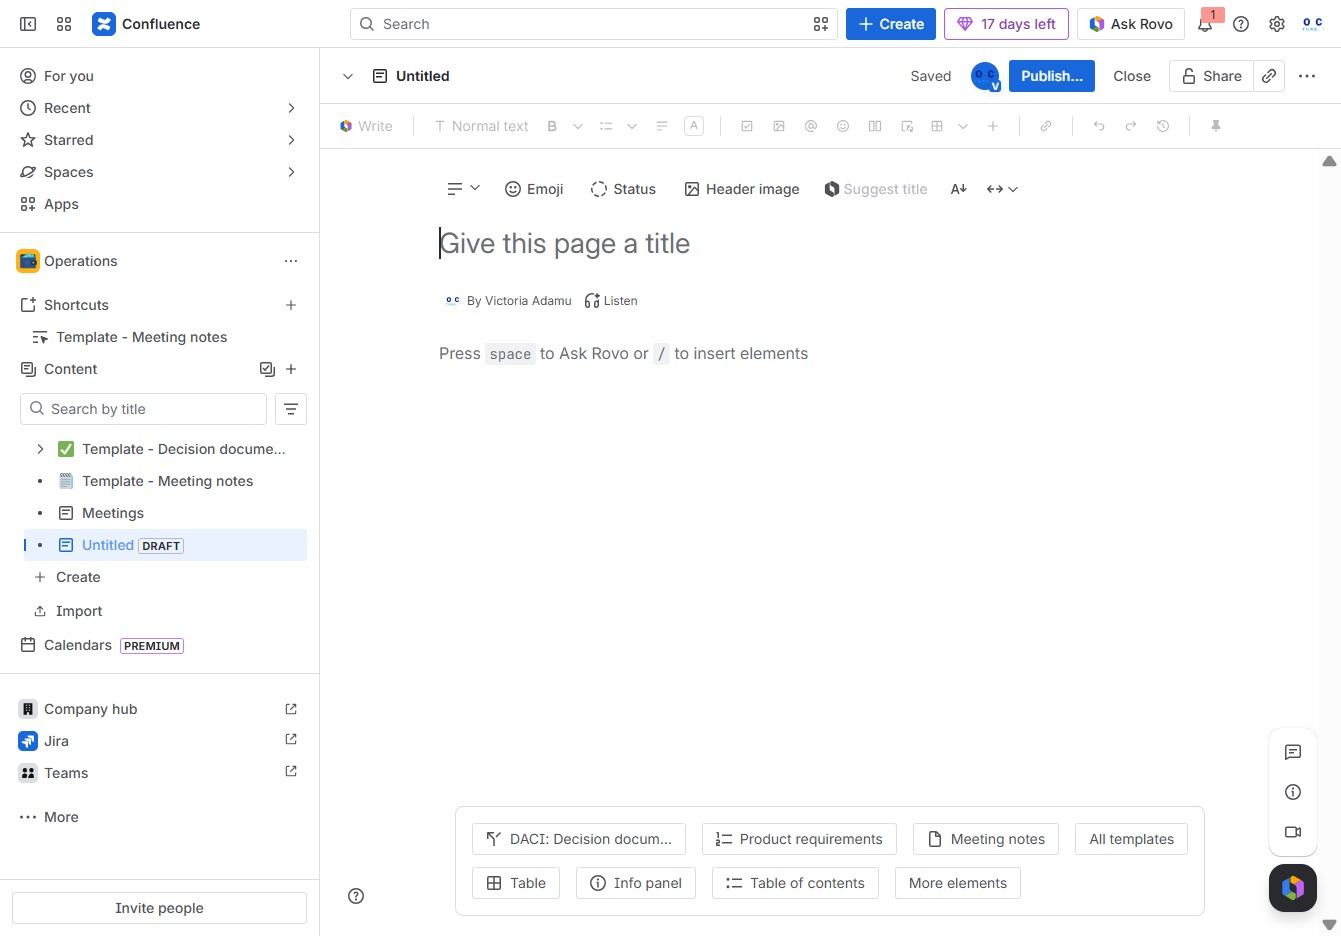
In the 'Give this page a title' field, enter 'IT' to set the title of your Confluence page, which will be visible to all users viewing the document.
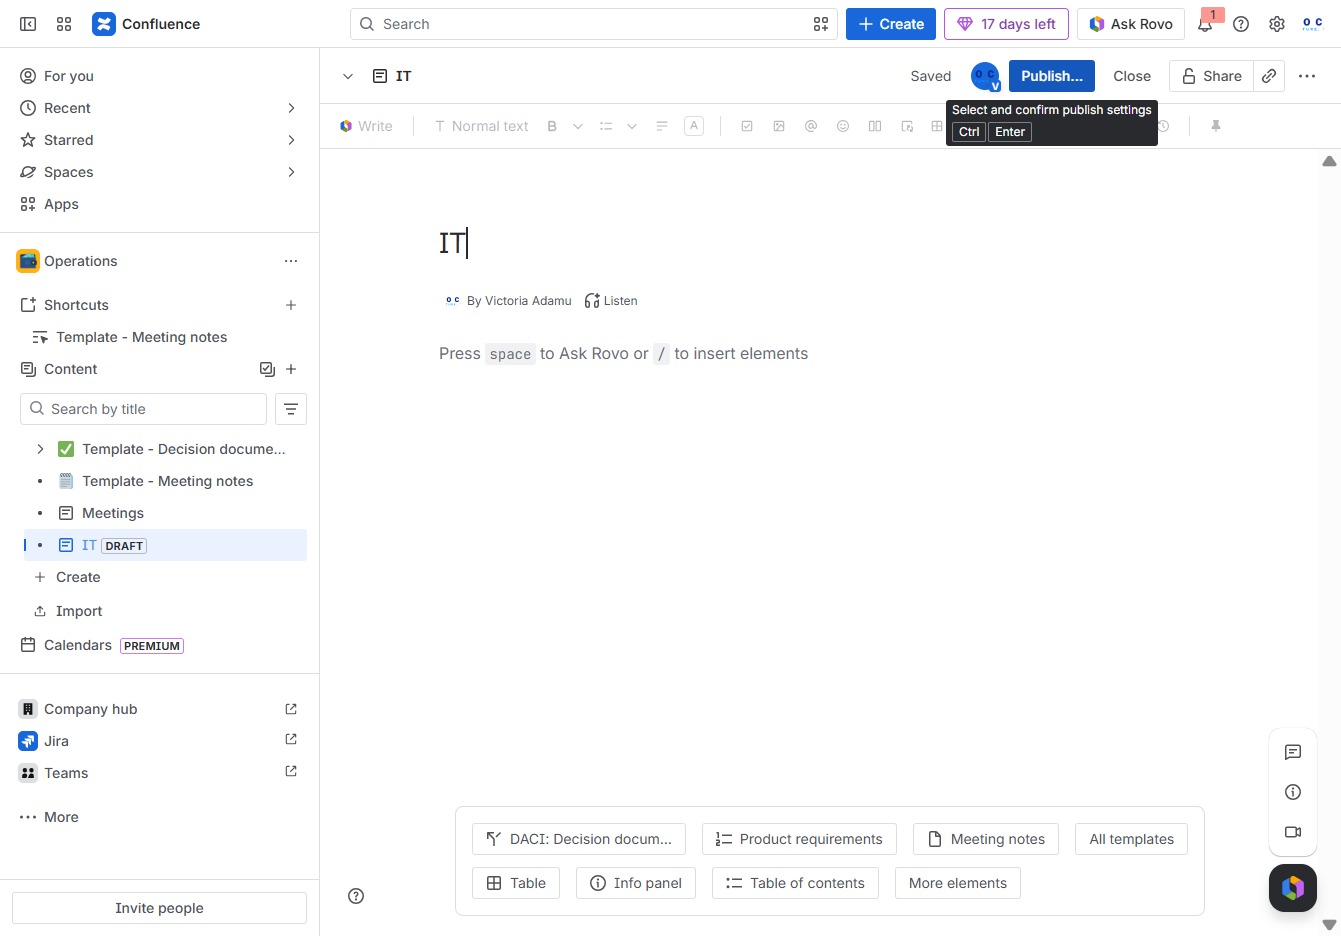
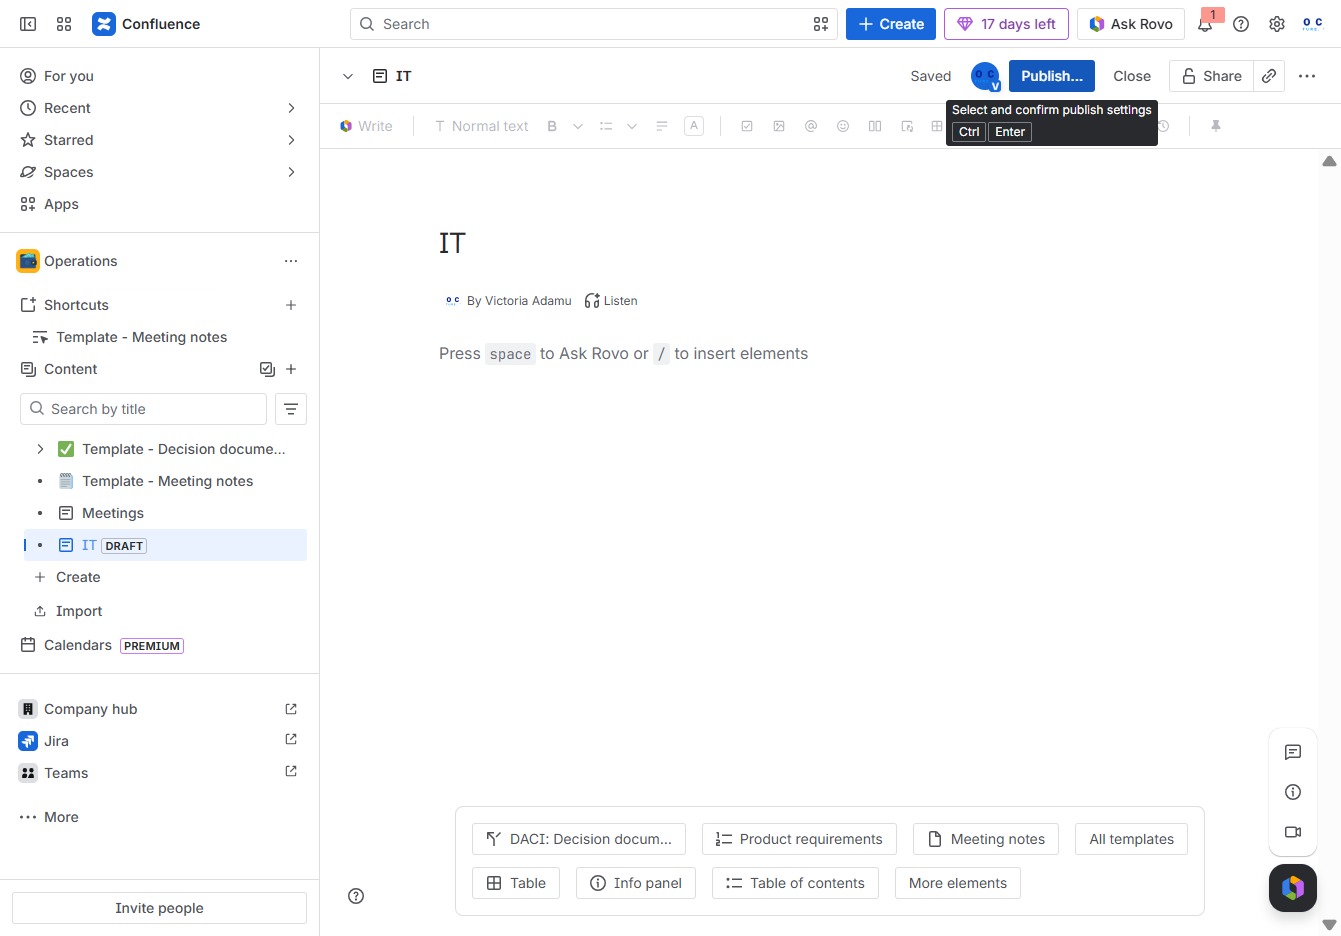
Clicking the 'Publish...' button will initiate the process to make your document available for viewing by others in Confluence. You may also be prompted to confirm your publish settings before proceeding.
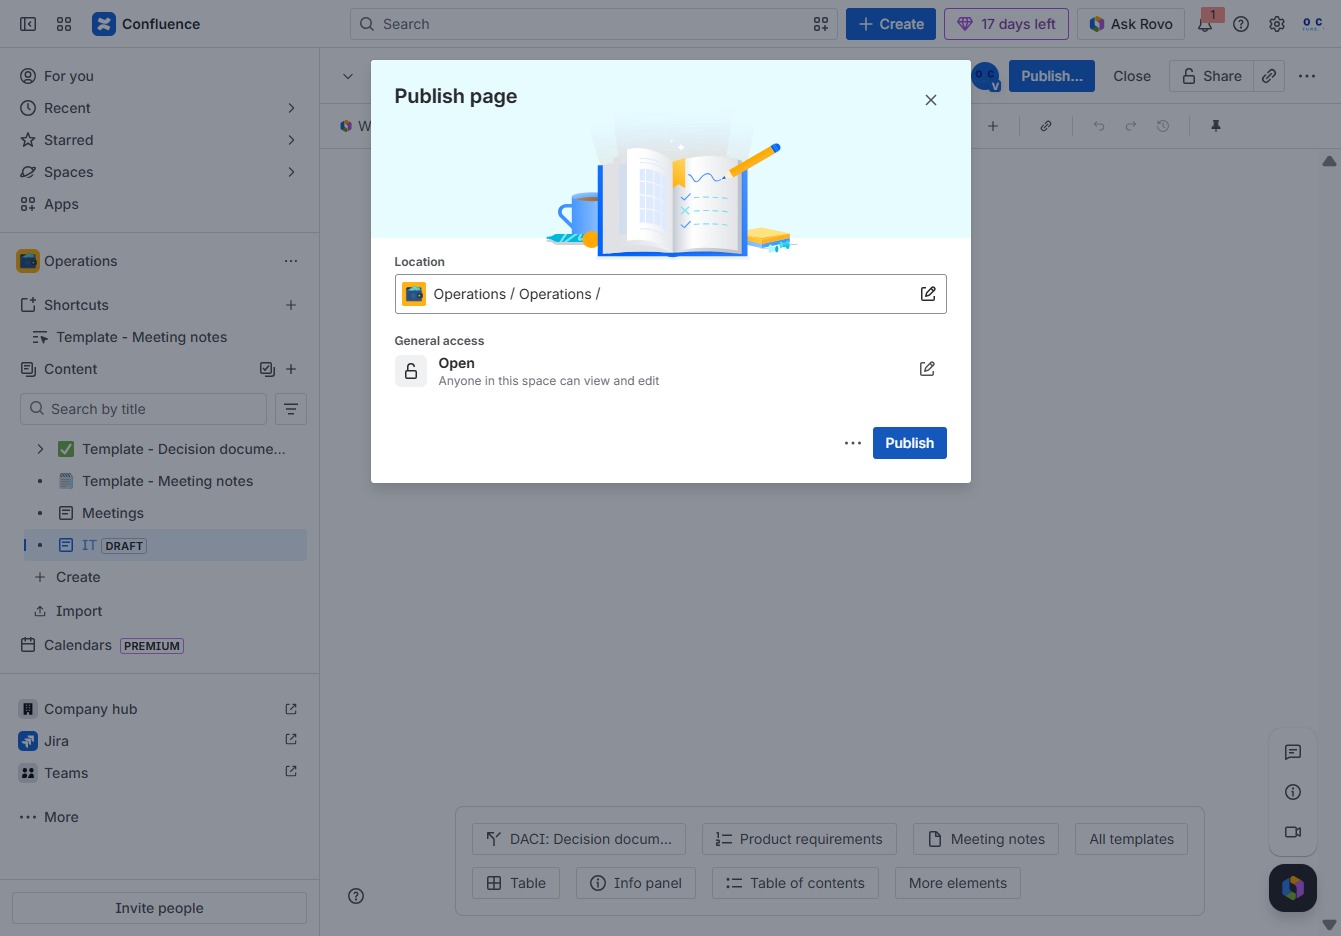
This action will make your page visible to others in the selected location and set the specified access permissions.
This action will open a new page where you can start adding content to your Confluence space.
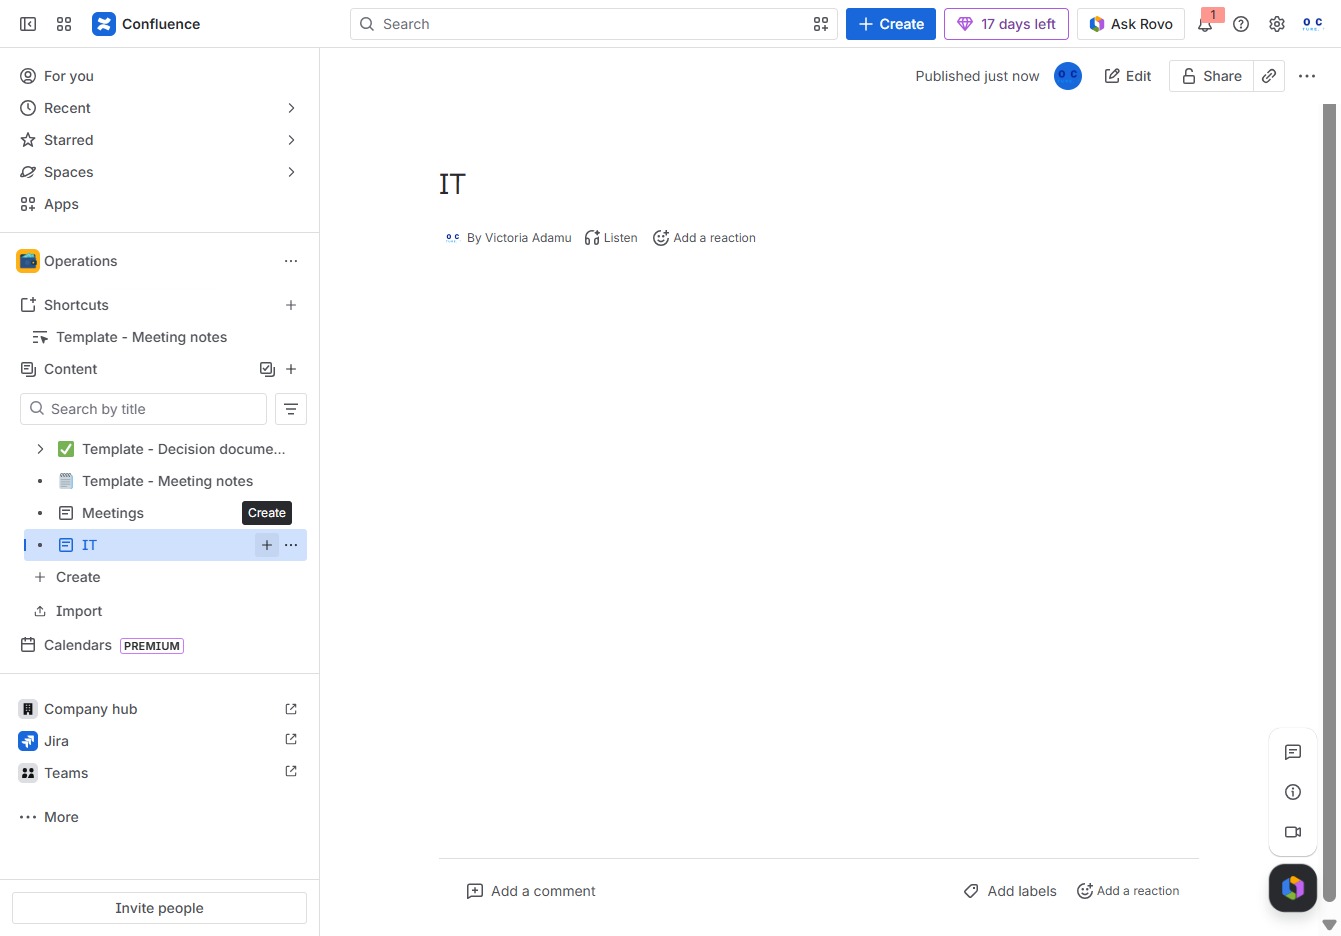
Selecting the 'Page' option allows you to create a new page within the current space in Confluence.

After clicking, you can enter a title for your page, which helps in organizing and identifying the content within Confluence.

In the 'Give this page a title' text area, enter 'Hardware' to designate the title of your new page. This title will help identify the contents of the page within your Confluence space.
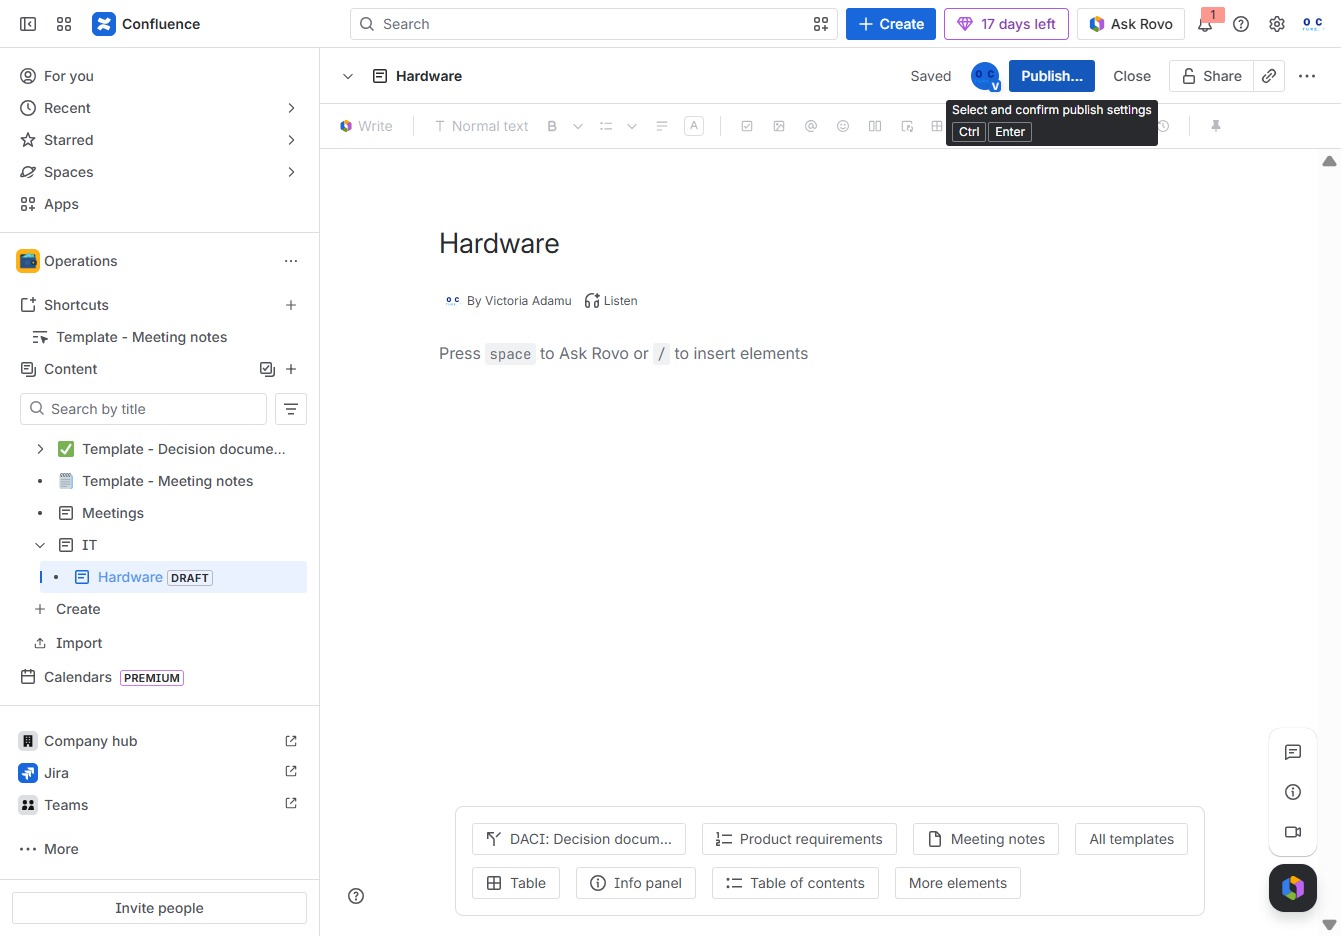
Clicking the Publish button will finalize your edits and make the Hardware document available to others in the Confluence workspace.
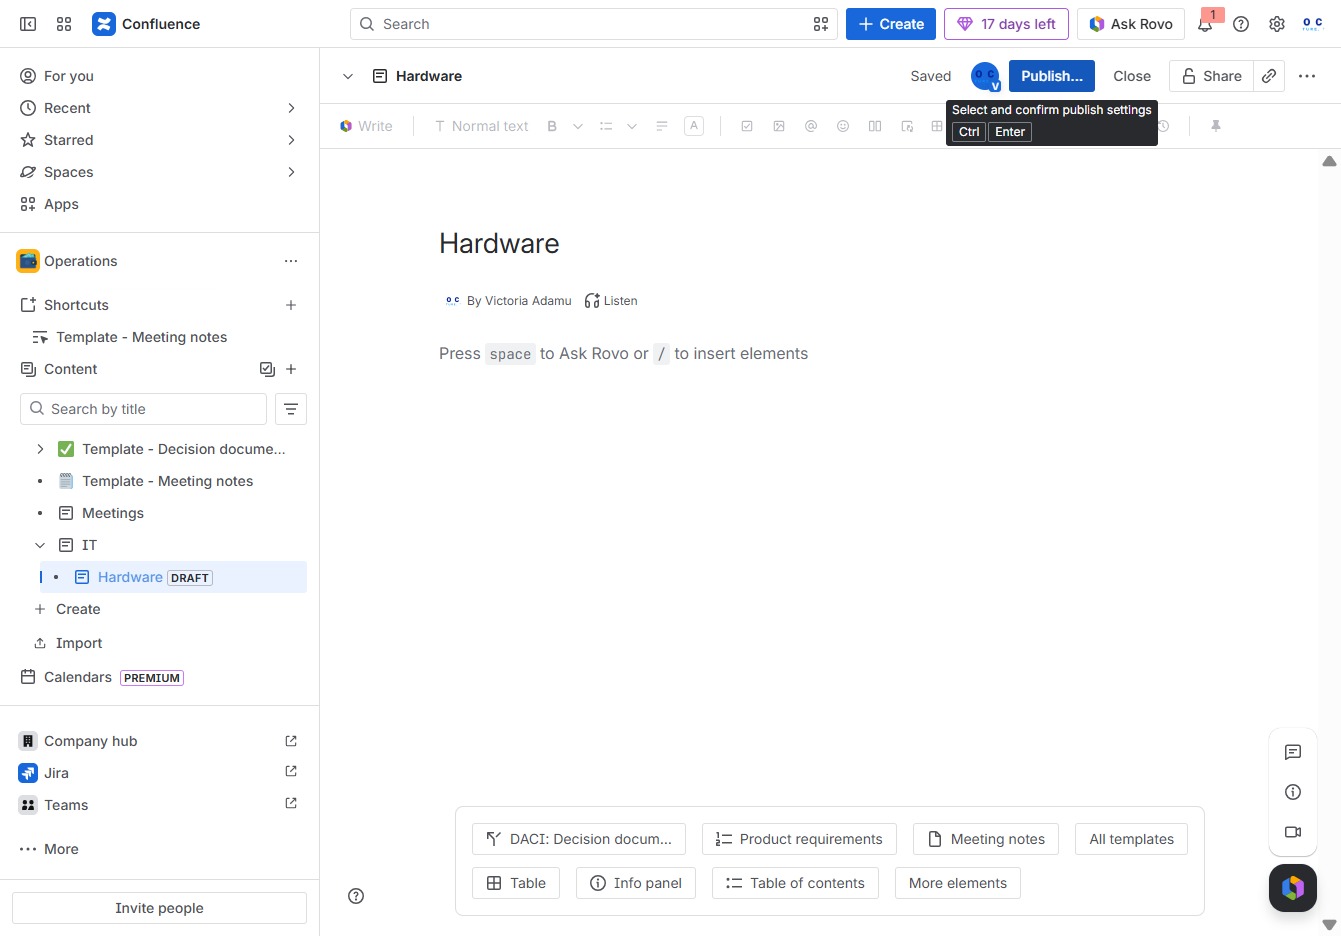
Clicking the 'Publish' button will make your page live, allowing others to view and edit it in the specified location within Confluence.
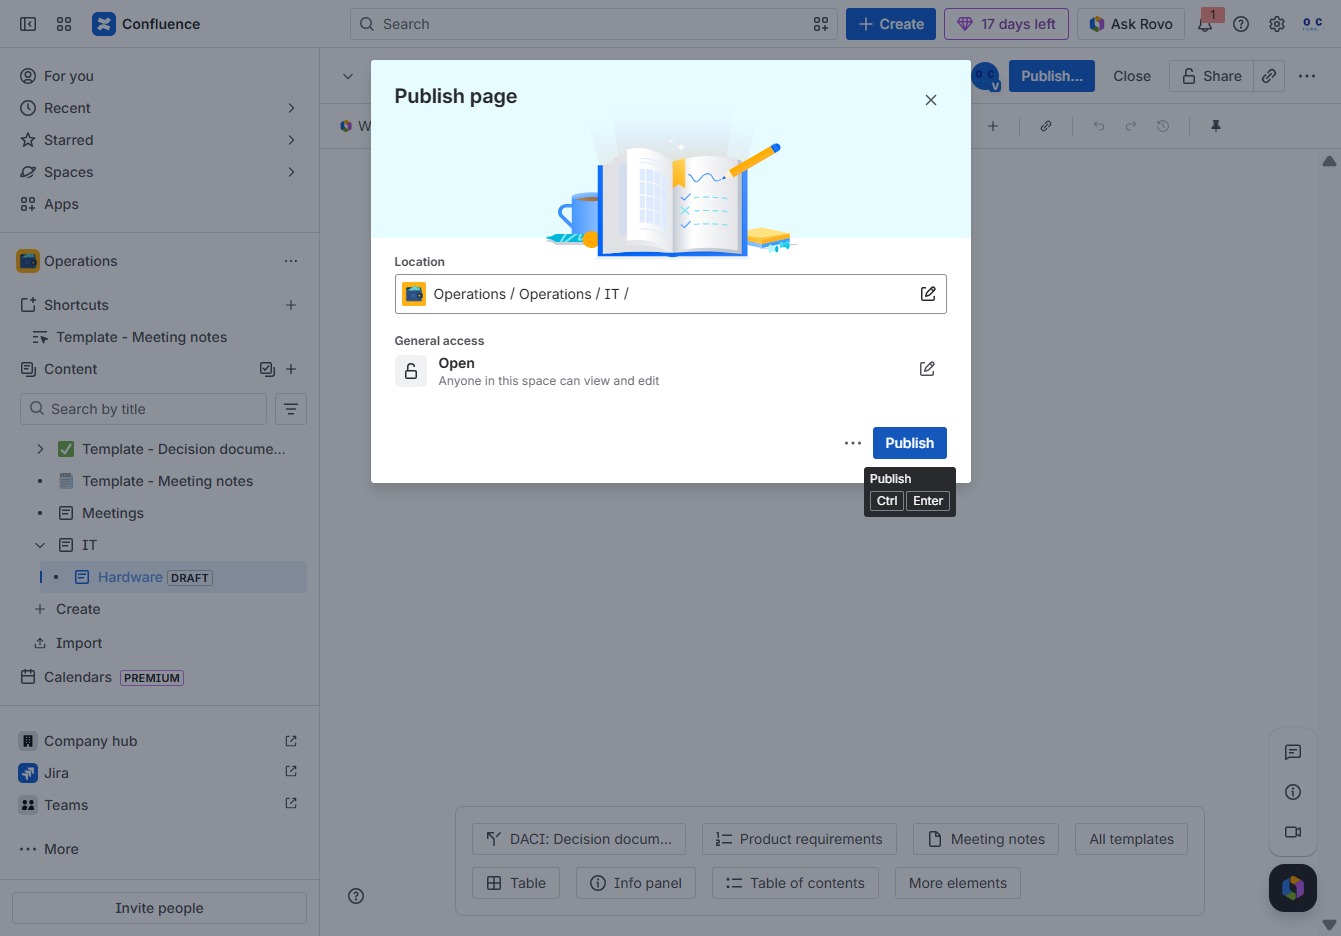
By clicking the 'Create' button, you can start a new document or page within your Confluence space, allowing you to populate it with relevant content.

This action opens a new page for you to create and edit content within your project. You can add text, images, and other elements to organize your information effectively.
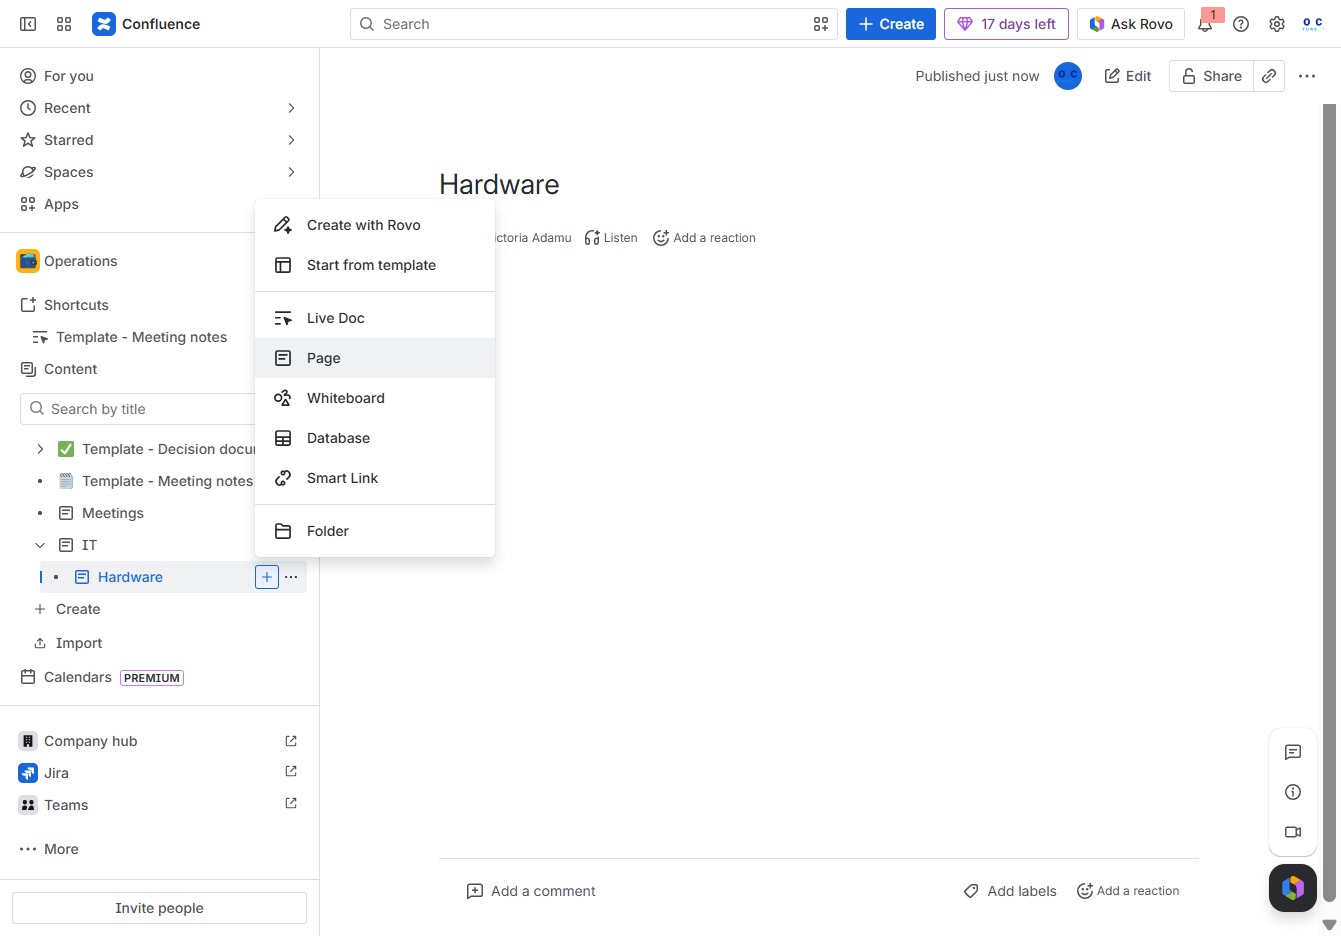
Enter a title for your page in the designated area. This title will be used to identify your page within Confluence.
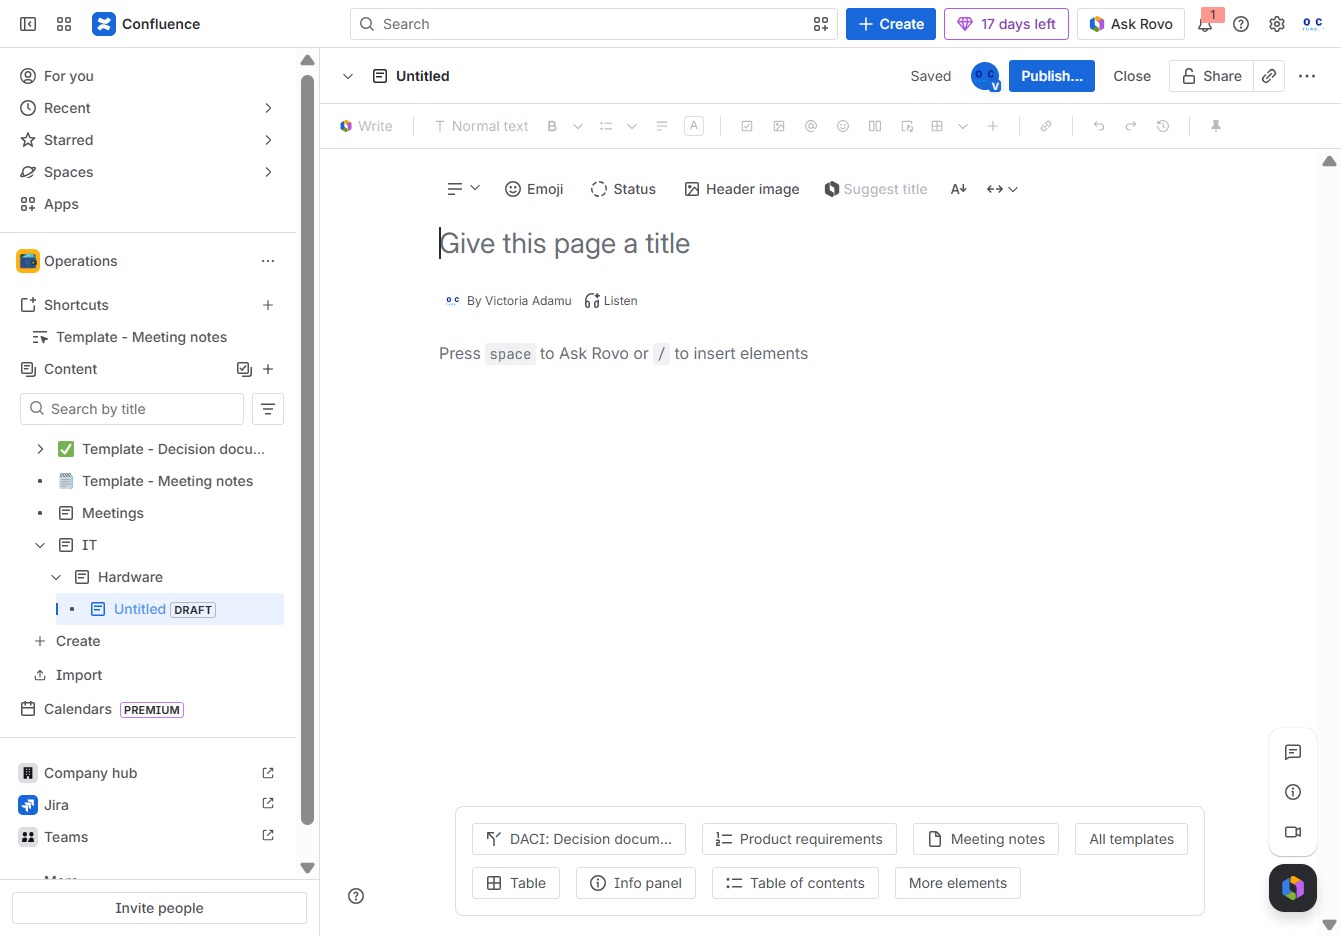
Enter 'Laptop Setup' in the 'Give this page a title' field to define the main title of your page. This title will appear at the top of the document and help identify its content.
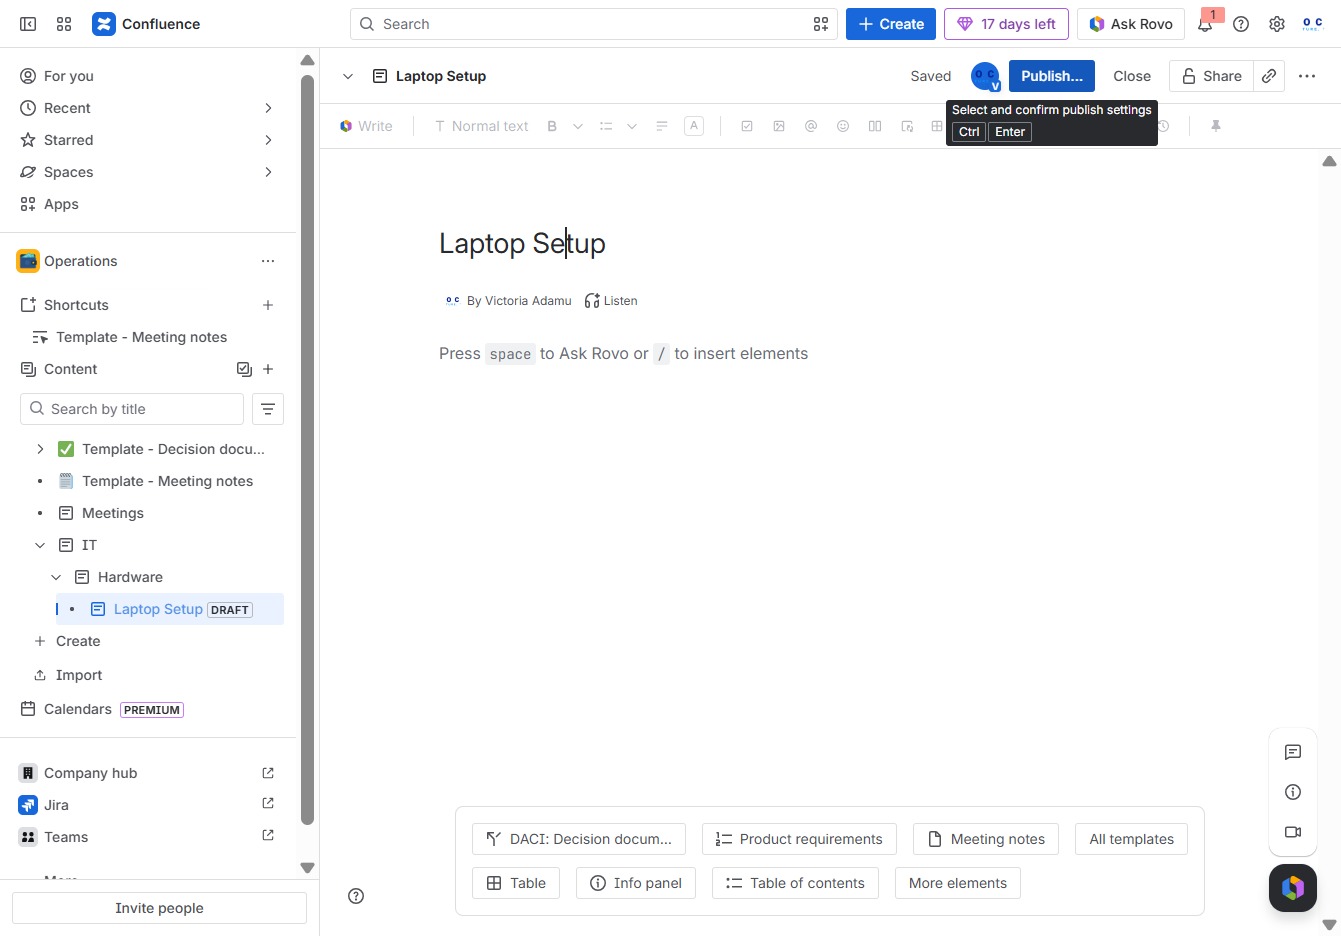
Clicking this button will finalize and share your document titled 'Laptop Setup' with the team, making it accessible for collaboration.
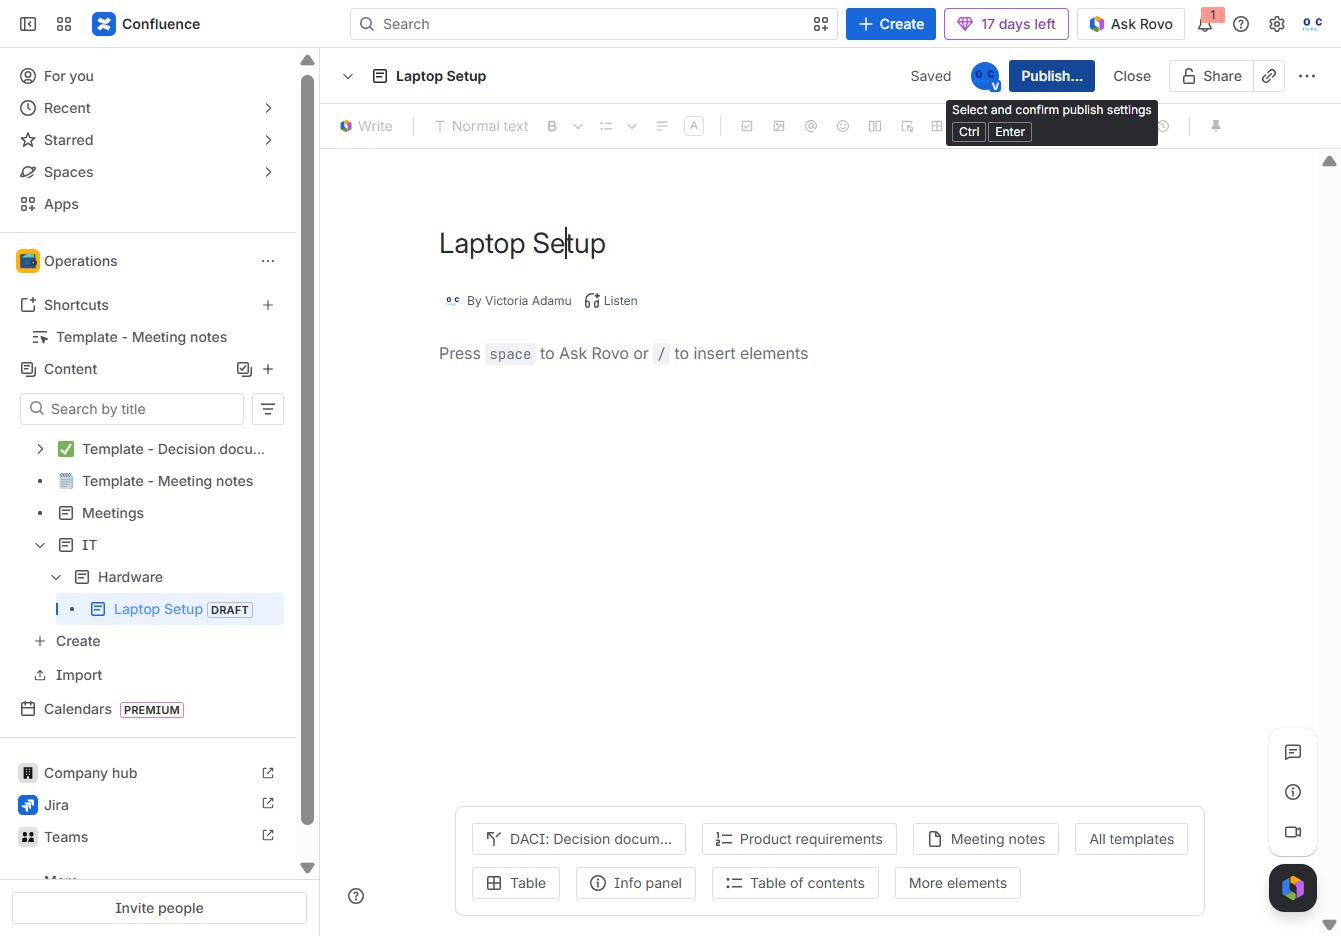
This action will save and publish your current page, making it visible to others within the specified location and access settings.
