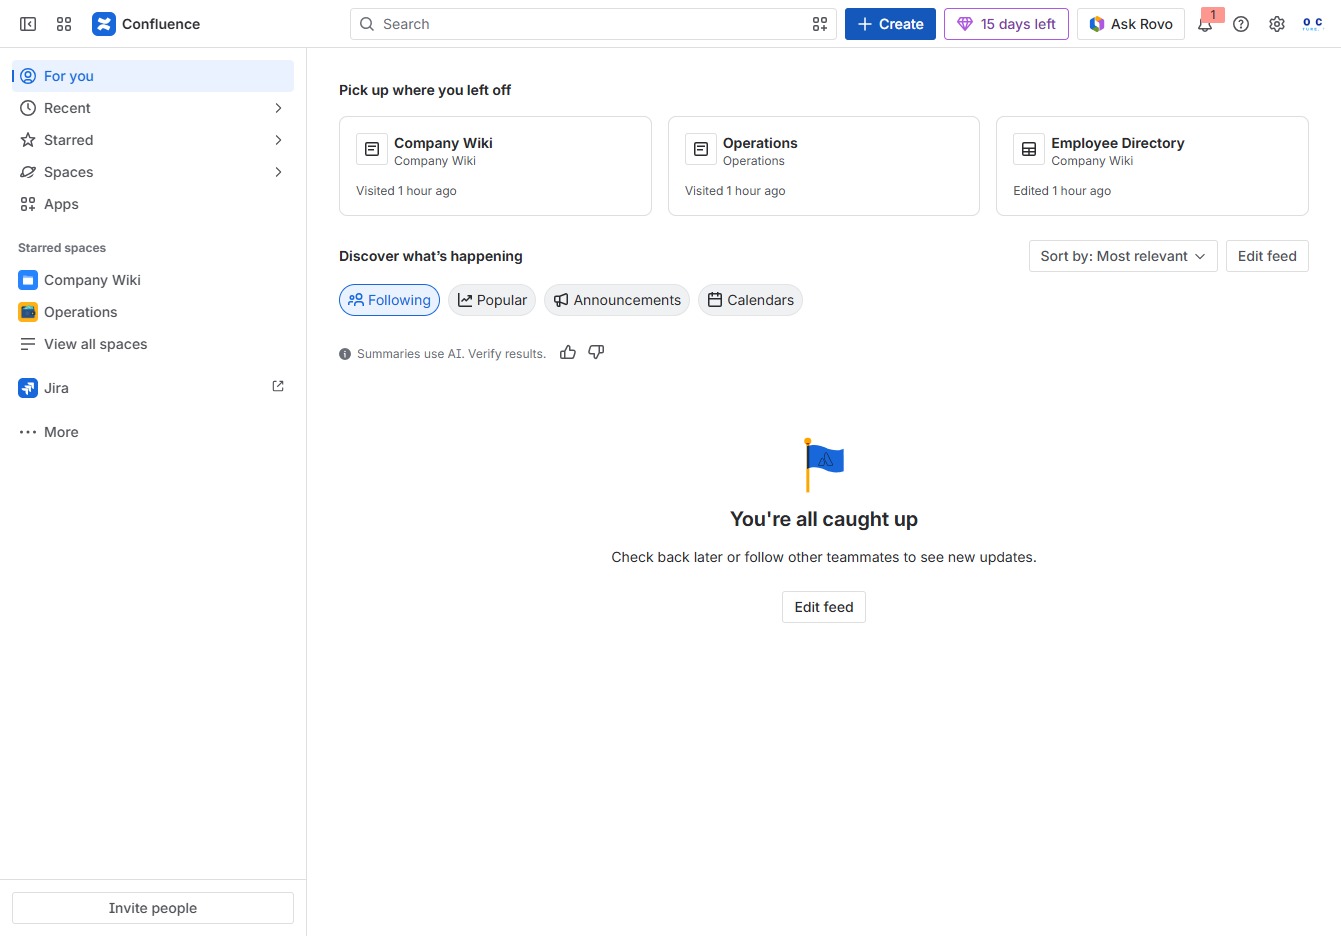
Click the Create button
Clicking the 'Create' button will open a new dialog where you can initiate the creation of a new page, document, or other content in Confluence.
Loading screenshot…
100%
Learn how to efficiently create flowcharts using Confluence whiteboards with this step-by-step guide.
 viktoria
Learn how to efficiently create flowcharts using Confluence whiteboards with this step-by-step guide. From initiating a new page to selecting the right templates and customizing your diagram, this tutorial will empower you to visualize processes and streamline team brainstorming sessions.
Clicking the 'Create' button will open a new dialog where you can initiate the creation of a new page, document, or other content in Confluence.
This action opens a collaborative whiteboard where team members can brainstorm and visualize ideas in real-time.

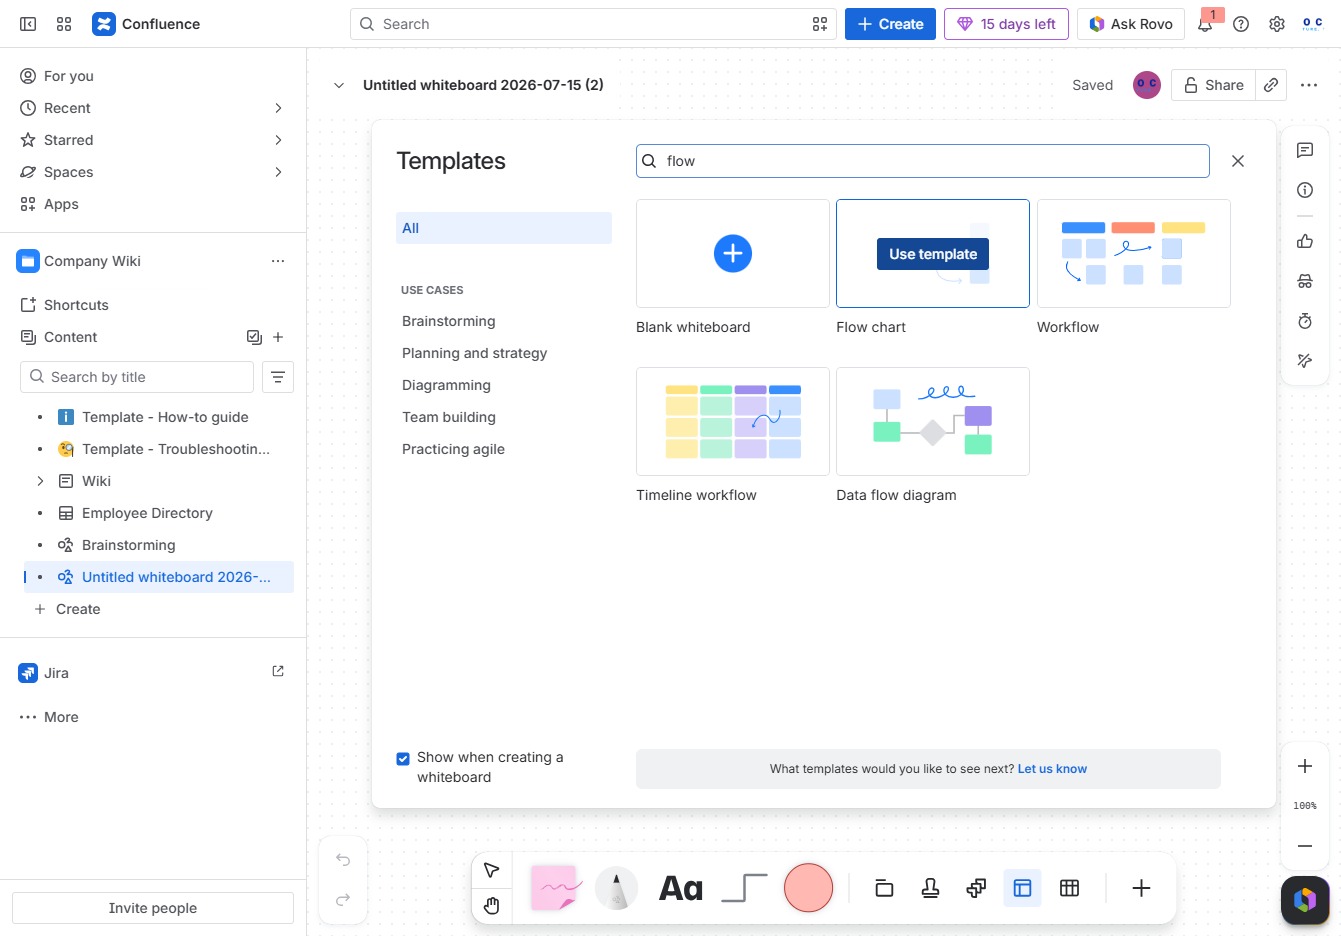
By clicking here, you'll be able to choose from various templates designed for brainstorming, planning, and other collaborative tasks within the Confluence whiteboard.

Enter 'flow' into the search field to find templates specifically designed for flowchart creation. This will display a selection of professional templates tailored for visualizing processes.

This action selects a predefined template to start your whiteboard session, streamlining the setup process for your brainstorming or workflow activities.
This action will open the options for known styles, allowing you to select between 'grid' or 'dotted' formats for your current whiteboard structure.
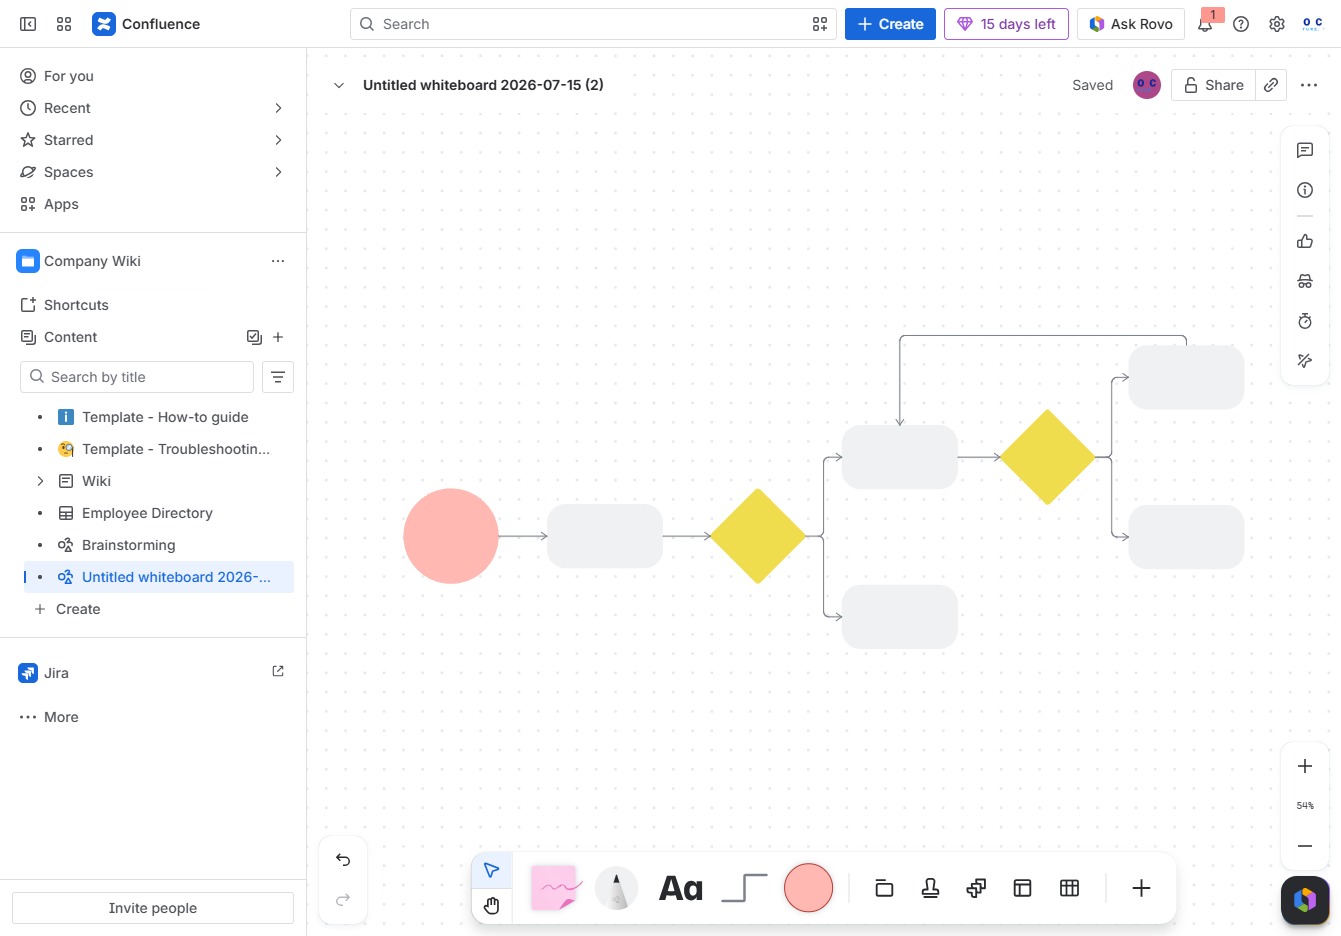
In the Ak editor textarea, enter 'Submit purchase request' to define your request. This input will be used for processing your submission through the associated workflow.

This action will initiate the process of creating a diagram based on your current selections or inputs in the whiteboard.

Enter 'Manager approval' in the Ak editor textarea to indicate the approval needed for the current task or process.

Clicking the 'Ask Rovo' button will prompt the Rovo assistant to generate a diagram based on the elements you have selected in the whiteboard.
