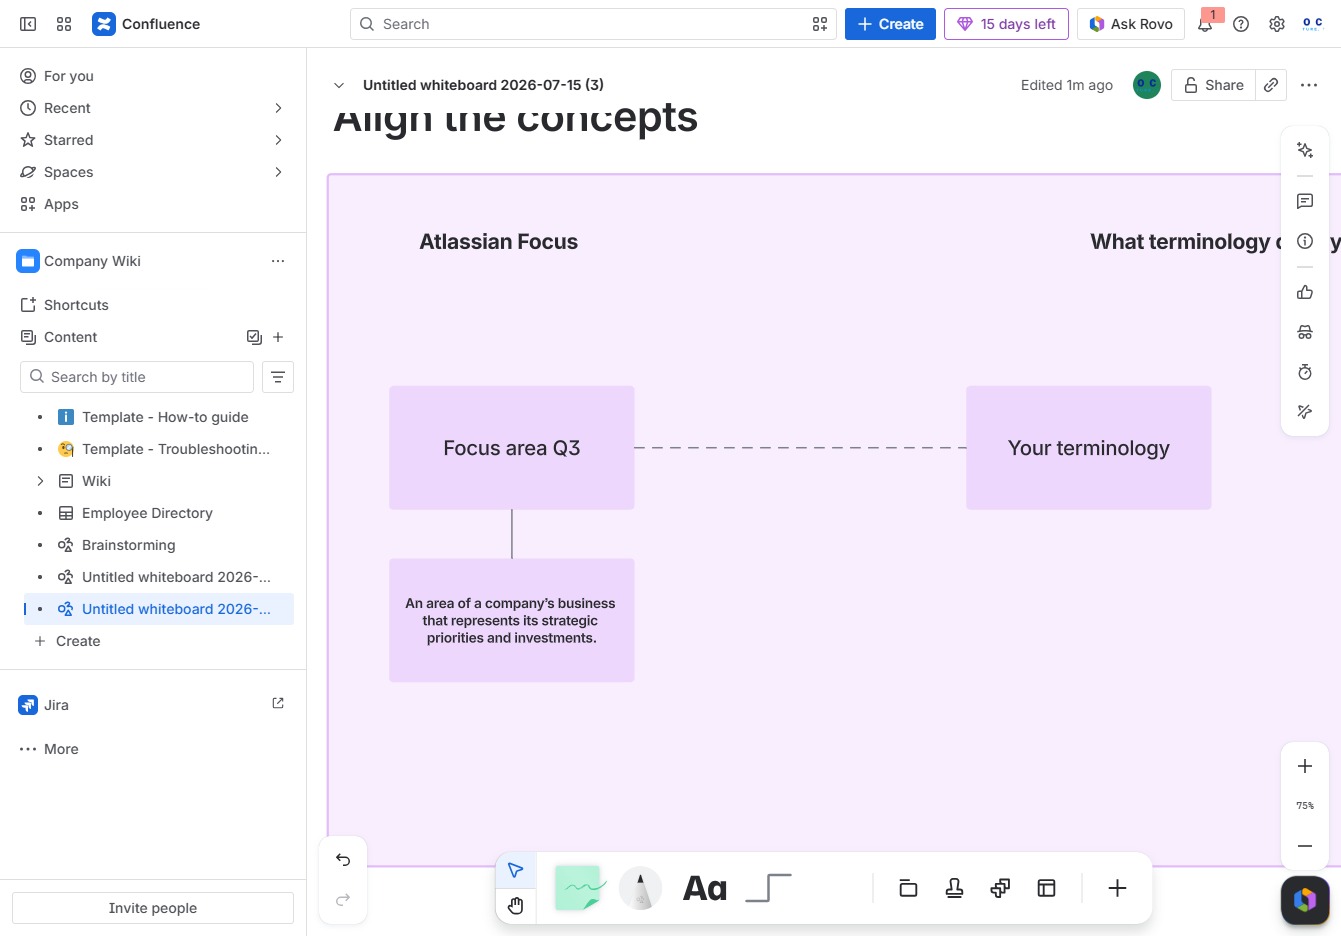
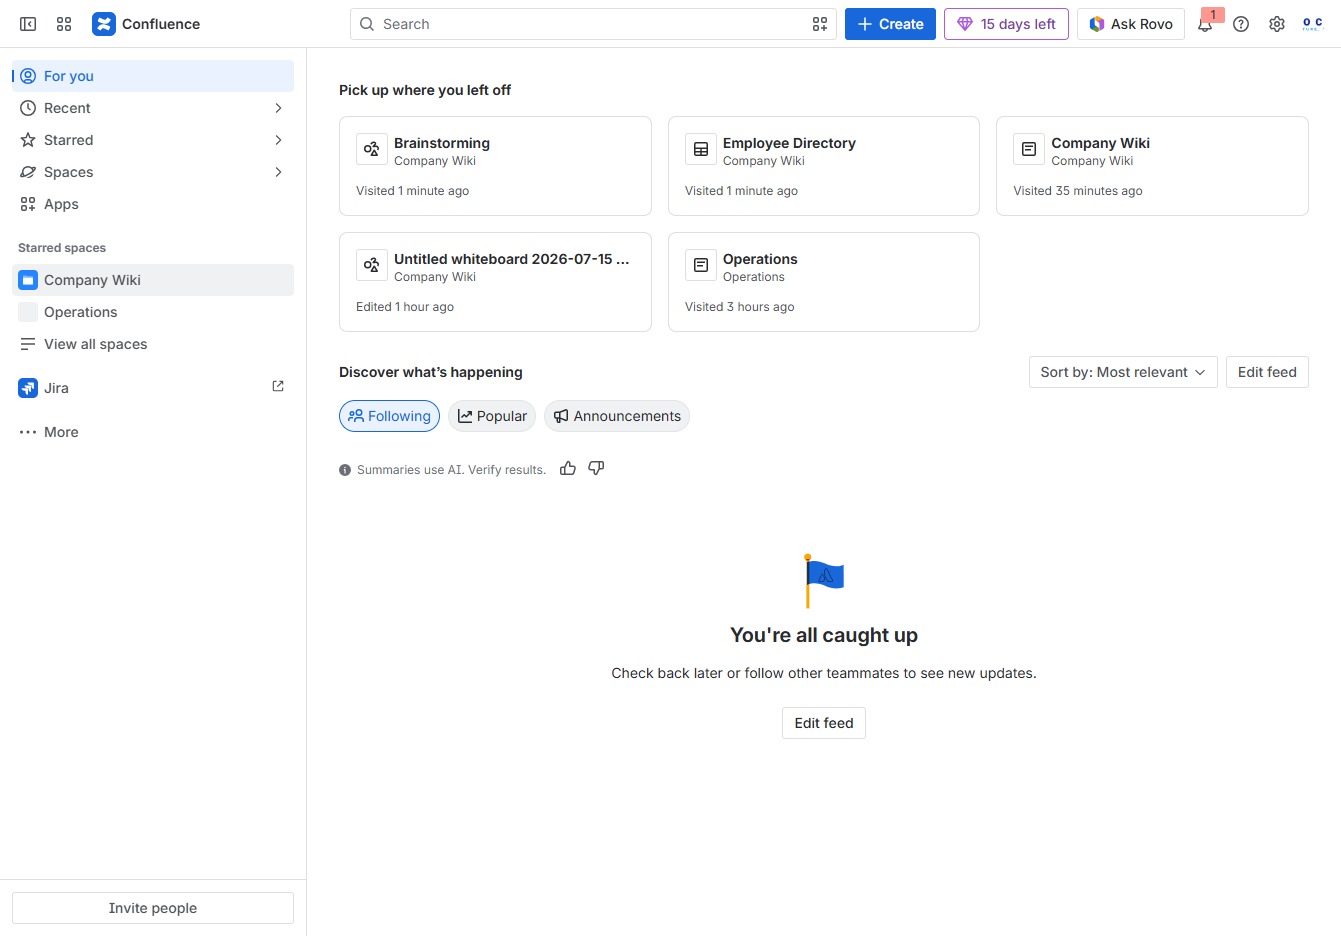
Click the Company Wiki link
Clicking the Company Wiki link will take you to the section where you can view and edit your organization's wiki pages, facilitating collaboration and information sharing among team members.
Loading screenshot…
100%
In this how-to guide, you'll learn step-by-step how to create diagrams using your organization's Company Wiki.
 viktoria
In this how-to guide, you'll learn step-by-step how to create diagrams using your organization's Company Wiki. From accessing templates to customizing your whiteboard, you'll discover efficient ways to visualize ideas and enhance team collaboration.
Clicking the Company Wiki link will take you to the section where you can view and edit your organization's wiki pages, facilitating collaboration and information sharing among team members.
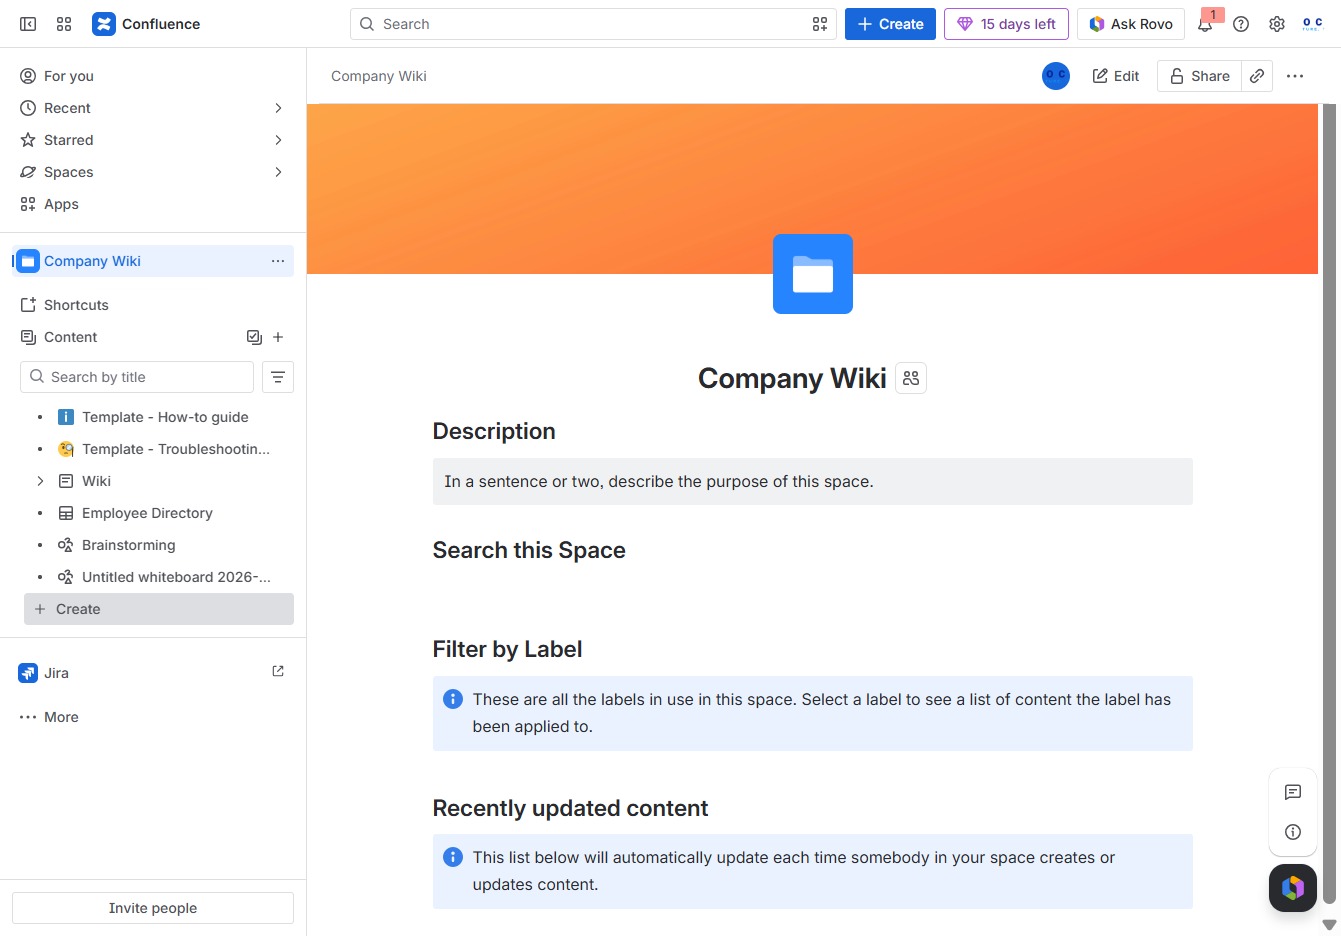
This action opens a dialog for creating new content within the Company Wiki space, allowing you to initiate the process of adding pages or other relevant information.
This will open a collaborative whiteboard feature where team members can brainstorm and visualize ideas.

Clicking the More Options icon opens additional features and settings related to your current document or page in Confluence, allowing for further customization and actions.

Selecting the 'Templates' option allows you to quickly access and apply various templates for your project, enhancing your workflow and saving time.

Enter 'diag' in the Search field to find templates related to diagrams created by professionals. This will display a selection of diagram templates available for use.

This action allows you to select and apply the chosen template for further editing on your whiteboard in Confluence.

Clicking the Ask Rovo button initiates a request for assistance or further information regarding the current task within the Confluence workspace.

This action allows you to edit or interact with the 'Focus area' section, where you can specify key business aspects related to strategic priorities and investments.
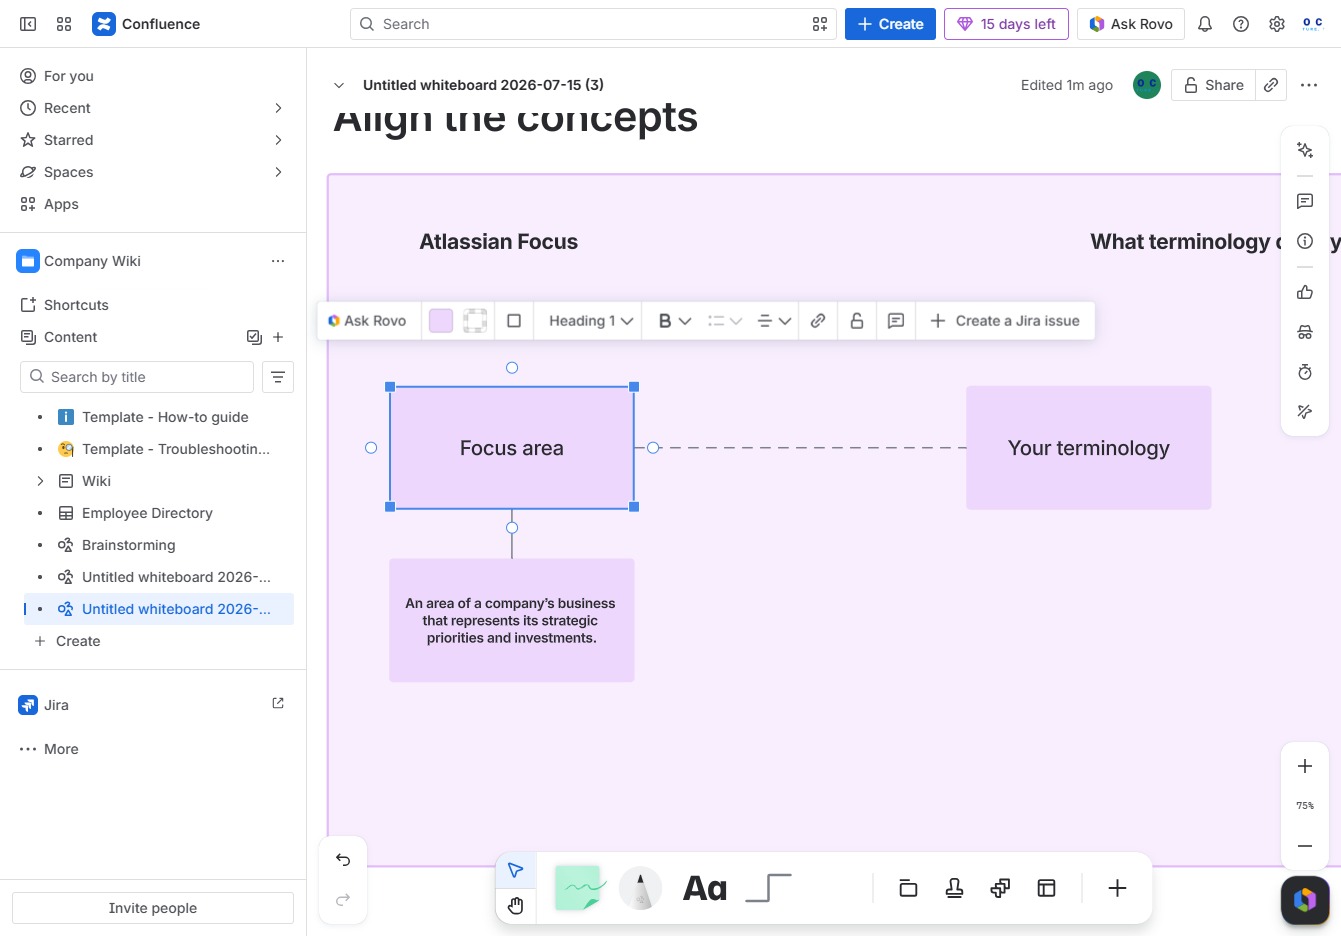
In the Ak editor textarea, input the phrase 'Focus area Q3' to designate a specific focus area for your project's strategic priorities.

This action will display a list of known styles, allowing you to explore different formatting options such as 'grid' and 'dotted' for your document.