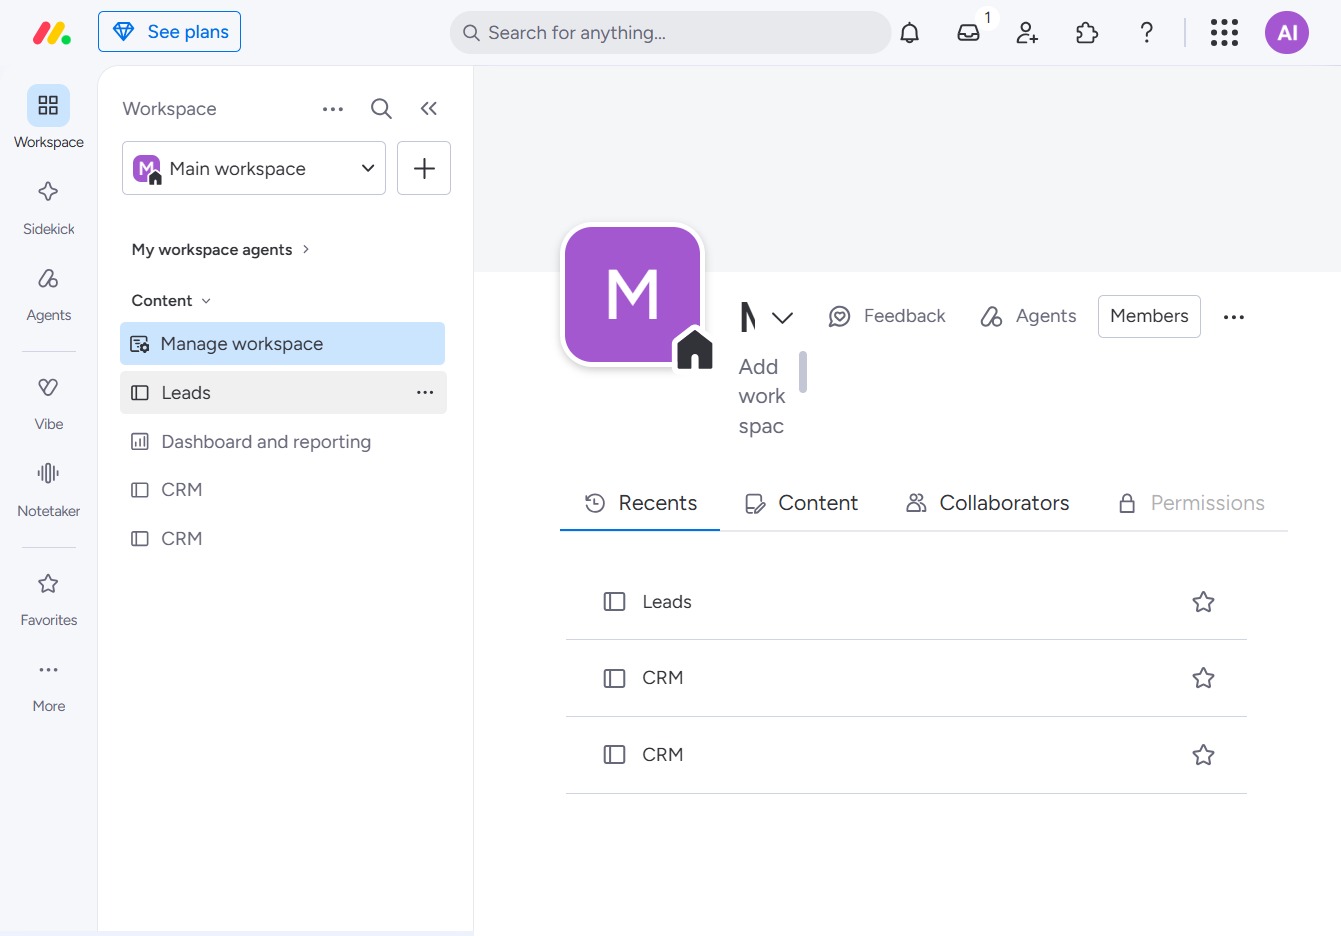
Click the BoardLeads section
This action will open the BoardLeads area where you can manage your leads and track project boards more effectively.
Loading screenshot…
100%
In this how-to guide, you'll learn to create custom statuses for tasks in your Leads workspace.
 viktoria
In this how-to guide, you'll learn to create custom statuses for tasks in your Leads workspace. Follow the simple steps to navigate through BoardLeads, modify task labels, and effectively categorize your tasks, ensuring better management of your workflow and project progress.
This action will open the BoardLeads area where you can manage your leads and track project boards more effectively.
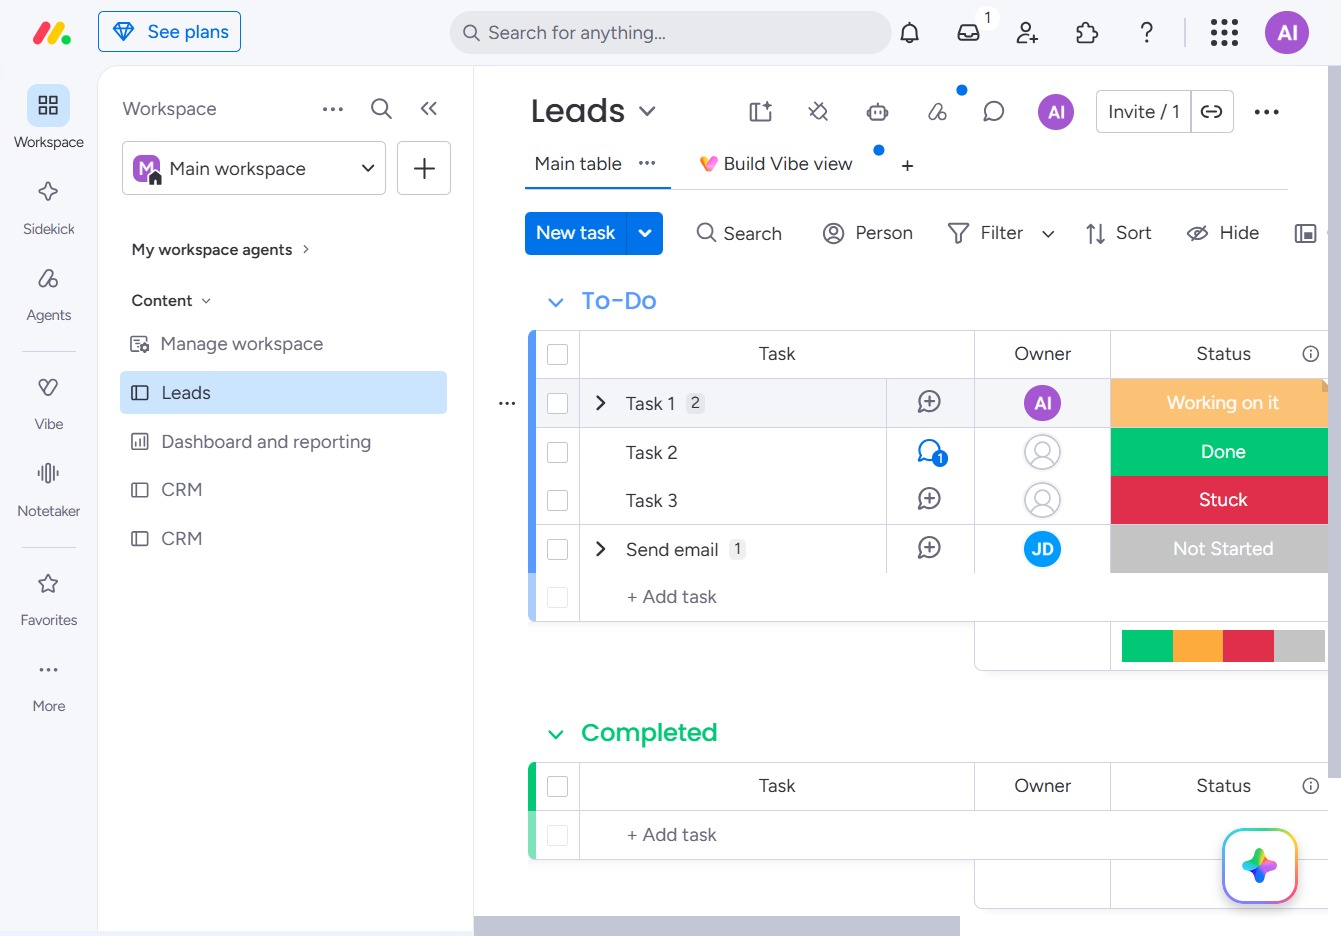
This action updates the status of the selected task, allowing you to review its progress or take further action if needed.
Clicking this button allows you to modify the labels associated with a task in your Leads workspace, helping you categorize and prioritize your tasks effectively.
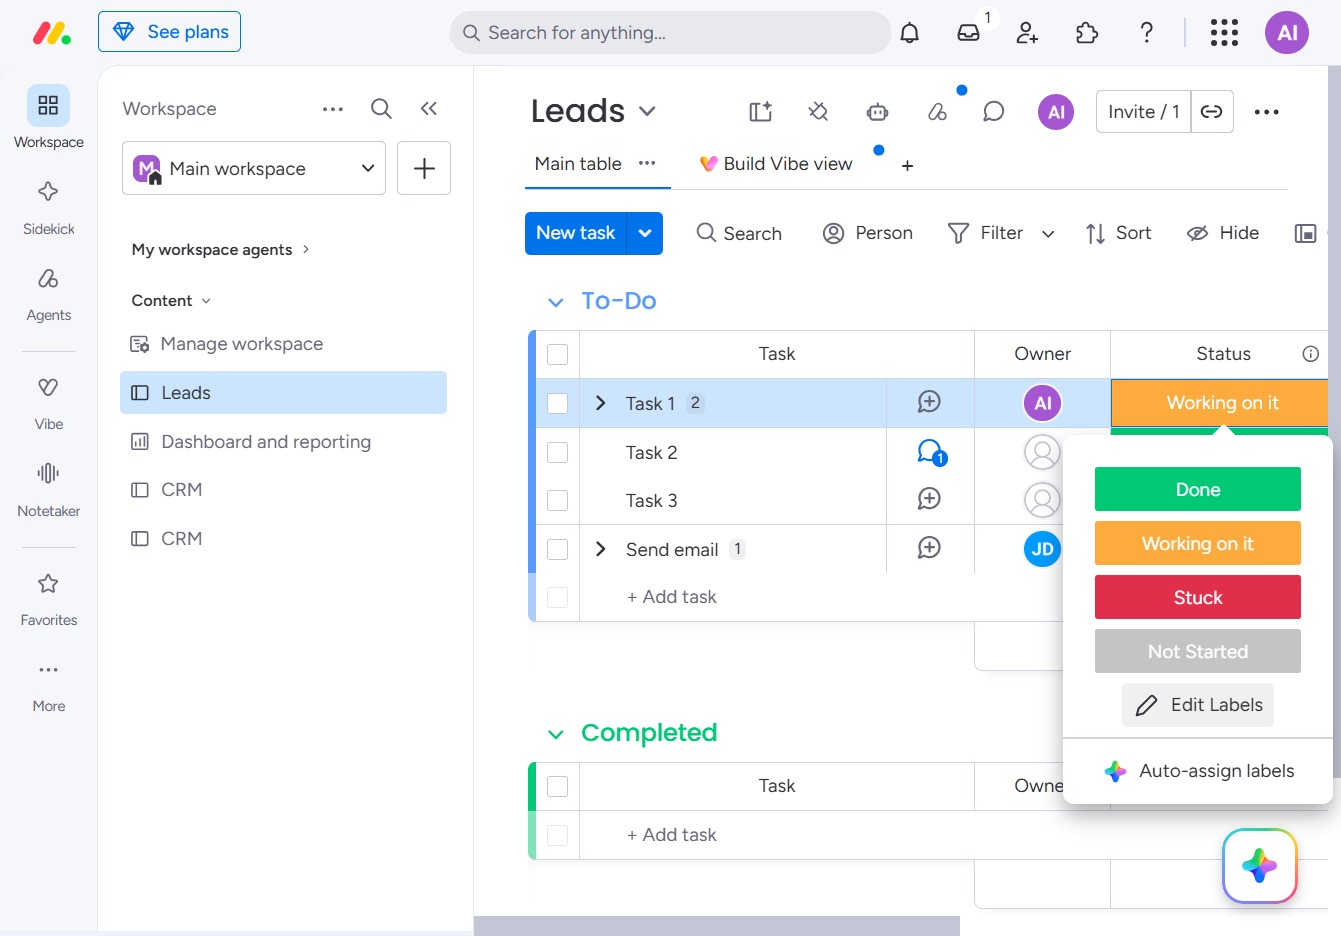
This action allows you to create or assign a new label to the selected task, helping you categorize and manage your tasks more effectively.

Enter 'Waiting for review' in the Add Label input field to categorize tasks in the Leads section appropriately. This label helps track the status of tasks awaiting further evaluation or approval.

This action confirms and saves the status change for the selected task in the Leads section. Your changes will reflect in the task's status, helping to manage workload effectively.
