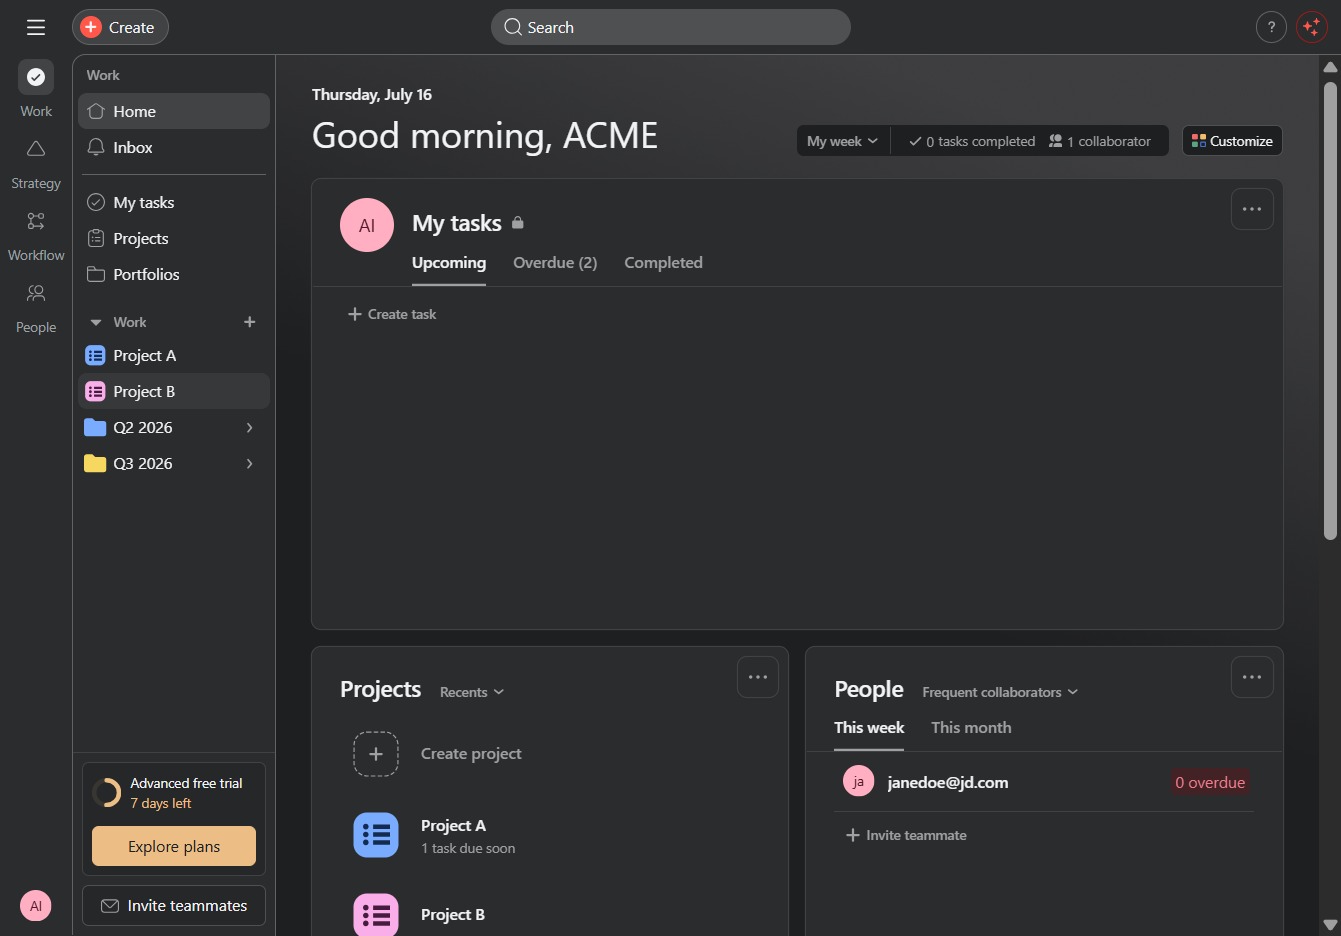
Click the Project B link
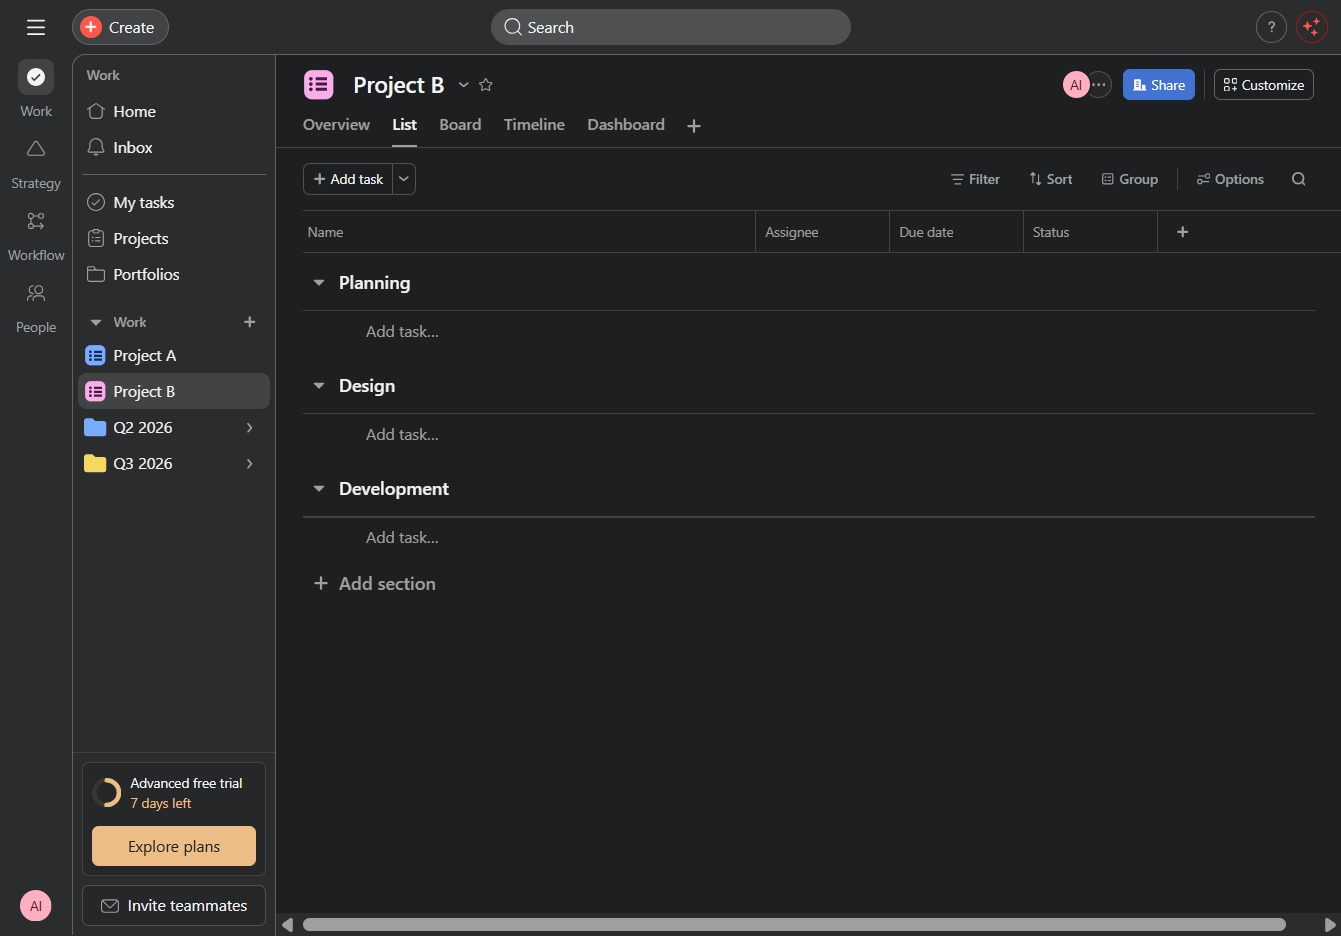
Clicking the Project B link will take you to the details page for Project B, where you can view tasks, members, and project progress.
Loading screenshot…
100%
This guide provides a step-by-step process for creating custom automation rules within your project management tool.
 viktoria
This guide provides a step-by-step process for creating custom automation rules within your project management tool. Learn how to navigate project settings, set up triggers based on task conditions, and organize your workflow effectively by managing tasks and their movements across different sections.
Clicking the Project B link will take you to the details page for Project B, where you can view tasks, members, and project progress.
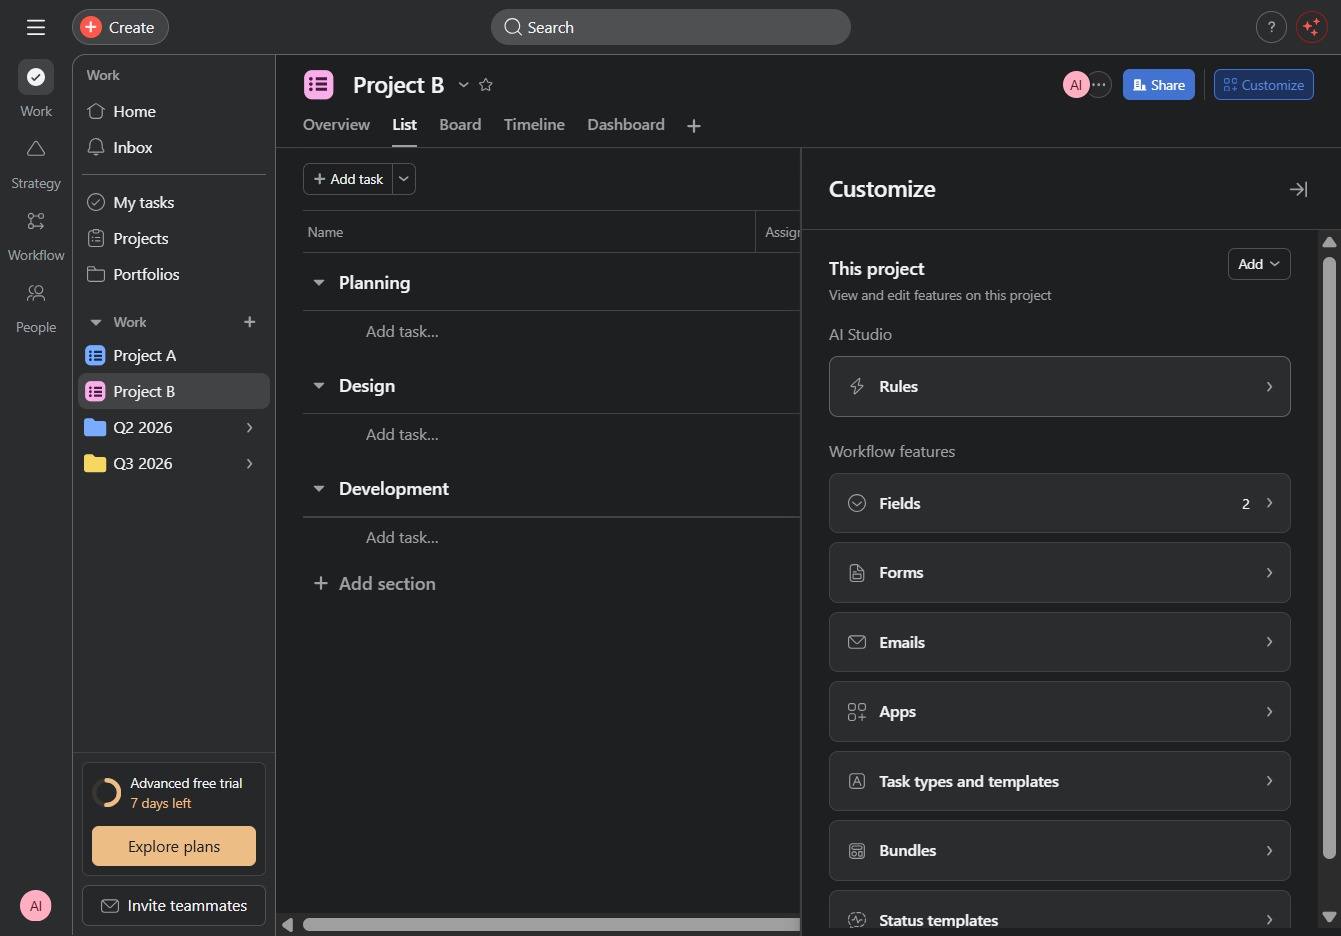
This opens the customization settings allowing you to adjust your project view and features according to your preferences.
Selecting the 'Rules' option opens the rules configuration panel, allowing you to manage automations and conditions that apply to tasks within this project.
This action opens a prompt to add new tasks or sections to your project. You can use it to manage your workload and organize project details effectively.
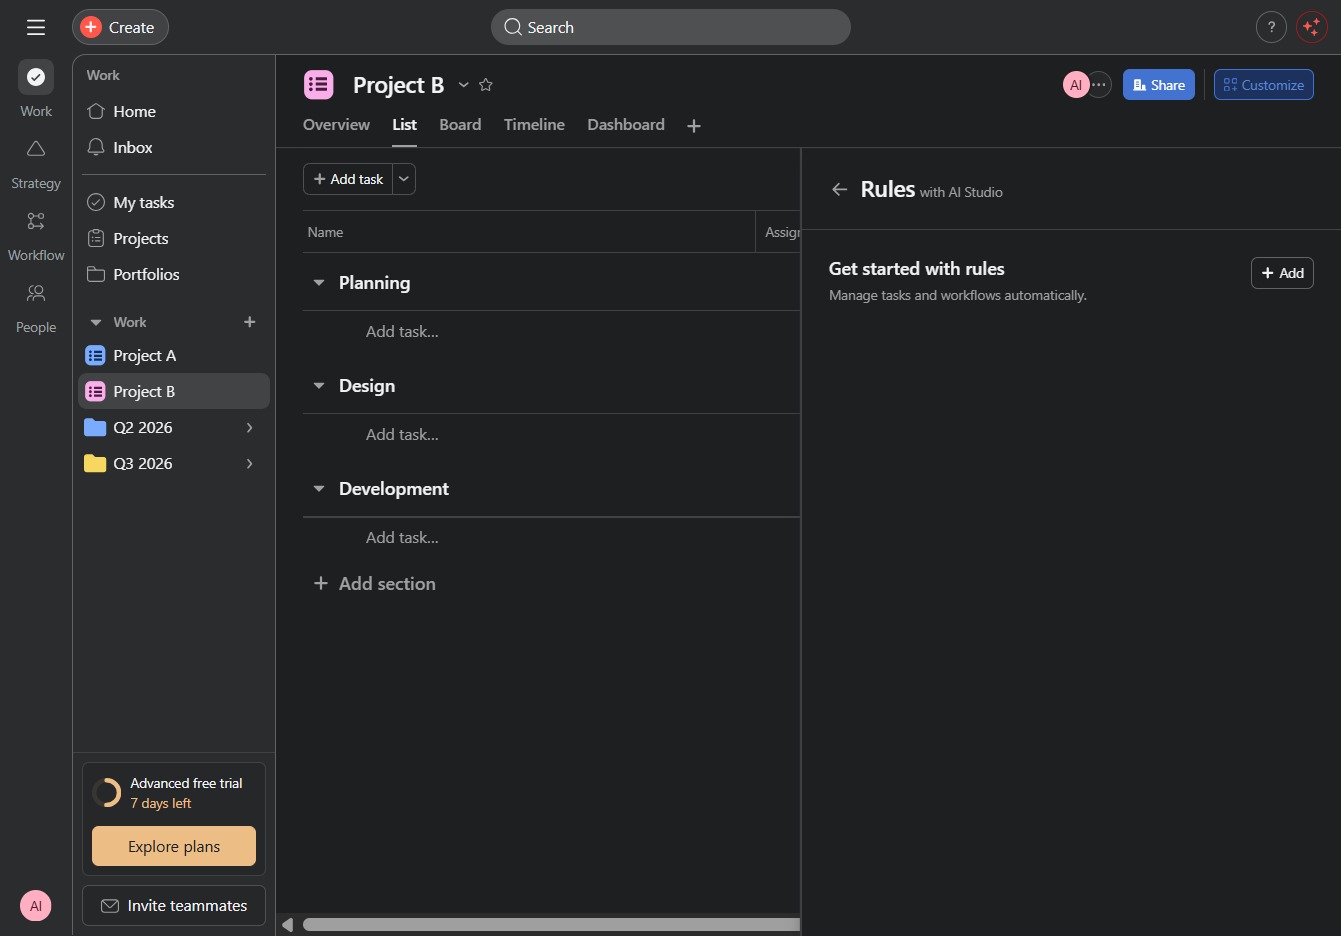
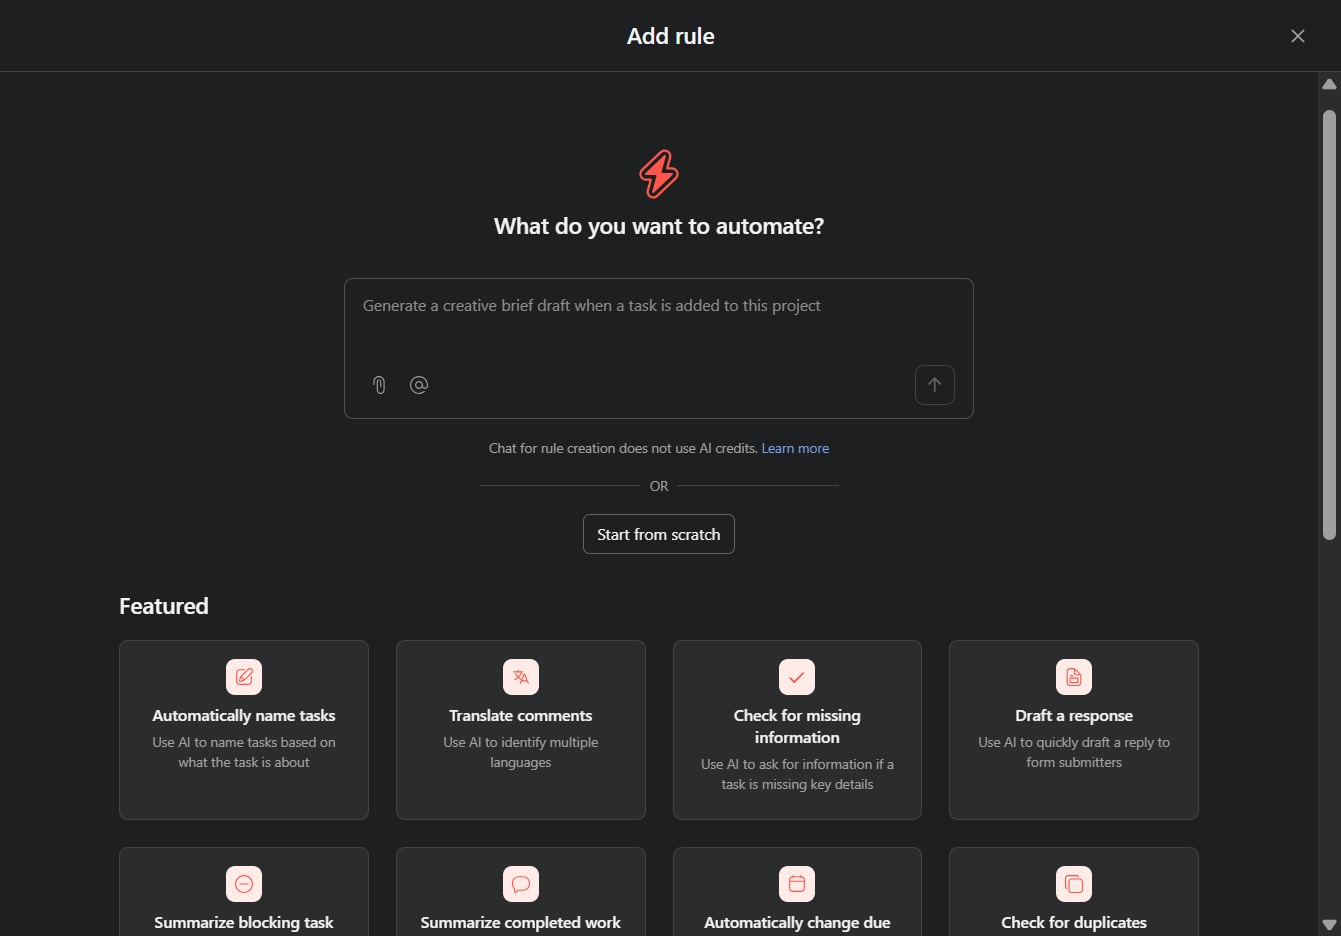
This action allows you to begin creating a new automation rule from an empty template. You'll be prompted to set up the parameters for your automation without any pre-existing configurations.
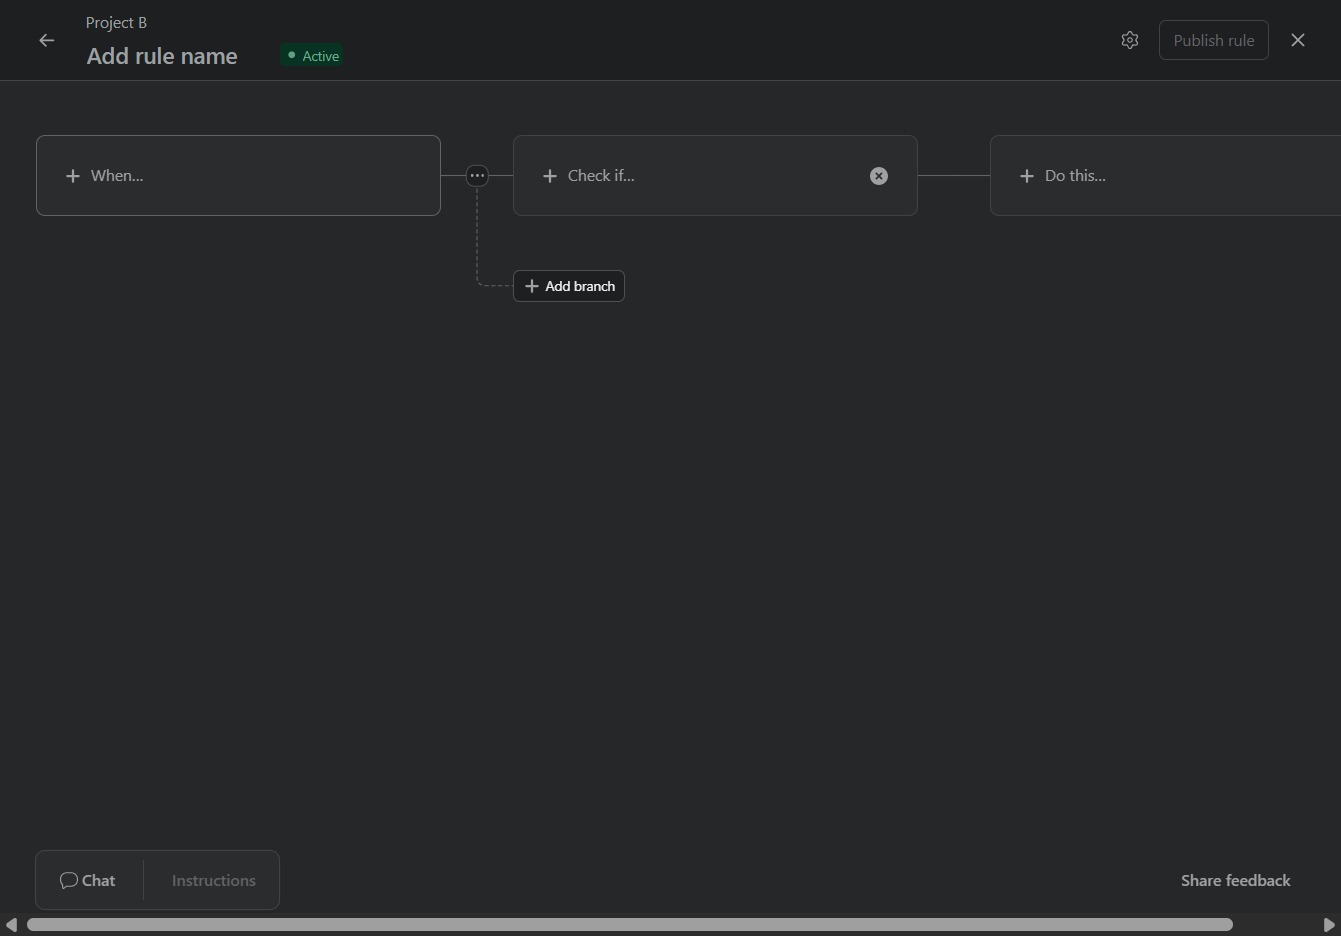
This action allows you to select a trigger condition for your automation rule, initiating the flow based on specified criteria.
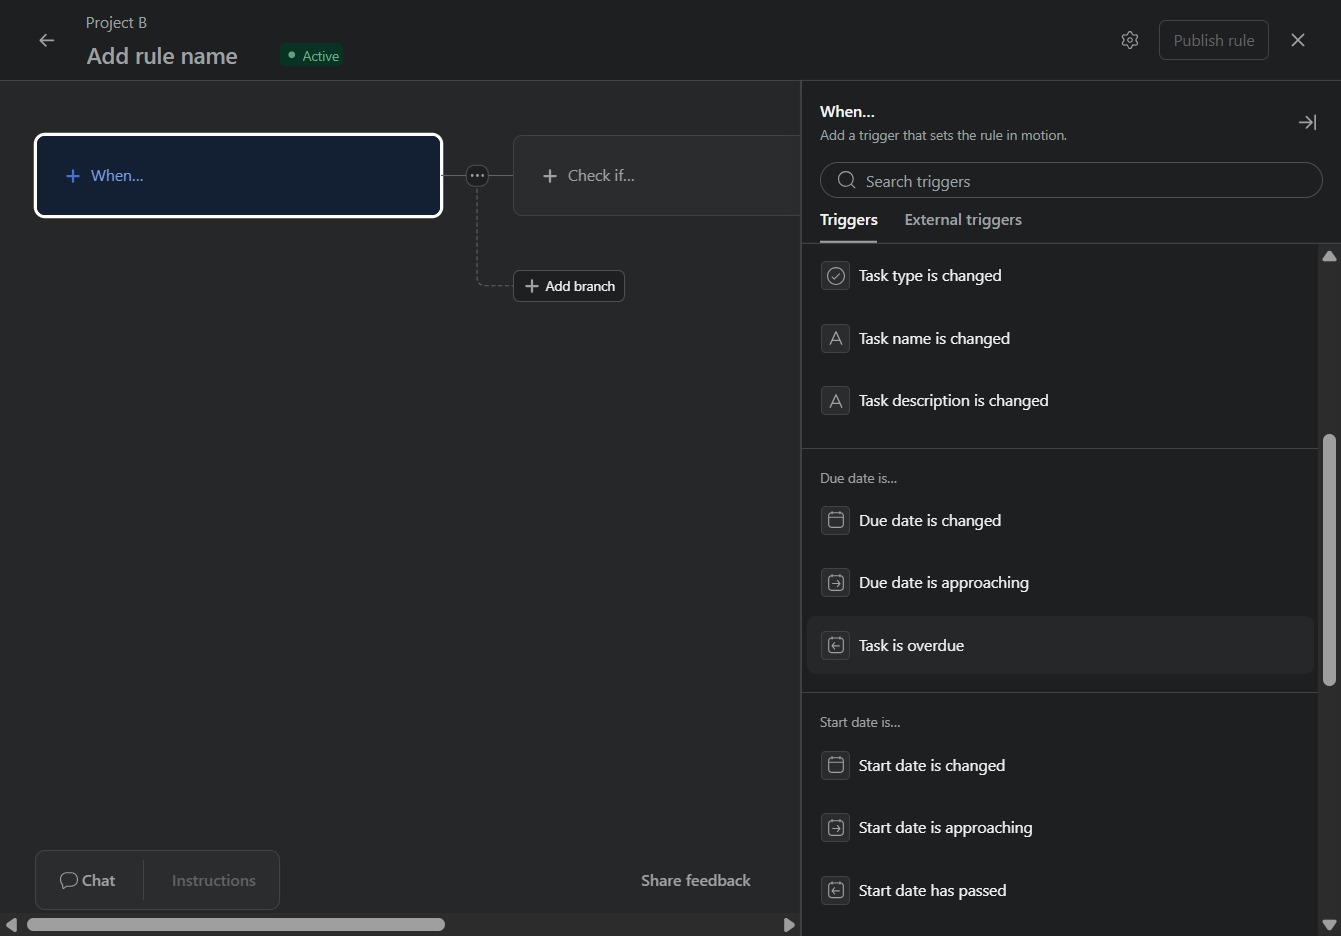
By clicking this trigger, you will set up a condition in your workflow to activate an action when a task becomes overdue.
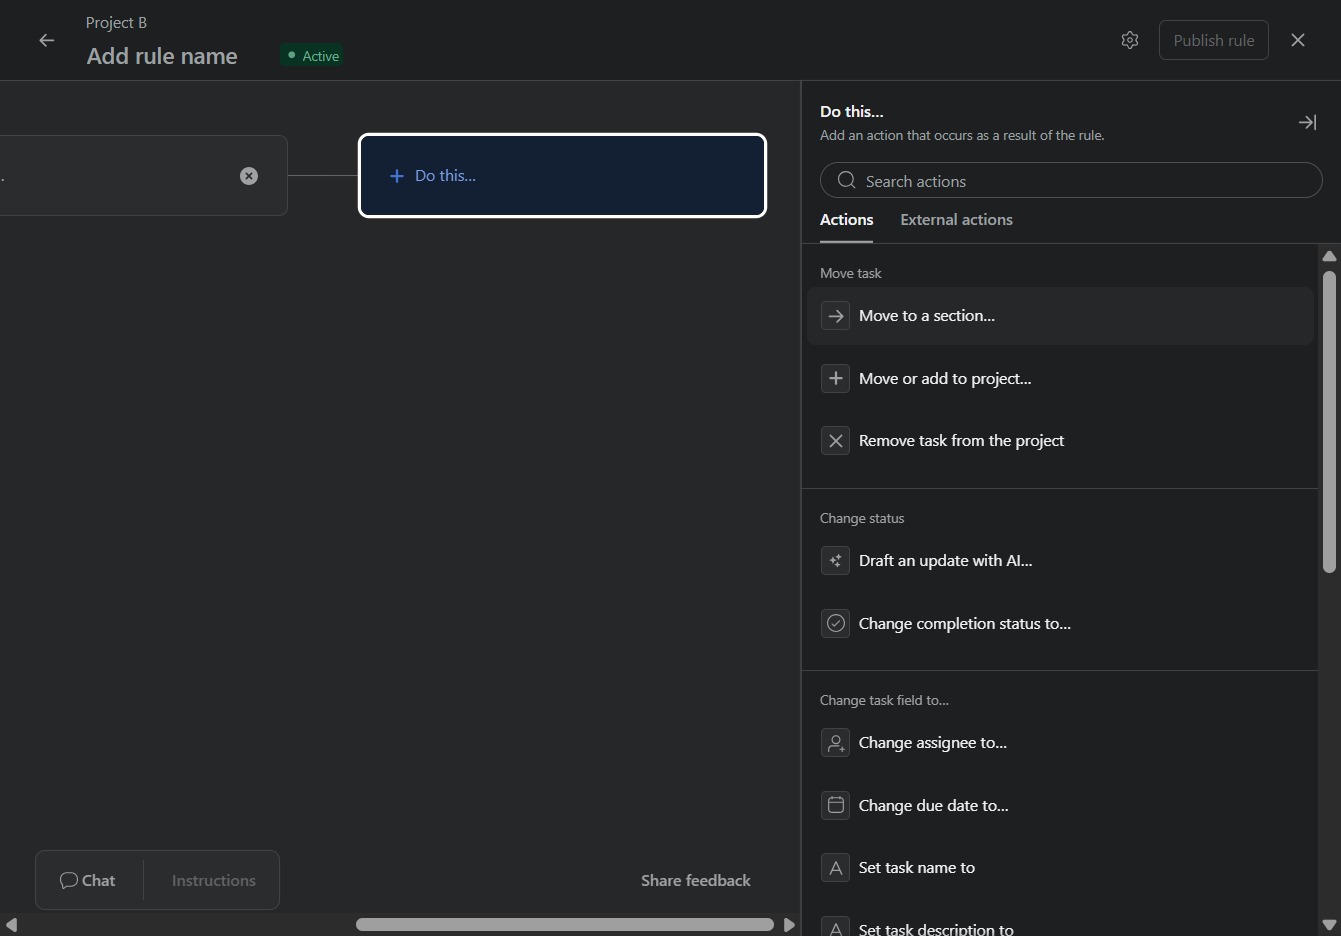
Selecting the 'Do this…' option allows you to specify the action that should follow when the condition is met in your automation rule.
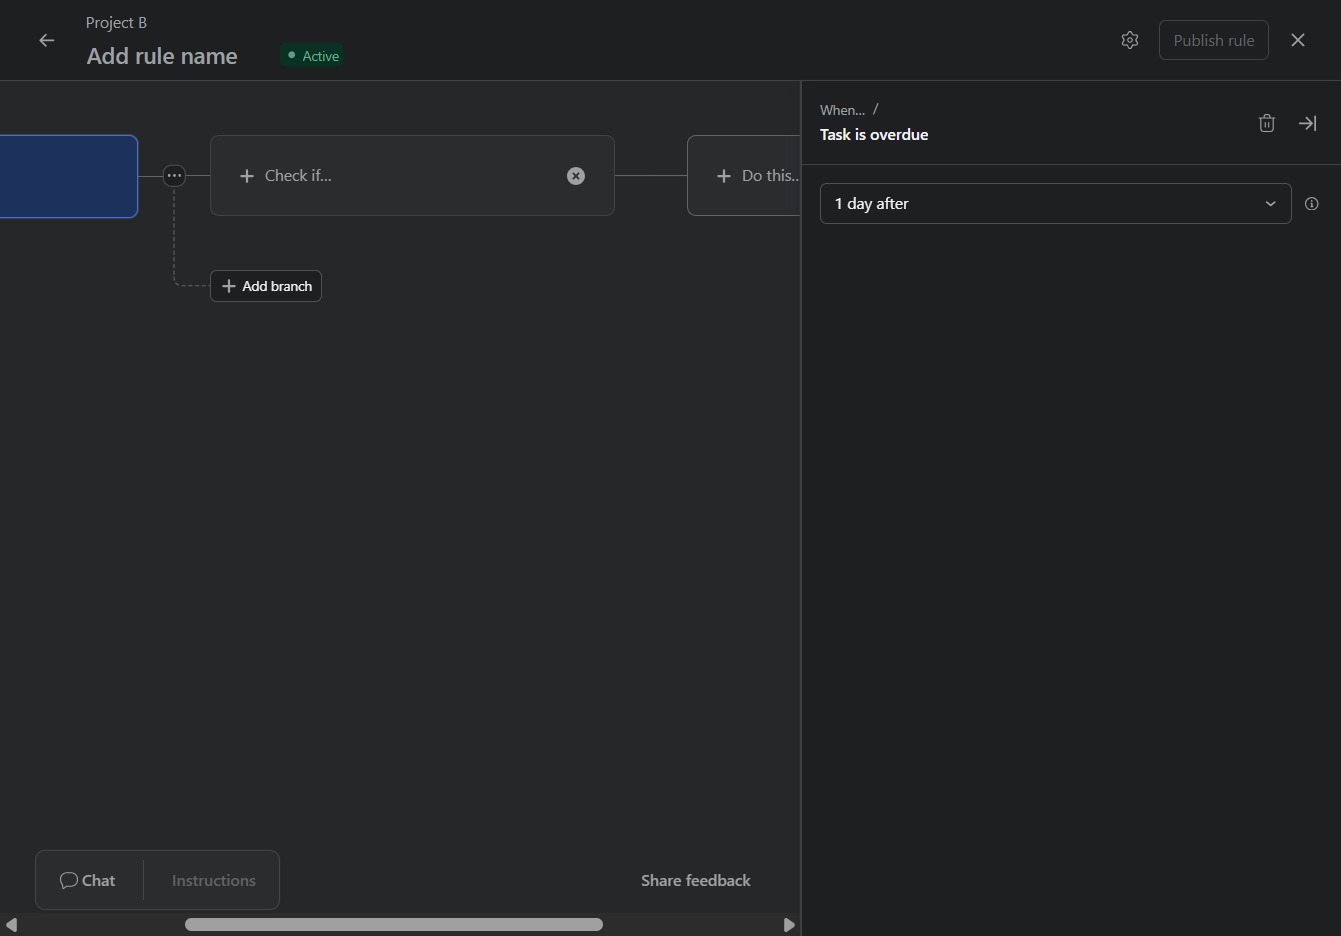
Selecting this option will allow you to assign a task to a different section within your project, facilitating better organization and workflow management.
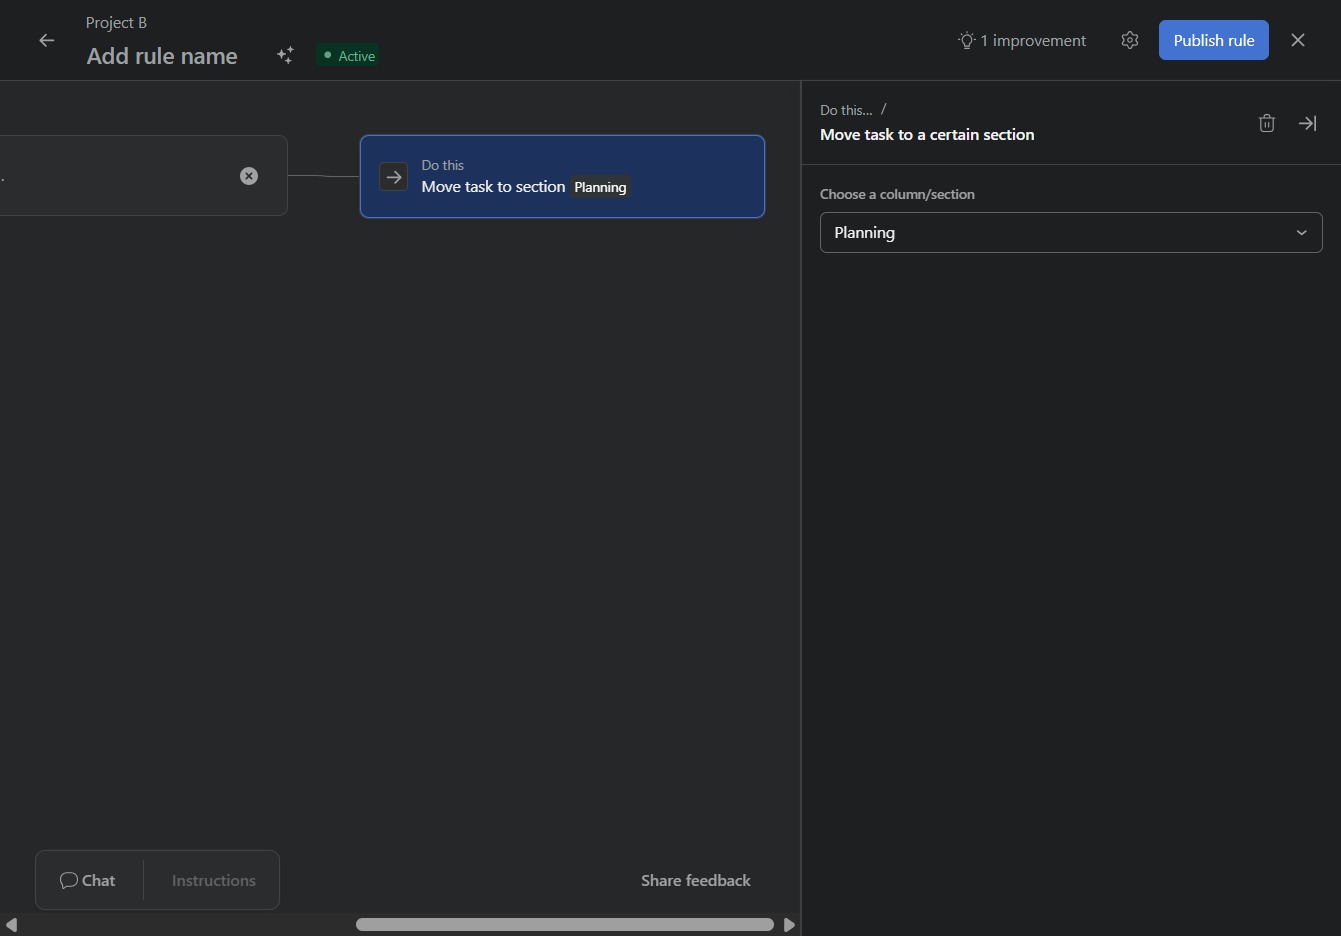
This action selects the 'Planning' section for organizing tasks within your project. You will be able to see and manage tasks specifically categorized under this section.
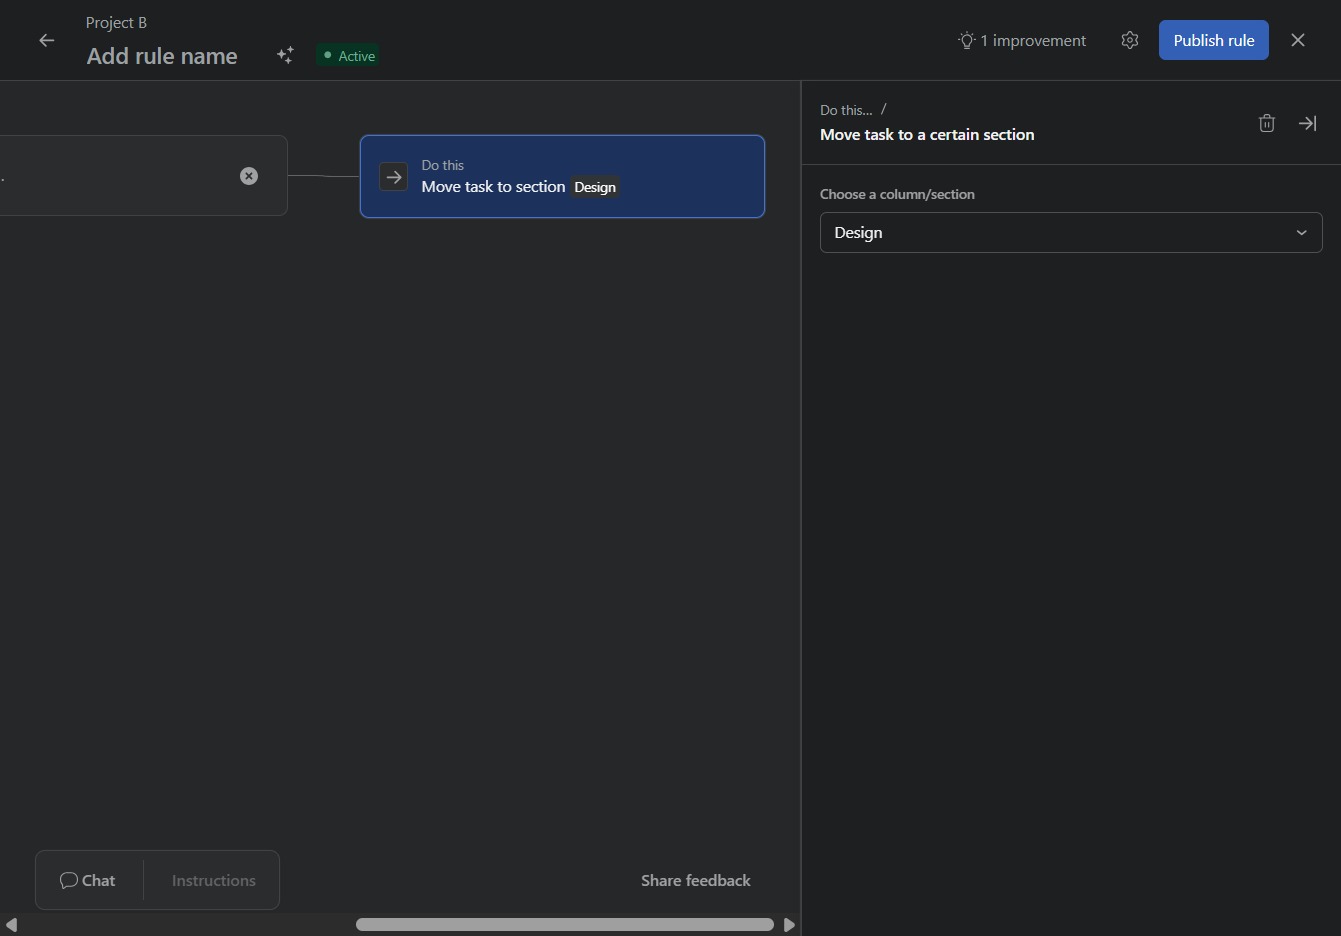
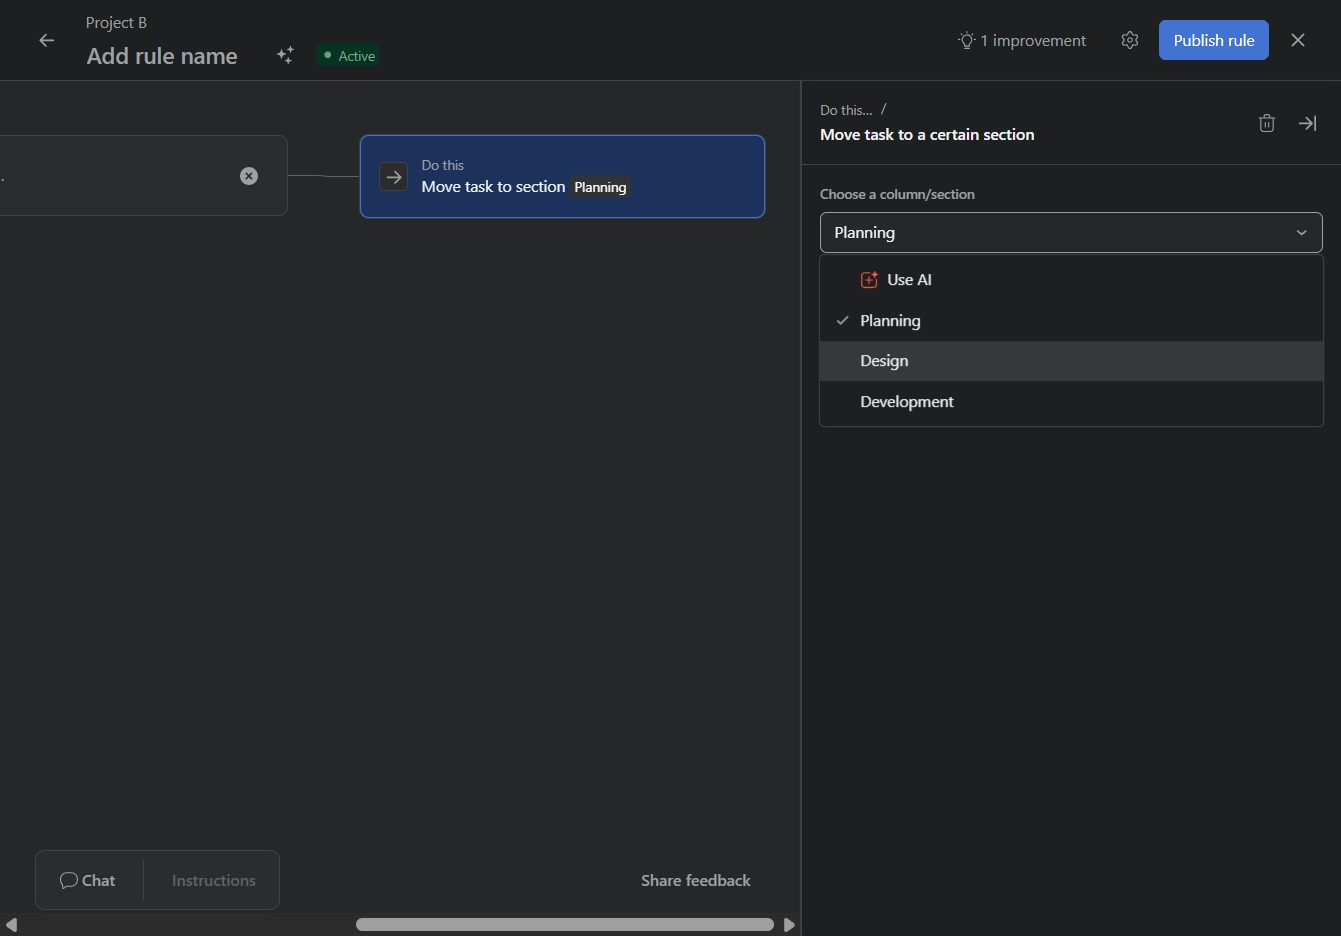
This action selects the Design section for moving your task. You will see the task updates to reflect the selection made.
By clicking the Publish rule button, you will finalize and save the rule you've created to move tasks to the specified section in your project.