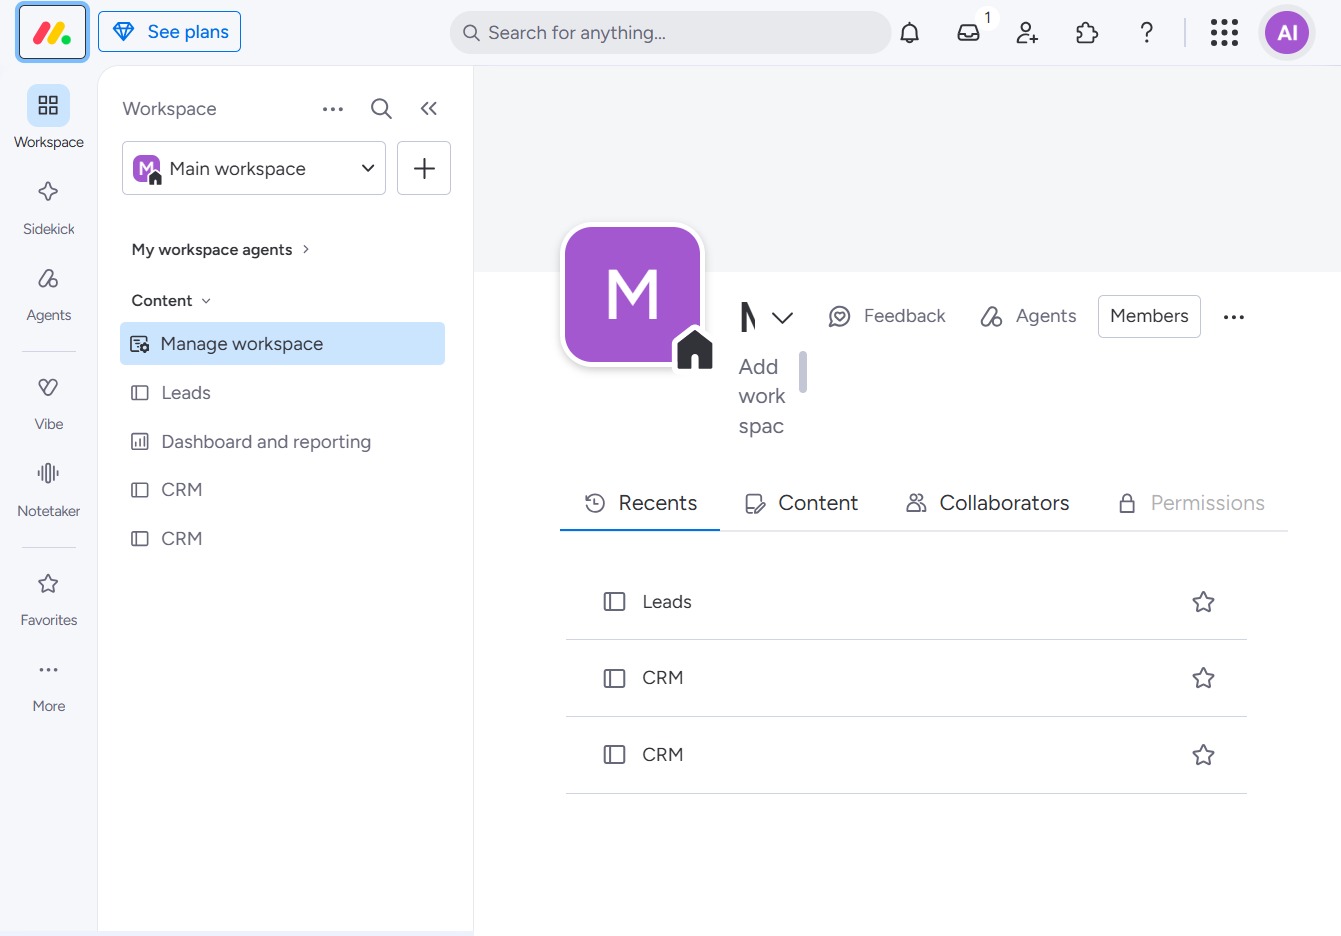
Click the ACME Inc logo
This action takes you to the ACME Inc homepage, where you can access various company resources and information.
Loading screenshot…
100%
In this guide, you'll learn how to create custom labels for your boards in the ACME Inc platform.
 viktoria
In this guide, you'll learn how to create custom labels for your boards in the ACME Inc platform. Follow the steps to navigate through administration settings, access profile customization, and set default labels like 'In review' for new columns, ensuring your team stays informed about task statuses.
This action takes you to the ACME Inc homepage, where you can access various company resources and information.
This action will lead you to the Administration settings, where you can manage user permissions, account configurations, and other administrative functions.

This allows you to access the customization settings for your profile. You can modify various features and preferences related to your account.
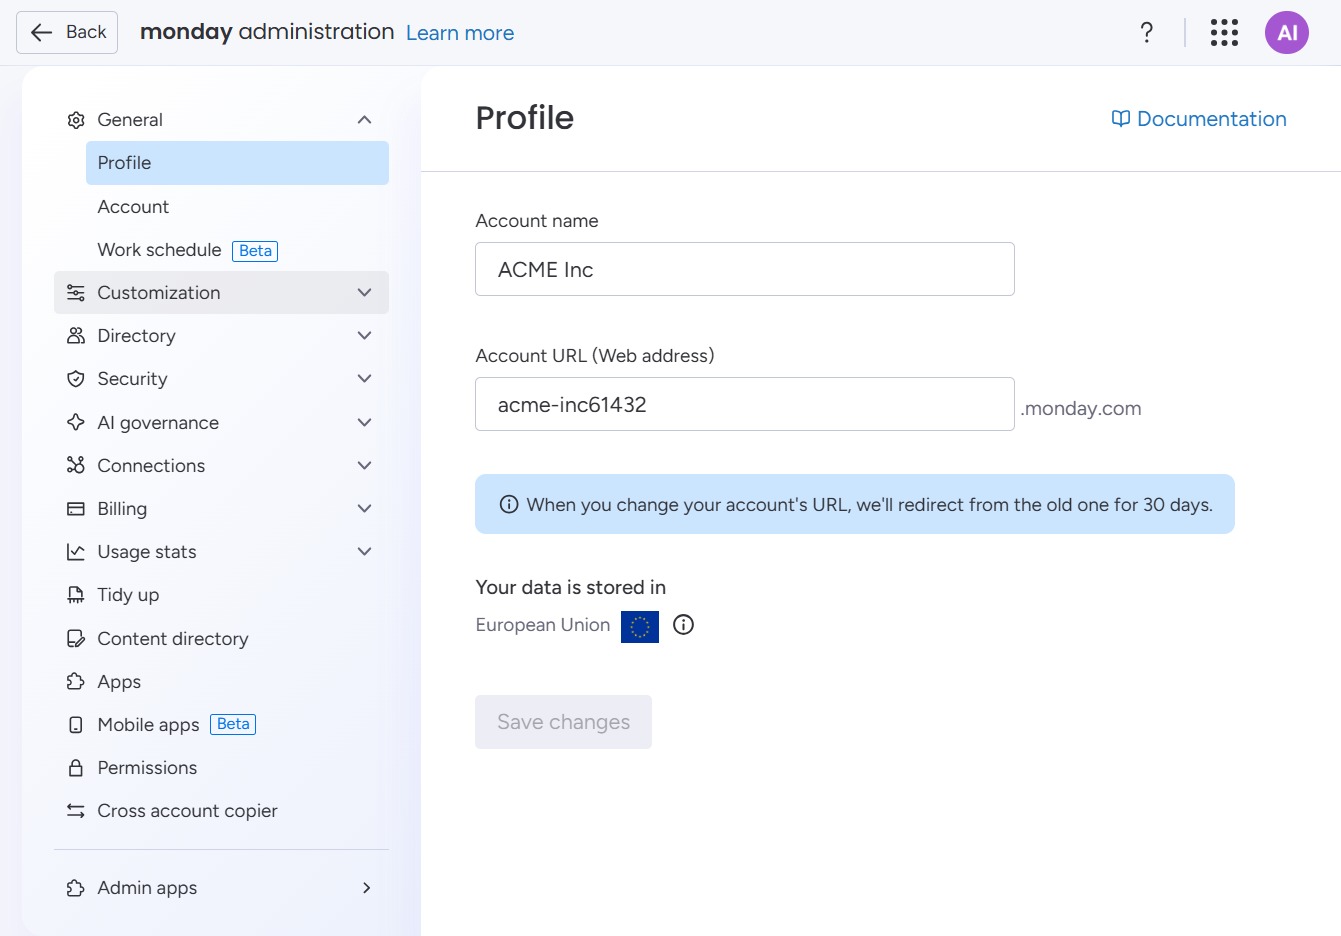
This action opens the Boards management area, where you can view and configure your boards settings.
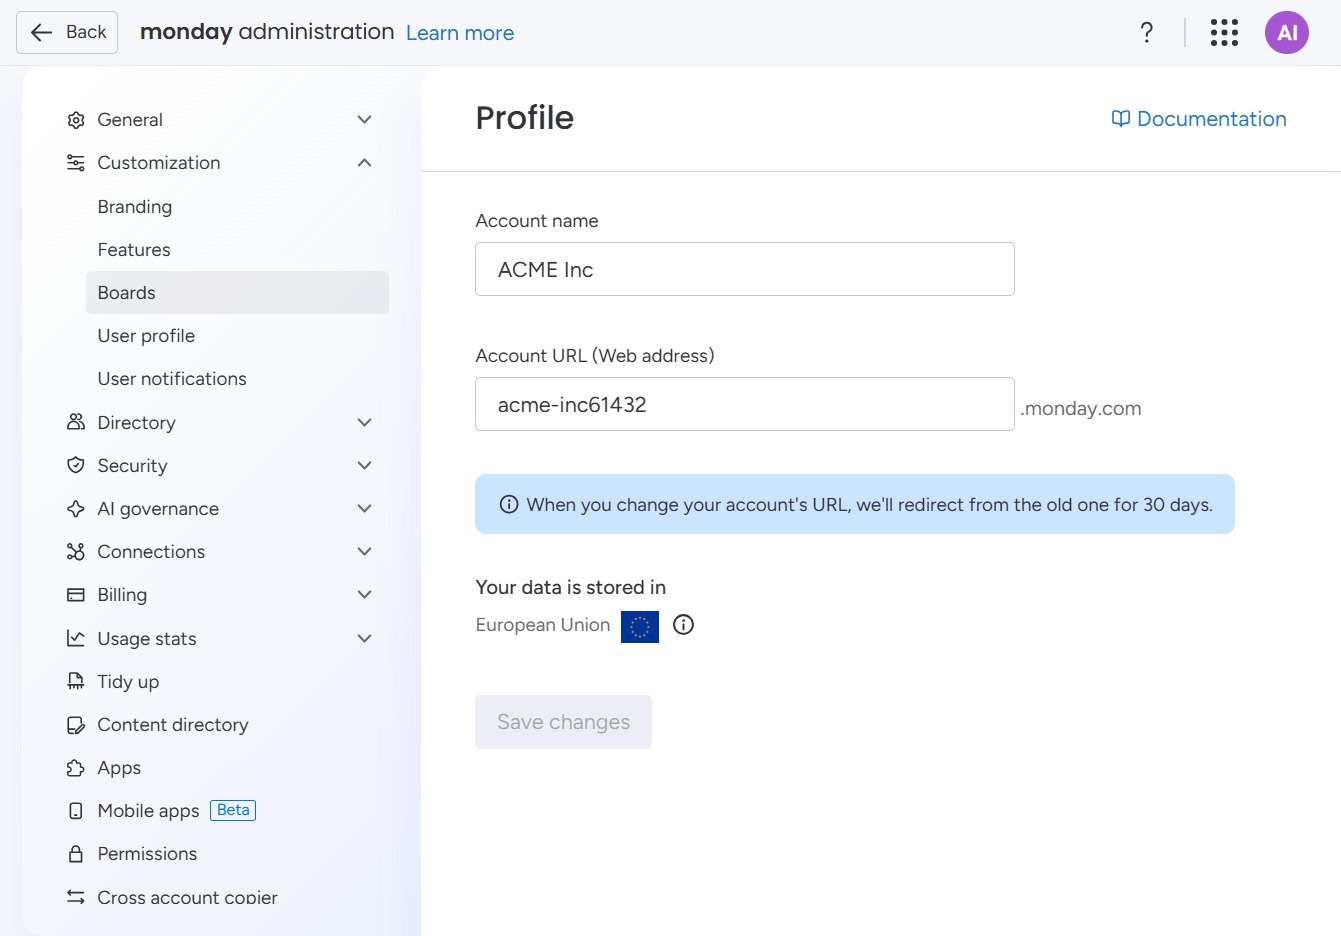
Clicking this input allows you to define the default labels for new columns on your board. Changes made will not affect existing labels but will apply to future additions.

Enter 'In review' to set a default status label for new columns on your board. This label helps team members understand the current state of tasks at a glance.

This action will save any updates made to the board defaults. Ensure all necessary adjustments are completed before clicking to avoid losing changes.
