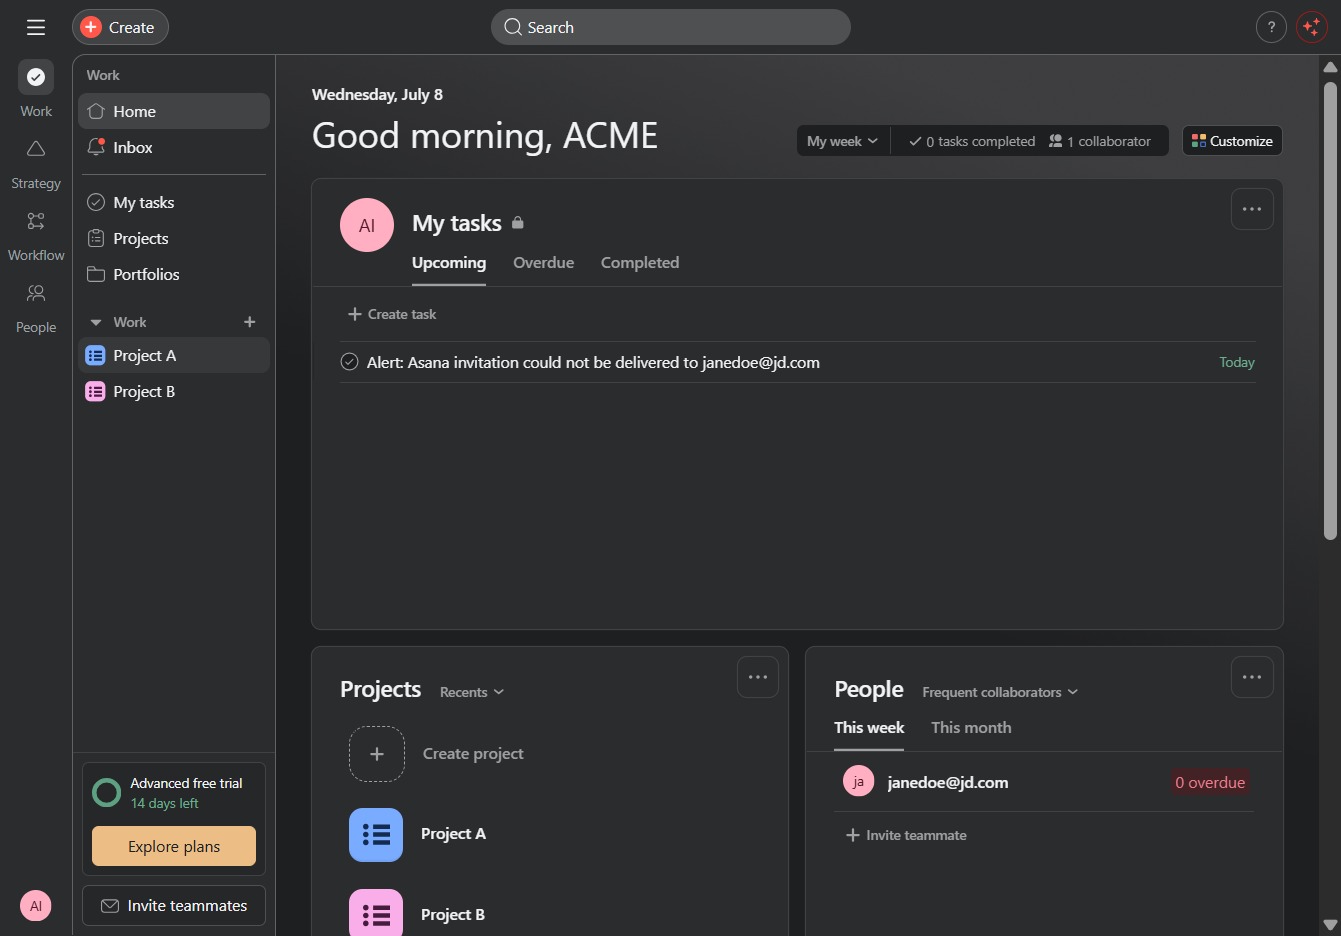
Click Project A link
Clicking the Project A link will navigate you to the project details page, where you can view tasks, updates, and collaborate with team members.
Loading screenshot…
100%
In this how-to guide, learn the step-by-step process of creating custom fields for your project to enhance data management and organization.
 viktoria
In this how-to guide, learn the step-by-step process of creating custom fields for your project to enhance data management and organization. Discover how to set up specific approval stages like "Client Approval" with selectable options, streamlining team collaboration and task tracking.
Clicking the Project A link will navigate you to the project details page, where you can view tasks, updates, and collaborate with team members.
This action will activate the selected option, allowing you to proceed with the next step or to access additional features related to the task list.

This action opens a library of pre-defined fields that you can select to add to your project tasks, allowing for more streamlined data management and organization.

This action opens a dialog allowing you to add a new field to your project, enabling customization of your project's data structure.

By clicking here, you will open the 'Add Field' dialog where you can specify the field title and type, along with optional settings for collaborating on this field.

Enter 'Client Approval' in the field title to create a new single-select option within your project. This will help categorize the project's approval stage for better tracking and management.
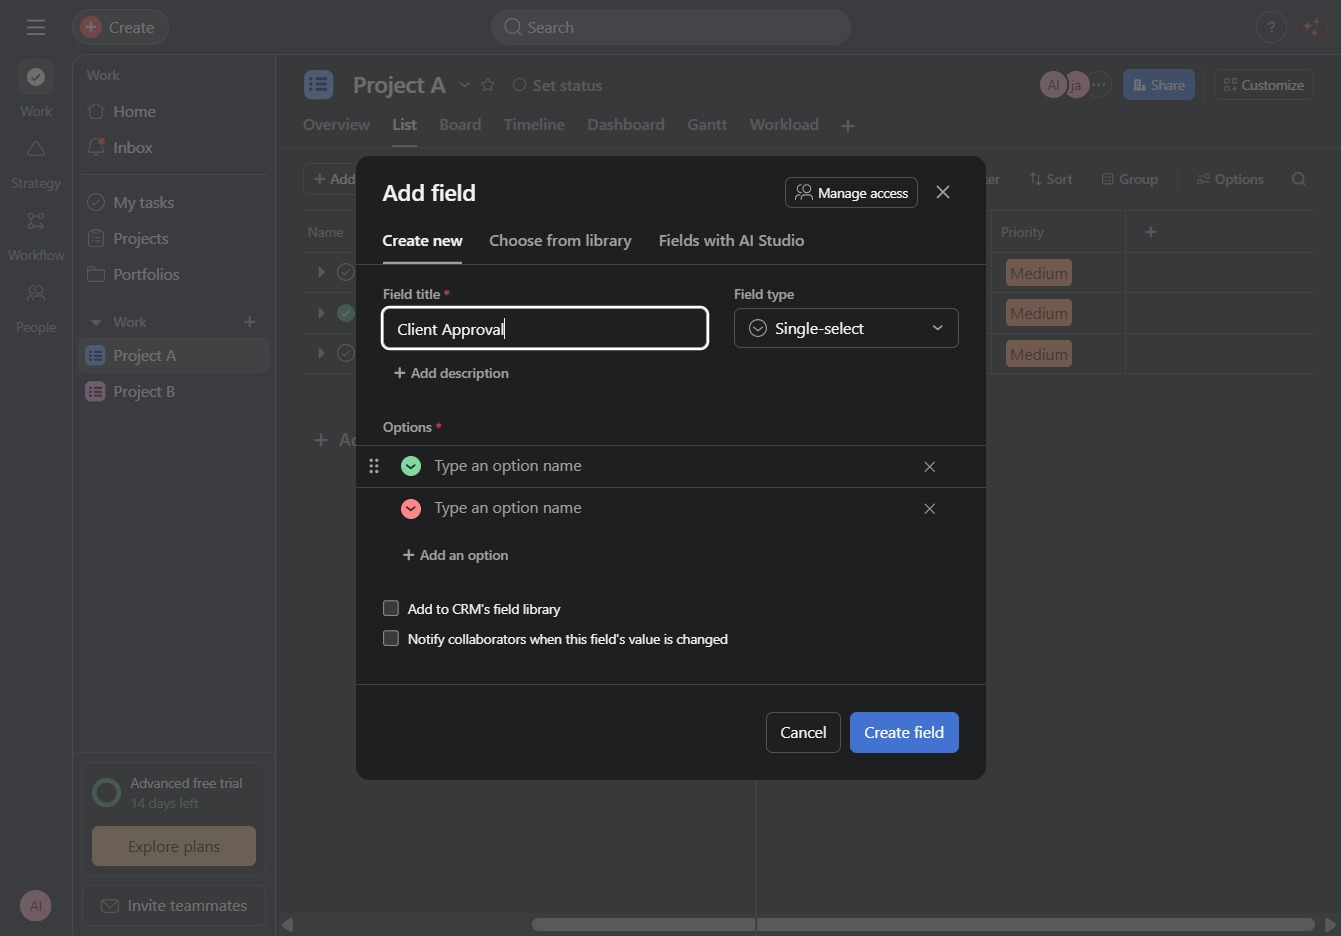
This opens the 'Add Field' dialog where you can create a new field for the project, allowing you to specify the field title, type, and additional options for customization.

Enter 'Approved' in the 'Type an option name' field to define a selection for the 'Client Approval' field. This allows users to categorize approvals more effectively.

After clicking, you can enter a new option name for the 'Client Approval' field, allowing you to customize the choices available within this single-select field.

Enter 'Denied' in the 'Type an option name' field to create an option for the Client Approval field. This allows users to select 'Denied' as a status in the project.
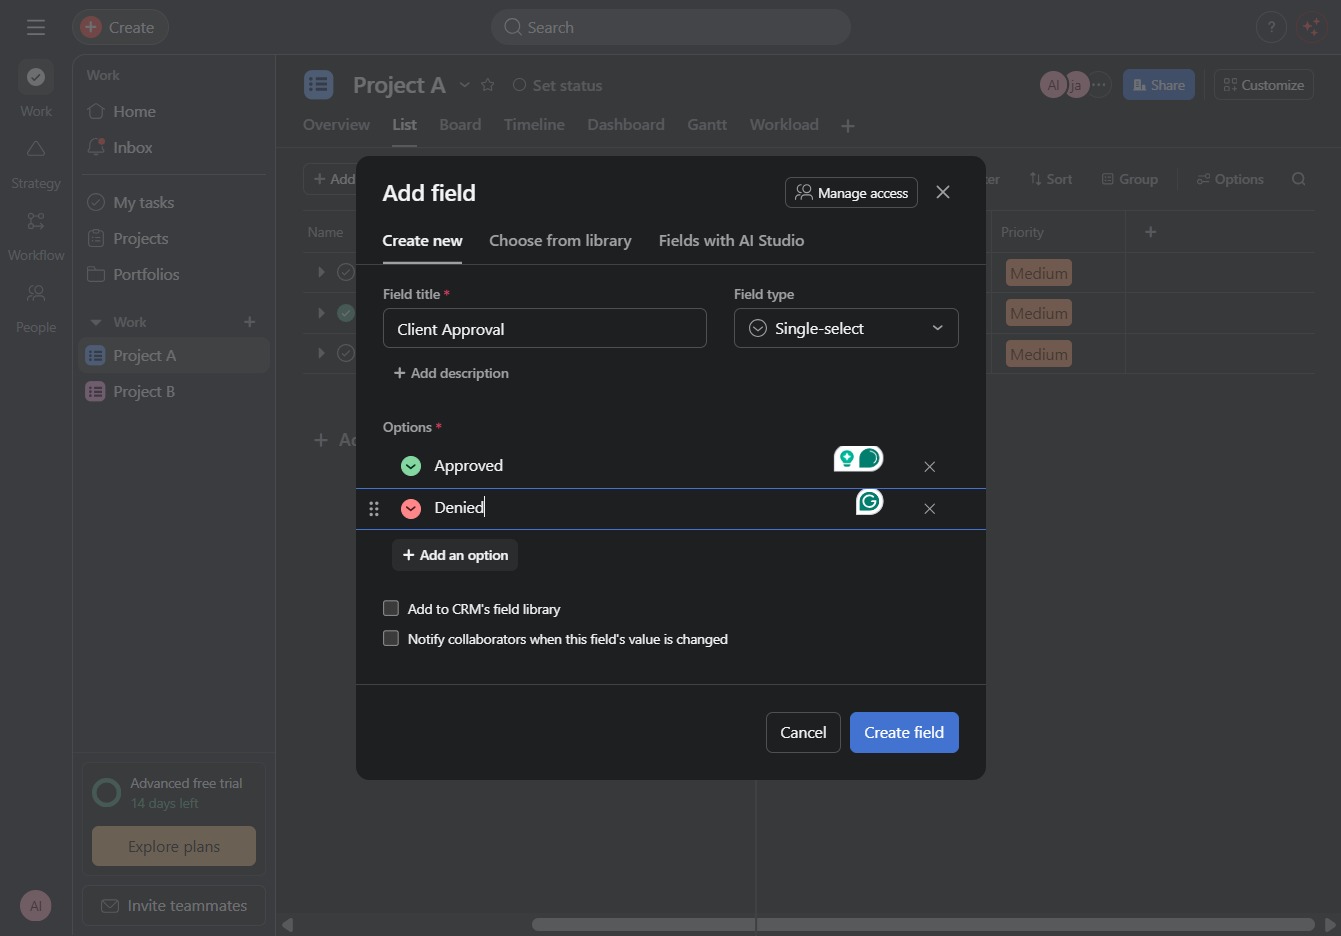
This action allows you to include additional response options for the 'Client Approval' field. After clicking, you can specify new choices that users can select.
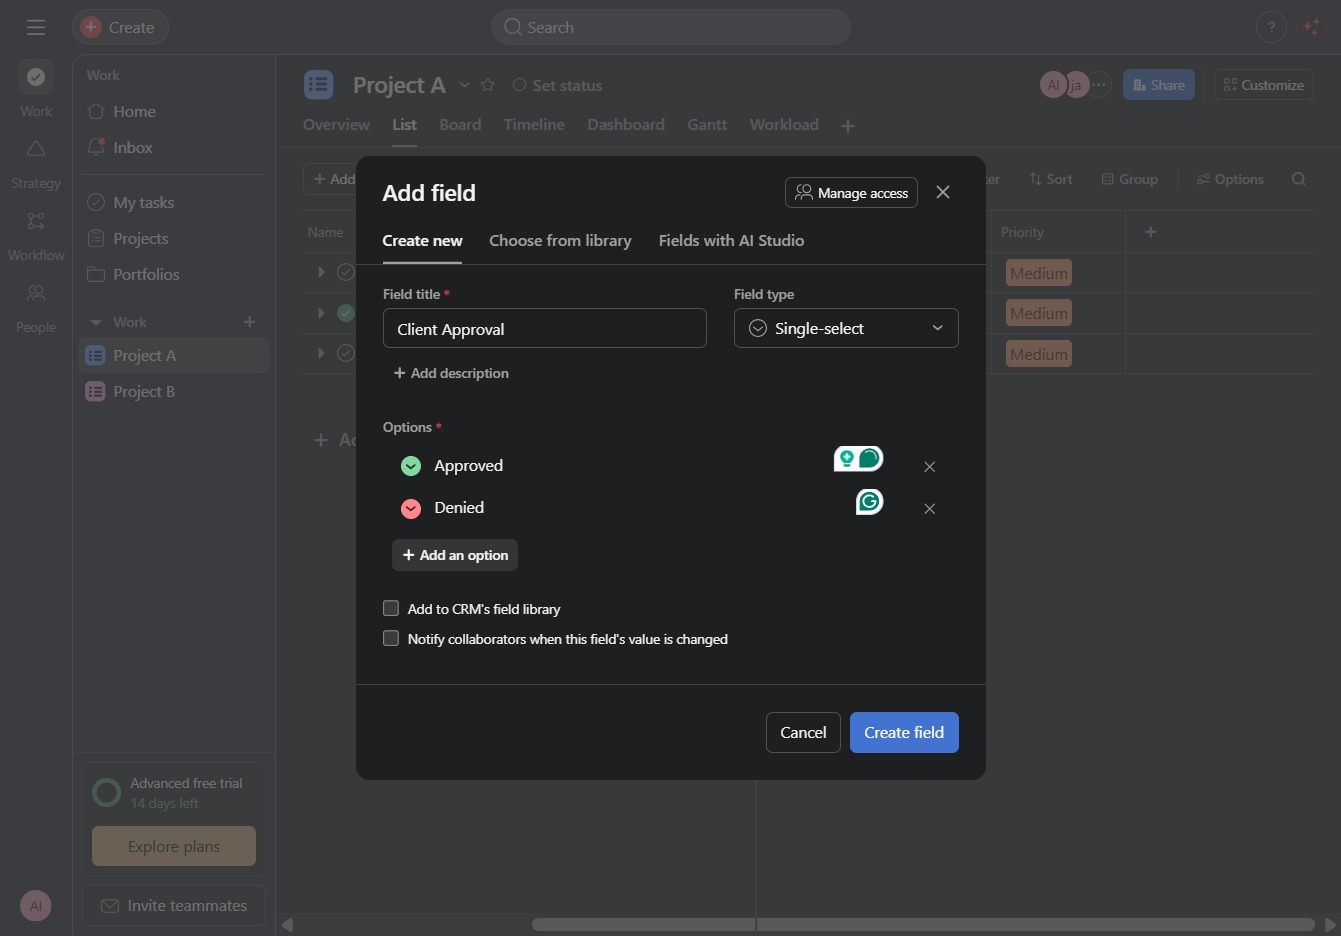
Enter 'Pending' in the 'Type an option name' field to add it as a selectable option for the Client Approval status. This will allow users to choose 'Pending' when updating project approvals.
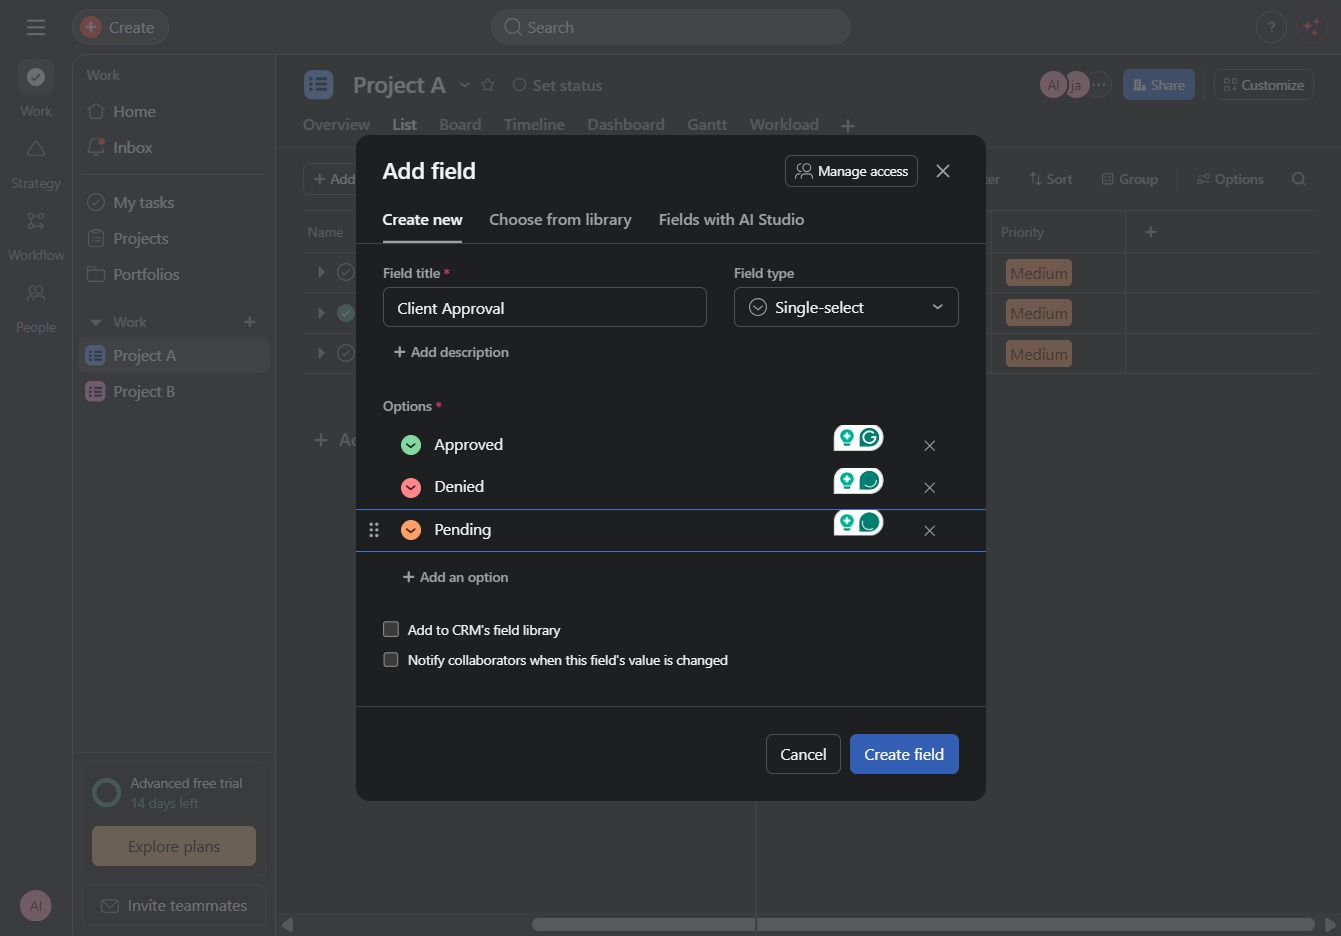
This action will add a new field to your project, allowing you to define its title and type, as well as set options for its use.
