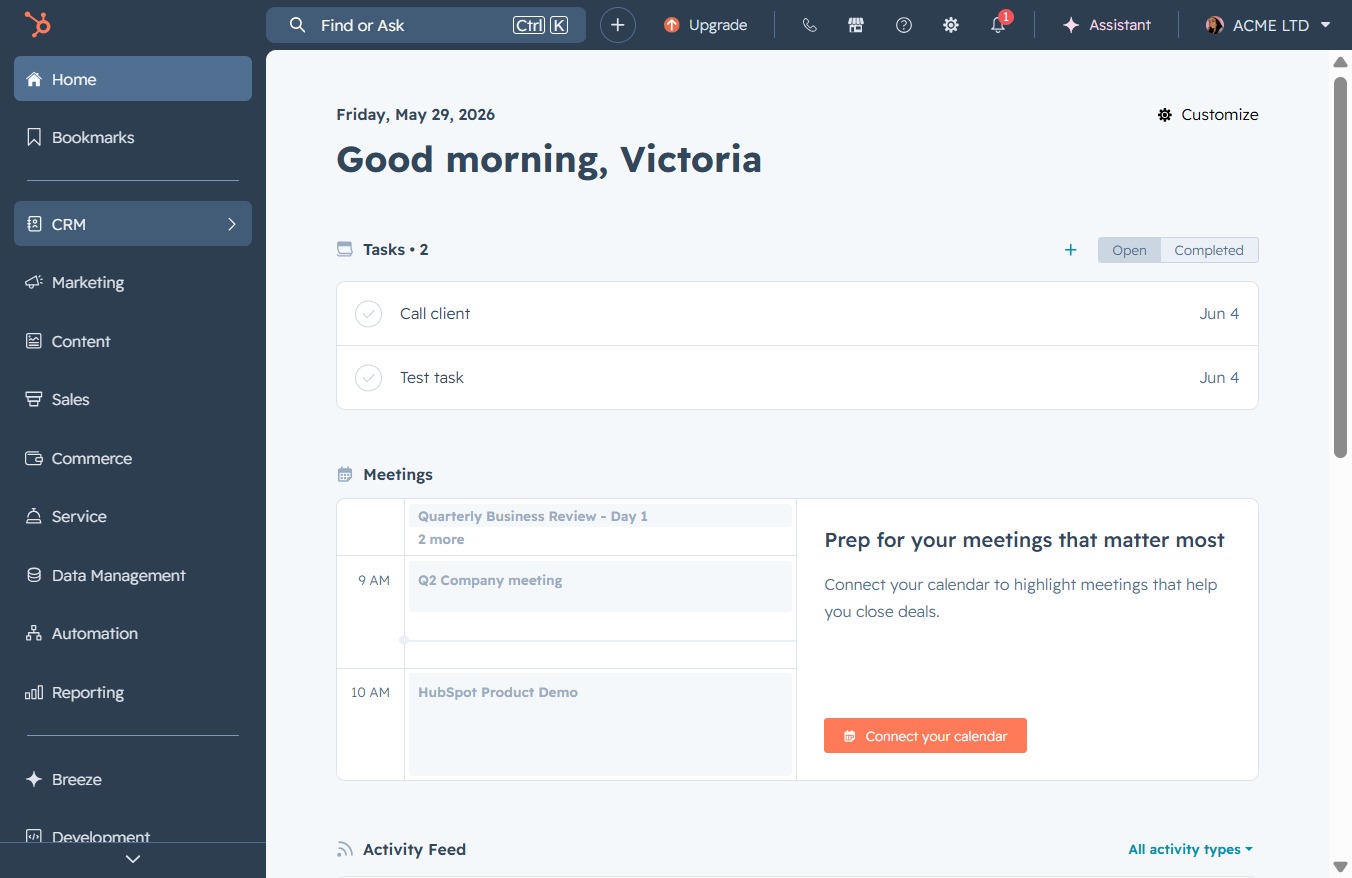
Click the CRM icon
Clicking the CRM icon will navigate you to the Customer Relationship Management section, where you can manage tasks, meetings, and customer interactions.
Loading screenshot…
100%
Create a customized onboarding email template in your CRM by selecting the Message Templates option, utilizing personalization tokens, and saving your design for future campaigns.
 viktoria
Create a customized onboarding email template in your CRM by selecting the Message Templates option, utilizing personalization tokens, and saving your design for future campaigns.
Clicking the CRM icon will navigate you to the Customer Relationship Management section, where you can manage tasks, meetings, and customer interactions.
Selecting the Message Templates option will open a section where you can create, edit, and manage your pre-defined messaging formats for efficient communication.
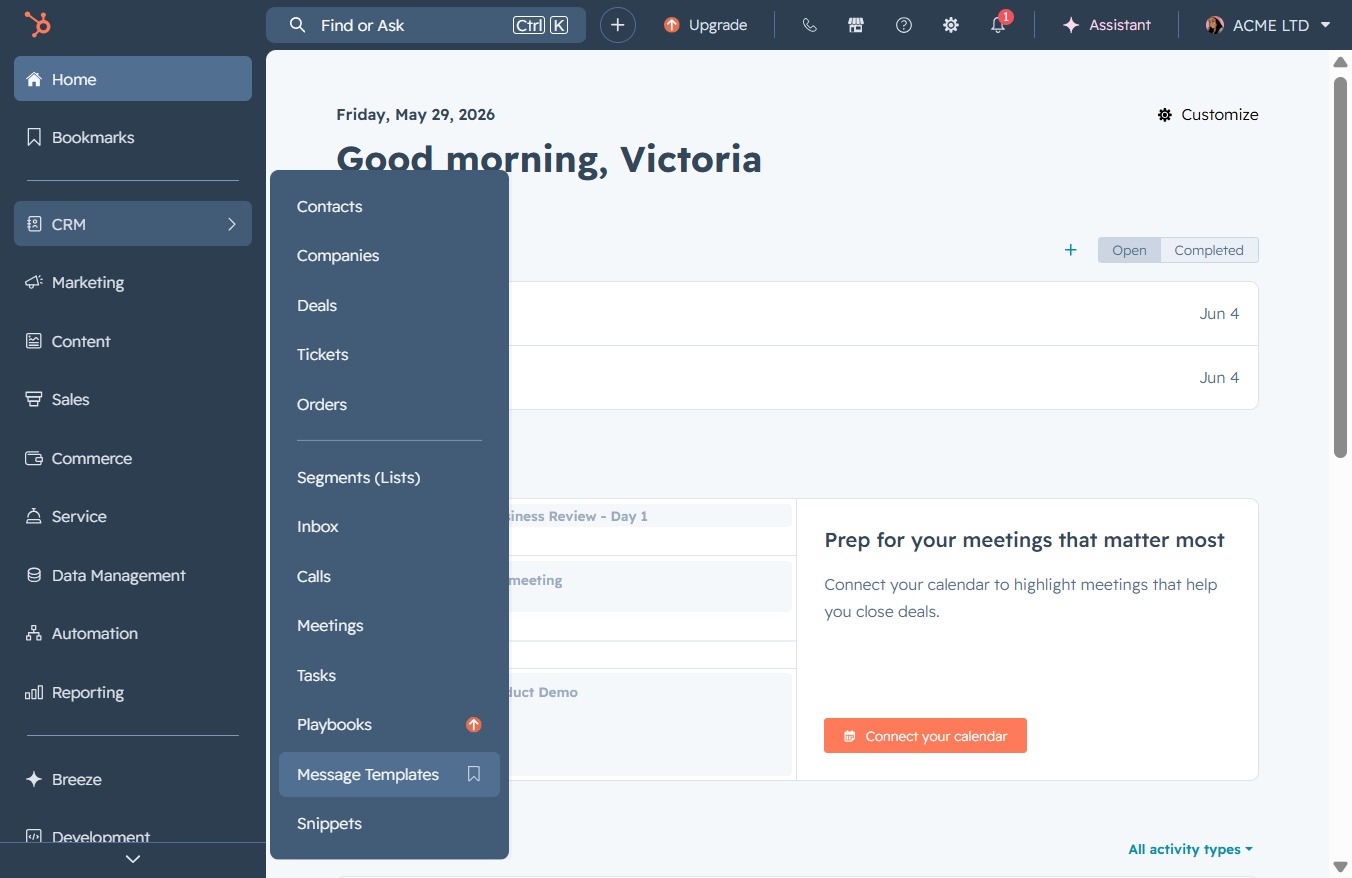
This will allow you to create a new email template within the Message templates section of your CRM.

Selecting 'From scratch' allows you to create a new email template without any pre-defined format, giving you complete control over the design and content.

This action allows you to select a folder to organize your new email template. Once selected, the folder will be associated with the template for easier access.

This action will allow you to insert predefined content or variables into your email template, making it easier to customize your message effectively.

Type a subject line for your onboarding email in the designated Subject field. This will help recipients identify the purpose of the email at a glance.

Clicking the 'Insert' link allows you to add dynamic content or fields to the email template, enhancing its personalization and functionality.
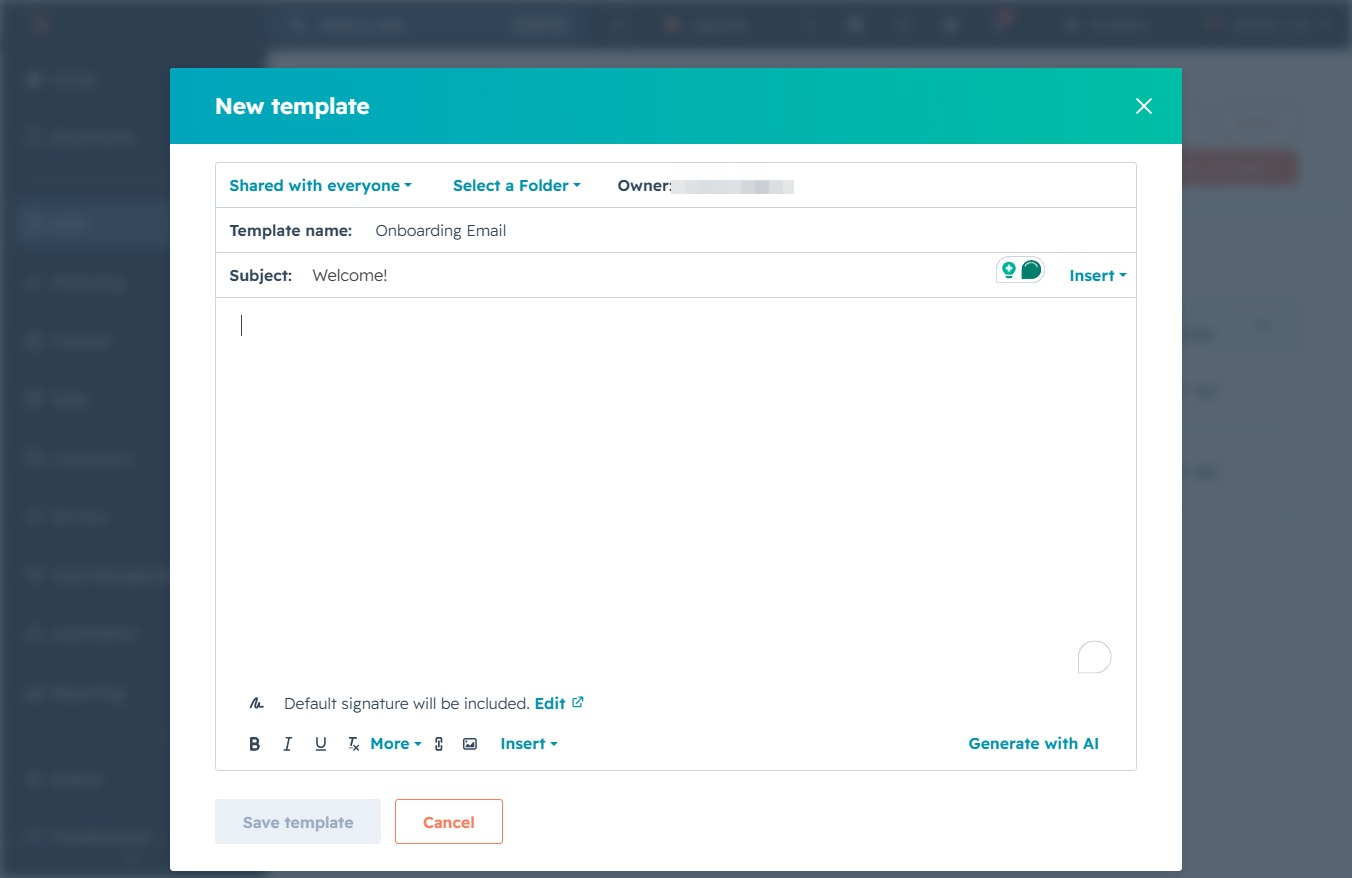
Type the desired name for your email template in the 'Template name' field. This name will help you identify the template later when managing your email campaigns.
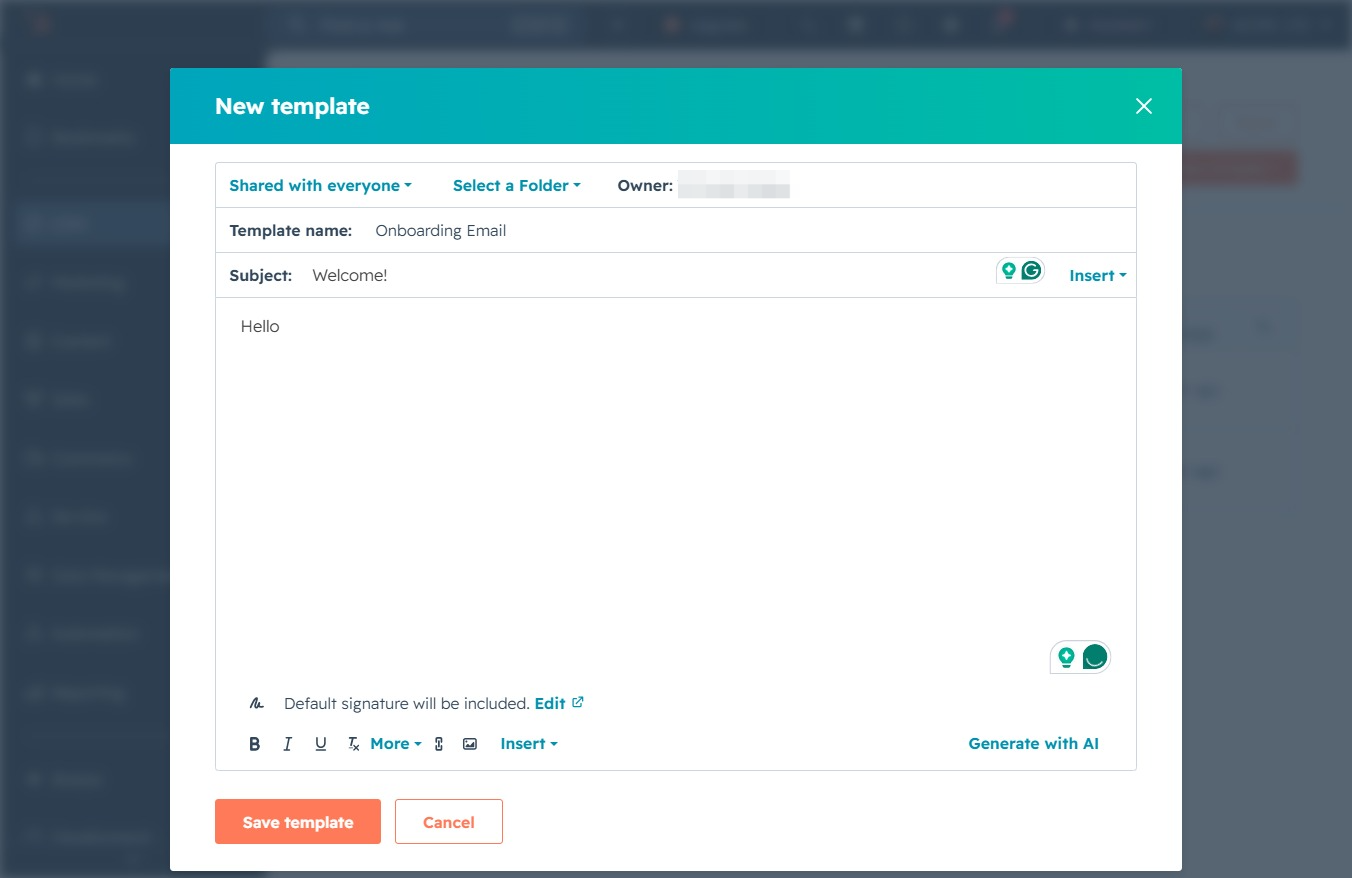
This will open a menu allowing you to add predefined content or elements to your email template. You can choose from various options to enhance the message you are composing.
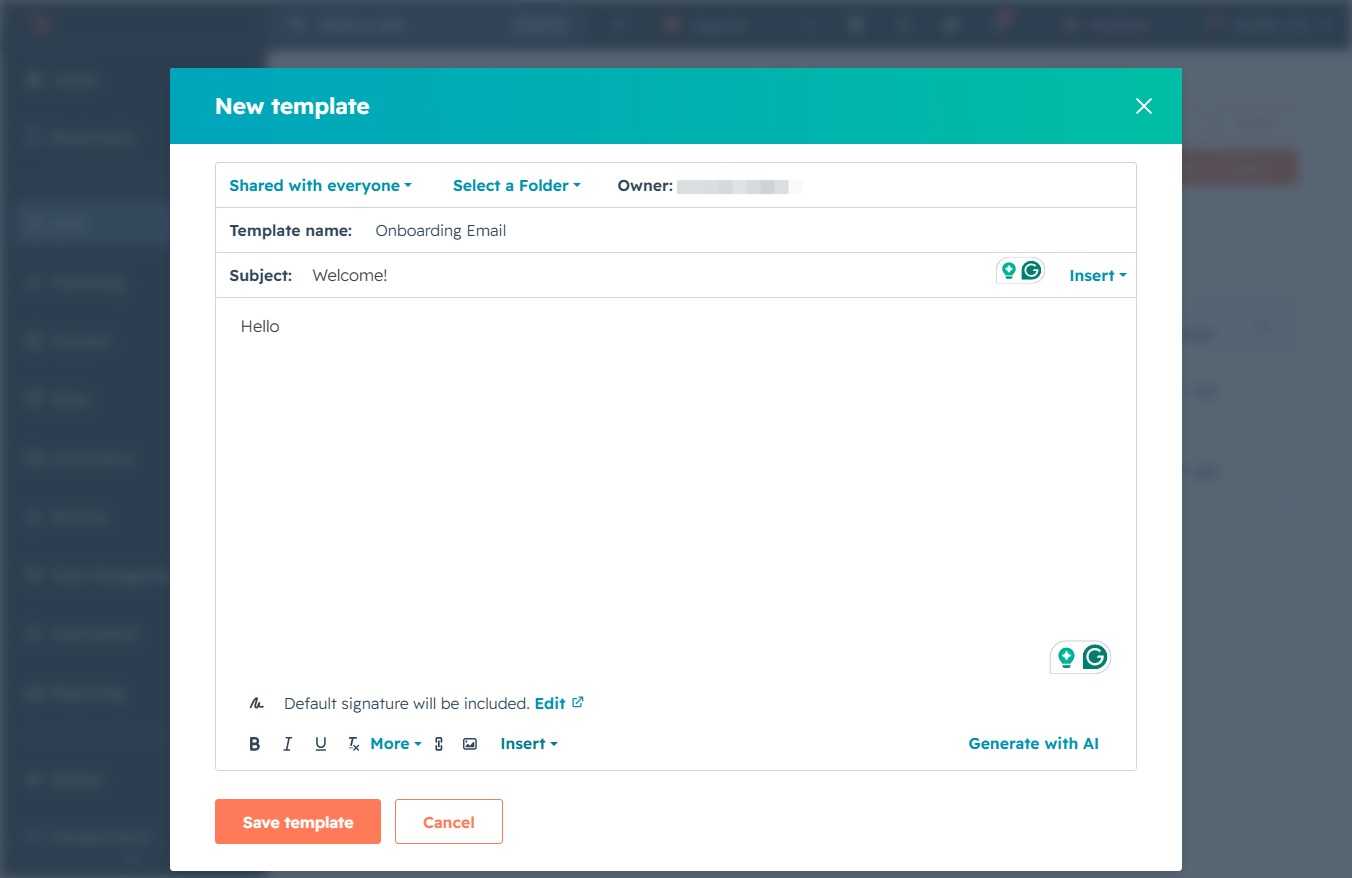
Clicking Personalization tokens will reveal a dropdown menu containing various personalization tokens that you can select for your email template. These tokens allow you to dynamically insert user-specific information into your messages.”} ️ ️ ️ ️ ️ ️ ️ ️ ️ ️ ️ ️ ️ ️ ️ ️ ️ ️ ️ ️ ️ ️ ️ ️ ️ ️ ️ ️ ️ ️ ️ ️ ️ ️ ️ ️ ️ ️ ️ ️ ️ ️ ️ ️ ️ ️ ️ ️ ️ ️ ️ ️ ️ ️ ️ ️ ️ ️ ️ ️ ️ ️ ️ ️ ️ ️ ️ ️ ️ ️ ️ ️ ️ ️ ️ ️ ️ ️ ️ ️ ️ ️ ️ ️ ️ ️ ️ ️ ️ ️ ️ ️ ️ ️ ️ ️ ️ ️ ️ ️ ️ ️ ️ ️ ️ ️ ️ ️ ️ ️ ️ ️ ️ ️ ️ ️ ️ ️ ️ ️ ️ ️ ️ ️ ️ ️ ️ ️ ️ ️ ️ ️ ️ ️ ️ ️ ️ ️ ️ ️ ️ ️ ️ ️ ️ ️ ️ ️ ️ ️ ️ ️ ️ ️ ️ ️ ️ ️ ️ ️ ️ ️ ️ ️ ️ ️ ️ ️ ️ ️ ️ ️ ️ ️ ️ ️ ️ ️ ️ ️ ️ ️ ️ ️ ️ ️ ️ ️ ️ ️ ️ ️ ️ ️ ️ ️ ️ ️ ️ ️ ️ ️ ️ ️ ️ ️ ️ ️ ️ ️ ️ ️ ️ ️ ️ ️ ️ ️ ️ ️ ️ ️ ️ ️ ️ ️ ️ ️ ️ ️ ️ ️ ️ ️ ️ ️ ️ ️ ️ ️ ️ ️ ️ ️ ️ ️ ️ ️ ️ ️ ️ ️ ️ ️ ️ ️ ️ ️ ️ ️ ️ ️ ️ ️ ️ ️ ️ ️ ️ ️ ️ ️ ️ ️ ️ ️ ️ ️ ️ ️ ️ ️ ️ ️ ️ ️ ️ ️ ️ ️ ️ ️ ️ ️ ️ ️ ️ ️ ️ ️ ️ ️ ️ ️ ️ ️ ️ ️ ️ ️ ️ ️ ️ ️ ️ ️ ️ ️ ️ ️ ️ ️ ️ ️ ️
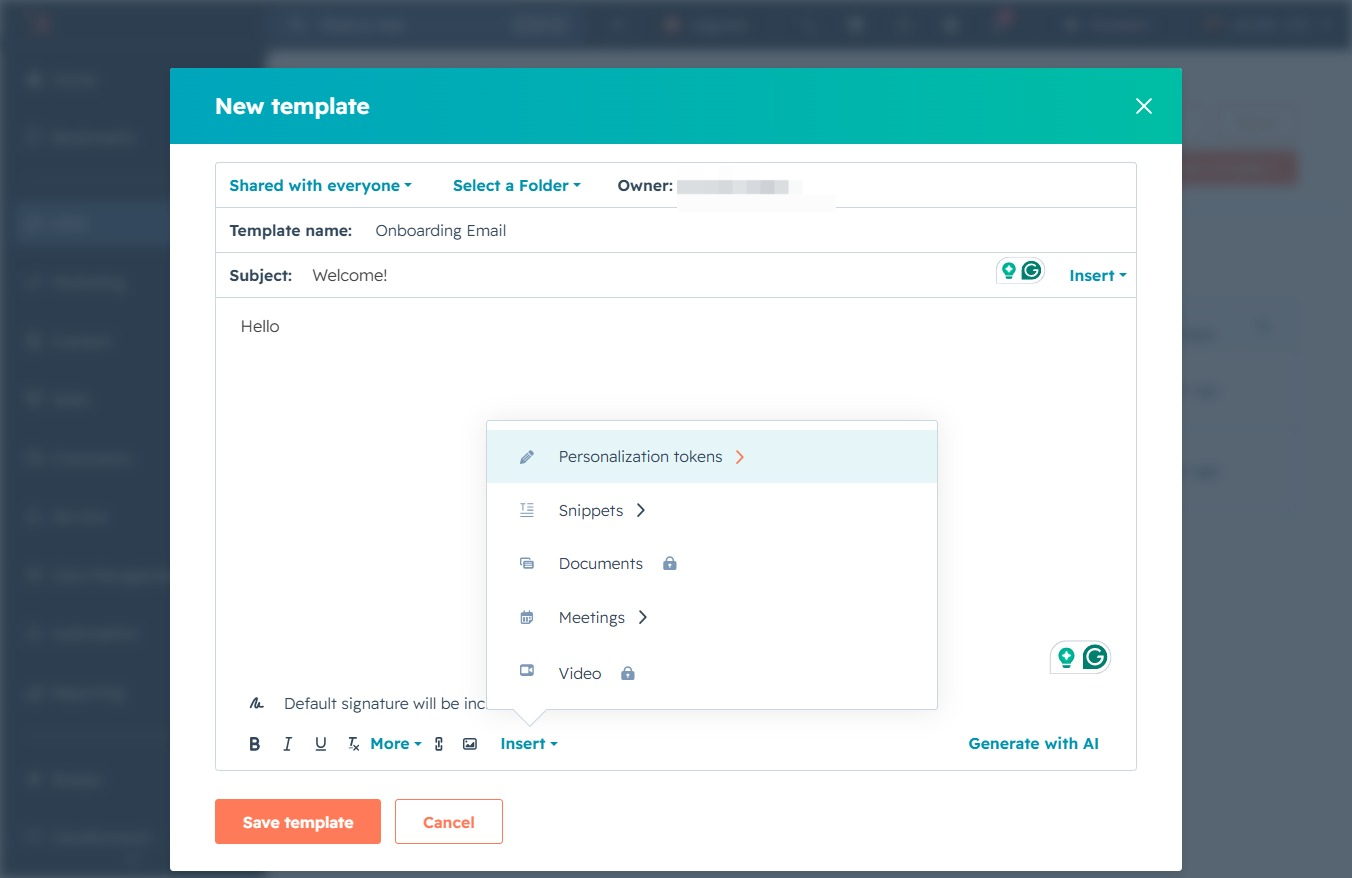
This action allows you to search for and select specific contact tokens to personalize your email template. The personalization tokens will enable more tailored communication in your emails.

This action opens a list of contact tokens, allowing you to select the 'First Name' placeholder to personalize your email template.

This action opens a dialog that allows you to select a personalization token to insert into your email template, enhancing your message with personalized content.
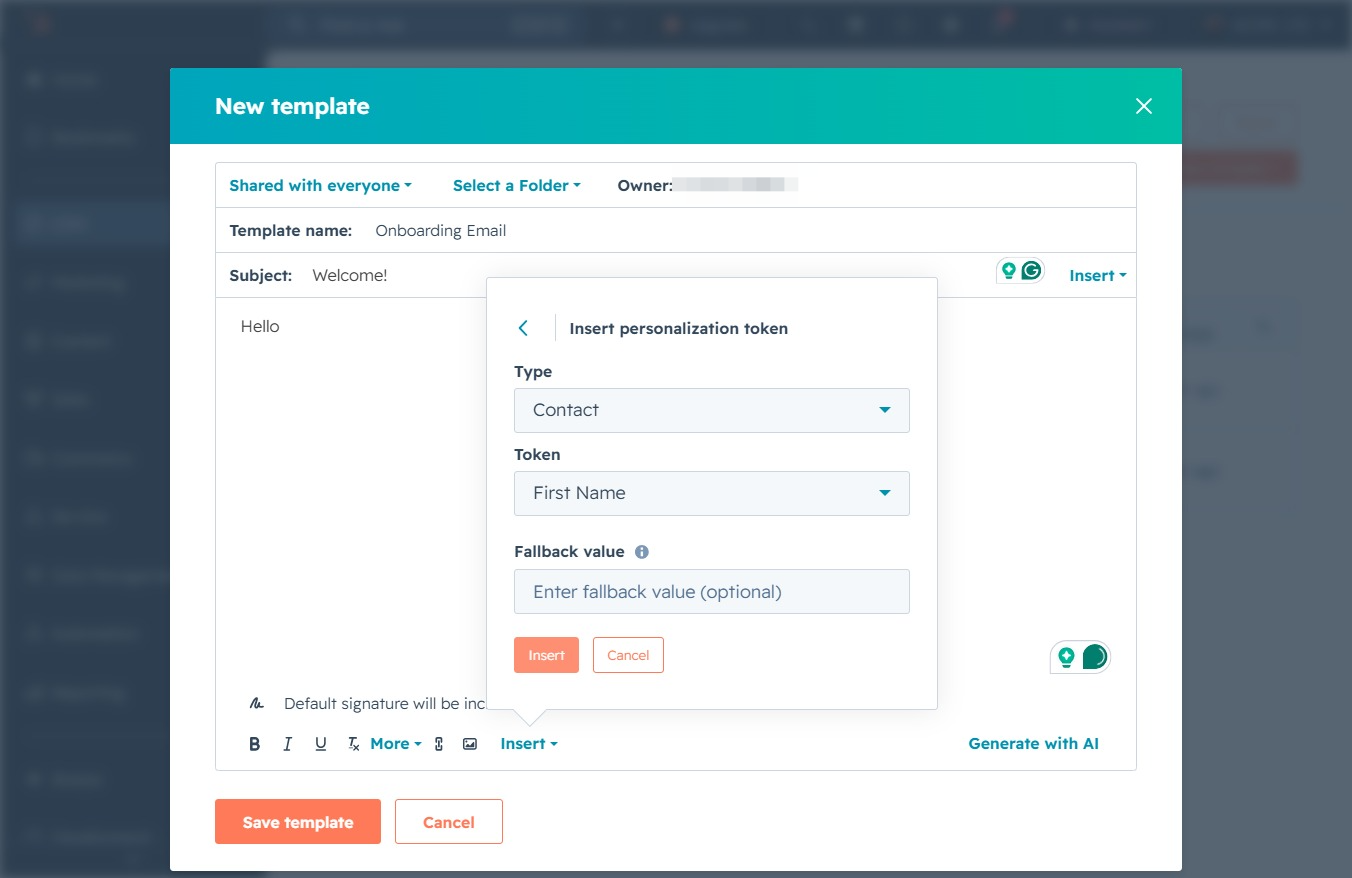
This action saves your email template, allowing you to use it for future messages. Ensure all details in the template, including the subject line and content, are finalized before saving.
