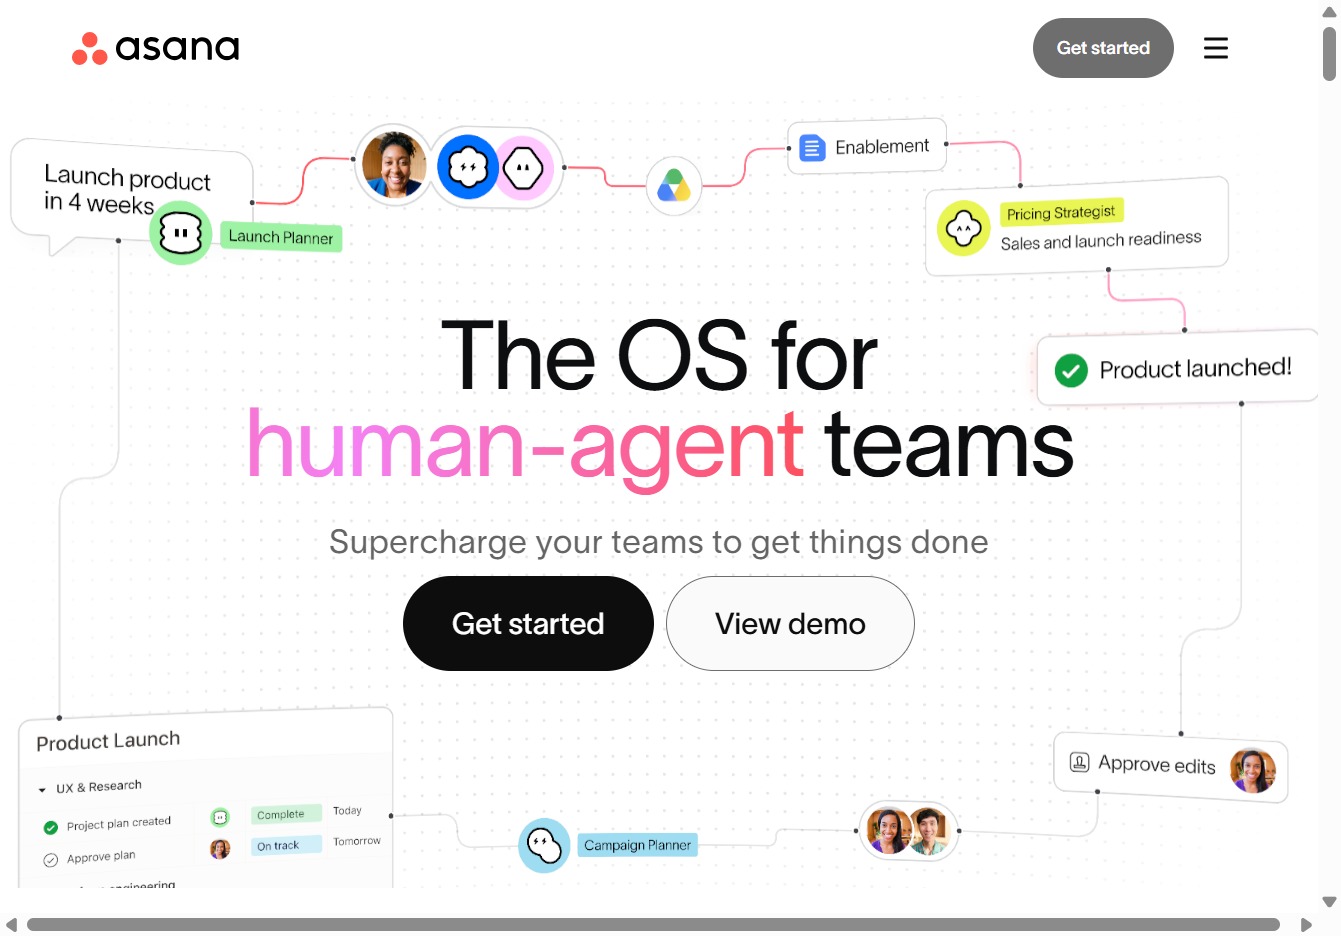
Click the Get Started link
This will initiate the onboarding process, guiding you through setting up your workspace and familiarizing you with the functionalities of Asana.
Loading screenshot…
100%
This how-to guide walks you through the process of creating an Asana account, from initiating the onboarding process to customizing your workspace.
 viktoria
This how-to guide walks you through the process of creating an Asana account, from initiating the onboarding process to customizing your workspace. Follow each step to set up your account effectively, including entering your email, job title, and industry to tailor your Asana experience.
This will initiate the onboarding process, guiding you through setting up your workspace and familiarizing you with the functionalities of Asana.
Clicking the Continue button will submit your email address and proceed to the next step in creating your Asana account. Make sure your email is correctly entered in the provided field before clicking.
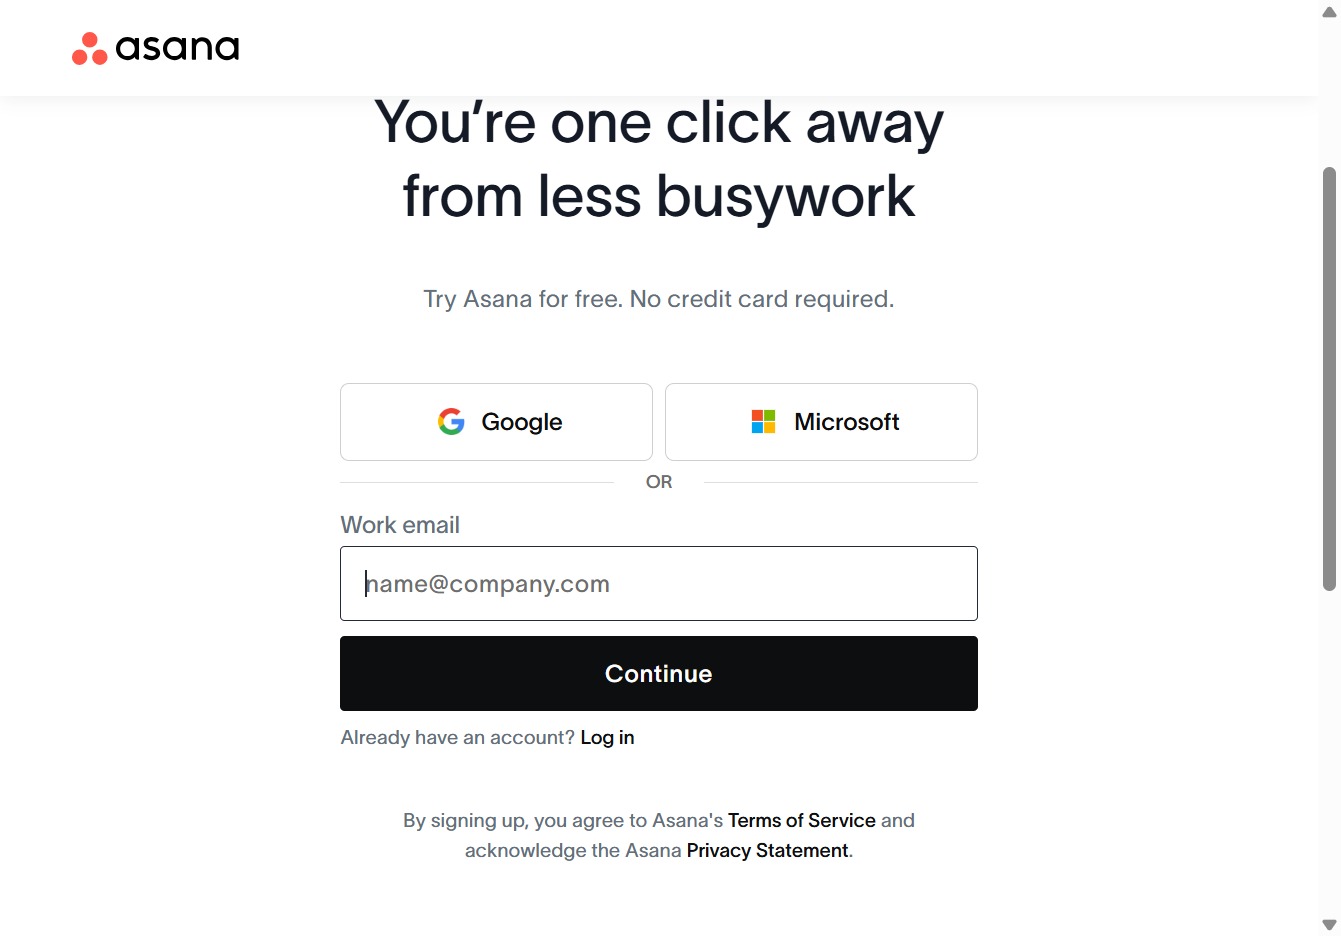
Enter your email address, such as 'y.e.o.n.g.6.940@gmail.com', in the Work email field to proceed with signing up for Asana.
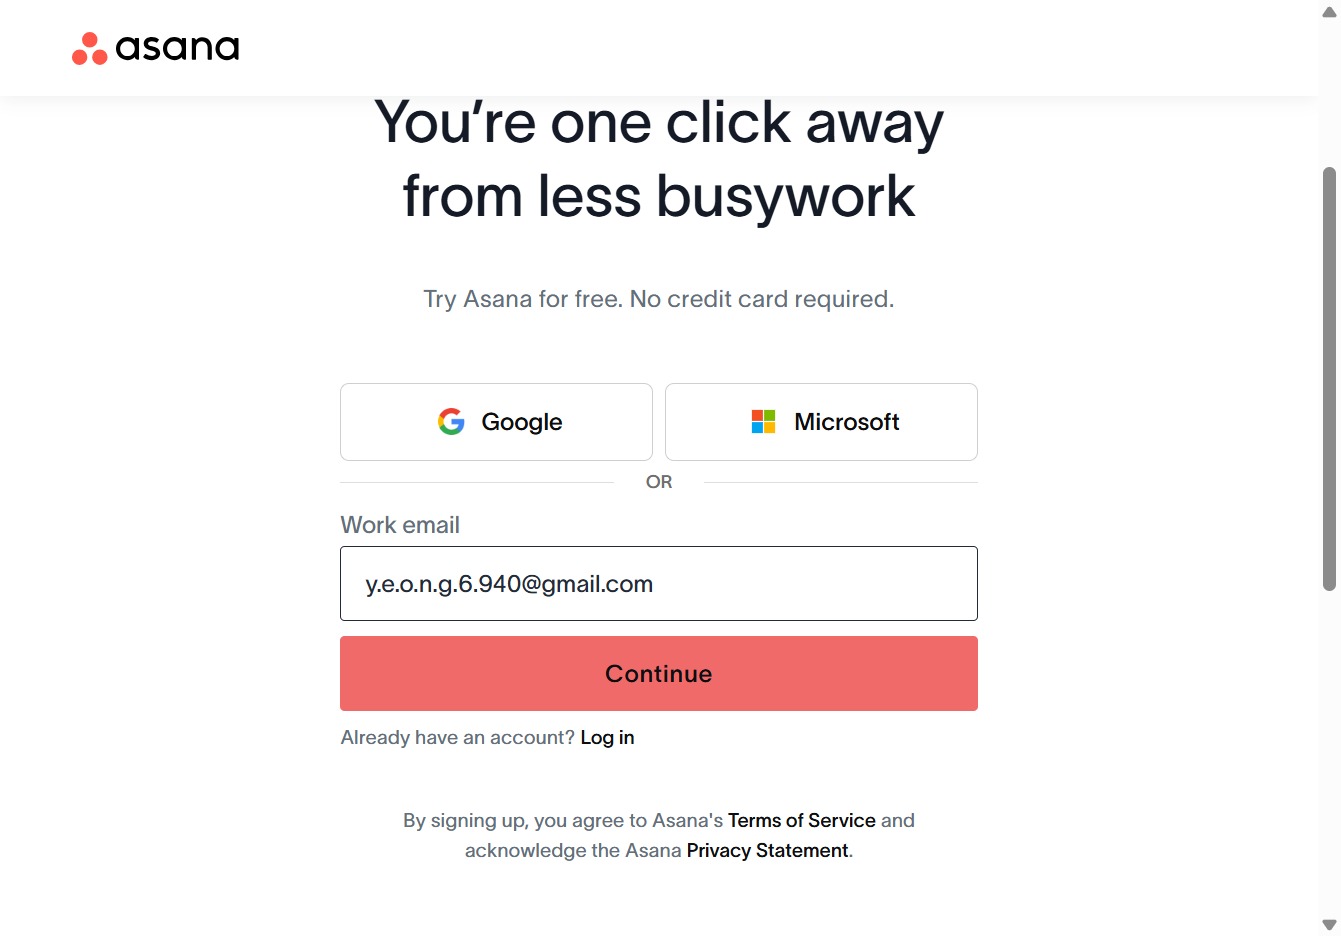
This action submits your work email and proceeds to the next step in signing up for Asana.
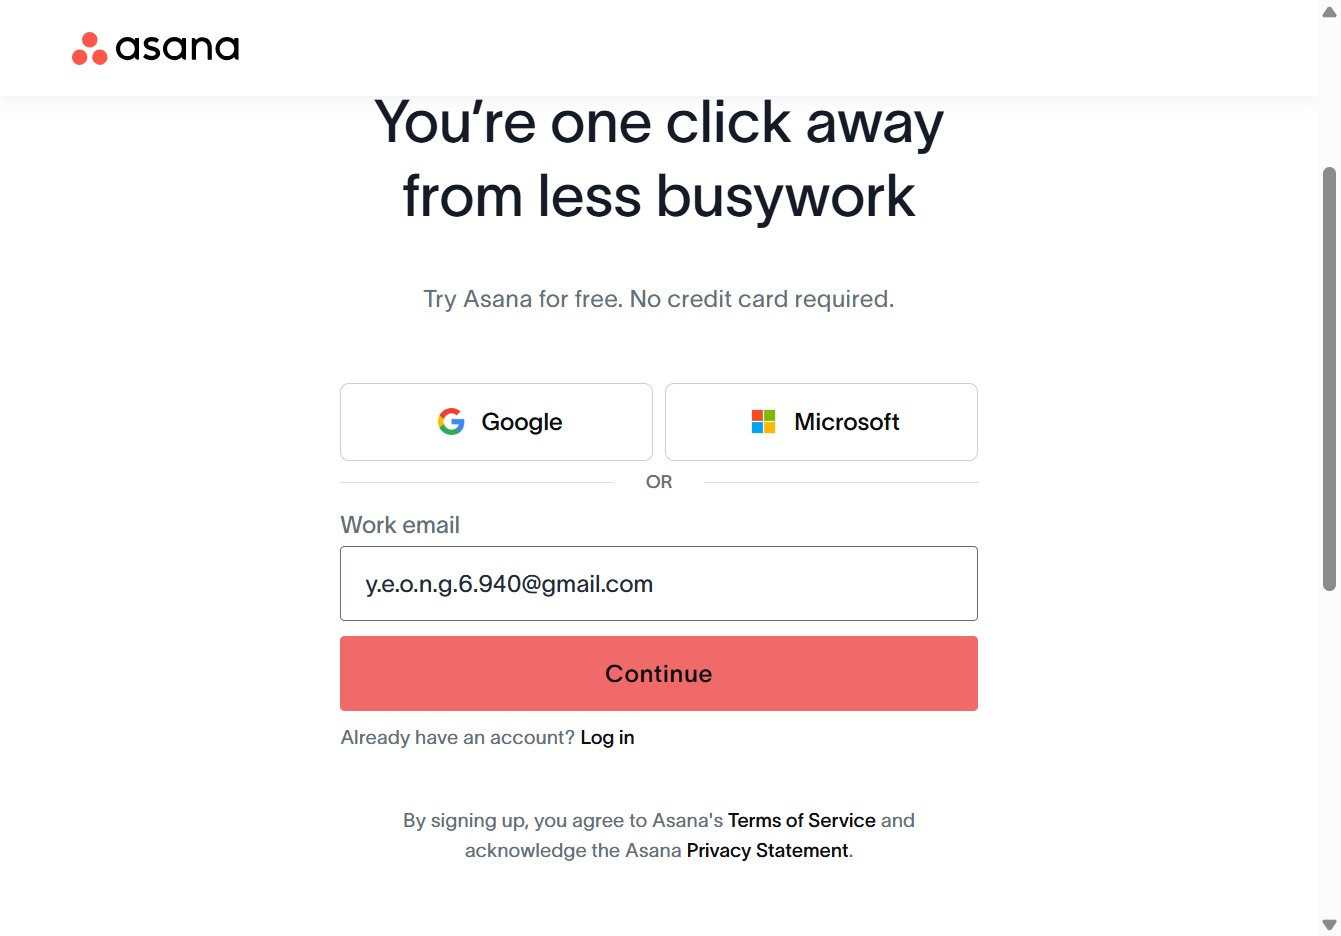
By clicking this link, you will be able to change the email address you are signing up with in Asana.

Enter 'ACME Inc' in the Full name field to specify your organization. This information is required for setting up your Asana account.
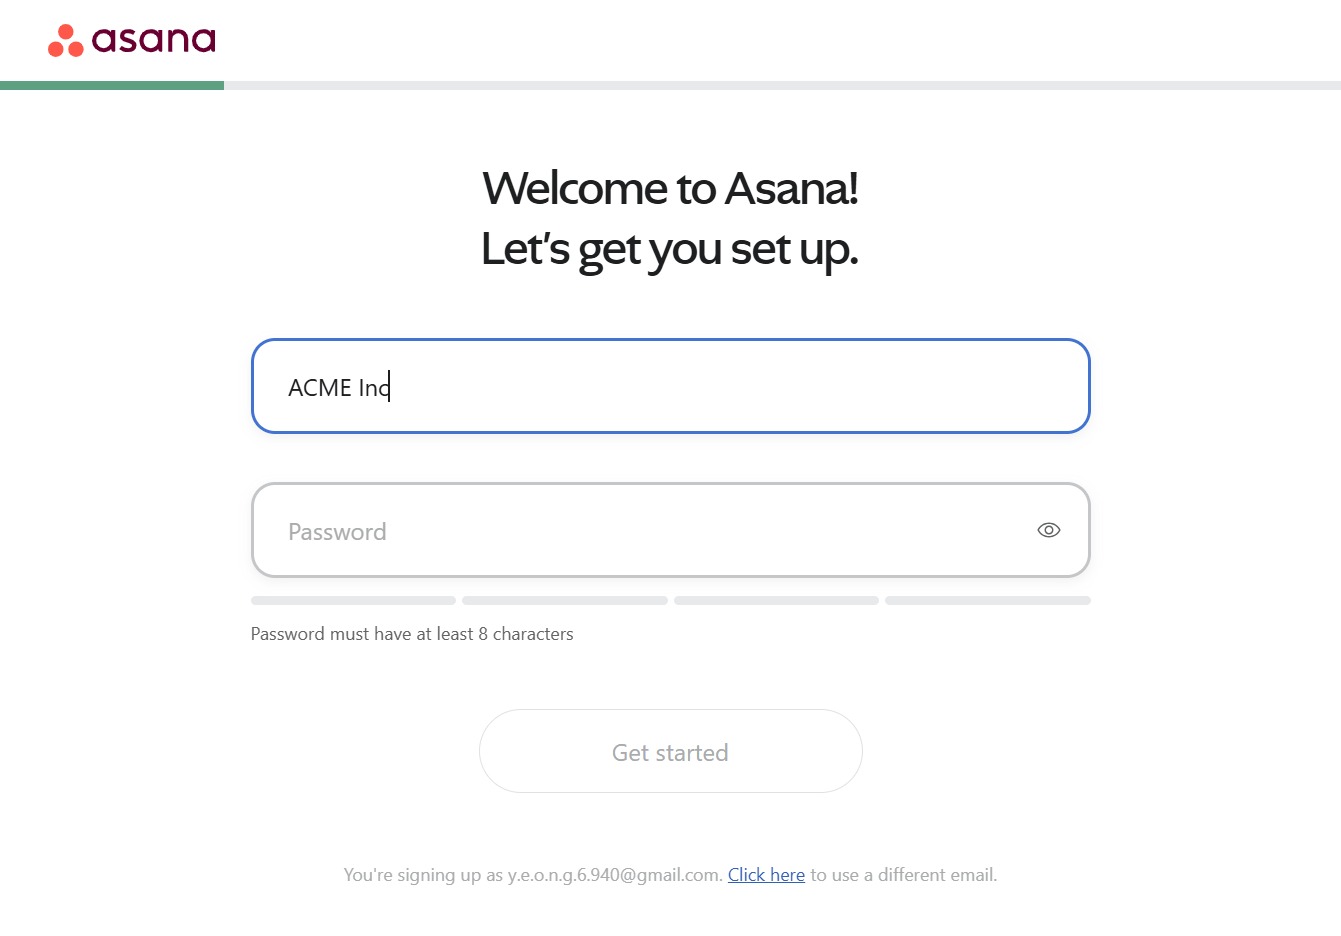
This will allow you to use a different email address for signing up, providing flexibility in your account creation process.
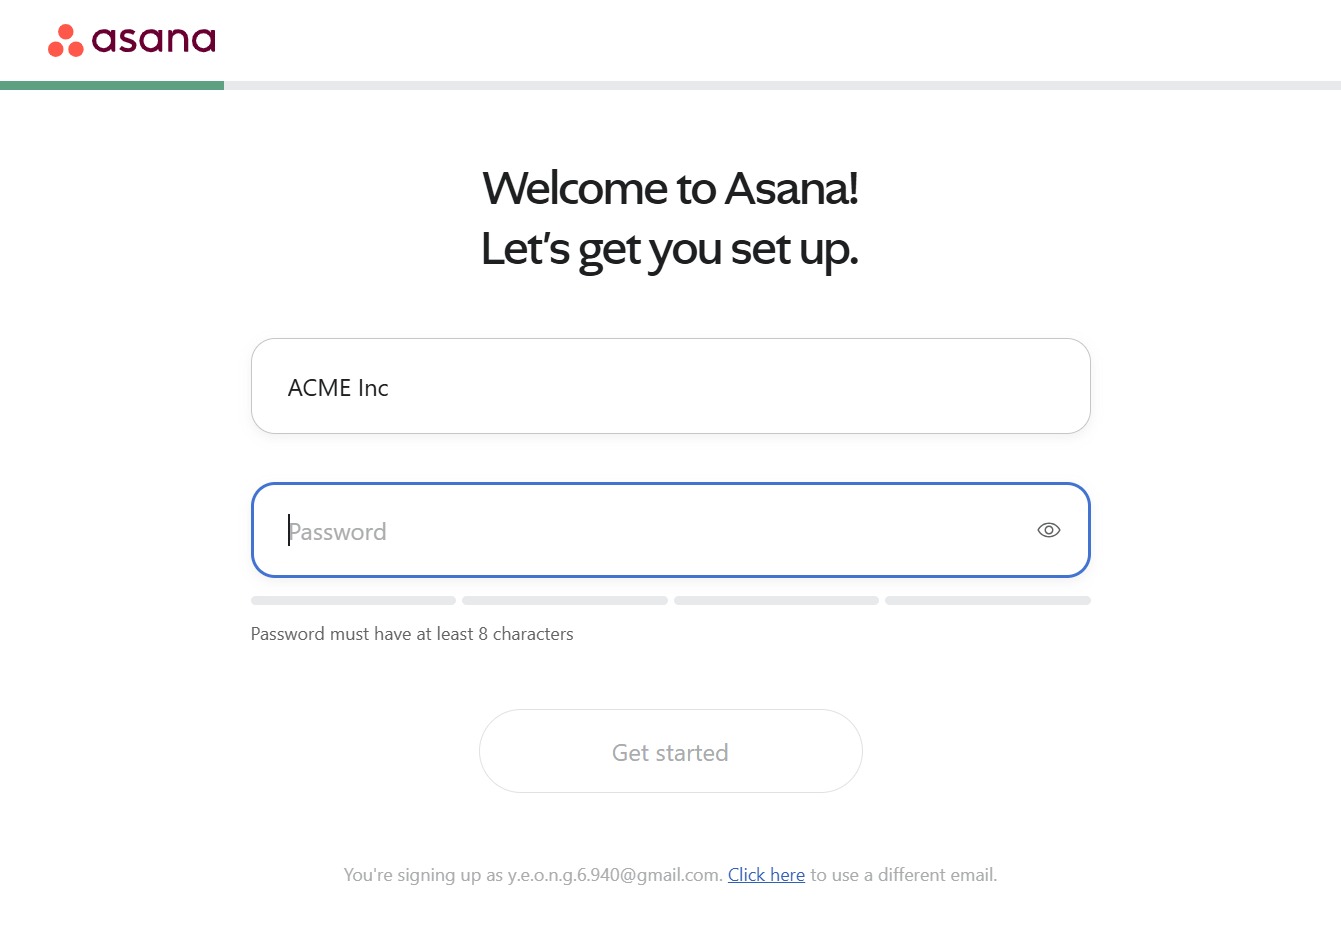
By clicking the 'Get started' button, you begin the setup process for your Asana account, allowing you to enter additional details and customize your workspace.
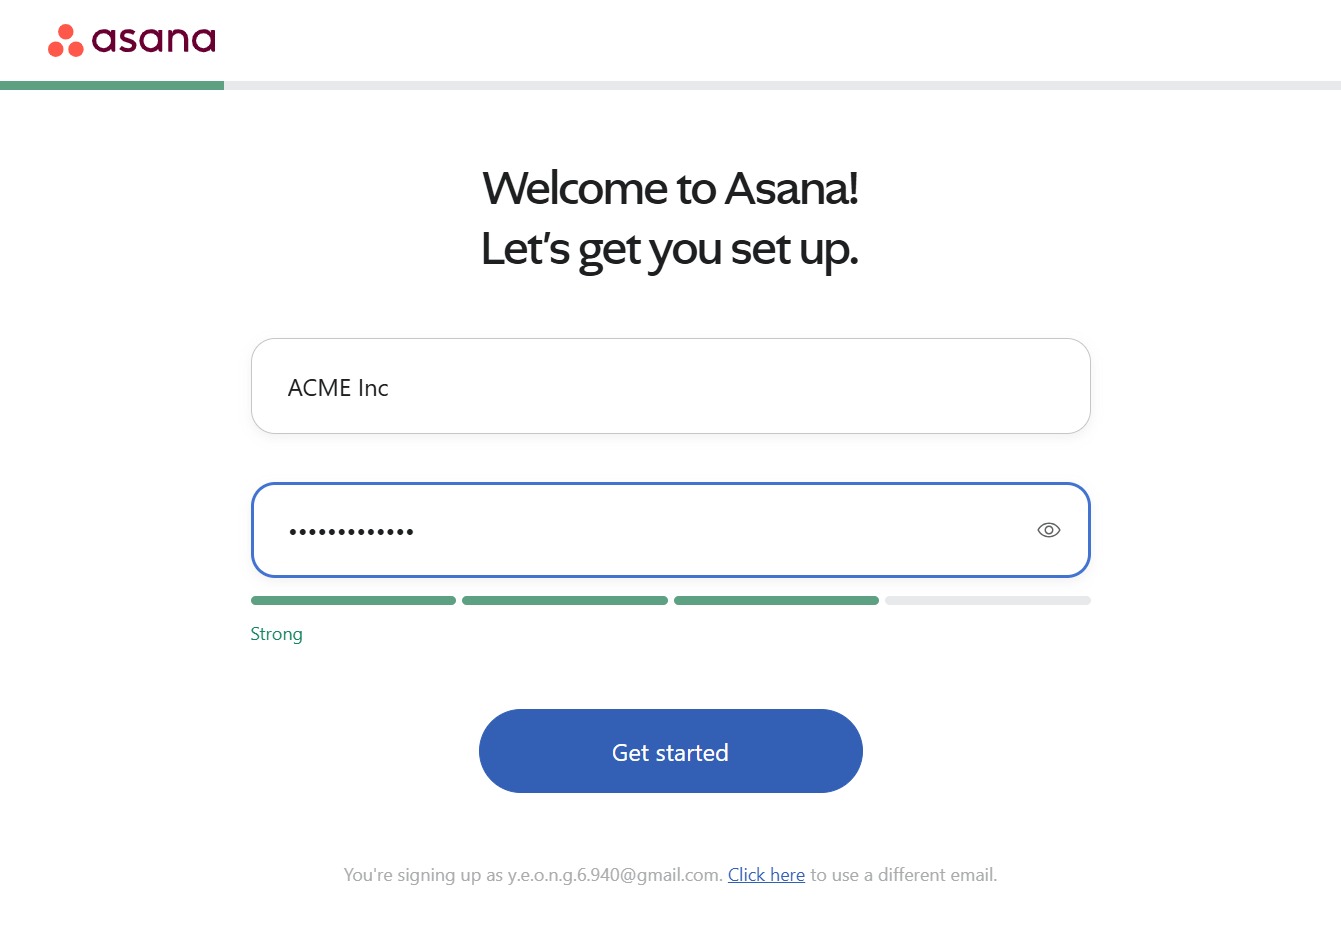
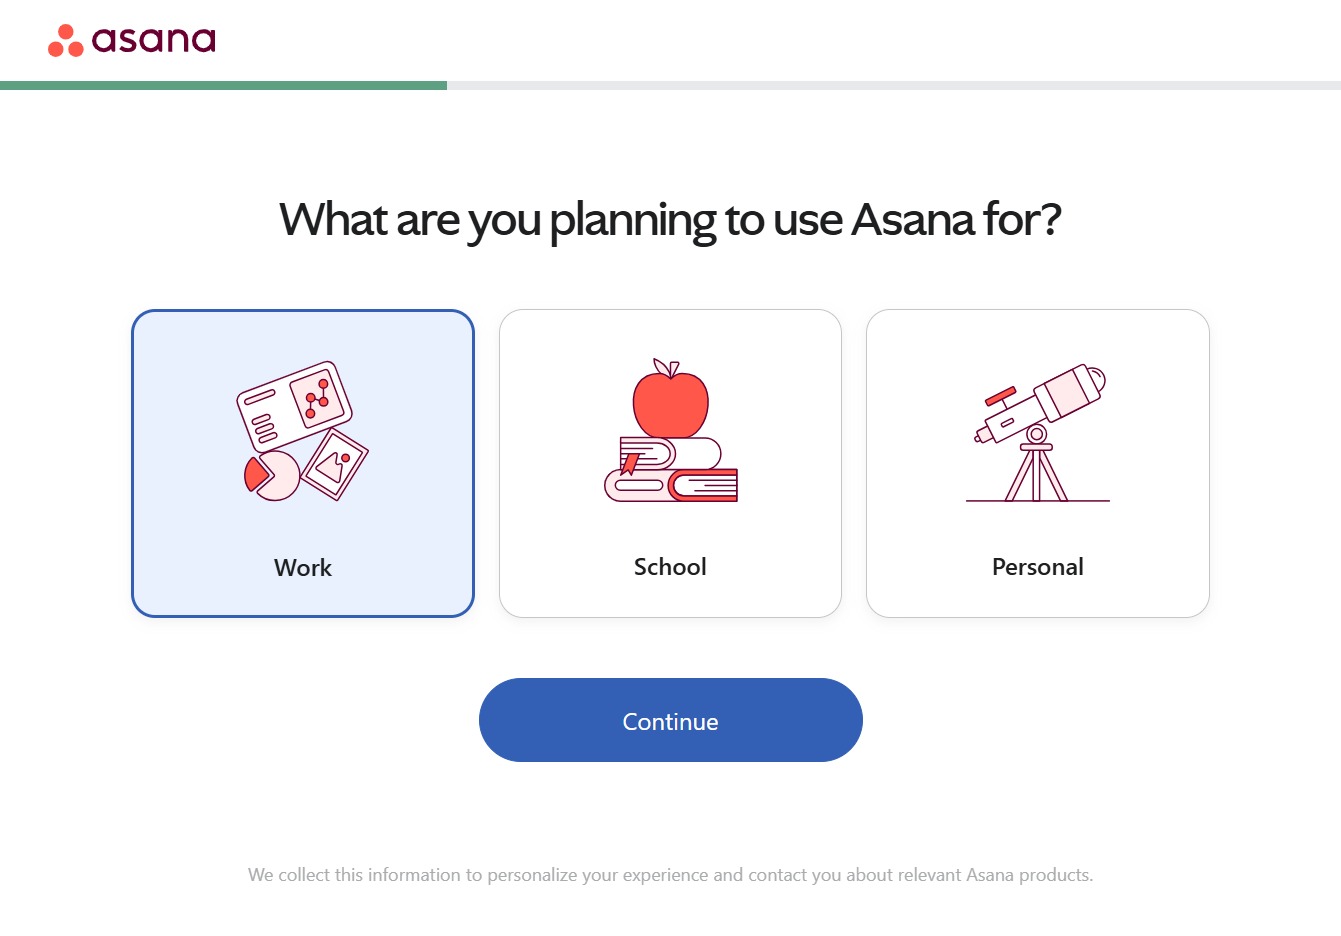
Clicking 'Continue' will initiate the process to personalize your Asana experience based on your selected usage option.
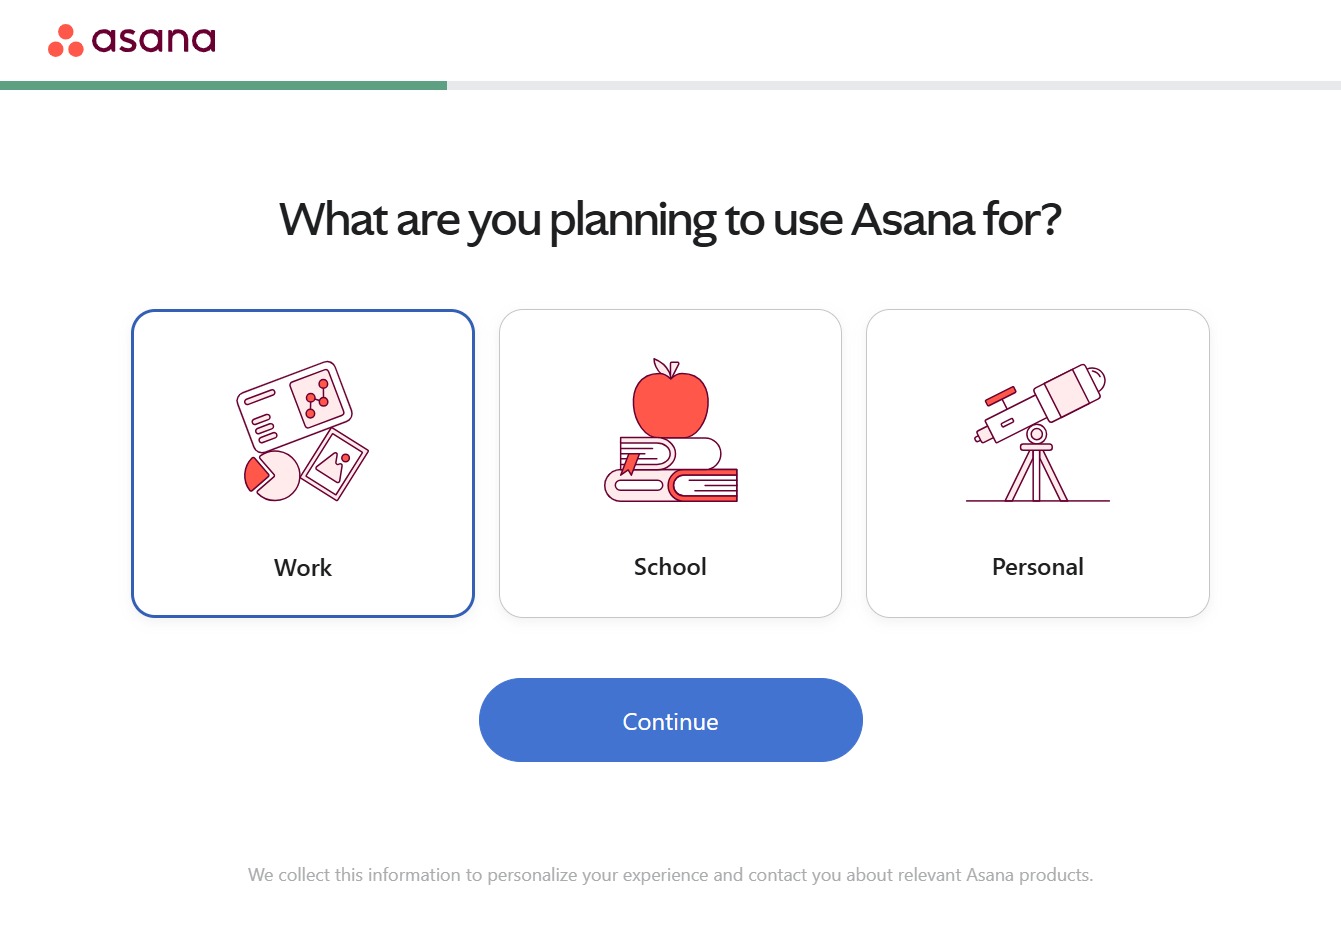
By clicking the Continue button, you will proceed to the next step in setting up your Asana account based on your selected use case.
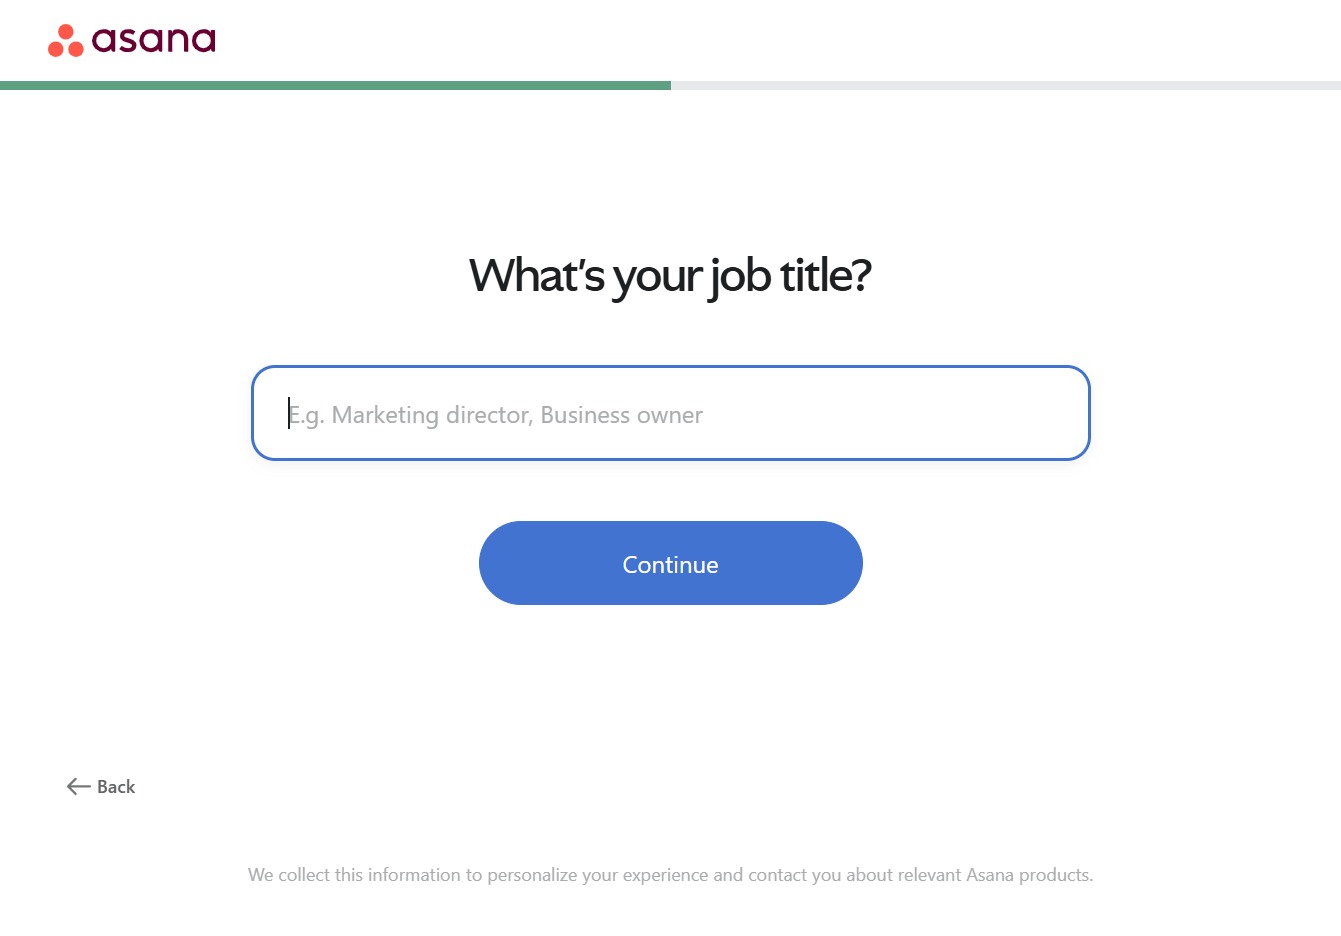
Clicking 'Continue' will proceed to the next step in the onboarding process after entering your job title.
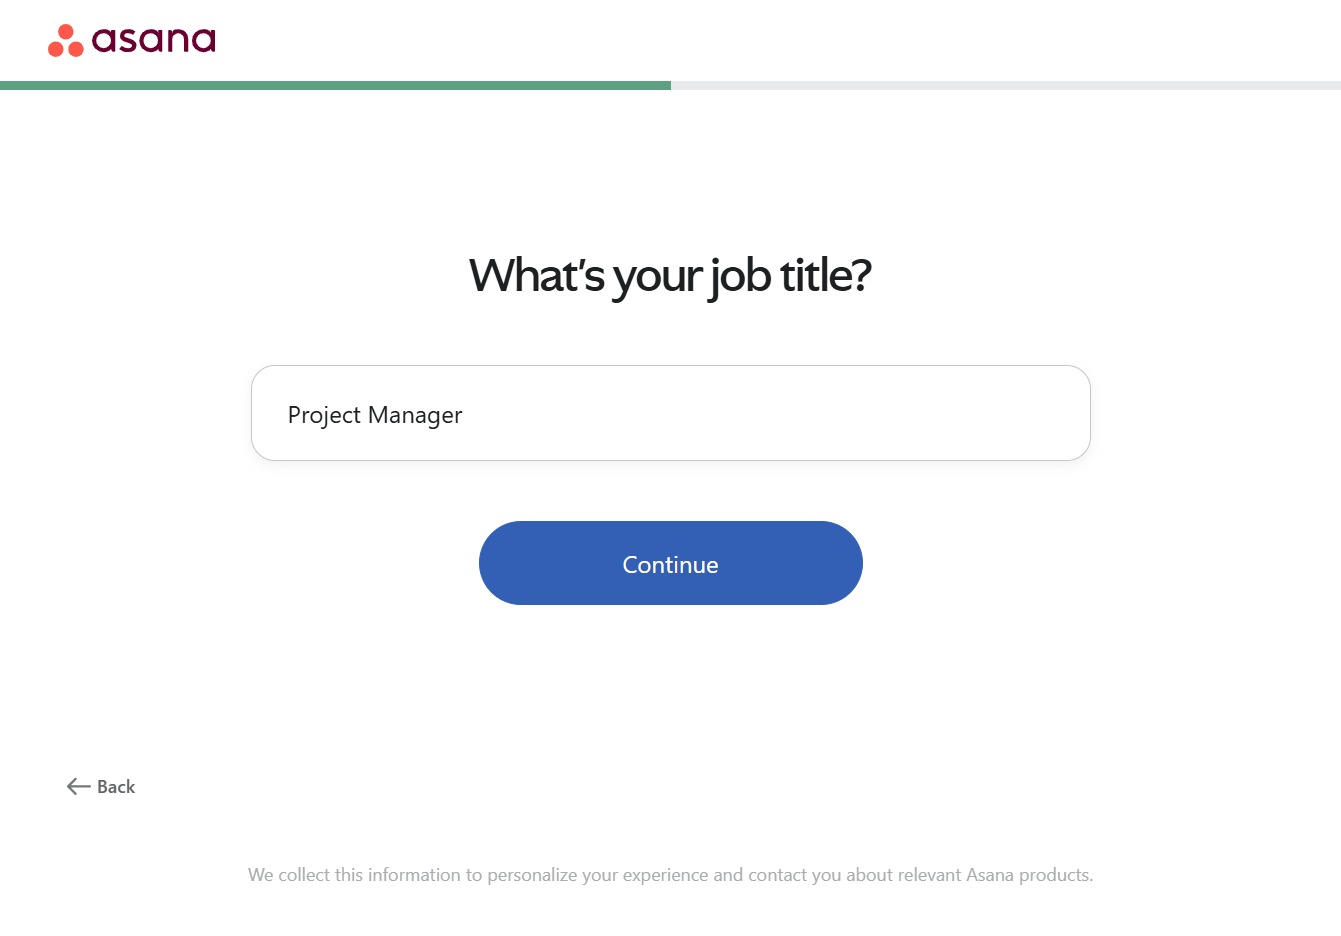
Enter 'Project Manager' in the job title field to provide your current role. This information will help personalize your experience with Asana.

After clicking the Continue button, your job title will be submitted, and you will proceed to the next step in the onboarding process.
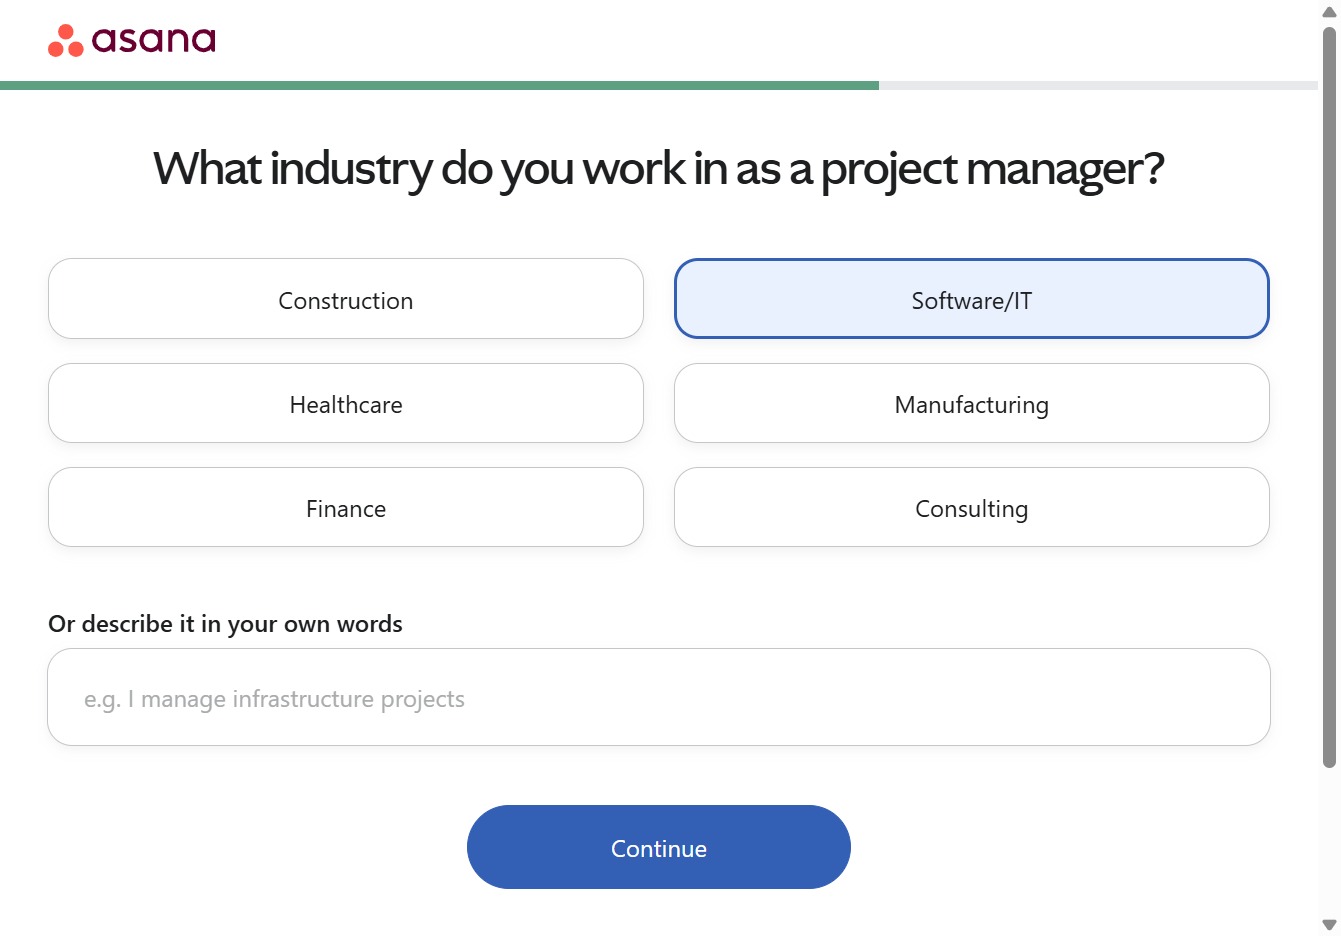
Selecting 'Software/IT' will indicate your industry as a project manager, allowing you to proceed to the next step of the setup.
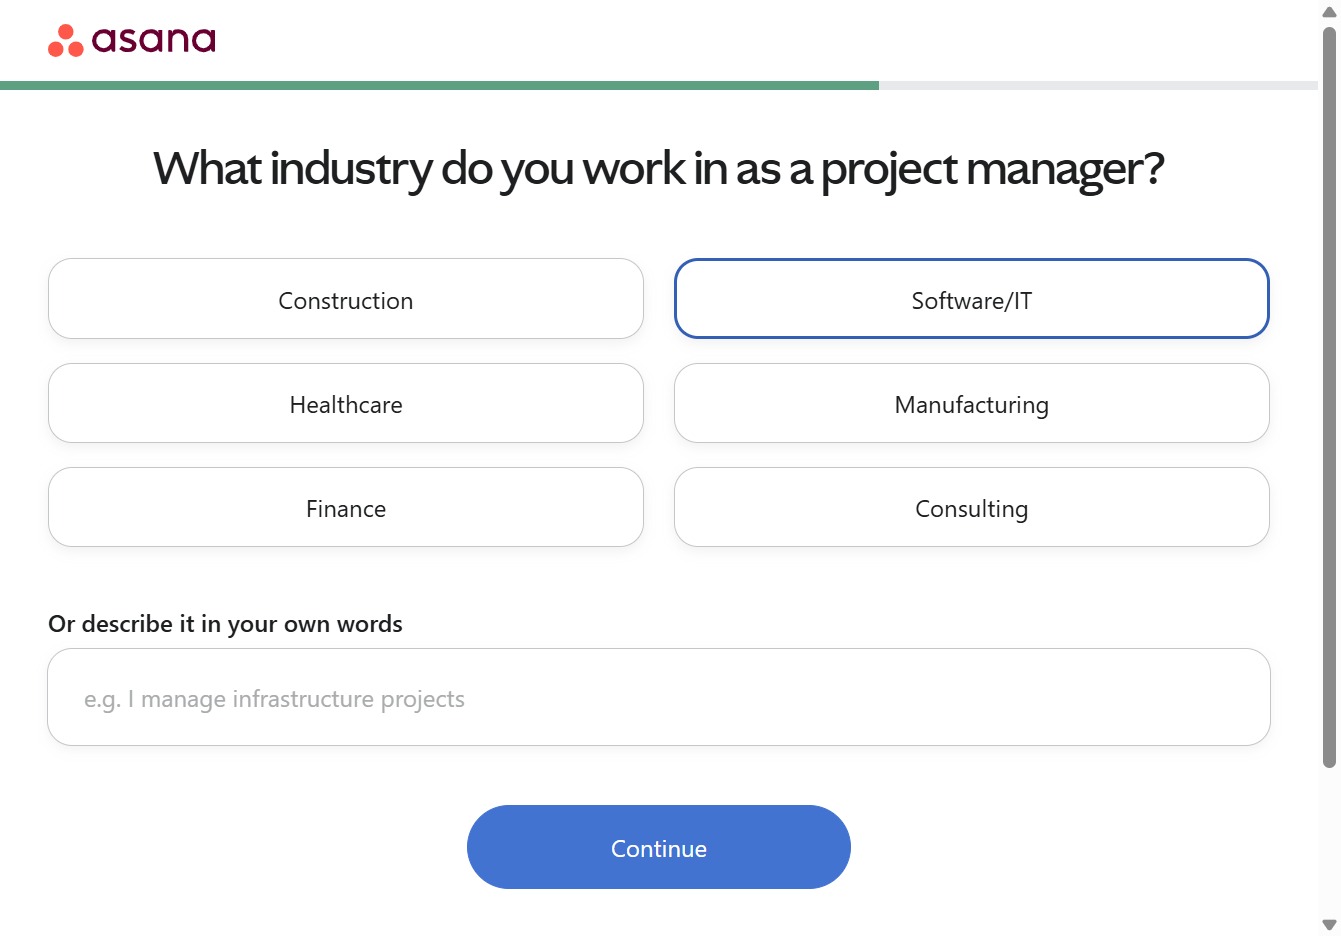
Clicking the Continue button will finalize your selection for the industry you work in as a project manager and proceed to the next step in the setup process.
Selecting this option allows you to create a new project from scratch, providing a blank canvas to manage tasks and assignments as needed.

Clicking this button will direct you to the main Asana interface, where you can start managing your tasks and collaborating with teammates.