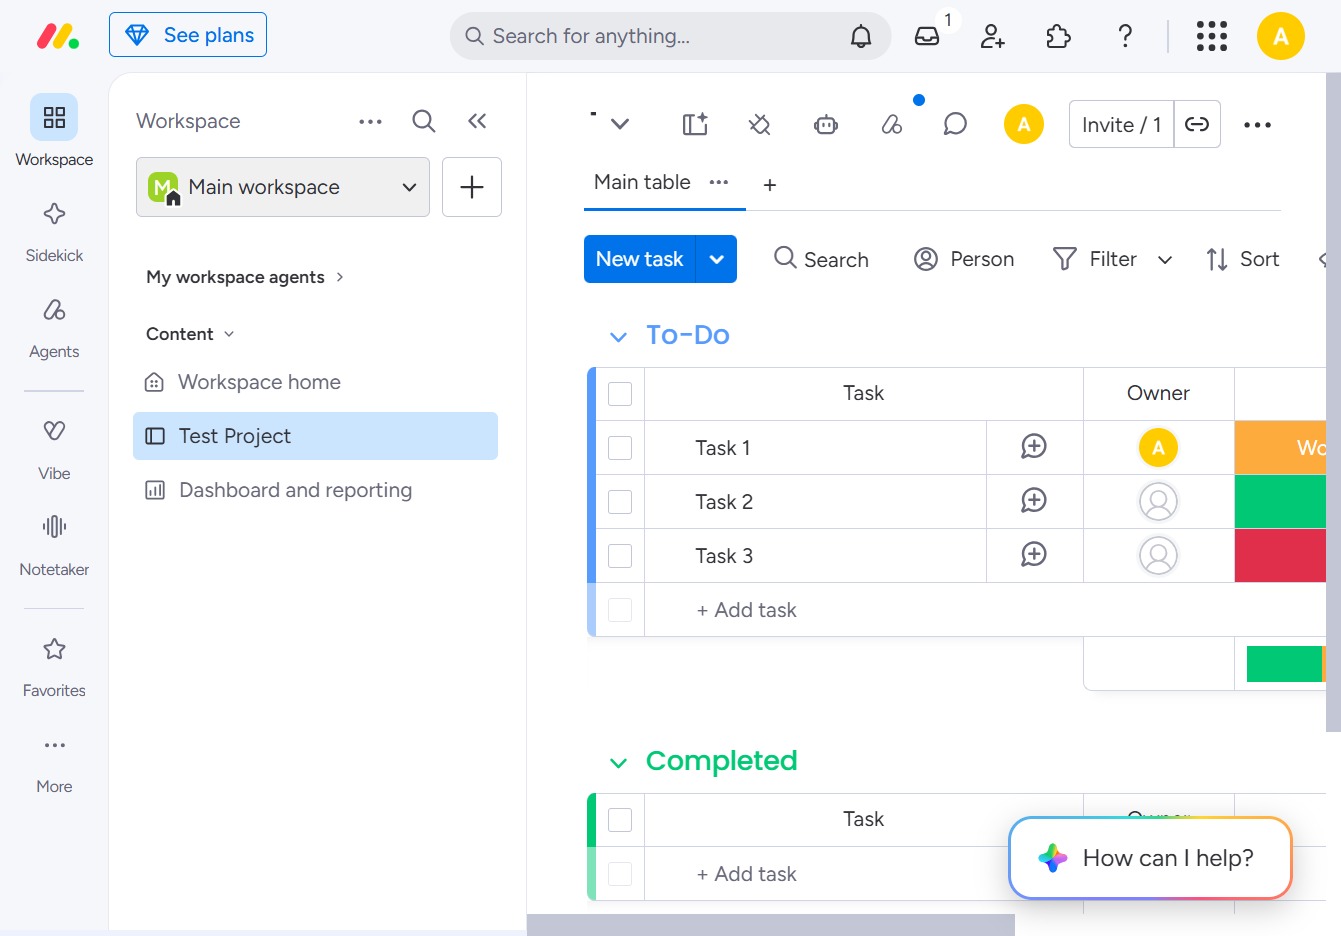
Click to select or add a workspace
By clicking on this option, you can choose an existing workspace or create a new one to organize and manage your projects more effectively.
Loading screenshot…
100%
In this guide, you'll learn how to create and customize a new workspace to organize your projects effectively.
 viktoria
In this guide, you'll learn how to create and customize a new workspace to organize your projects effectively. Follow the steps to set a unique name, adjust privacy settings, and personalize its appearance for a more functional and visually appealing workspace environment.
By clicking on this option, you can choose an existing workspace or create a new one to organize and manage your projects more effectively.
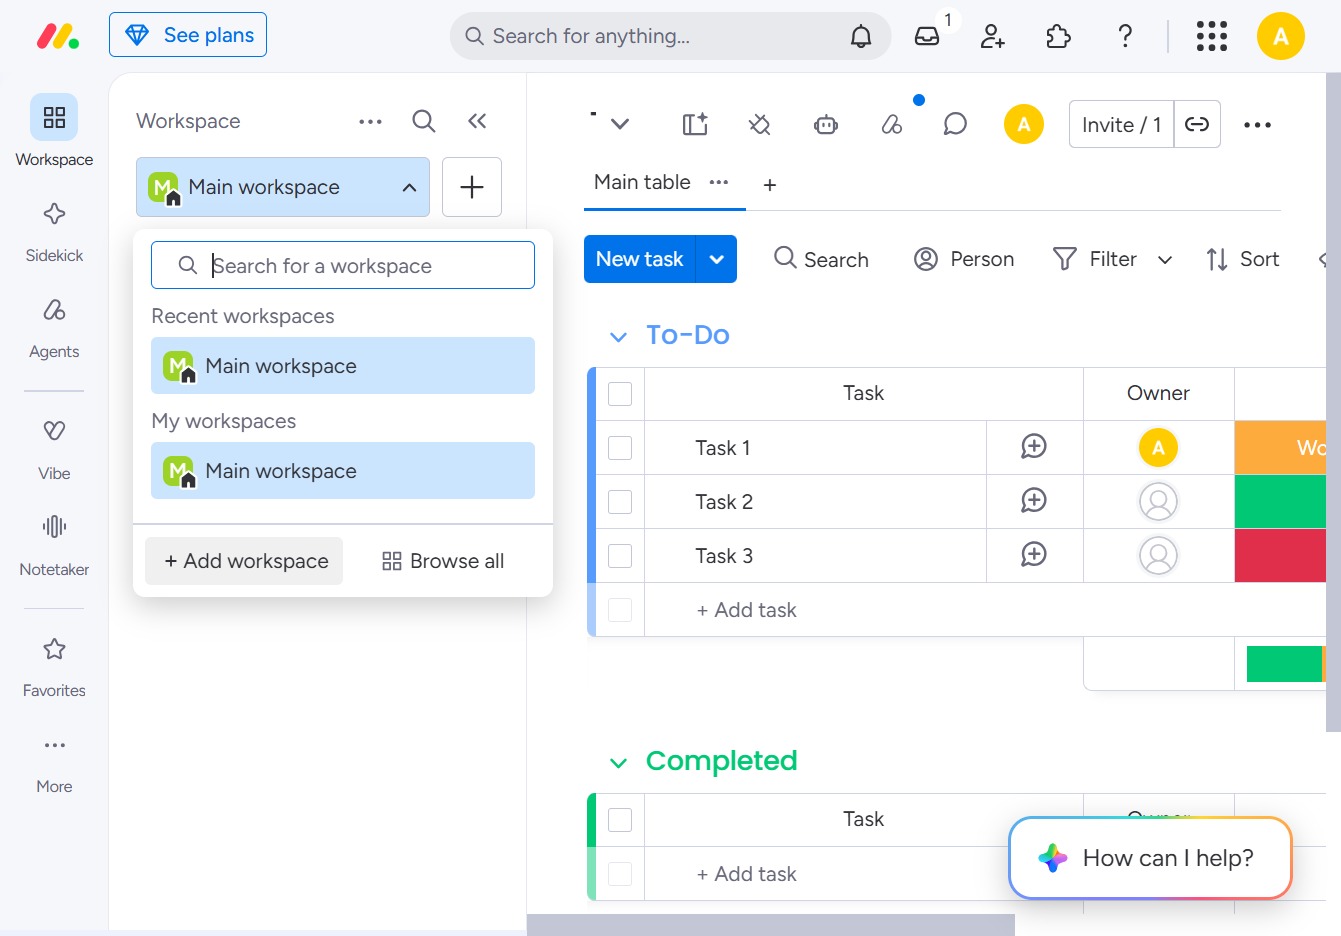
This action allows you to create a new workspace, enabling organized management of projects and tasks within your workspace environment.
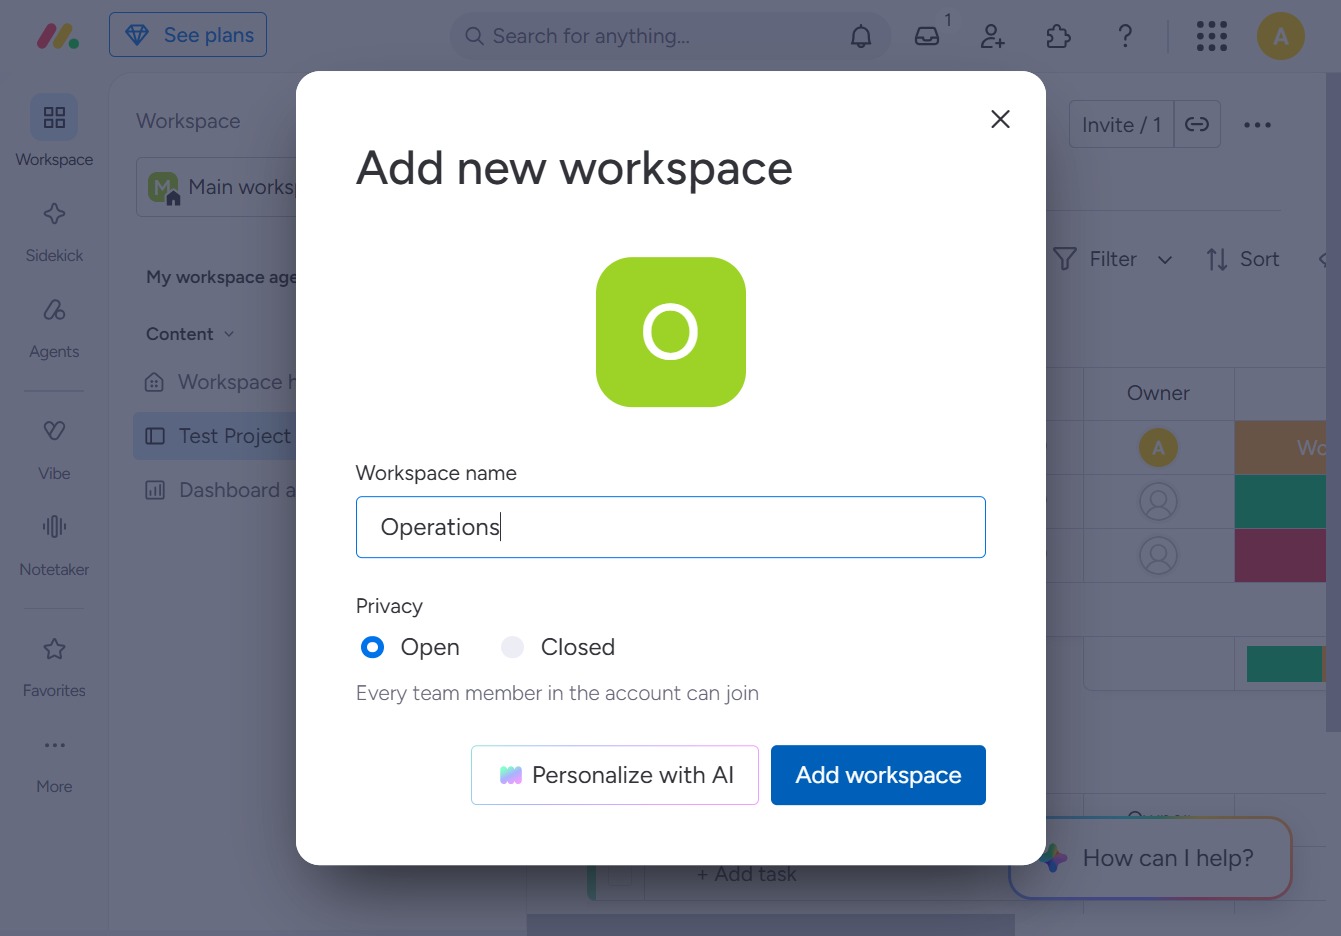
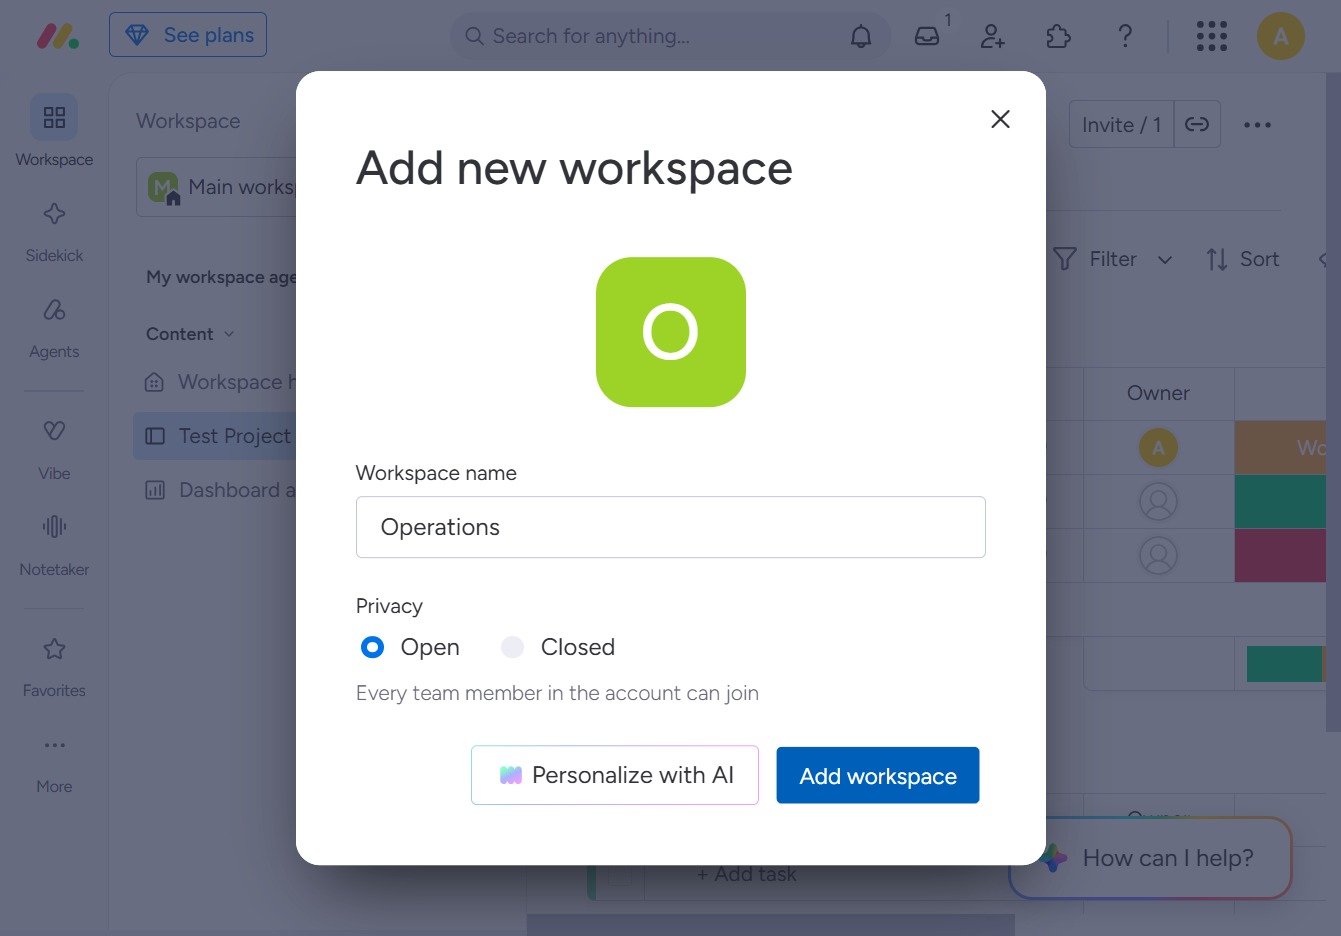
Enter 'Operations' into the 'Workspace name' field to designate your new workspace. This name will help identify your workspace within the application and facilitate organization.
This action opens a dialog to create a new workspace where you can specify the workspace name and privacy settings.
Clicking this icon allows you to modify settings or details related to your workspace.
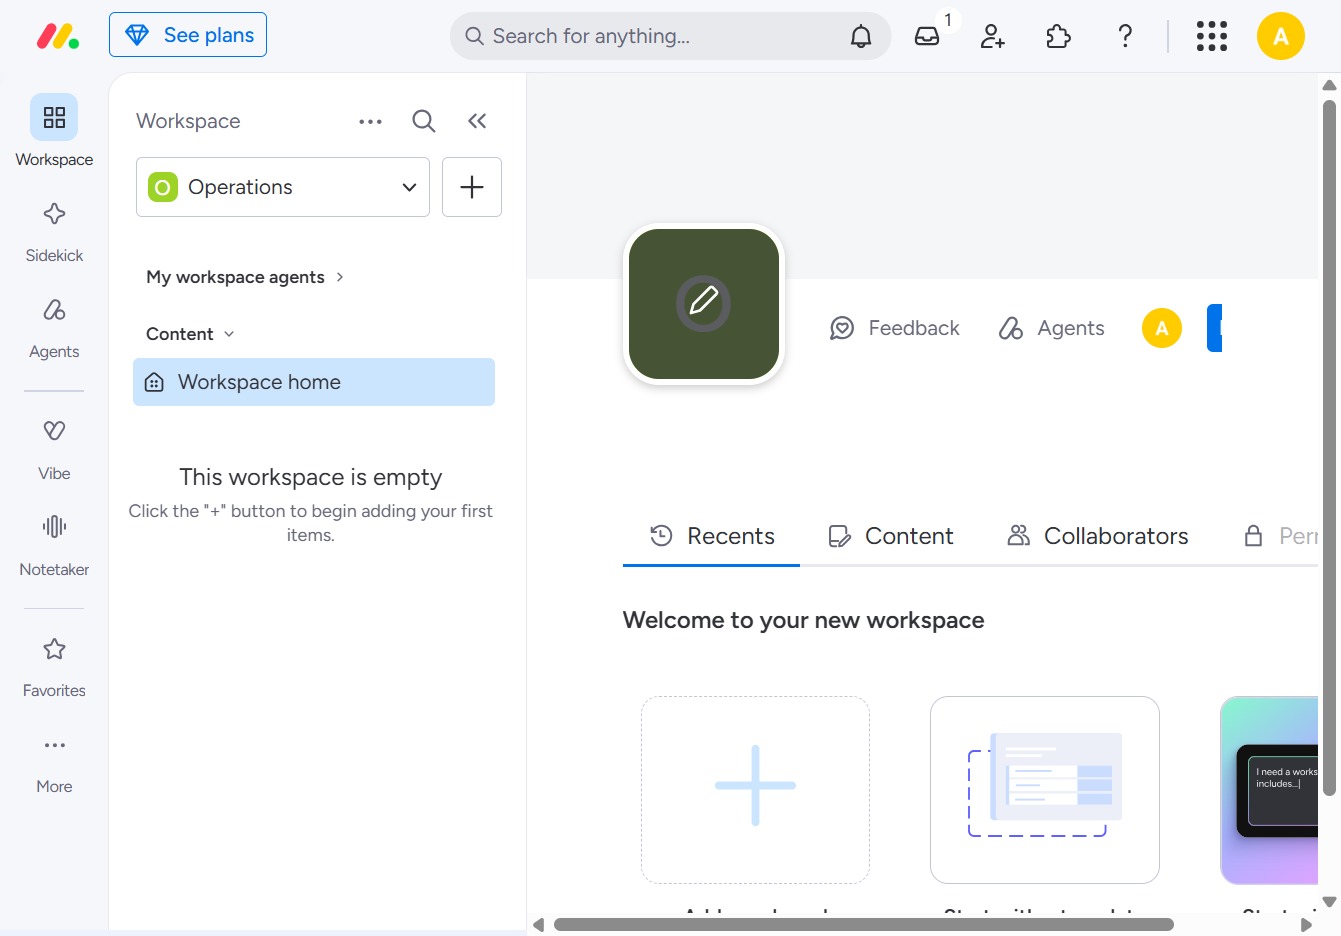
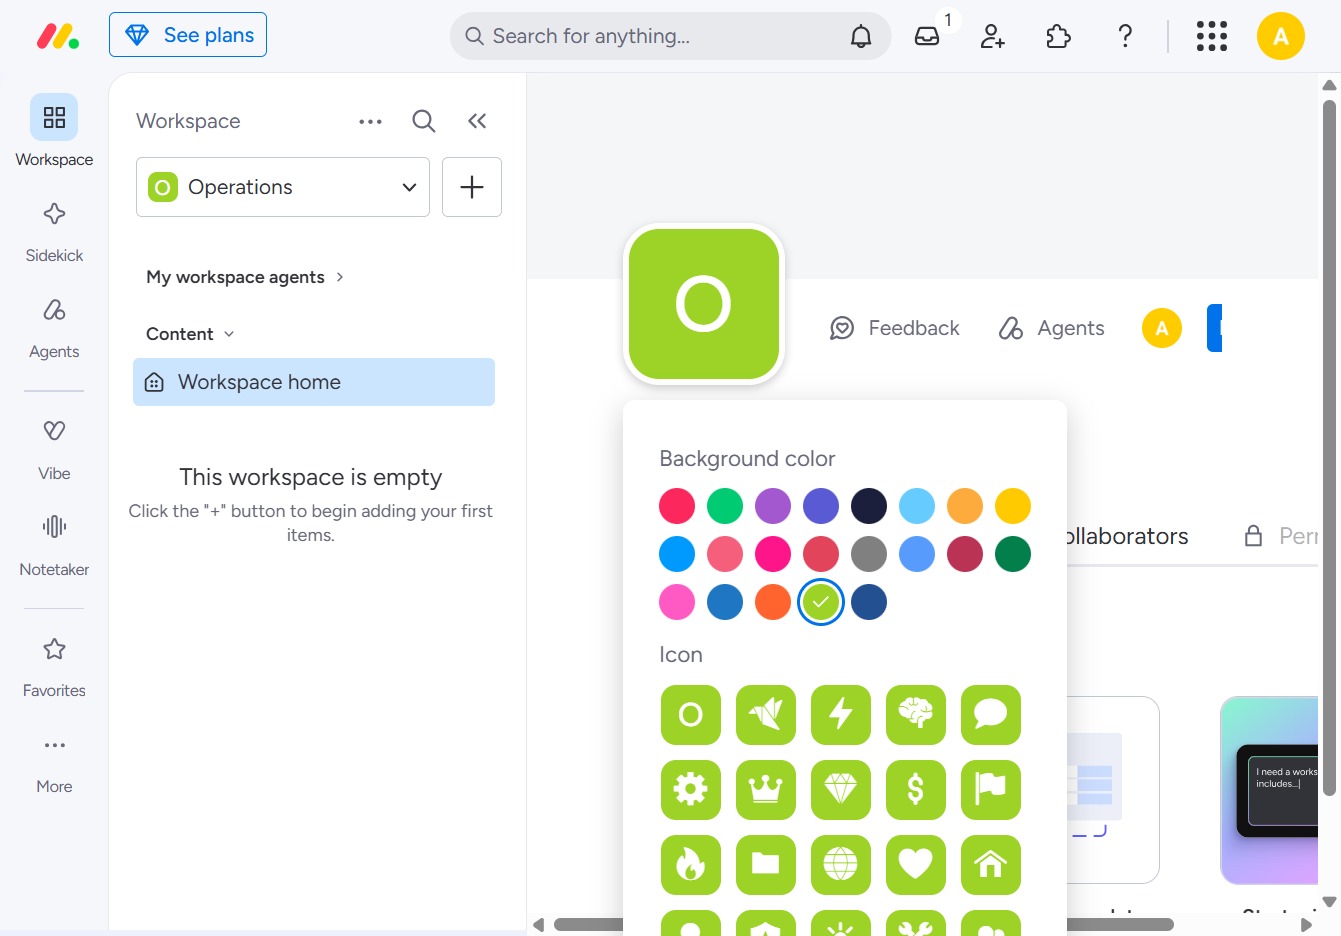
Clicking this link allows you to select a background color and icon for your workspace home, enhancing its appearance and making it uniquely yours.