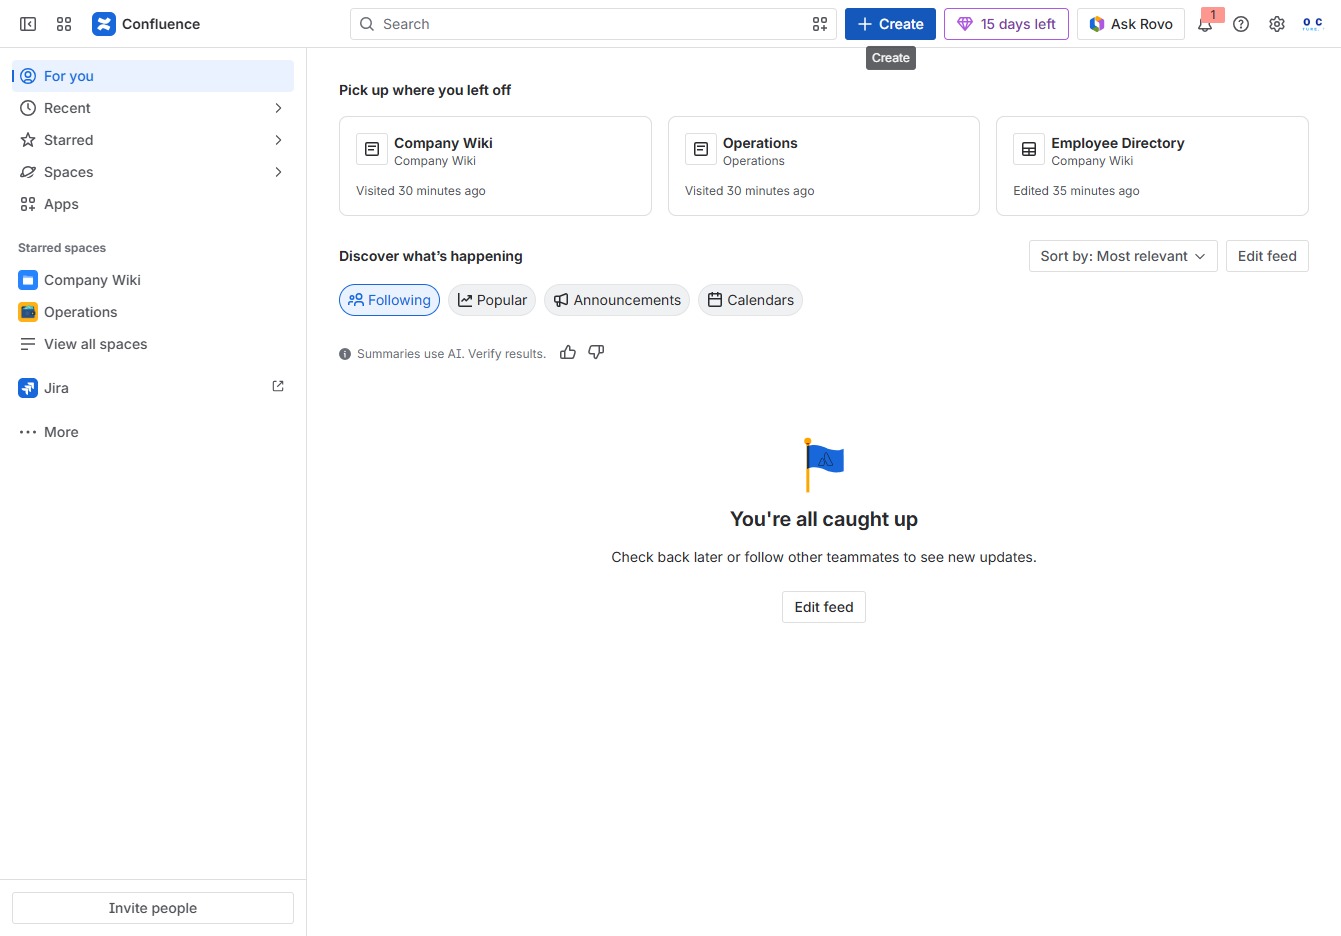
Click the Create button
Clicking the 'Create' button allows you to initiate the process of adding new content or pages within Confluence, enabling collaboration and information sharing.
Loading screenshot…
100%
In this how-to guide, you'll learn the step-by-step process of creating an interactive whiteboard in Confluence for effective brainstorming.
 viktoria
In this how-to guide, you'll learn the step-by-step process of creating an interactive whiteboard in Confluence for effective brainstorming. Discover how to initiate collaboration, organize ideas, and enhance your team's workflow in real-time as you develop your marketing campaign.
Clicking the 'Create' button allows you to initiate the process of adding new content or pages within Confluence, enabling collaboration and information sharing.
This will open a new collaborative whiteboard where you can create and edit visual content in real-time with your team.
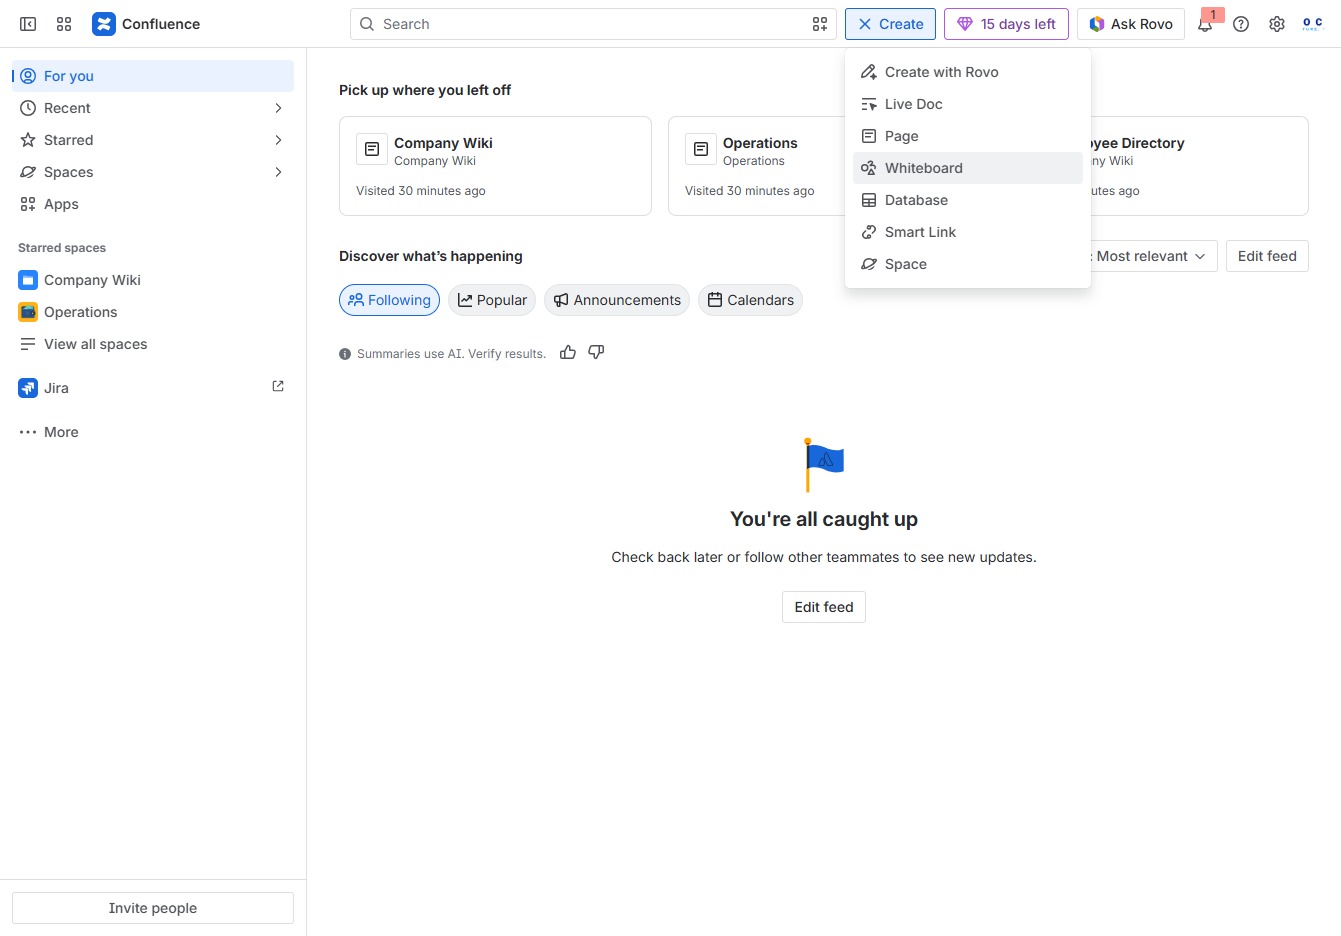
This action opens the whiteboard for editing, allowing you to create and collaborate on ideas in real time.
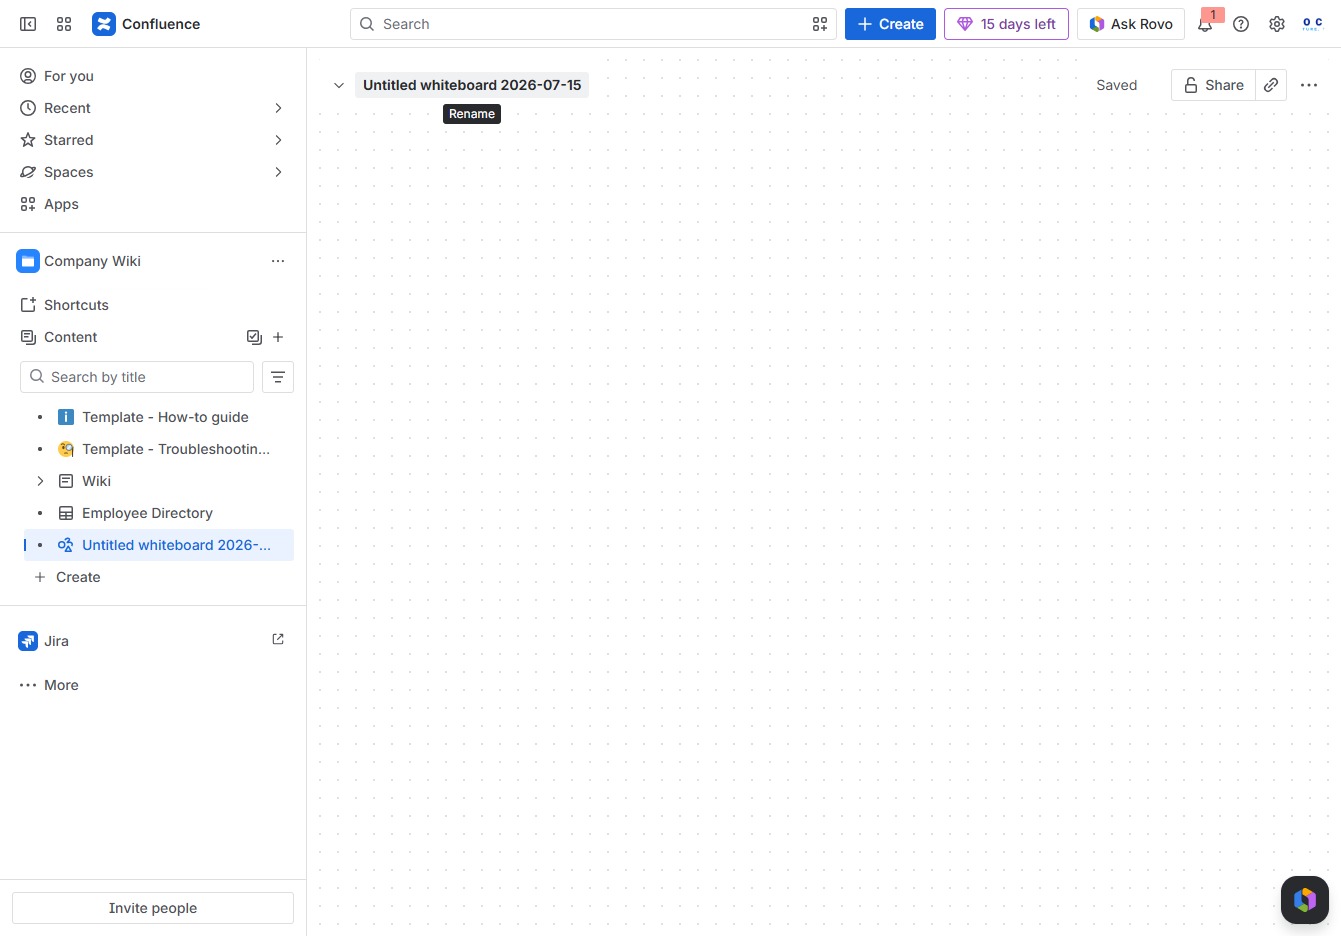
Enter the text 'Brainstorming' into the input field of the Untitled whiteboard to set up your brainstorming session. This will help organize your ideas within the whiteboard environment.
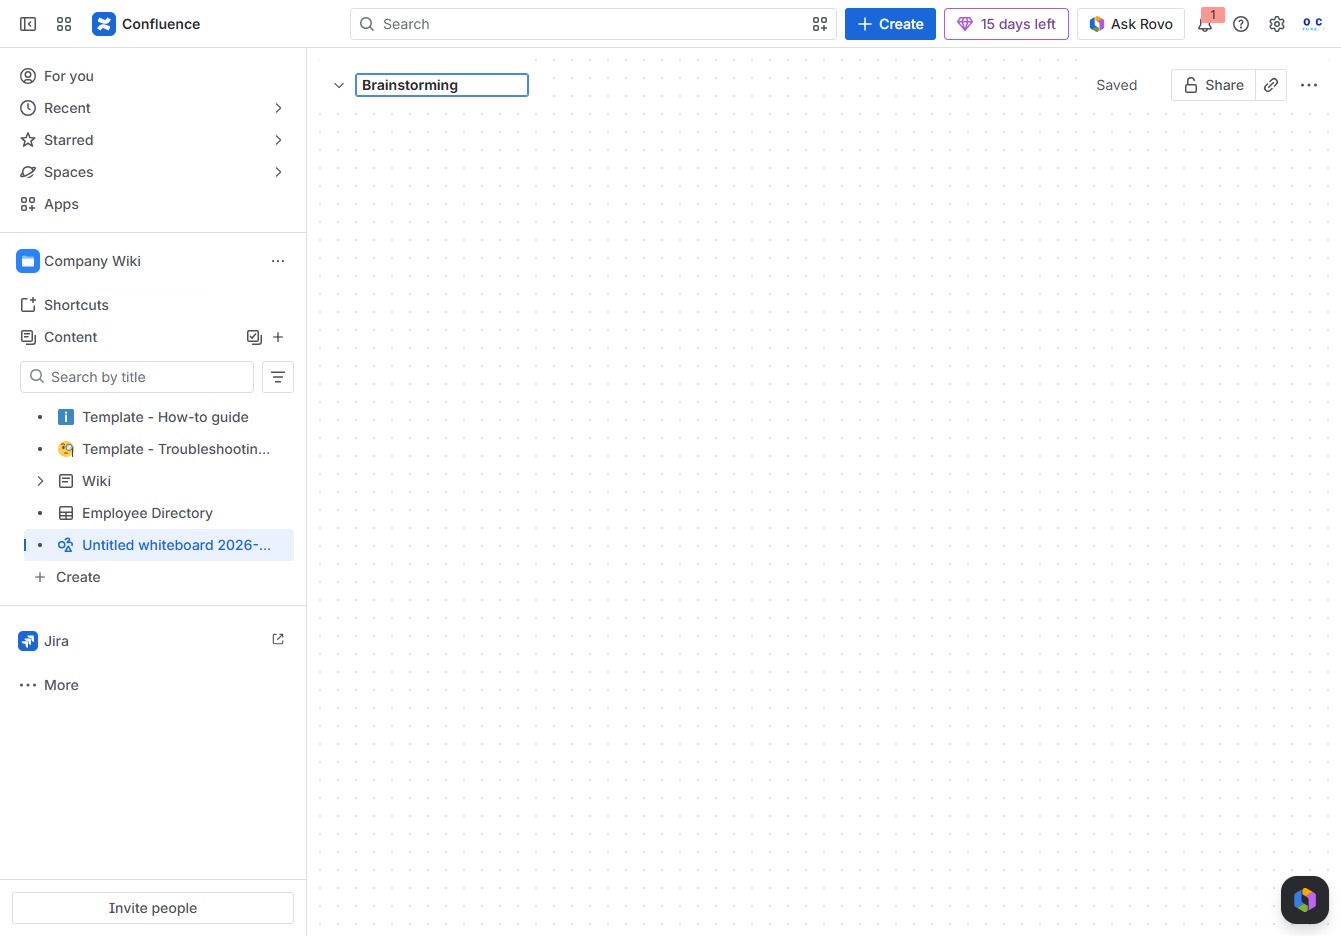
This action opens the brainstorming section, allowing you to collaborate and add ideas directly within the document.

Clicking the Rovo Button will apply the selected style from the known styles list, such as 'grid' or 'dotted', to your shapes in the brainstorming document.

Enter 'Marketing Campaign' into the Ak editor textarea to define the subject of your brainstorming session. This will help sync your collaborative efforts toward the specific marketing project.

Clicking this link allows you to add a new element to the brainstorming page, helping you to organize your thoughts and ideas related to the Marketing Campaign.

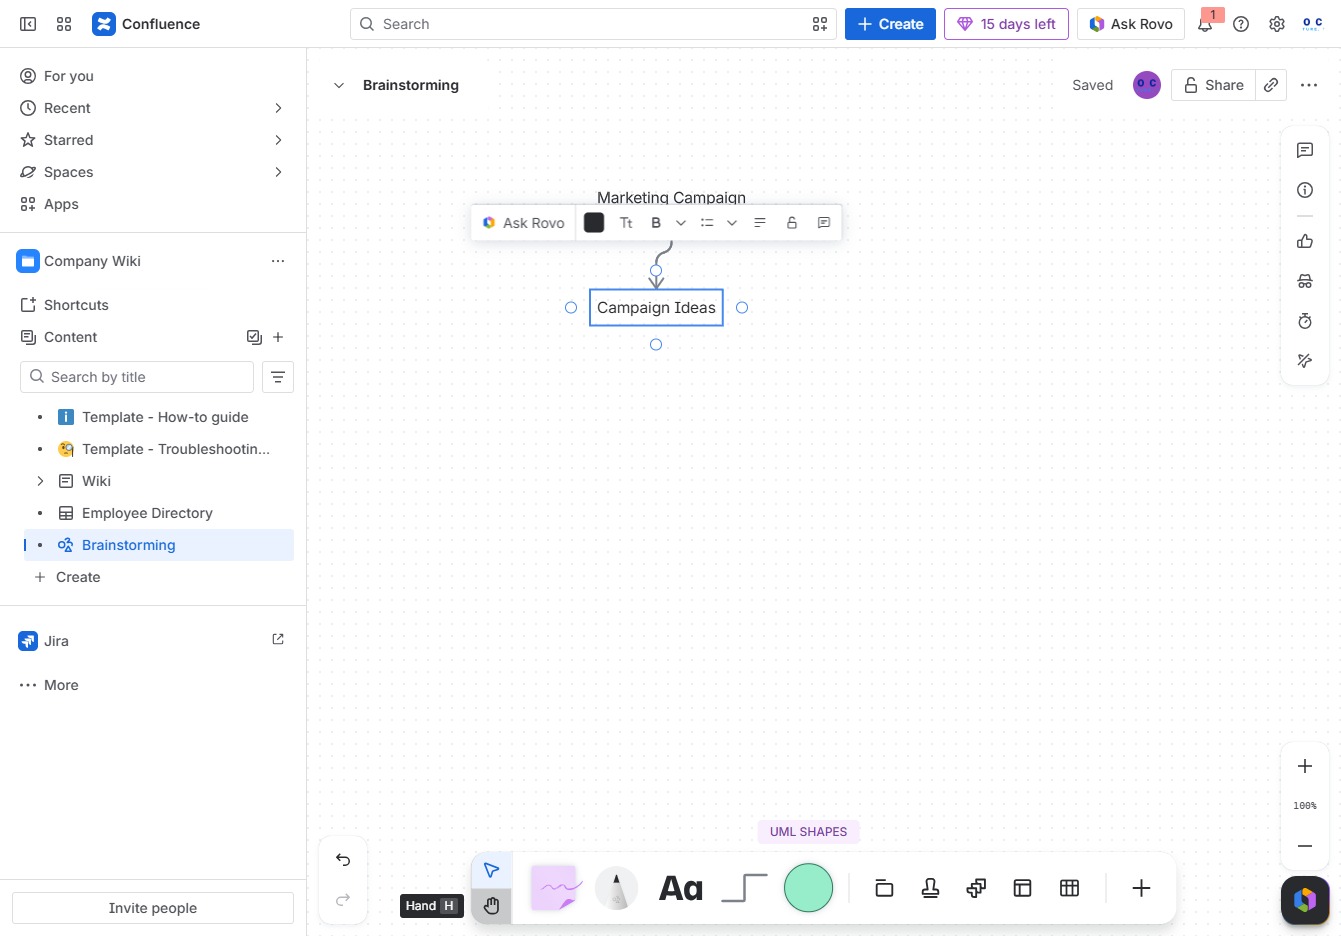
Enter 'Campaign Ideas' into the Ak editor textarea to add it as a brainstorming note. This helps organize your thoughts for the marketing campaign.

Clicking this link will allow you to insert new ideas or content related to your brainstorming session. This facilitates collaboration and enhances the development of your Marketing Campaign.