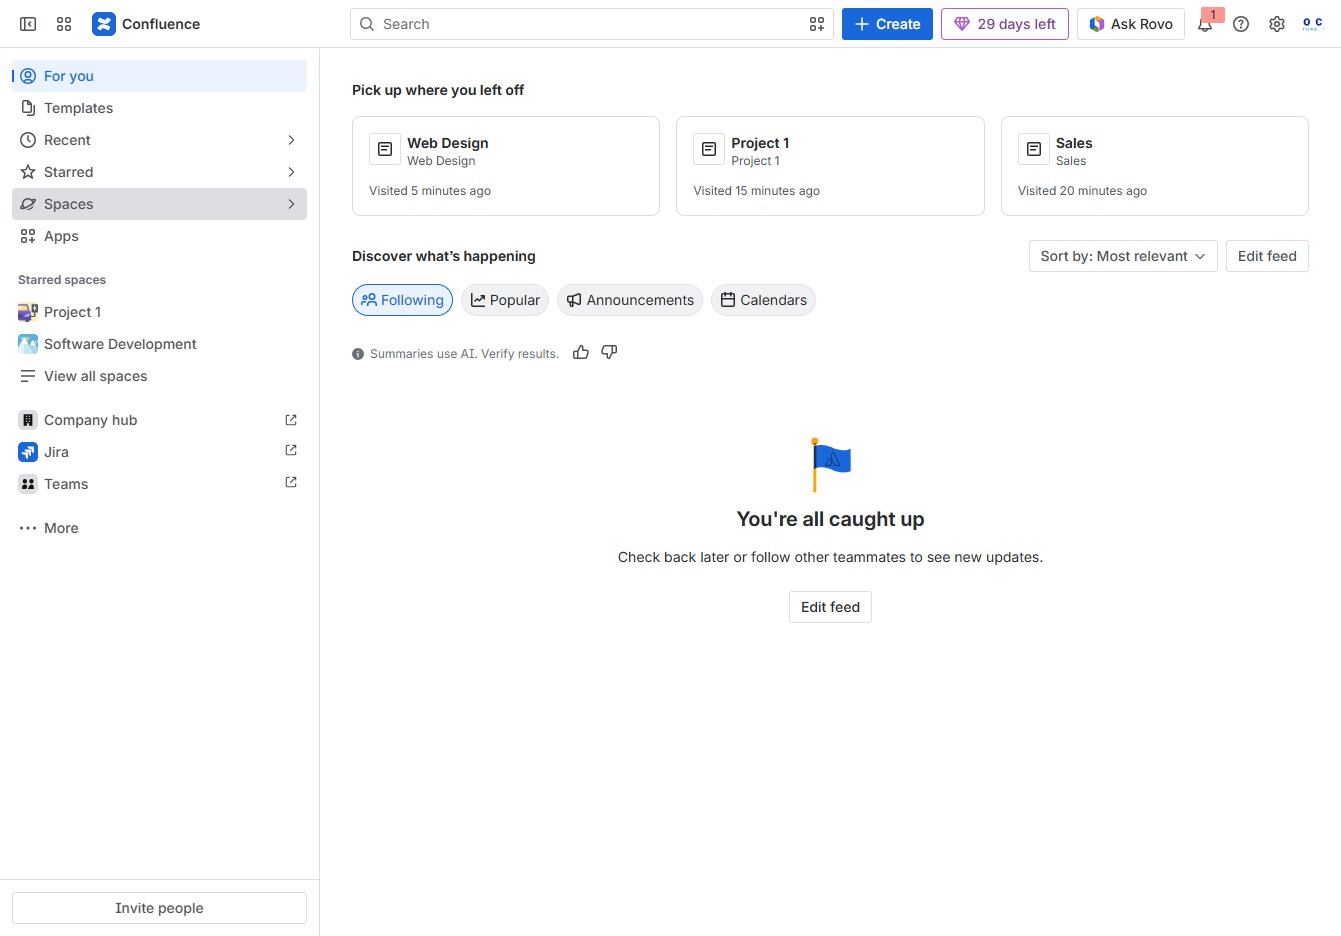
Click the Spaces menu
Selecting the 'Spaces' menu will display a list of available spaces where you can collaborate on projects and access different content areas.
Loading screenshot…
100%
This how-to guide walks you through the process of creating a collaborative team space in your application.
 viktoria
This how-to guide walks you through the process of creating a collaborative team space in your application. From navigating to the designated menu to linking project teams and finalizing the setup, you'll learn to effectively organize and manage your projects for improved teamwork and communication.
Selecting the 'Spaces' menu will display a list of available spaces where you can collaborate on projects and access different content areas.
This action allows you to initiate the process of setting up a new space within the application, enabling collaboration and organization for your projects.

Enter 'Operations' in the designated field to label your new space. This name will help organize and identify your projects within the Operations section.
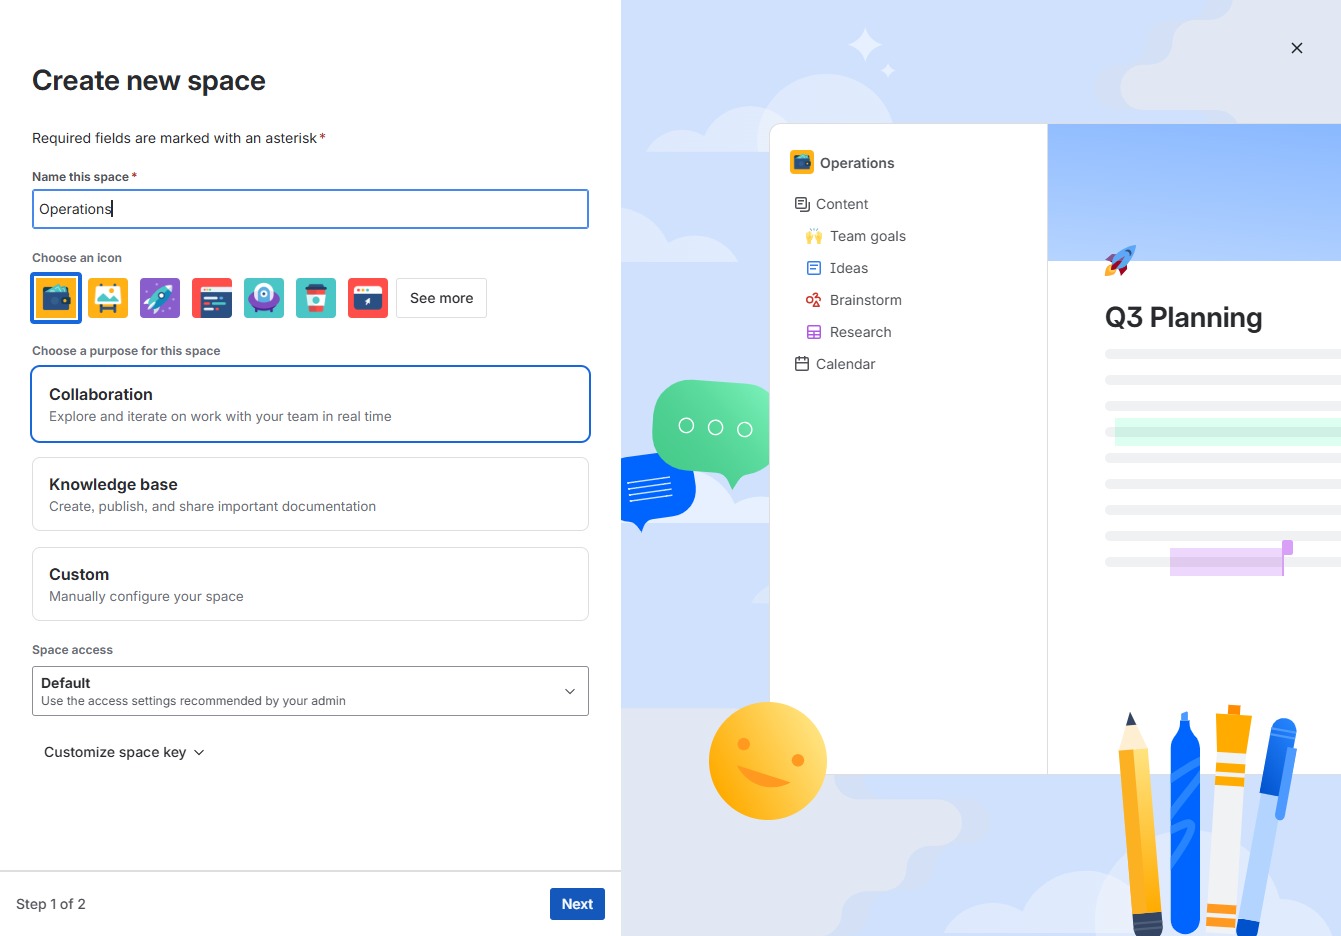
By clicking 'Next', you will proceed to the next step in the process of creating your new space. Ensure all required fields are completed before continuing.
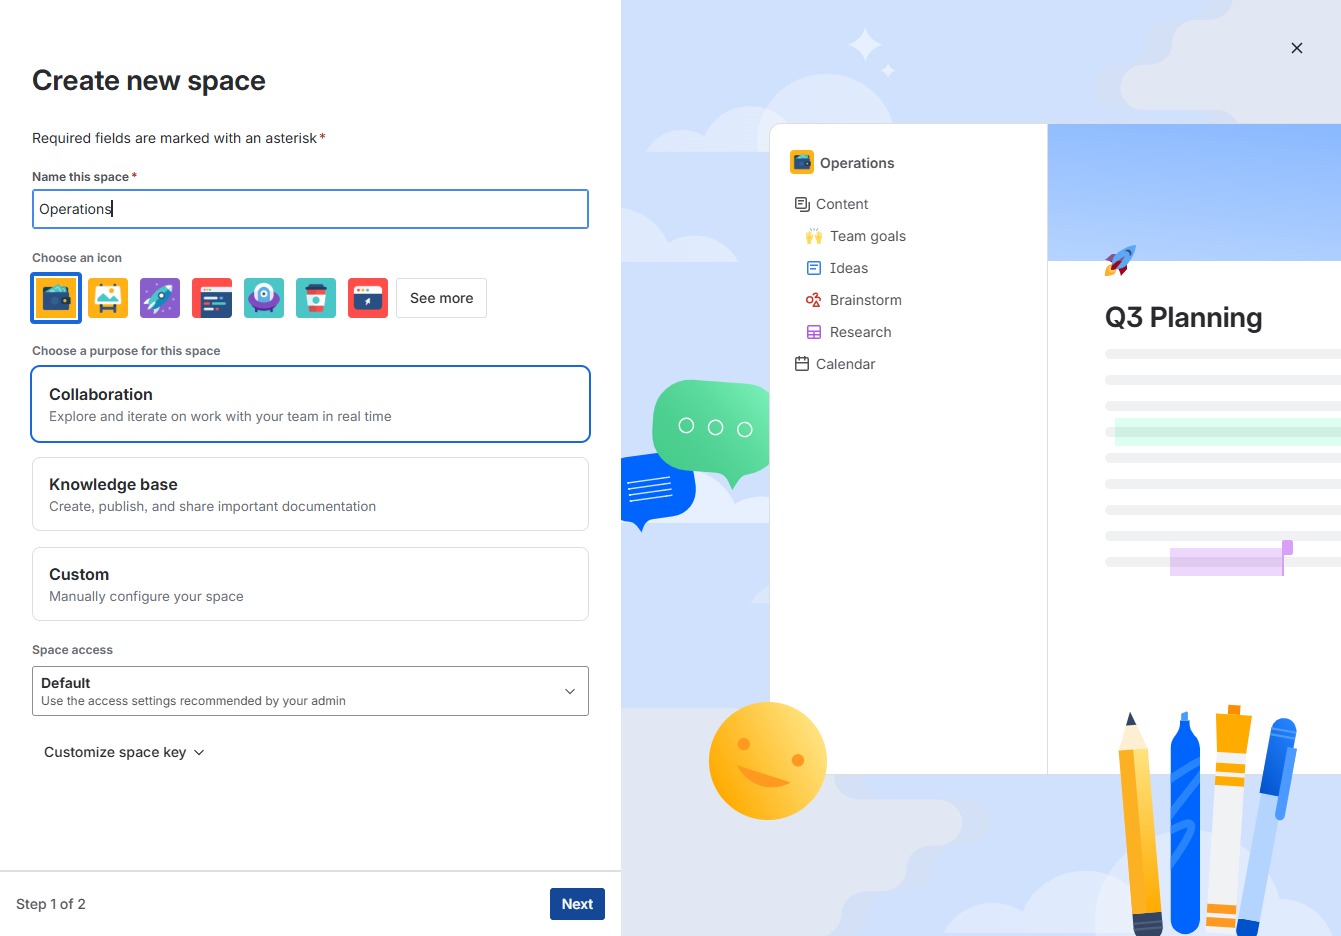
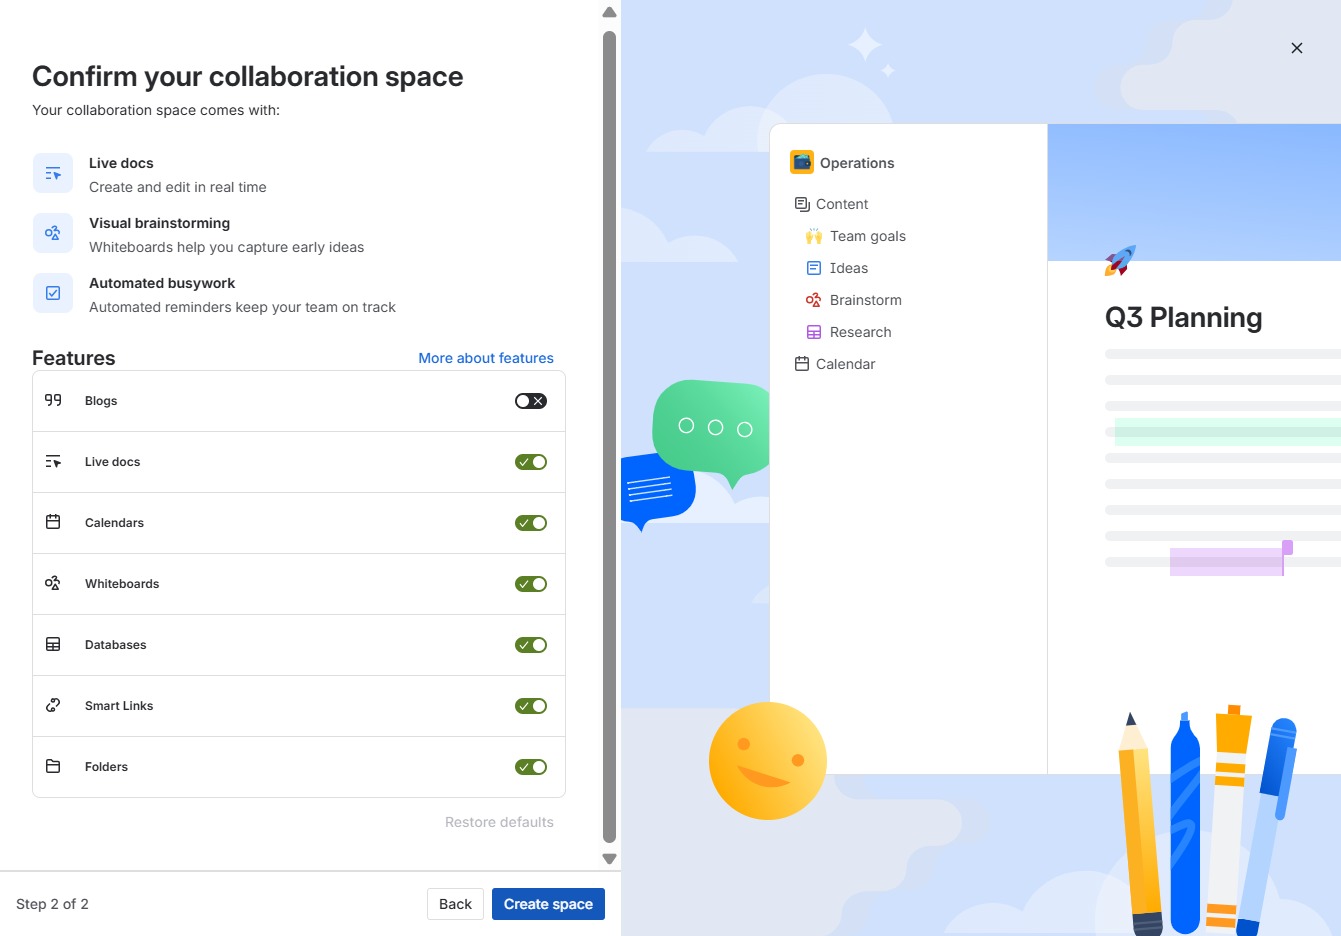
Clicking 'Create space' finalizes the setup of your collaboration area, allowing you to start utilizing features like live docs and automated reminders for effective teamwork.
This action will direct you to the team management section, where you can view and manage team members and their roles within the workspace.
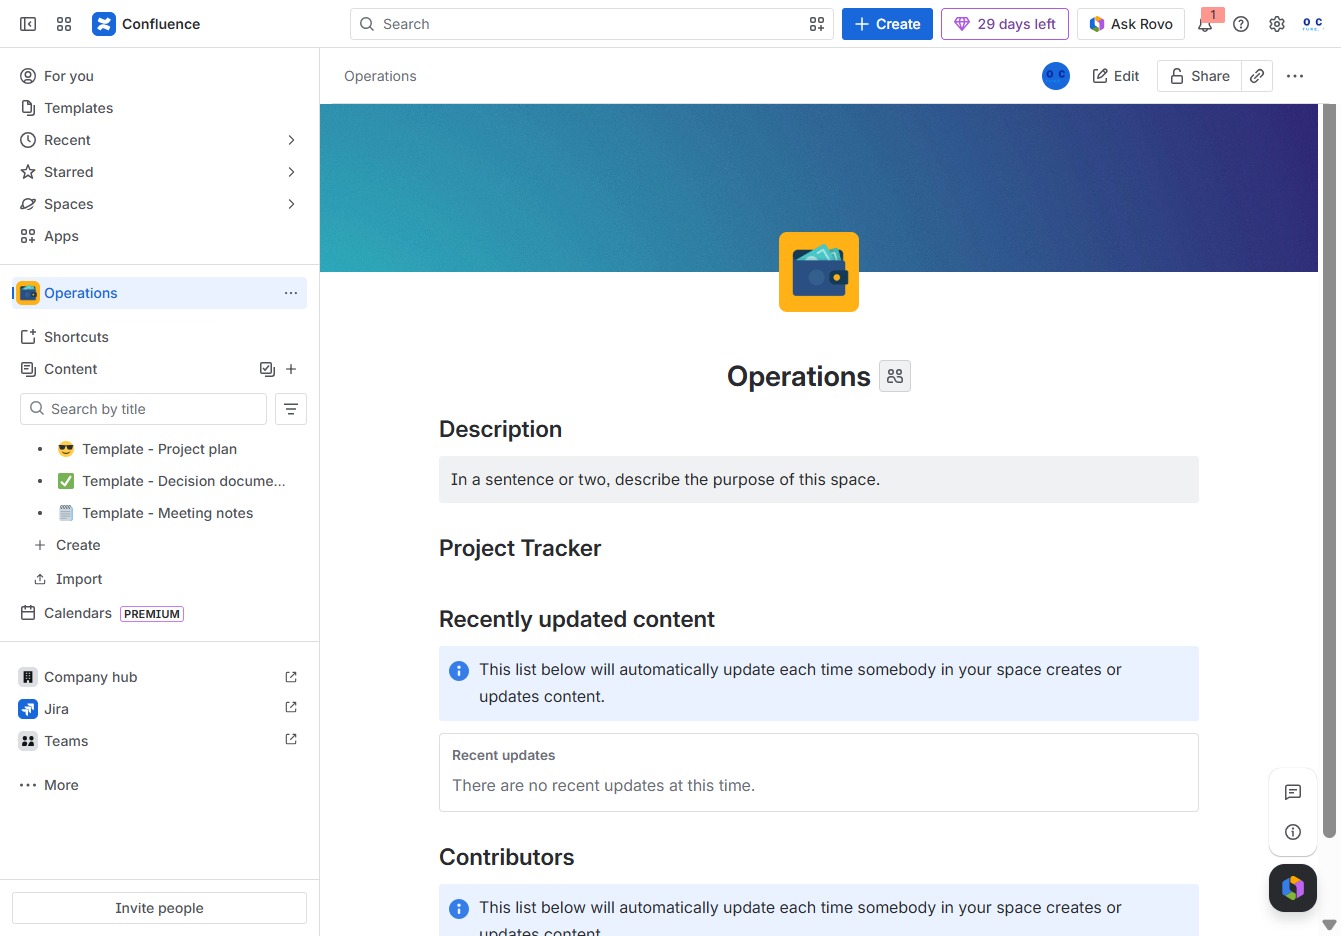
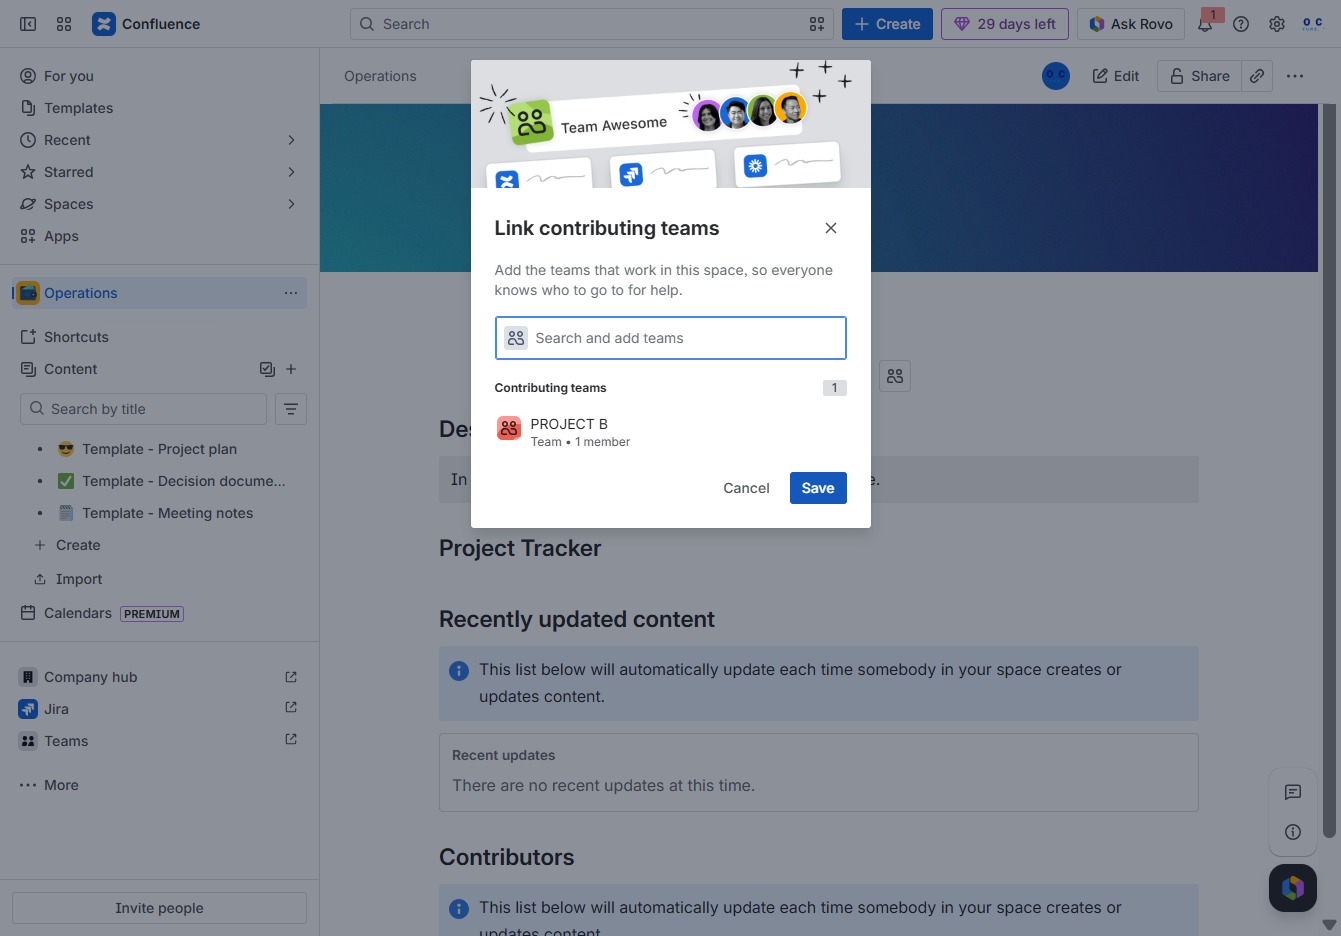
Clicking this link allows you to search for and add teams that contribute to this space, ensuring everyone knows who to contact for assistance.
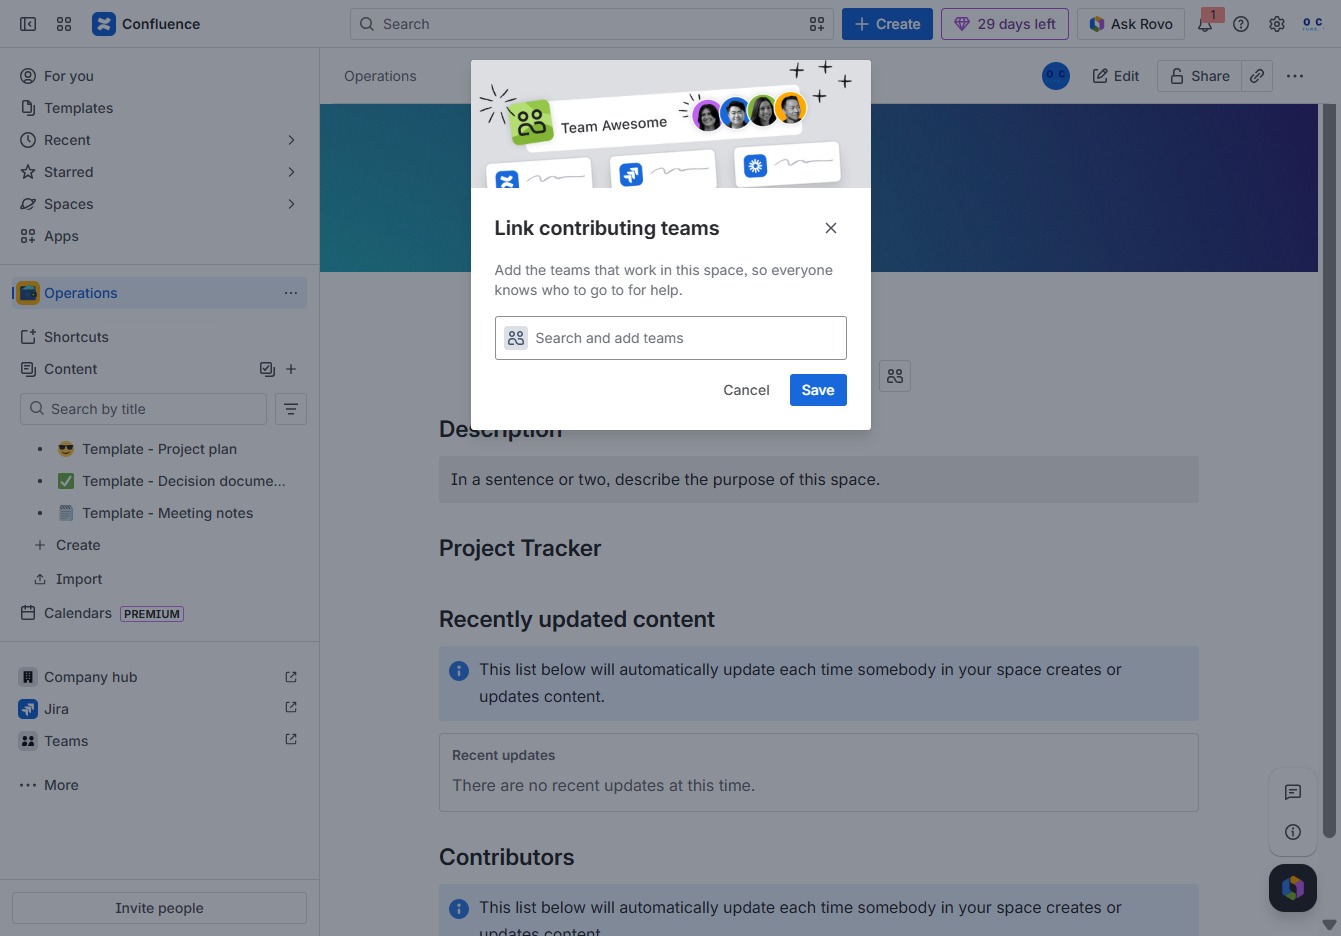
This action links the selected team, PROJECT B, to the current space, enabling collaboration and visibility for members associated with this project.

This action saves the changes made to the linked contributing teams in your Confluence space. Ensure all desired teams are added before clicking to confirm your selections.