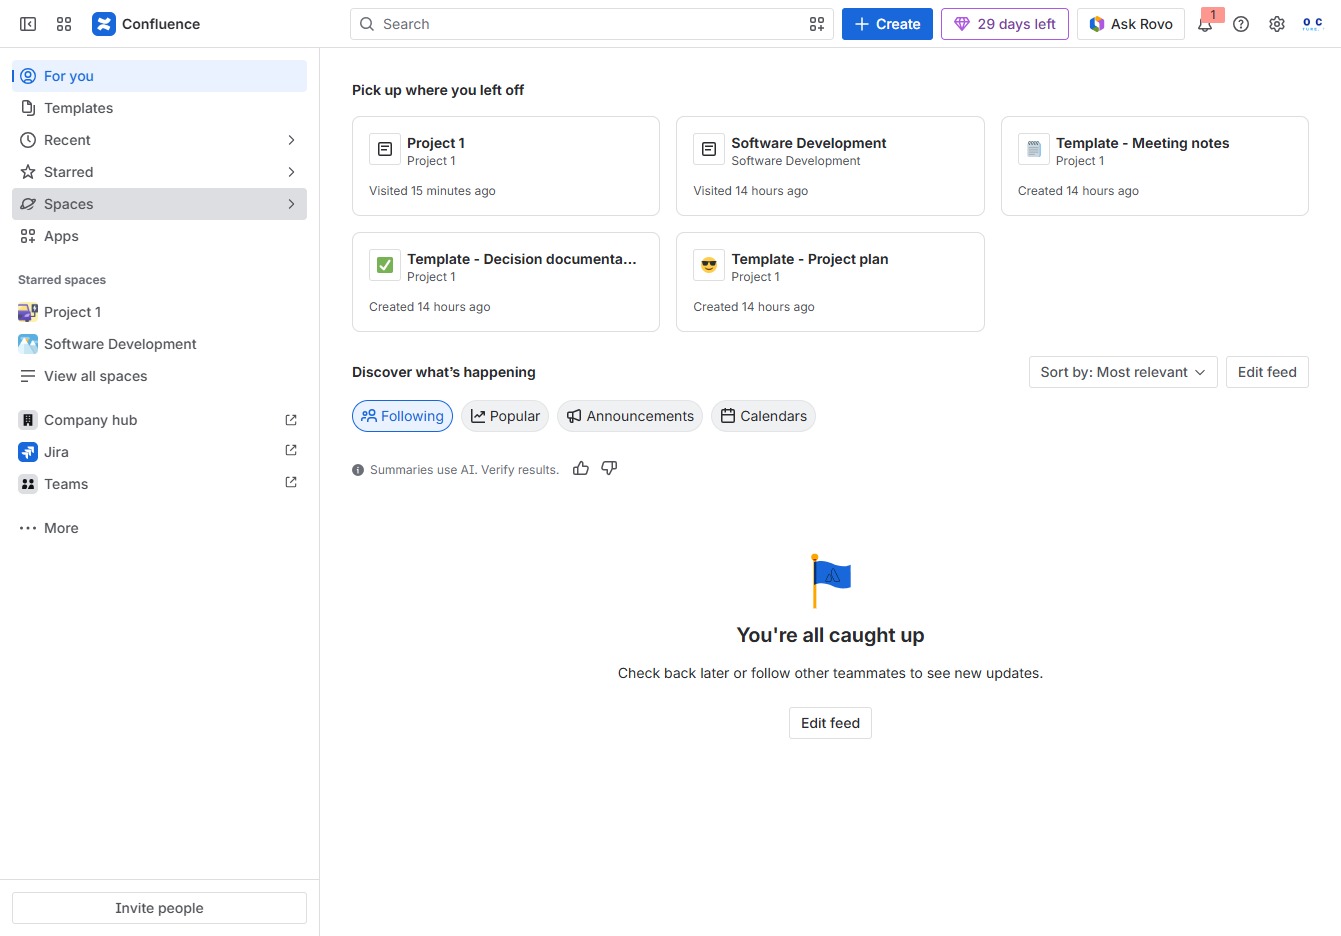
Click on the Spaces section
This will open the Spaces menu, allowing you to view and manage your different project spaces and templates.
Loading screenshot…
100%
This how-to guide walks you through the steps to create a new collaboration space for your project, from navigating the menu to entering a name and finalizing setup.
 viktoria
This how-to guide walks you through the steps to create a new collaboration space for your project, from navigating the menu to entering a name and finalizing setup. Follow these simple instructions to establish your designated area for documentation and teamwork efficiently.
This will open the Spaces menu, allowing you to view and manage your different project spaces and templates.
This action will open a new dialog where you can set up a new space for your project's documentation and collaboration needs.

Clicking this input field allows you to enter a name for your new space, which is a required step in the creation process.

Enter 'Web Design' in the 'Name this space*' field to specify the name of your new project space. This name will help identify the space within your workspace.
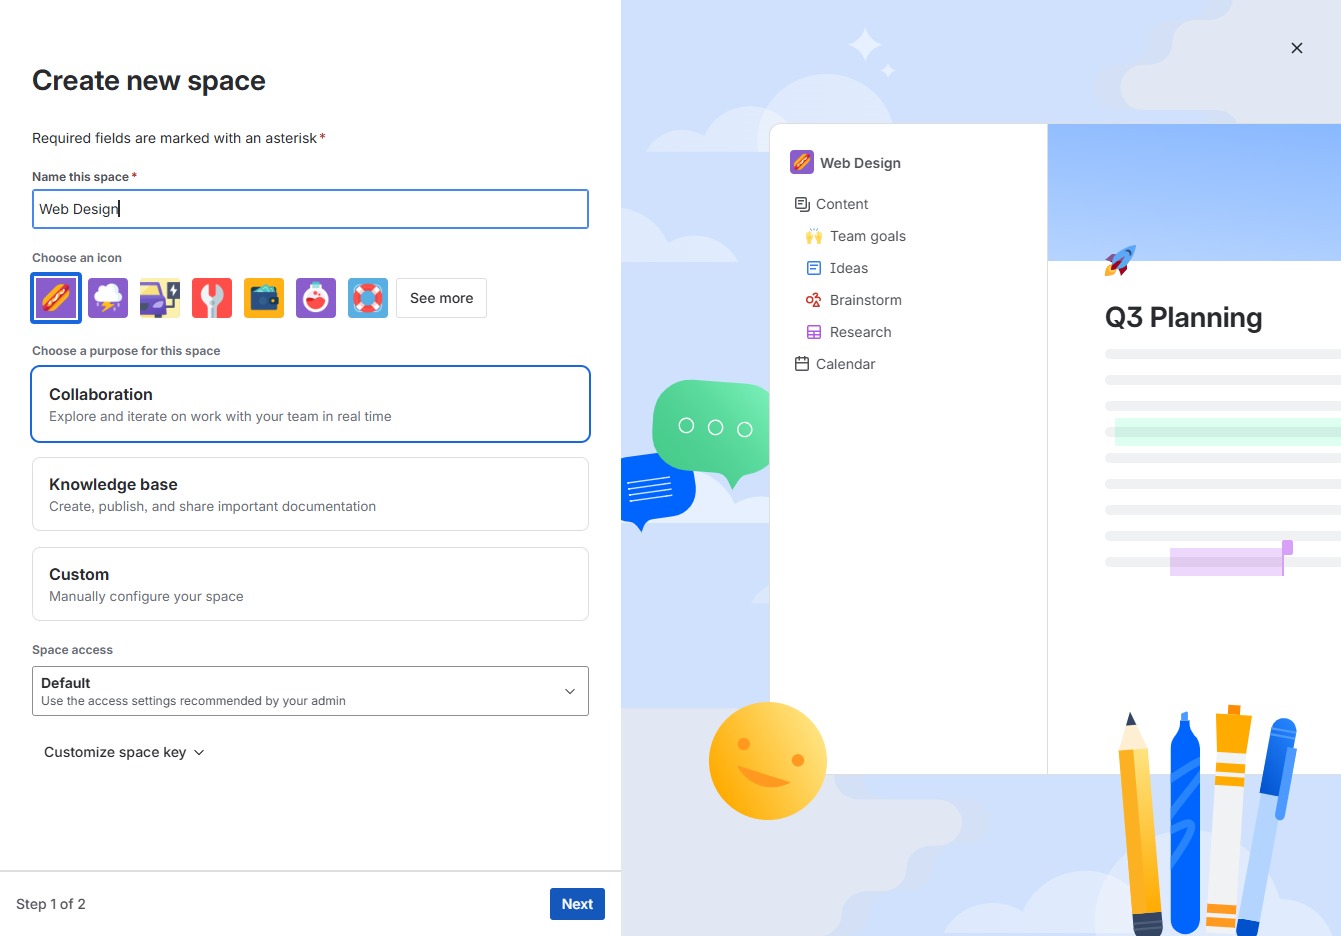
This will take you to the next step in creating your new space. Ensure all required fields are filled out before proceeding.

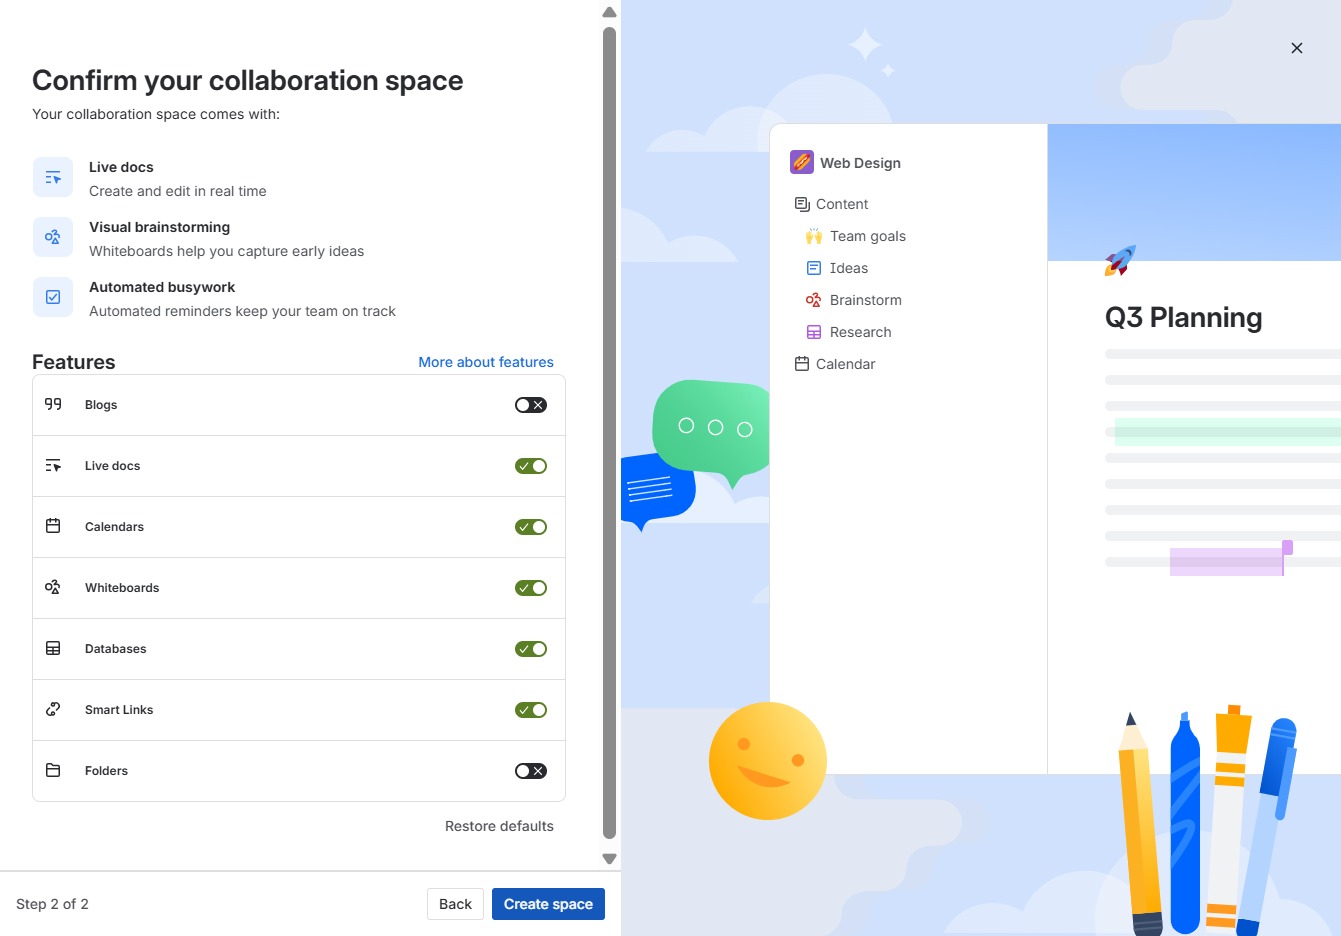
Clicking this button will finalize the setup of your collaboration space and grant access to the selected features, such as live docs and whiteboards.

This action finalizes the setup of your collaboration space, enabling access to features like live docs, visual brainstorming, and automated buyouts for your team.