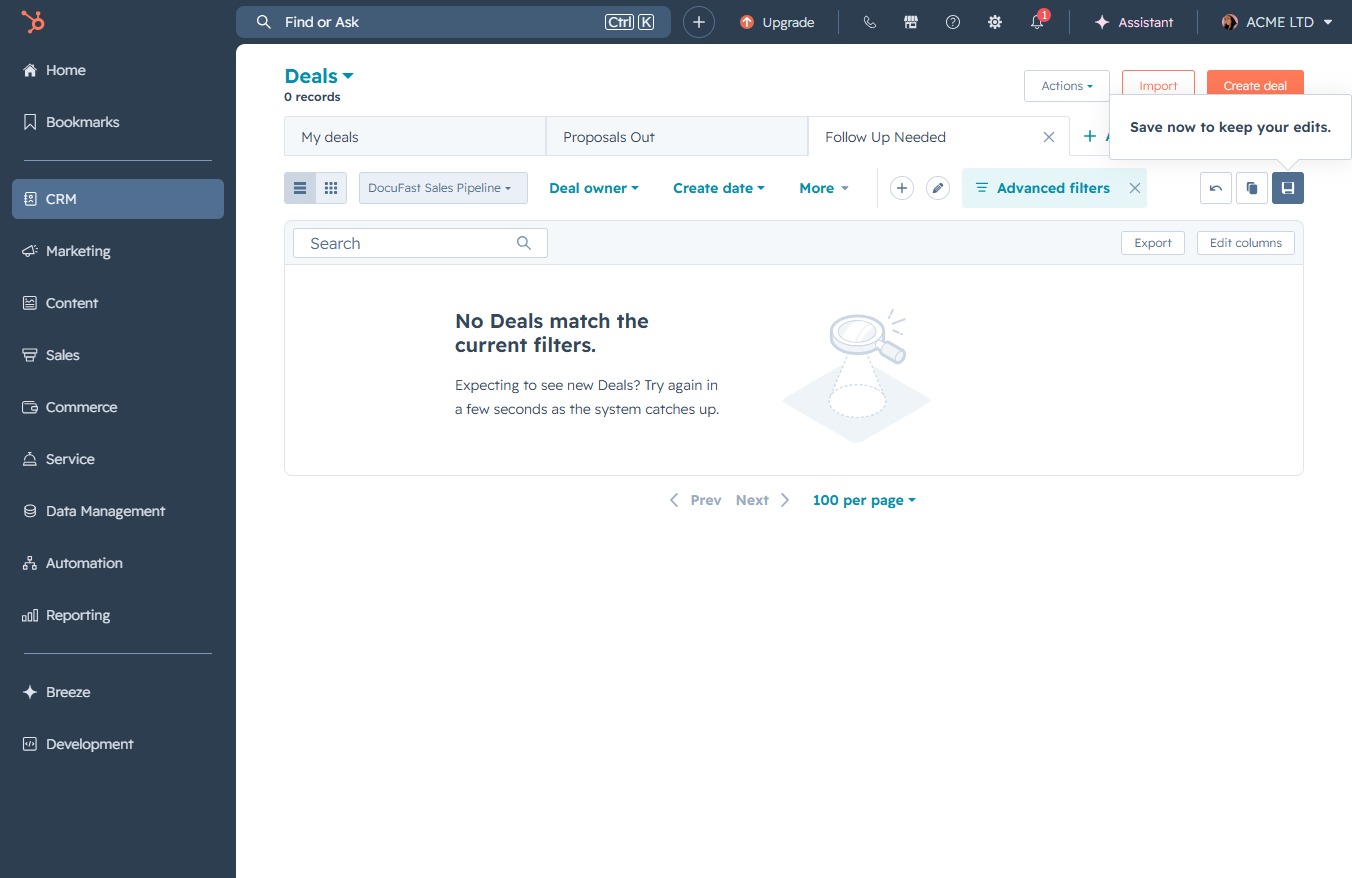
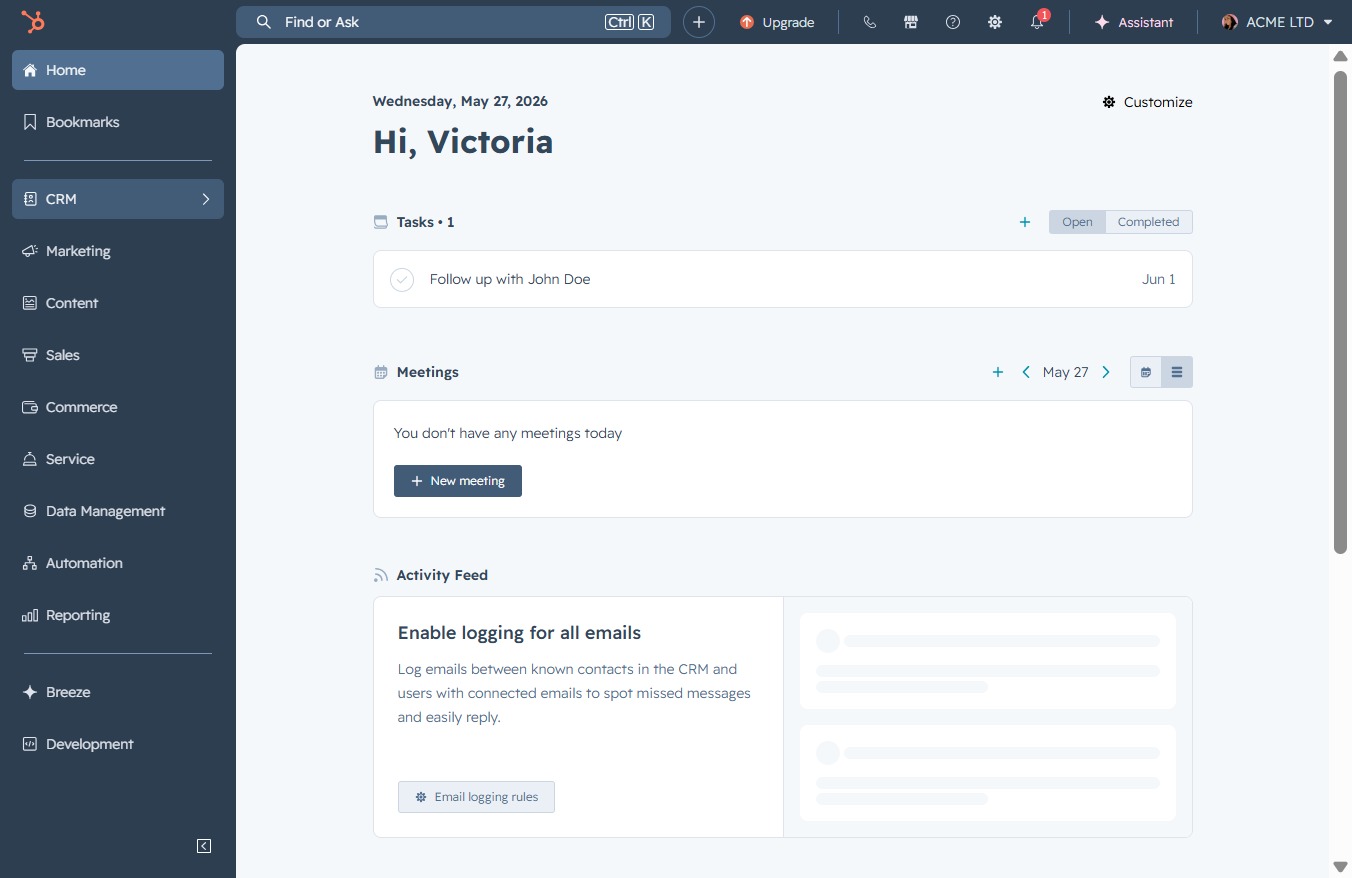
Click the CRM section
Clicking the CRM section will take you to Customer Relationship Management, where you can manage contacts, track sales, and monitor customer interactions.
Loading screenshot…
100%
Create a customized saved view for deals in your CRM to streamline the management of sales opportunities, allowing for specific filtering based on upcoming activities and other…
 viktoria
Create a customized saved view for deals in your CRM to streamline the management of sales opportunities, allowing for specific filtering based on upcoming activities and other criteria.
Clicking the CRM section will take you to Customer Relationship Management, where you can manage contacts, track sales, and monitor customer interactions.
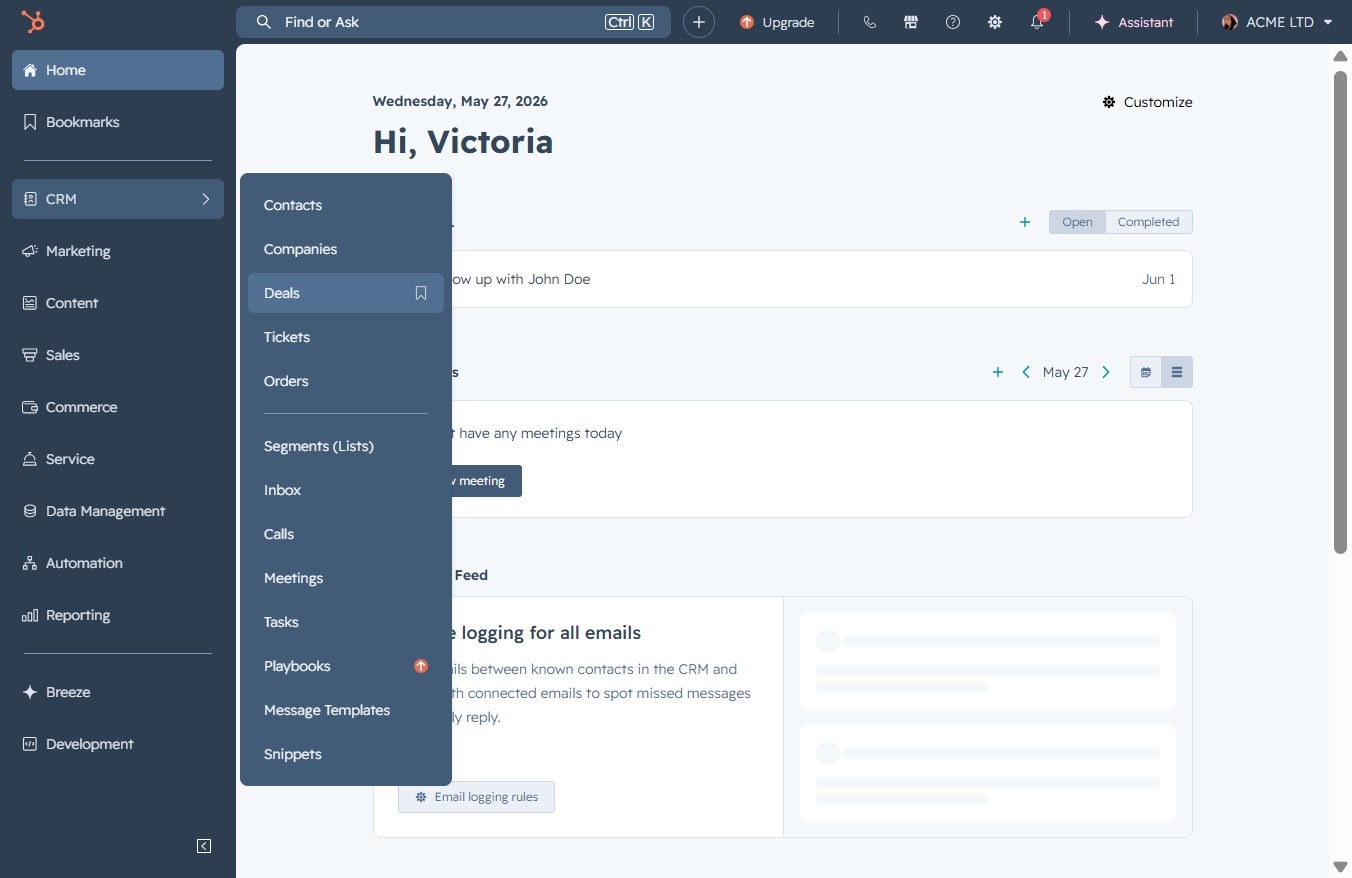
Clicking on the Deals link will take you to the section where you can manage your sales opportunities and track progress with potential clients.
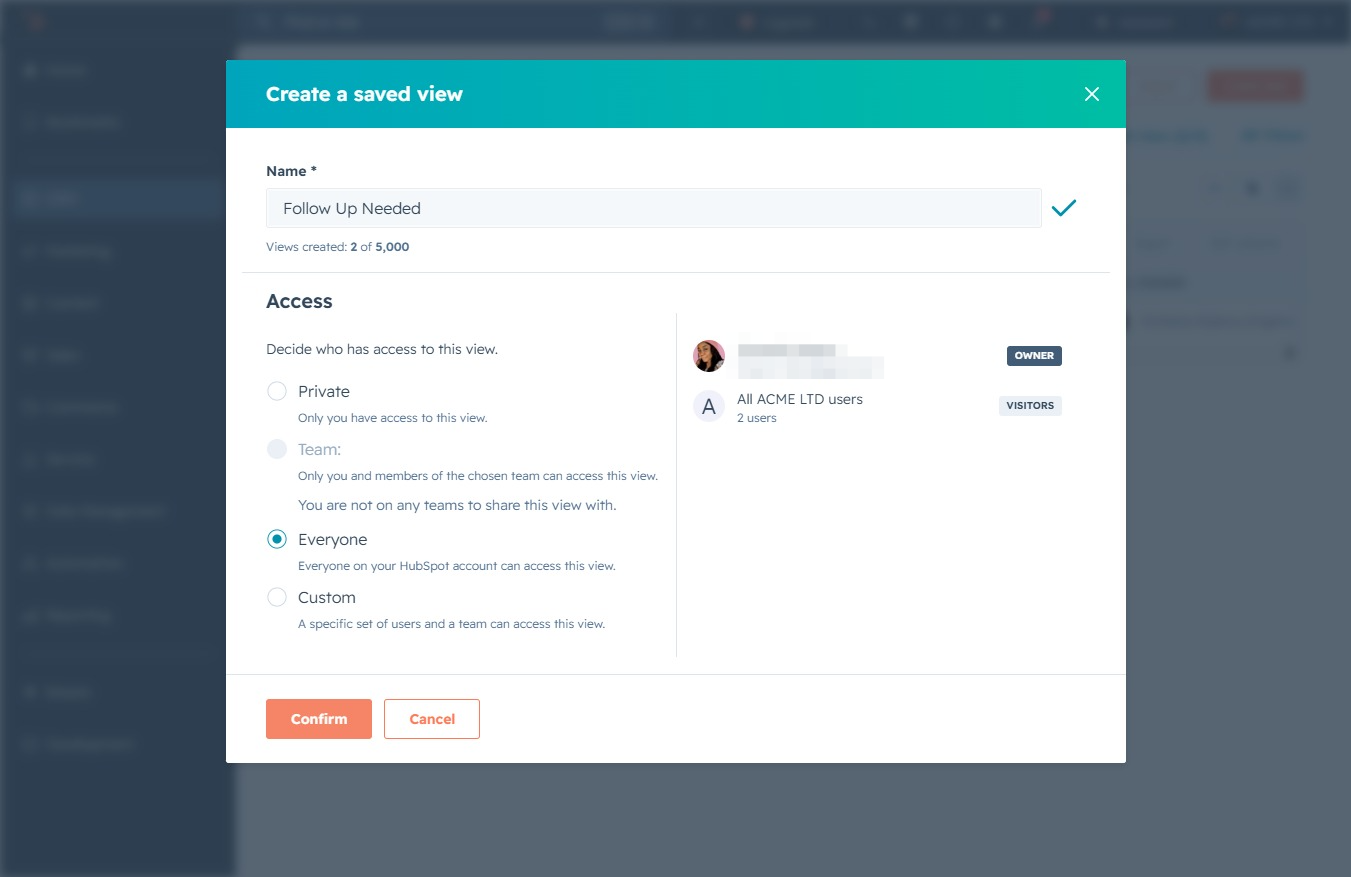
This action opens a dialog to create a new view for your deals. You can customize the view settings to display specific deal information according to your needs.

This action opens a dialog allowing you to set parameters for a new view of your deals, enabling customized criteria and display options.

Type a name in the 'Name' field to identify this saved view. This name will help you and others recognize the purpose of the view later.
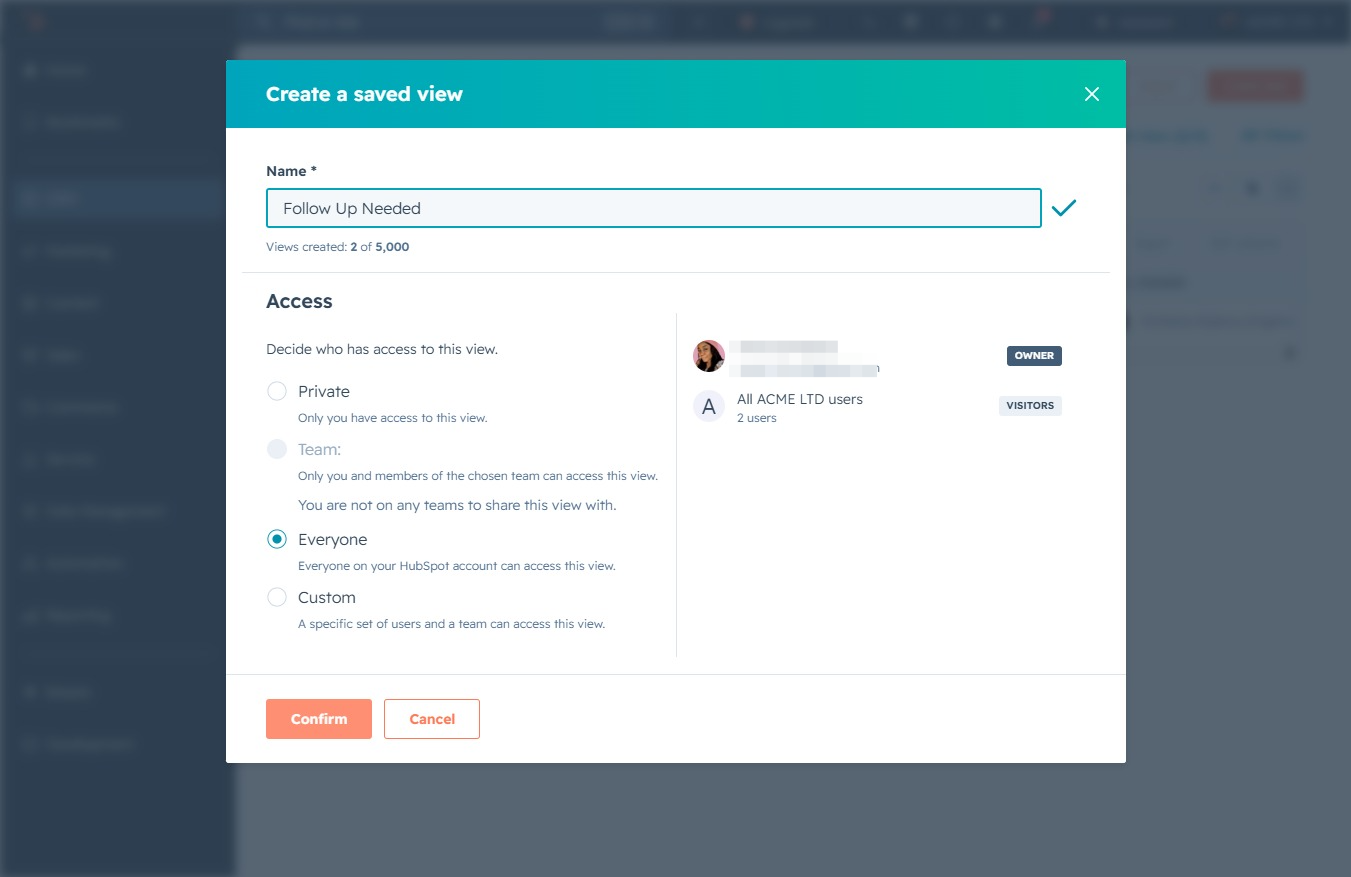
This action will finalize the creation of your saved view, enabling access according to the selected permissions.
This will open additional filtering options to refine your deal search in the Deals section. Use these filters to narrow down your results based on specific criteria.
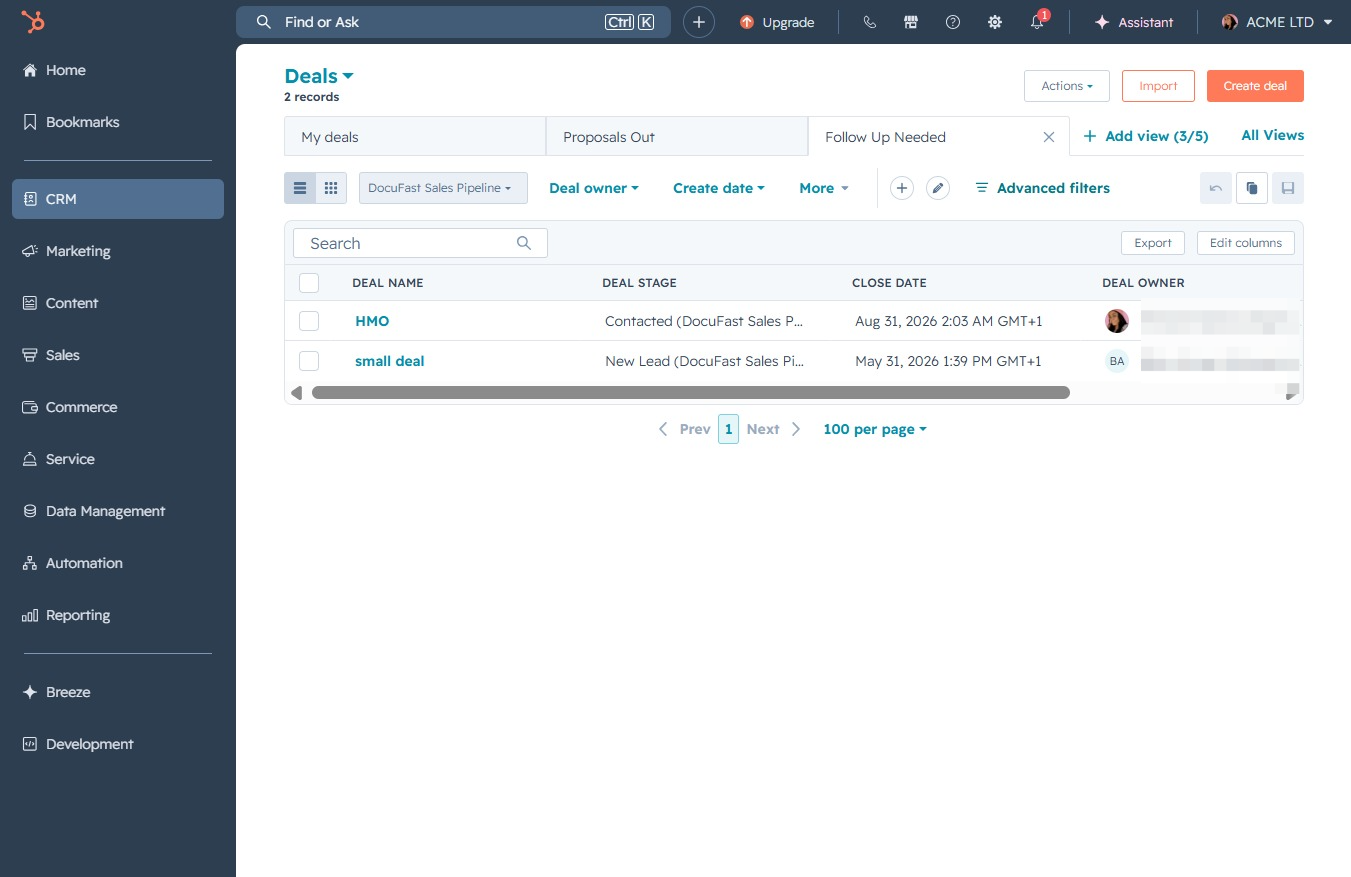
This allows you to include additional filtering options to refine your deal list based on specific criteria.

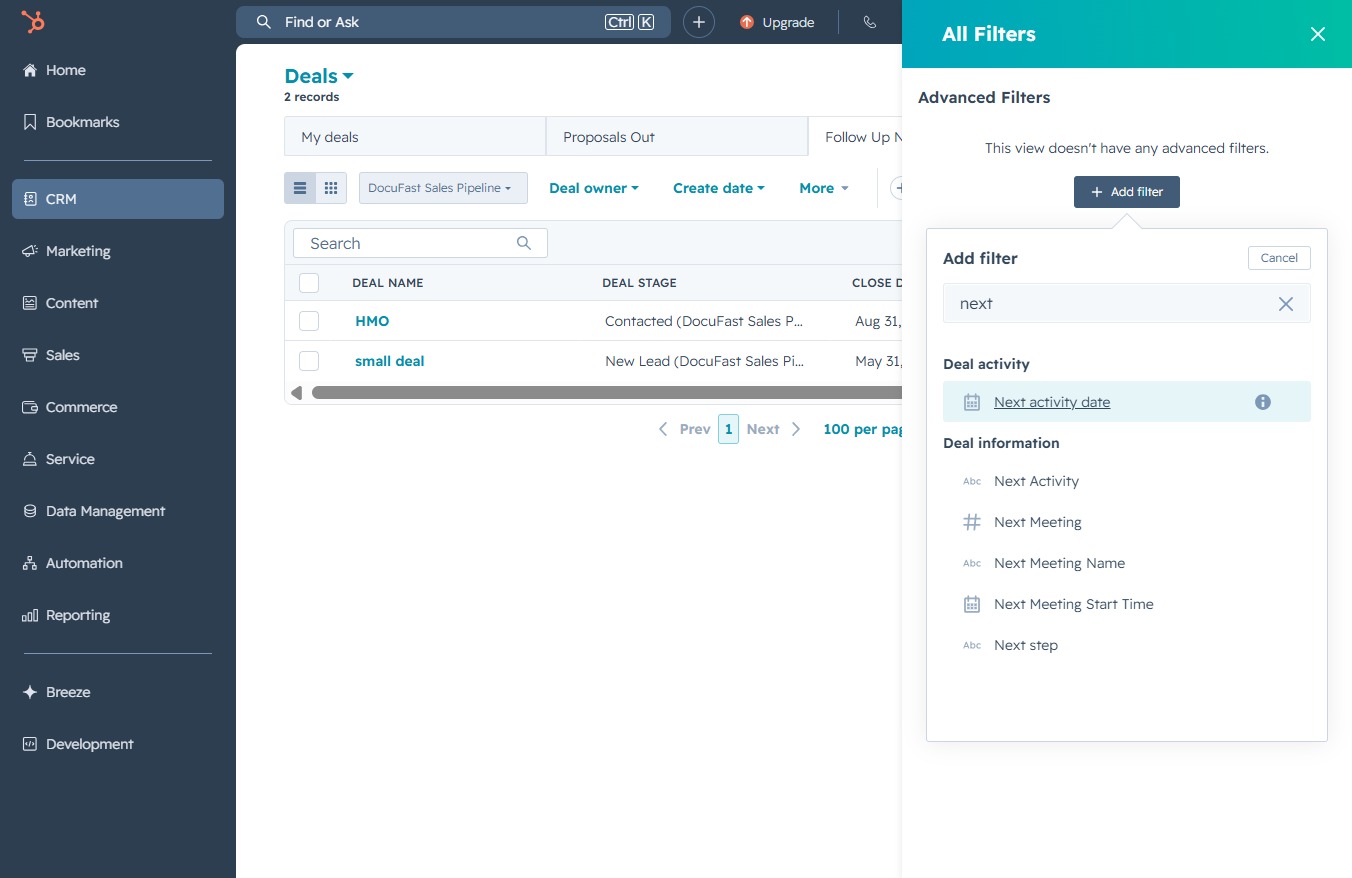
Enter 'next' in the Search field under Deal properties to filter the deals based on upcoming activities or relevant tasks.

Selecting the 'Next activity date' will enable you to filter deals based on their upcoming activities. This helps in organizing and prioritizing your follow-up tasks effectively.
Clicking 'Today' will filter the deals to display only those with activities scheduled for today. This helps you quickly identify items that require immediate attention.
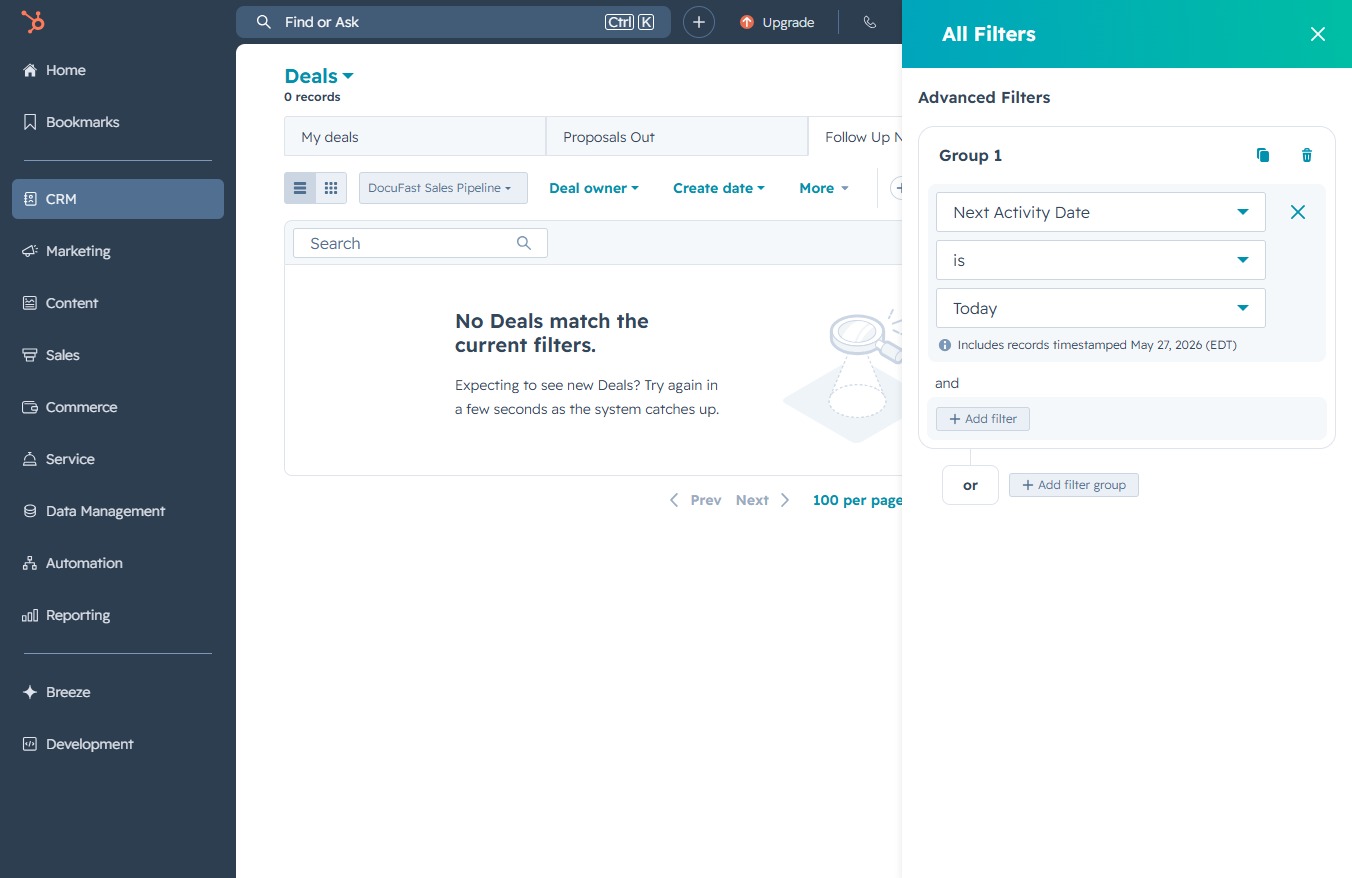
This action sets the date filter to include deals that are scheduled for the upcoming week, updating the displayed results accordingly.

Clicking the Close button will dismiss the advanced filters panel, allowing you to return to the Deals view without any additional filtering options.

Clicking this link will refresh the Deals section, allowing you to see any new deals that match your current filters.