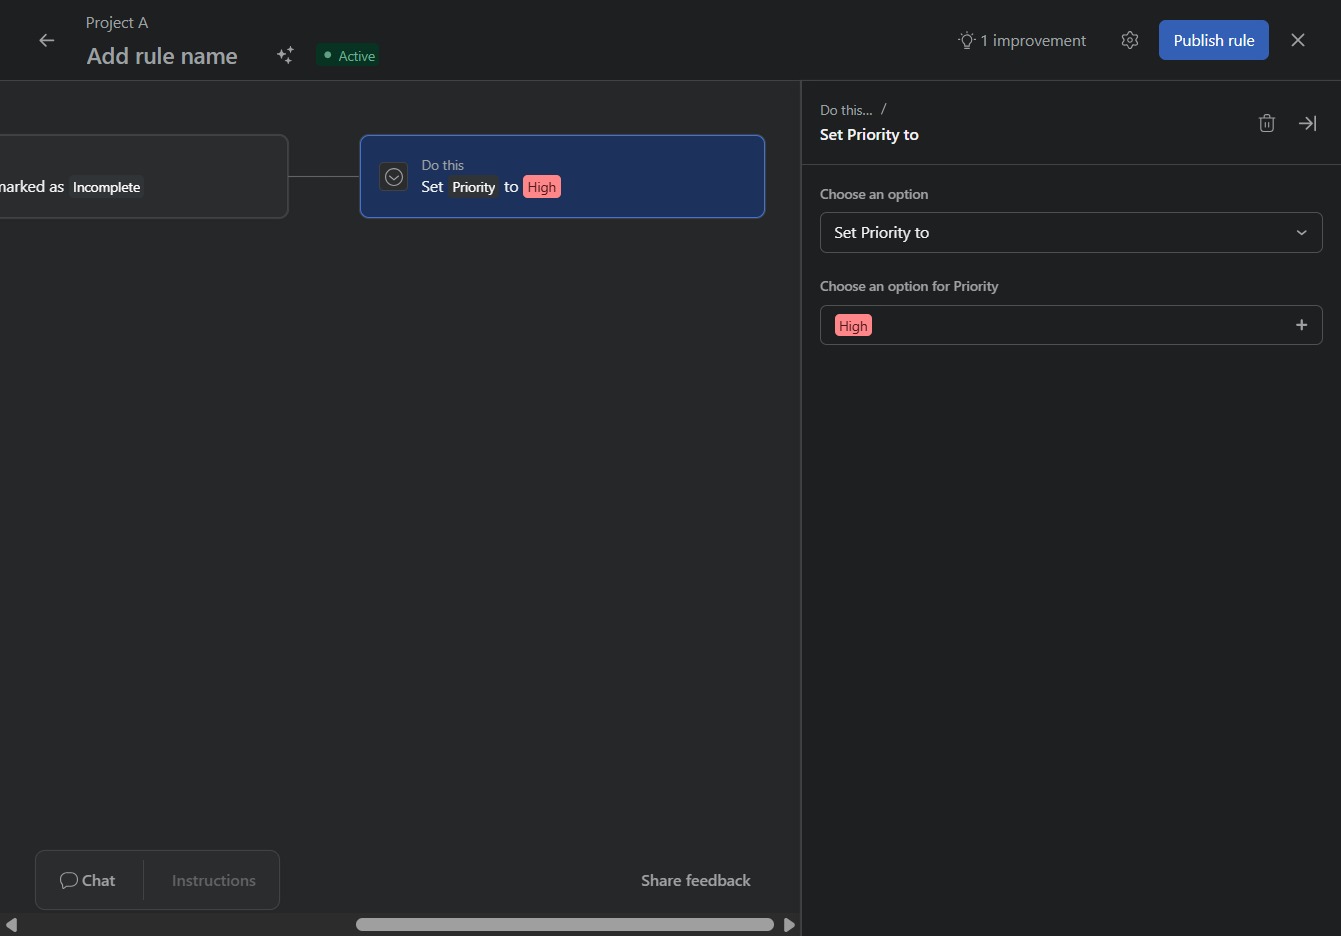
Click the Project A link
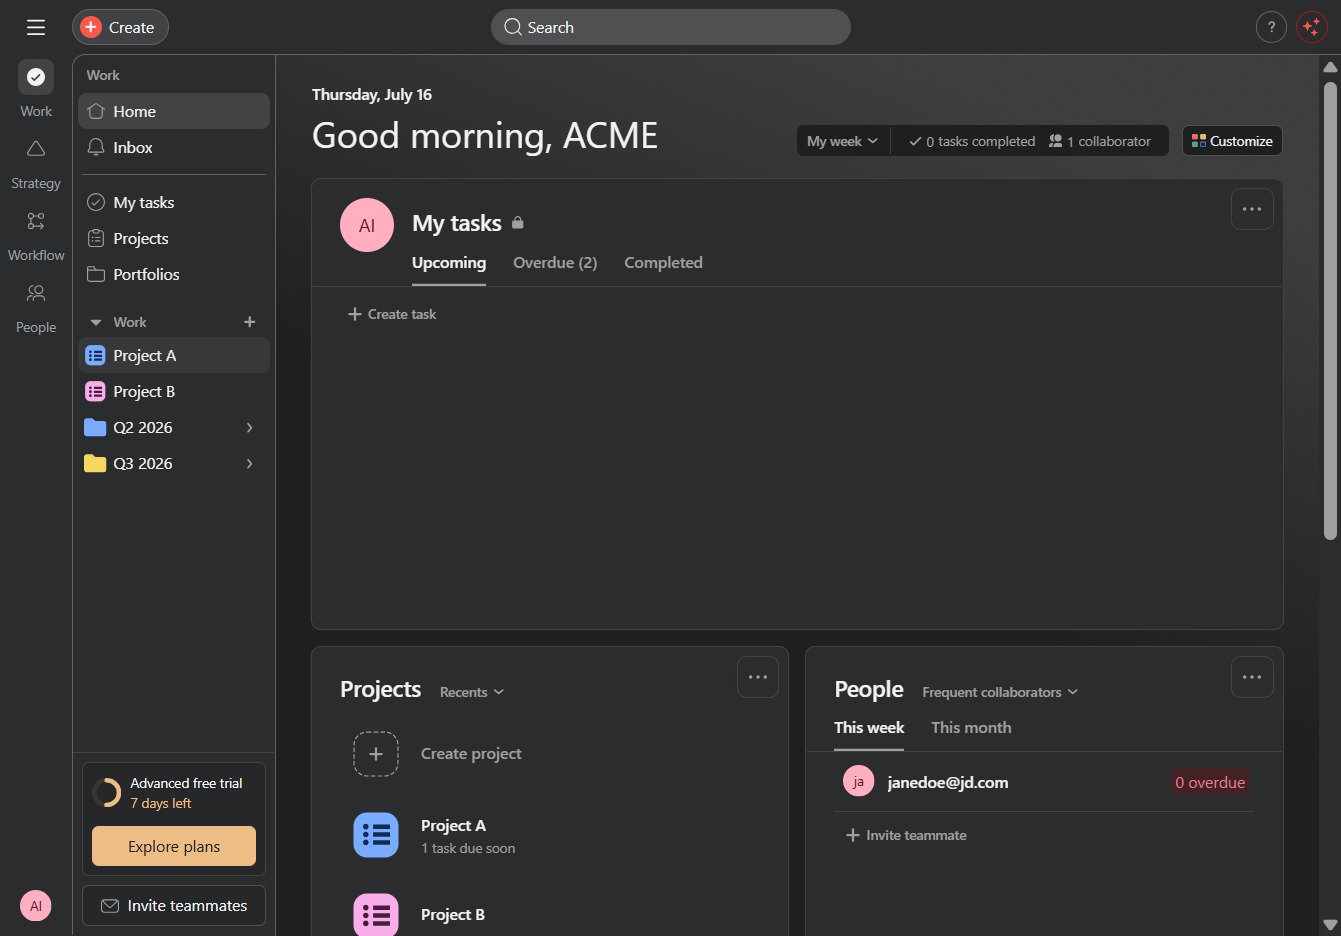
Clicking the 'Project A' link will open the associated project details, allowing you to view tasks, updates, and collaborate with team members.
Loading screenshot…
100%
This how-to guide walks you through creating automation rules in Project A, covering everything from accessing project details to setting triggers and conditions for task…
 viktoria
This how-to guide walks you through creating automation rules in Project A, covering everything from accessing project details to setting triggers and conditions for task management. By following the steps, you'll learn how to enhance collaboration and ensure timely notifications for team members.
Clicking the 'Project A' link will open the associated project details, allowing you to view tasks, updates, and collaborate with team members.
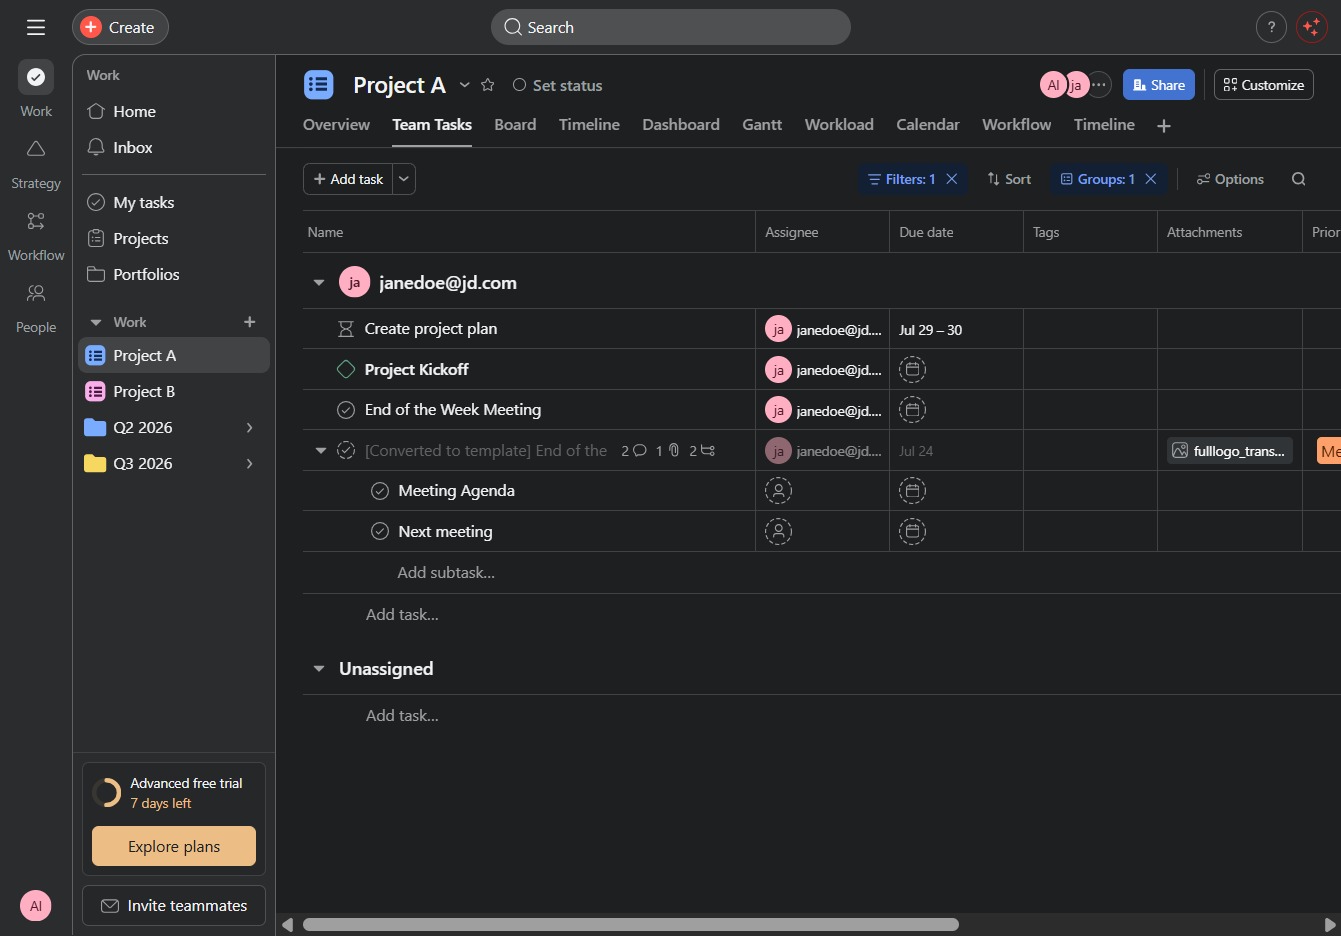
Selecting the Customize button allows you to modify the display settings and preferences for your current view of the Project A workspace.
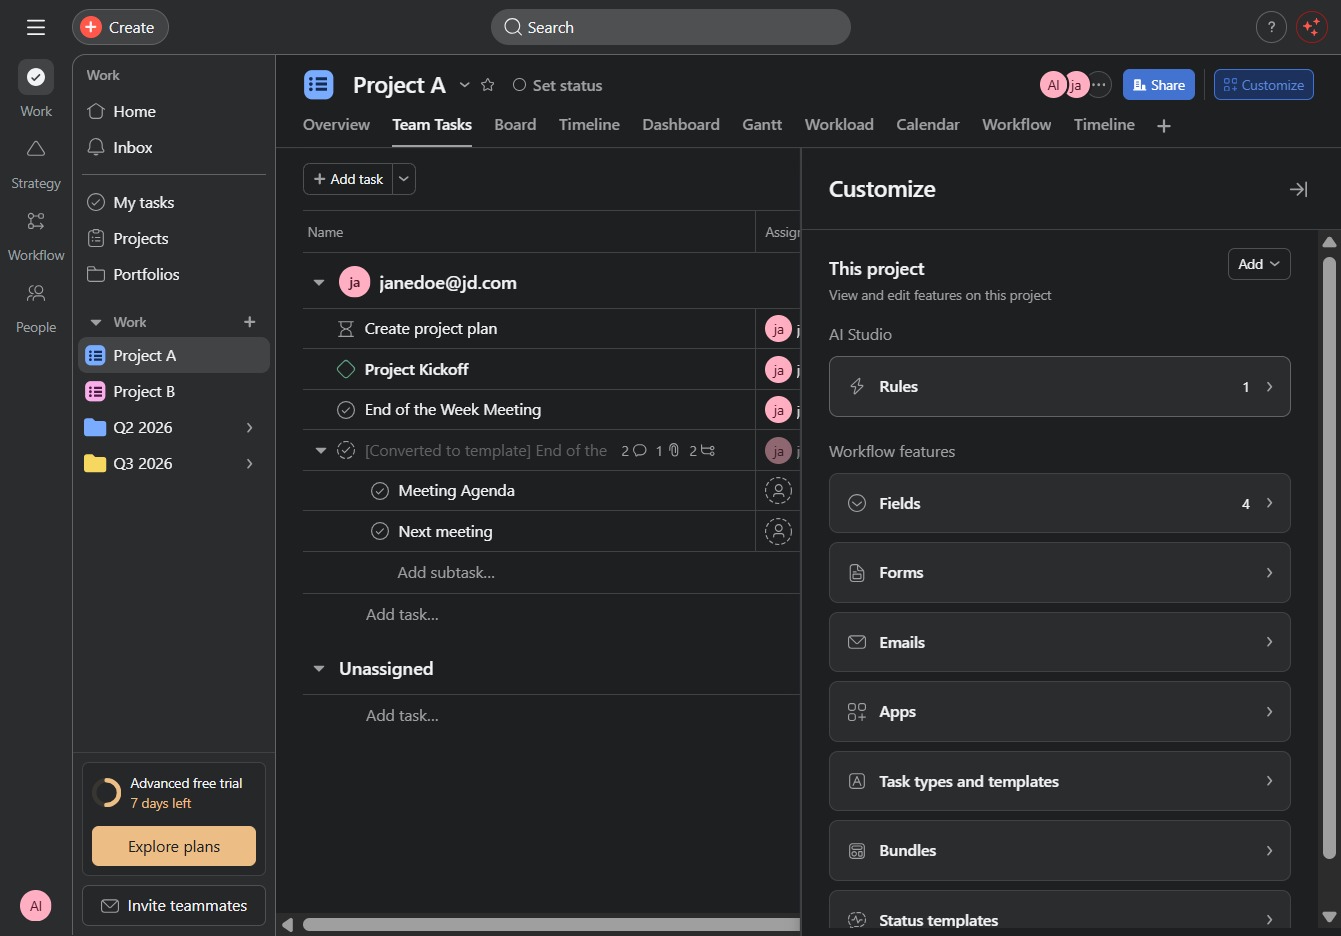
This action opens the Rules1 settings, allowing you to configure the specific rules associated with this project.
This action will add a new task to the project. You can then specify task details and assign collaborators as needed.
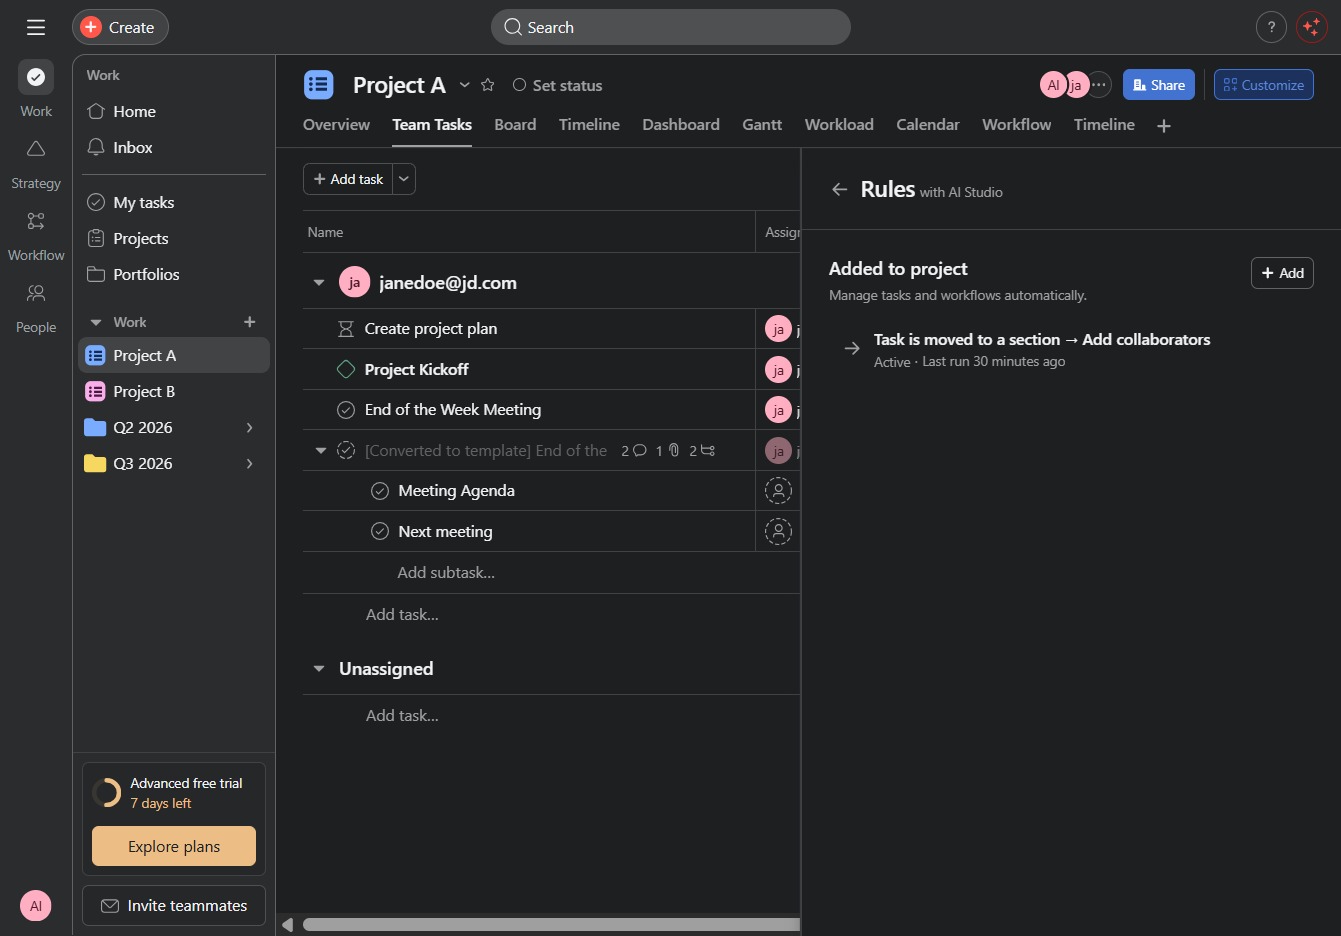
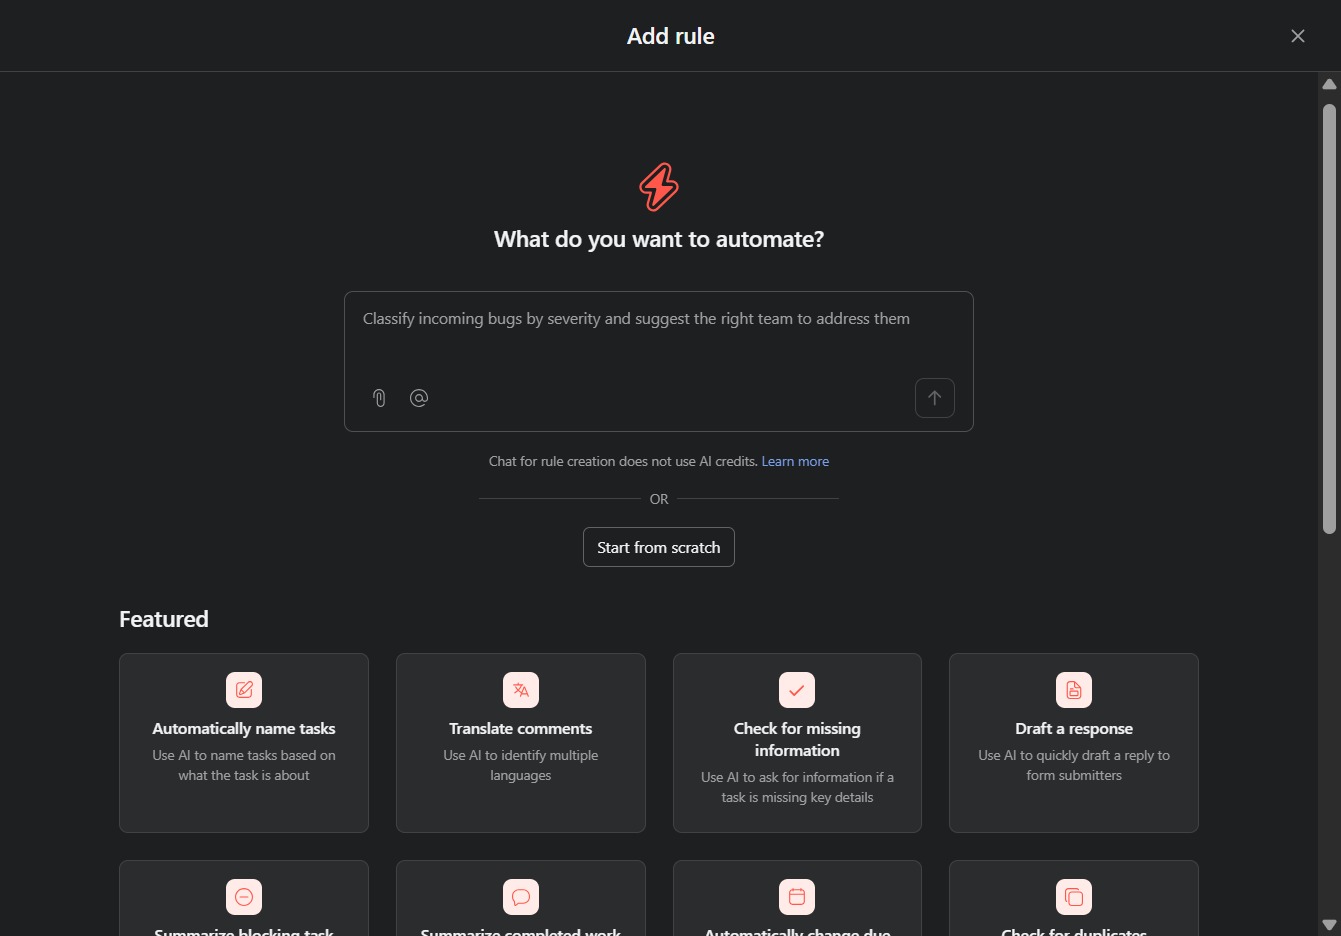
This action will allow you to create a new automation rule from the beginning without using any pre-defined templates.
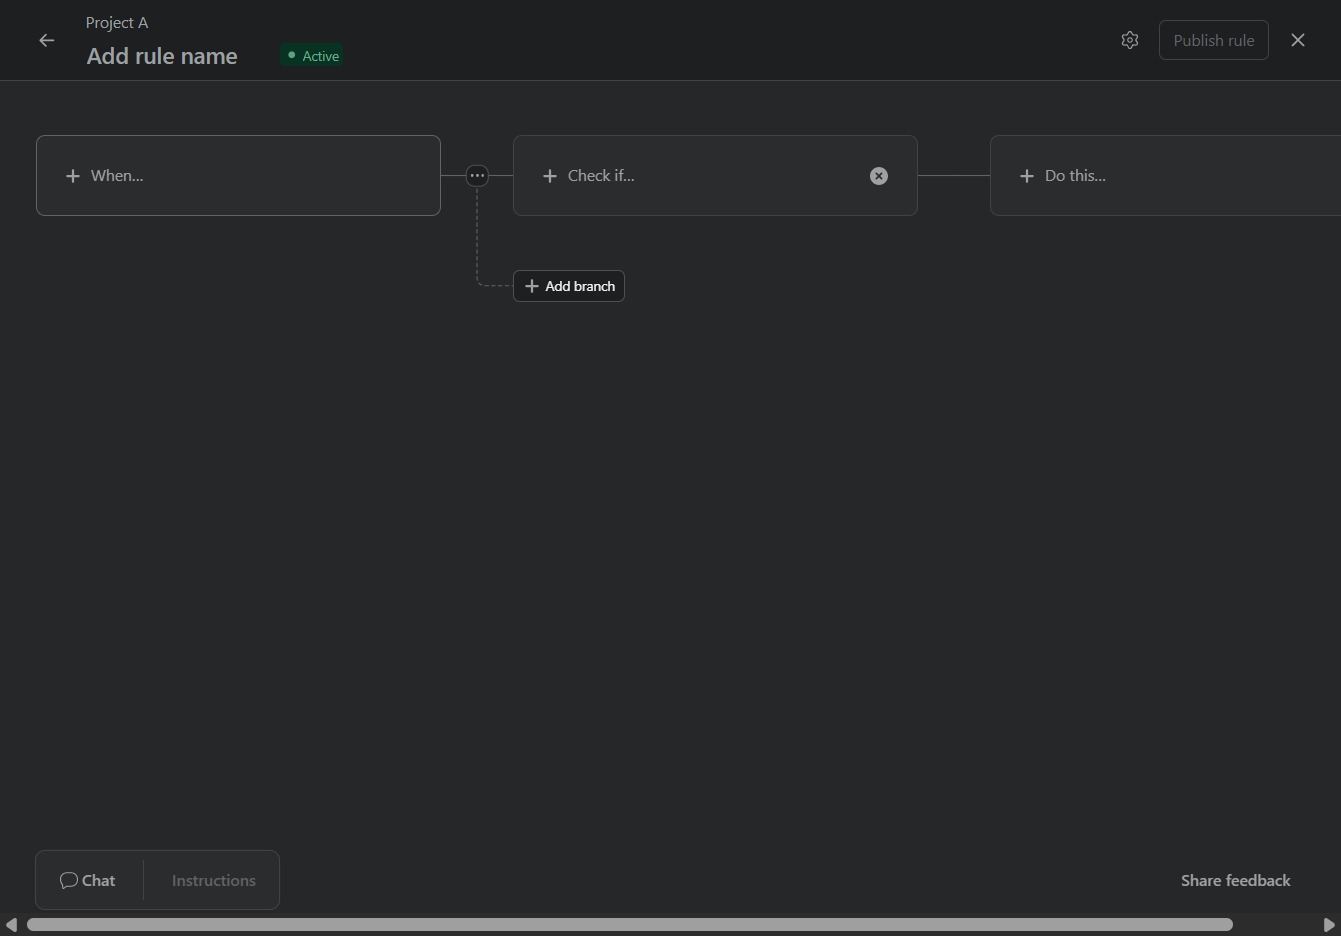
Clicking the 'When...' field allows you to define the trigger for your rule, setting the conditions under which the subsequent actions will be executed.
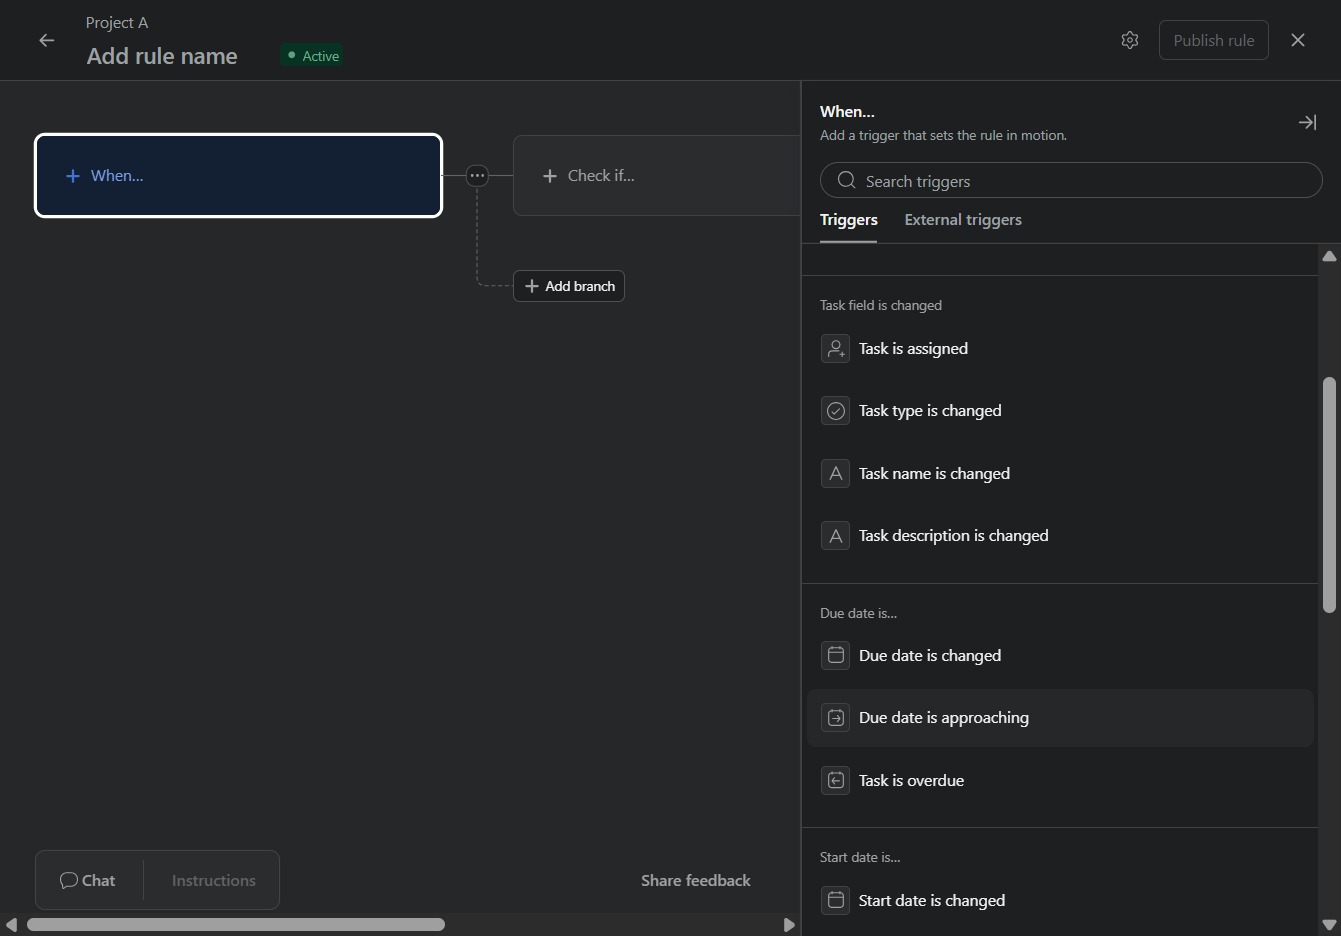
Select this option to set a trigger for when a task's due date is approaching, enabling timely notifications or actions based on this condition.
Selecting the 'Due today' option will set the rule to trigger when tasks are due on the current date, allowing for timely task management.
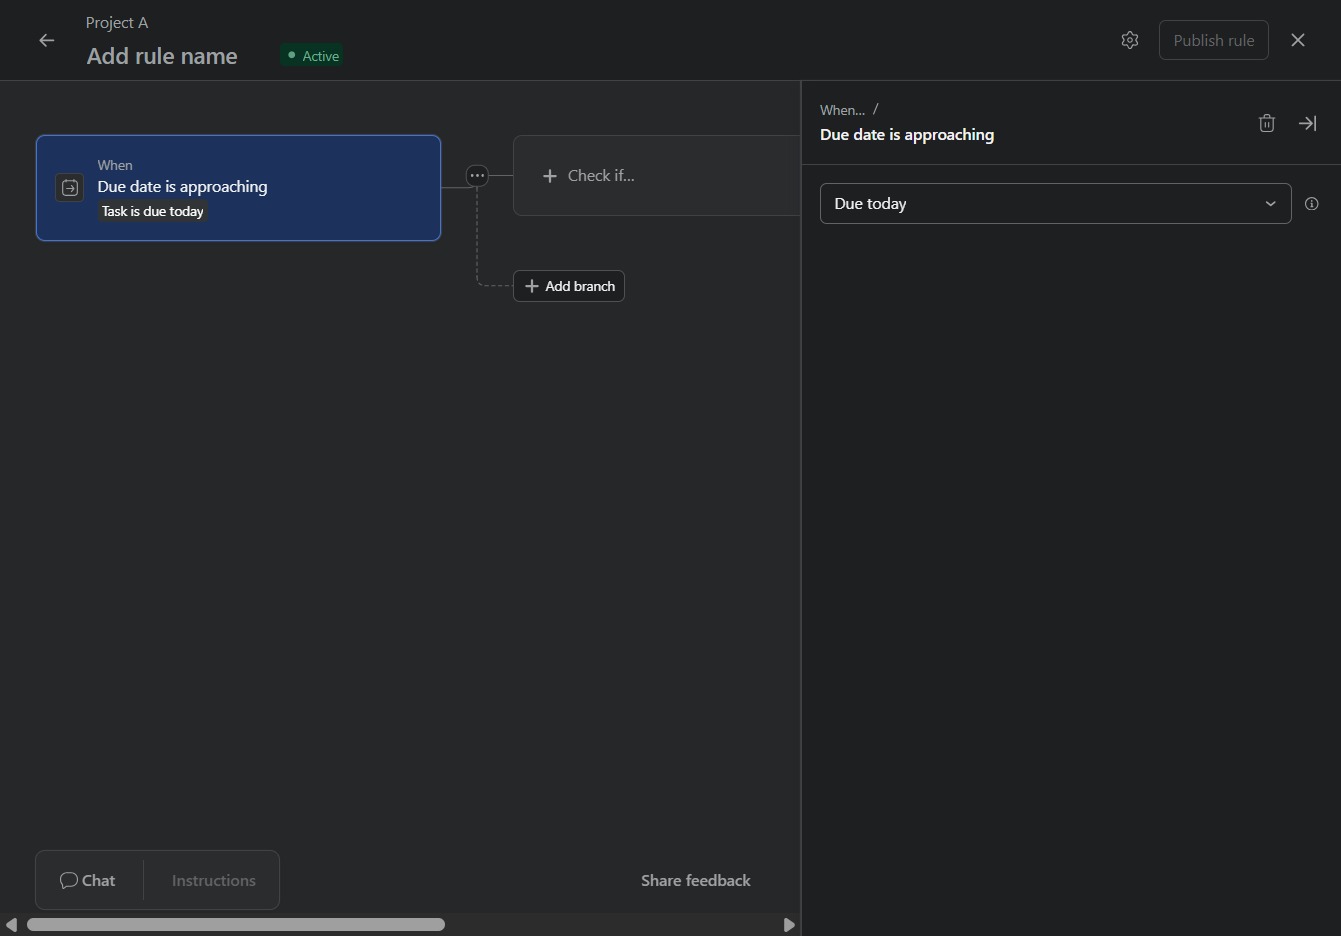
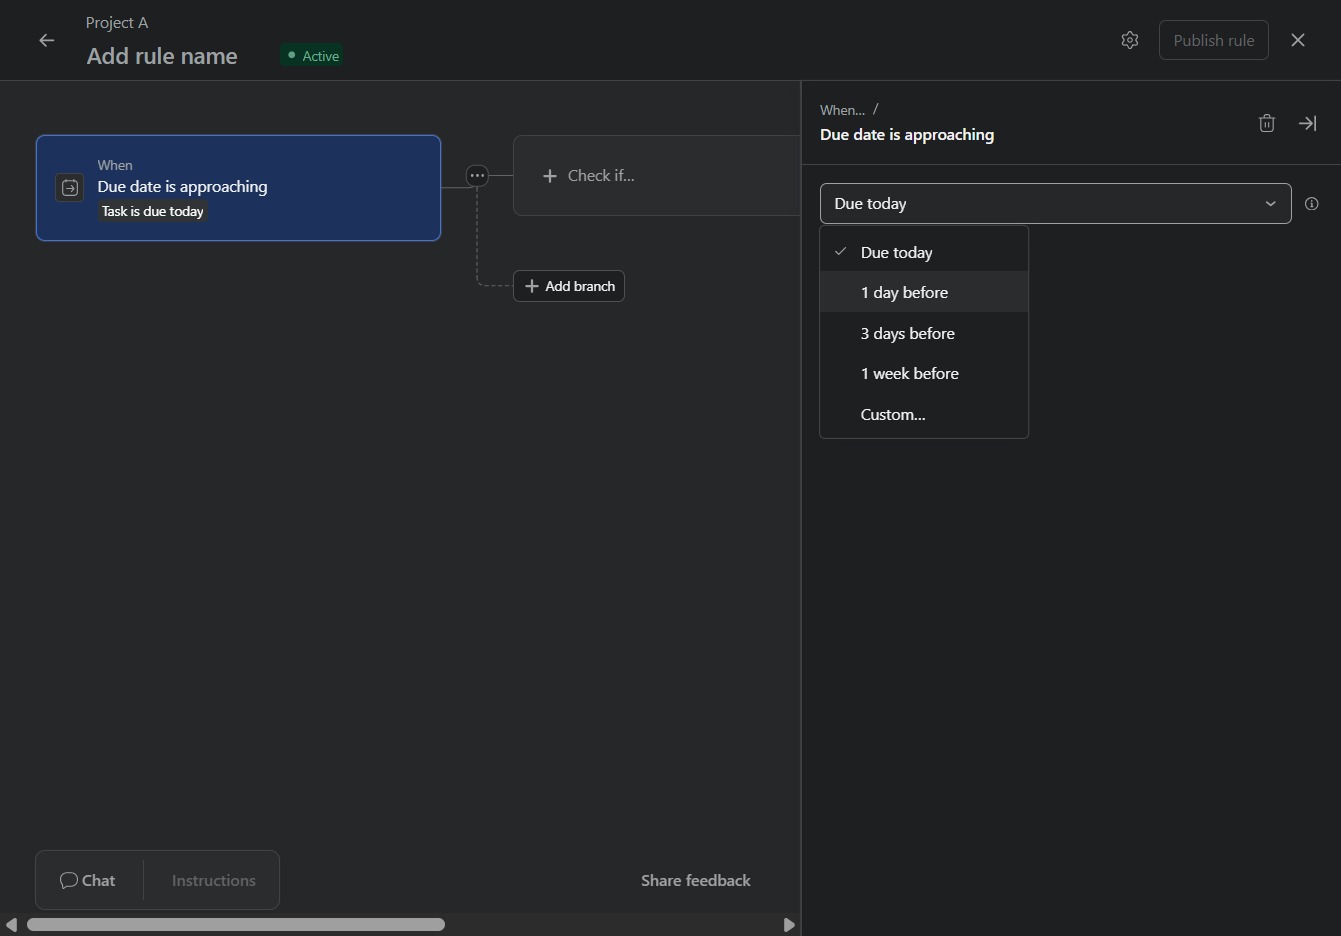
This selects the '1 day before' trigger for the rule, indicating that the task will be flagged one day prior to the due date.
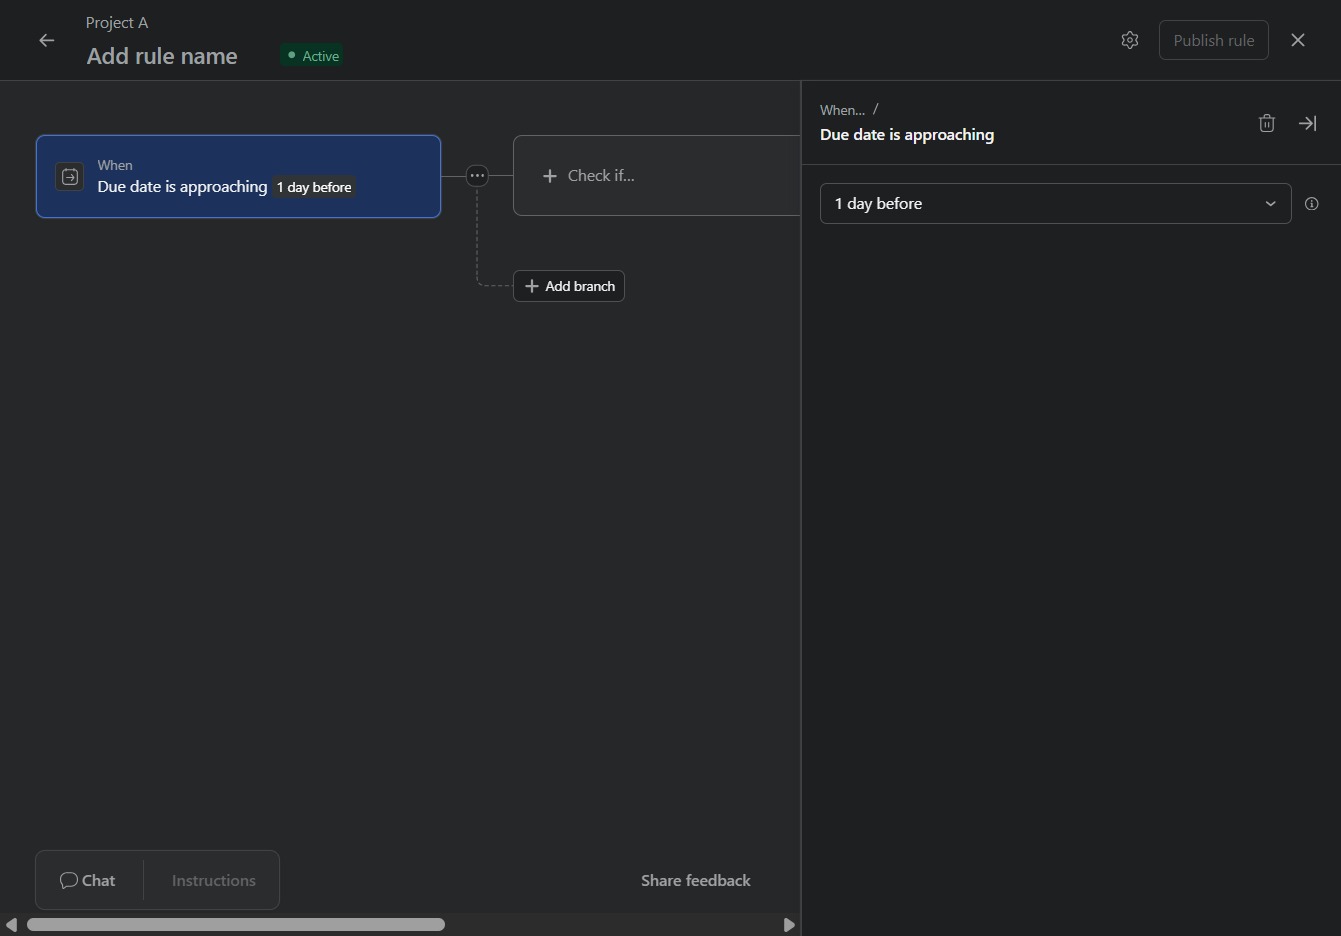
This action allows you to configure a condition for your automation rule based on the specified criteria. After clicking, you can select the desired condition to evaluate within your project.
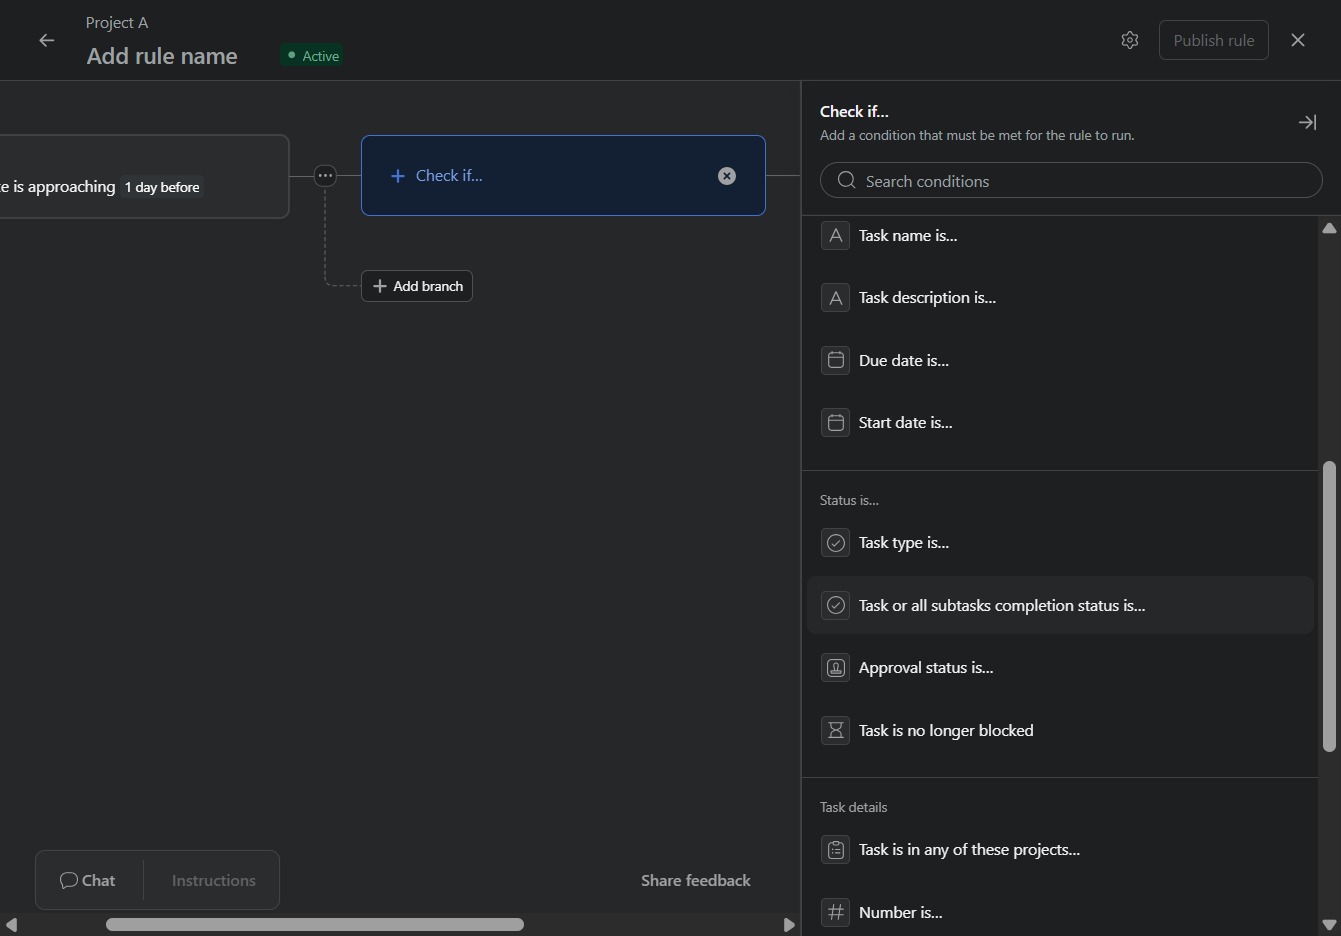
Selecting this option allows you to set conditions based on the completion status of tasks or their subtasks in your automation rule.
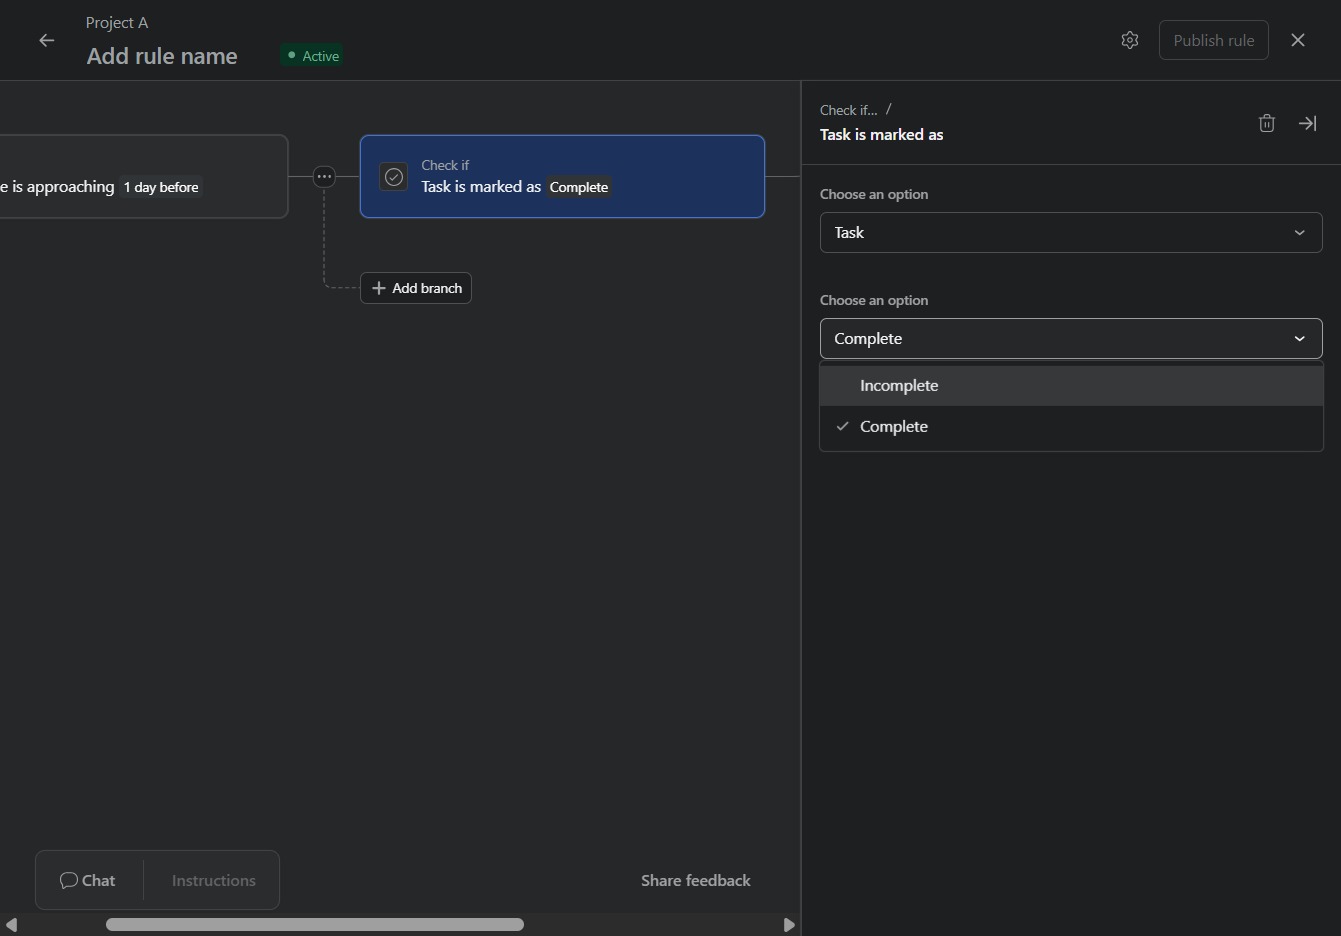
Clicking 'Complete' marks the task as finished within the current project rule. This action may trigger subsequent steps or updates in your workflow.
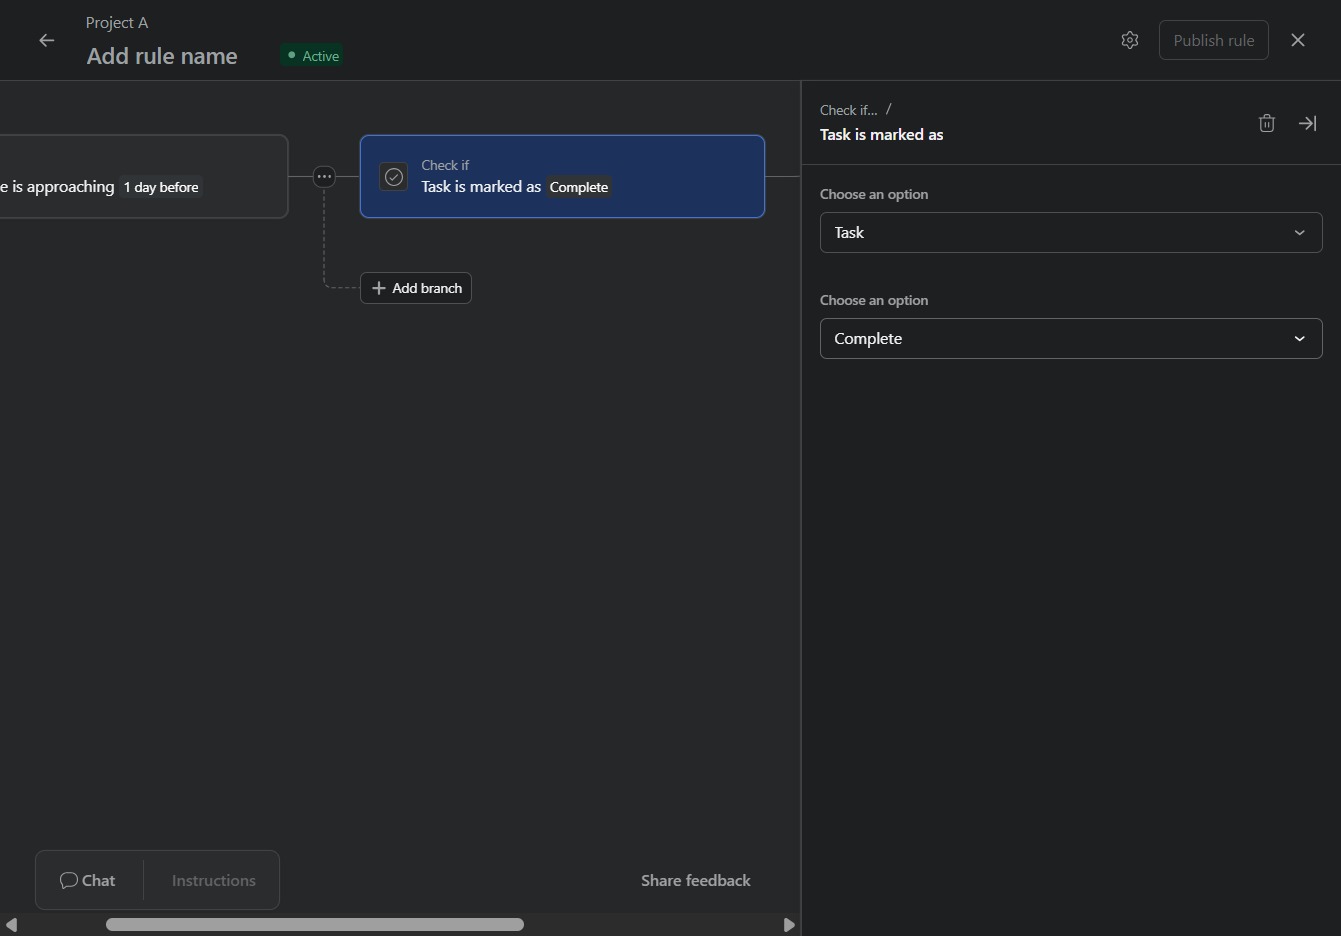
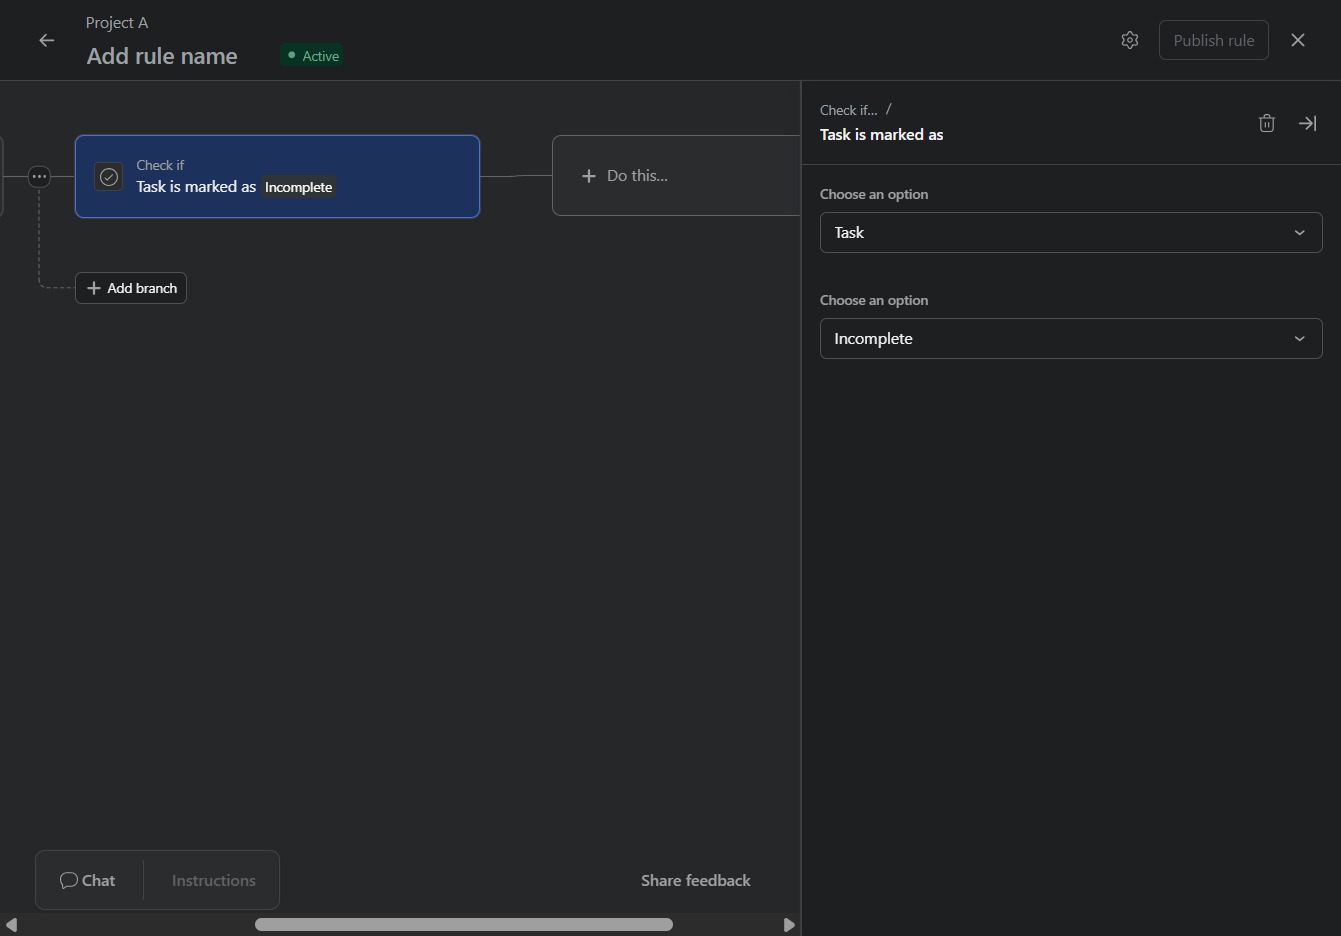
Selecting 'Incomplete' marks the task status, allowing for further tracking and management of tasks in your project.
This option allows you to specify the action that should be taken when the task is marked as incomplete. Selecting this will lead you to further options for defining the next steps in your automation.
Select this option to modify the priority level of the selected task, allowing for better task management and organization within the project.
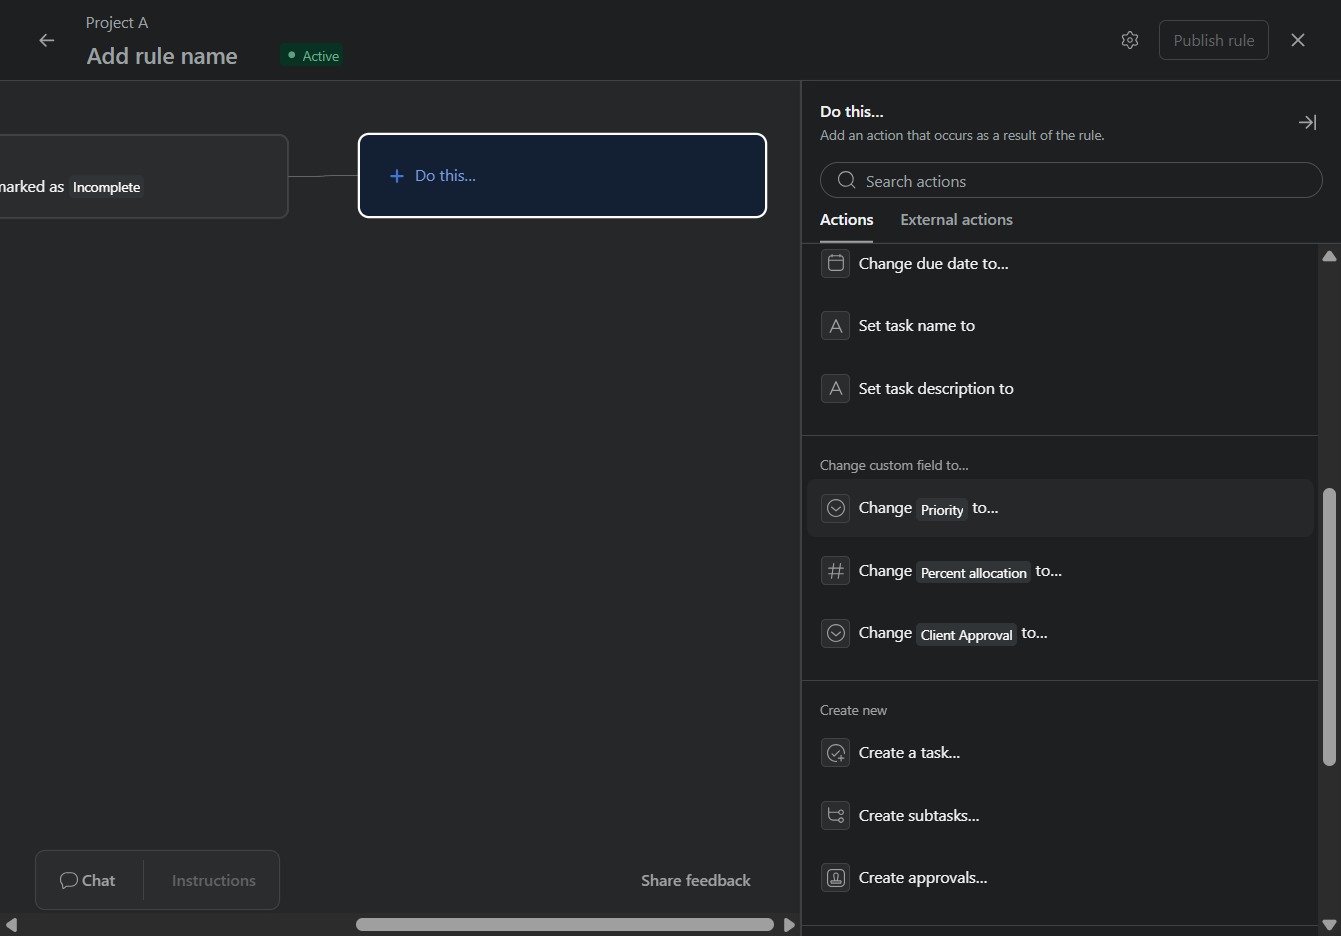
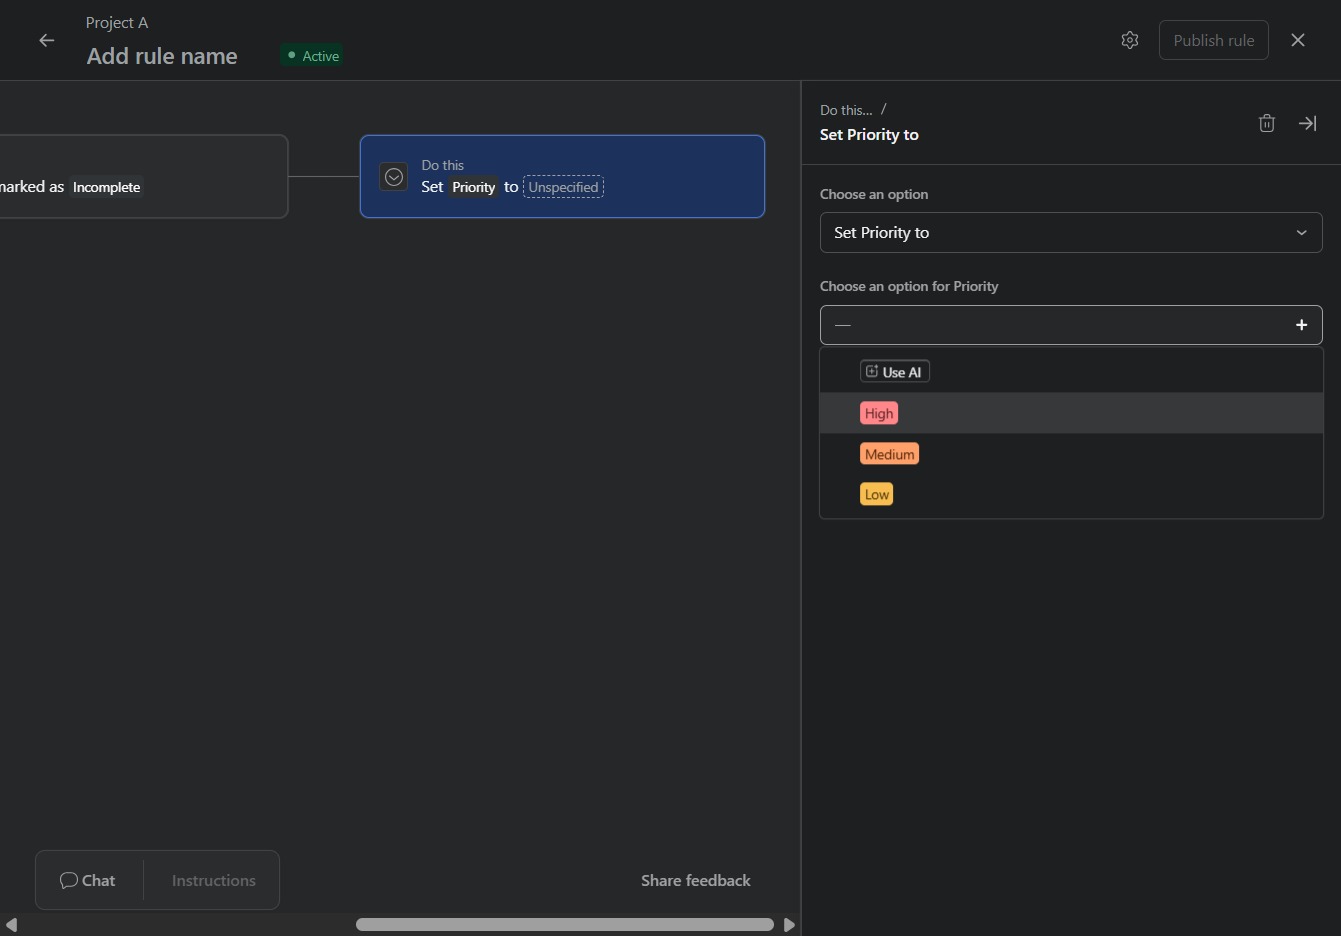
Clicking the 'Set Priority to' dropdown allows you to choose a priority level for the current rule. This selection will influence how the rule is processed within your project.
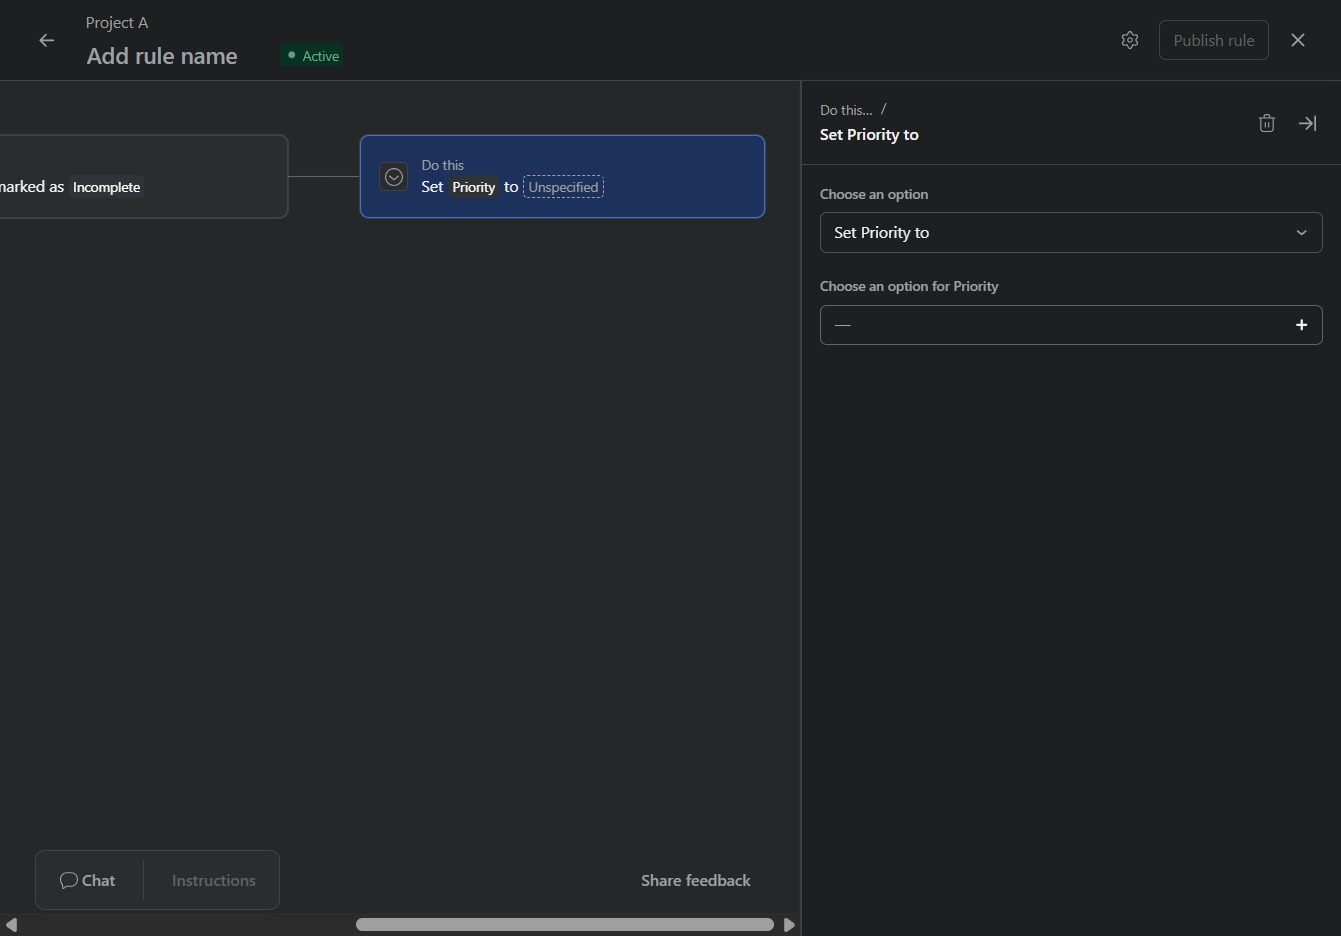
Selecting the 'High' priority option will set the rule's priority to high, ensuring it is addressed first in the workflow.
Clicking this button will save and activate the rule you have set up, making it operational in your project. Ensure all conditions and actions are configured correctly before publishing.