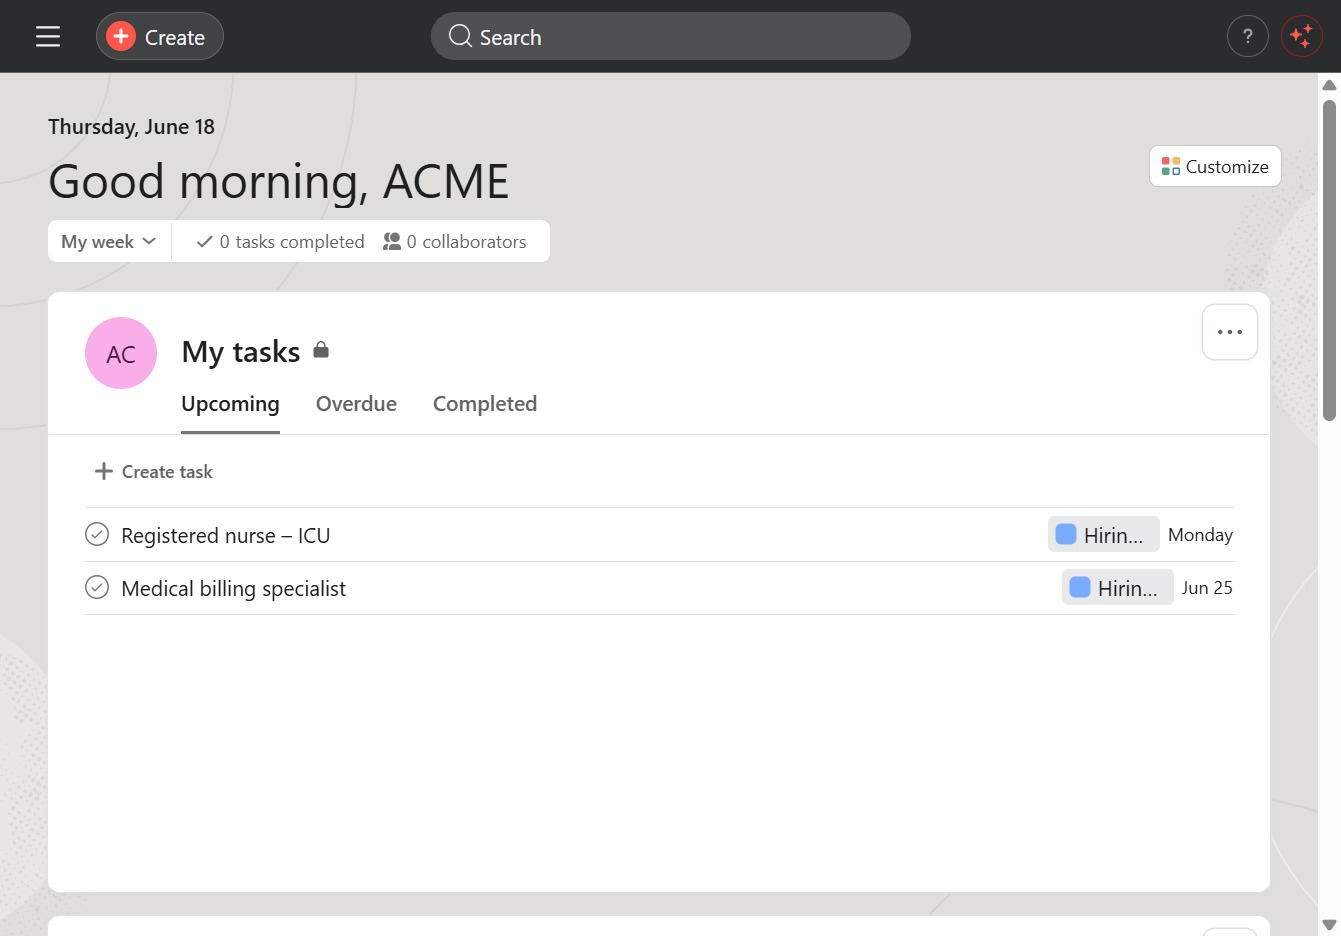
Click the Create button
This action opens a dialog to add a new task to your list. You can enter details such as task name, due date, and other necessary information.
Loading screenshot…
100%
In this how-to guide, you'll learn the step-by-step process of creating a new project using Asana, from opening the project management section to entering the project name and…
 viktoria
In this how-to guide, you'll learn the step-by-step process of creating a new project using Asana, from opening the project management section to entering the project name and utilizing views like Gantt and calendar for task management. Follow these simple steps to set up and enhance your project collaboration effectively.
This action opens a dialog to add a new task to your list. You can enter details such as task name, due date, and other necessary information.
Selecting the Project option opens the project management section, allowing you to view and manage your active projects.
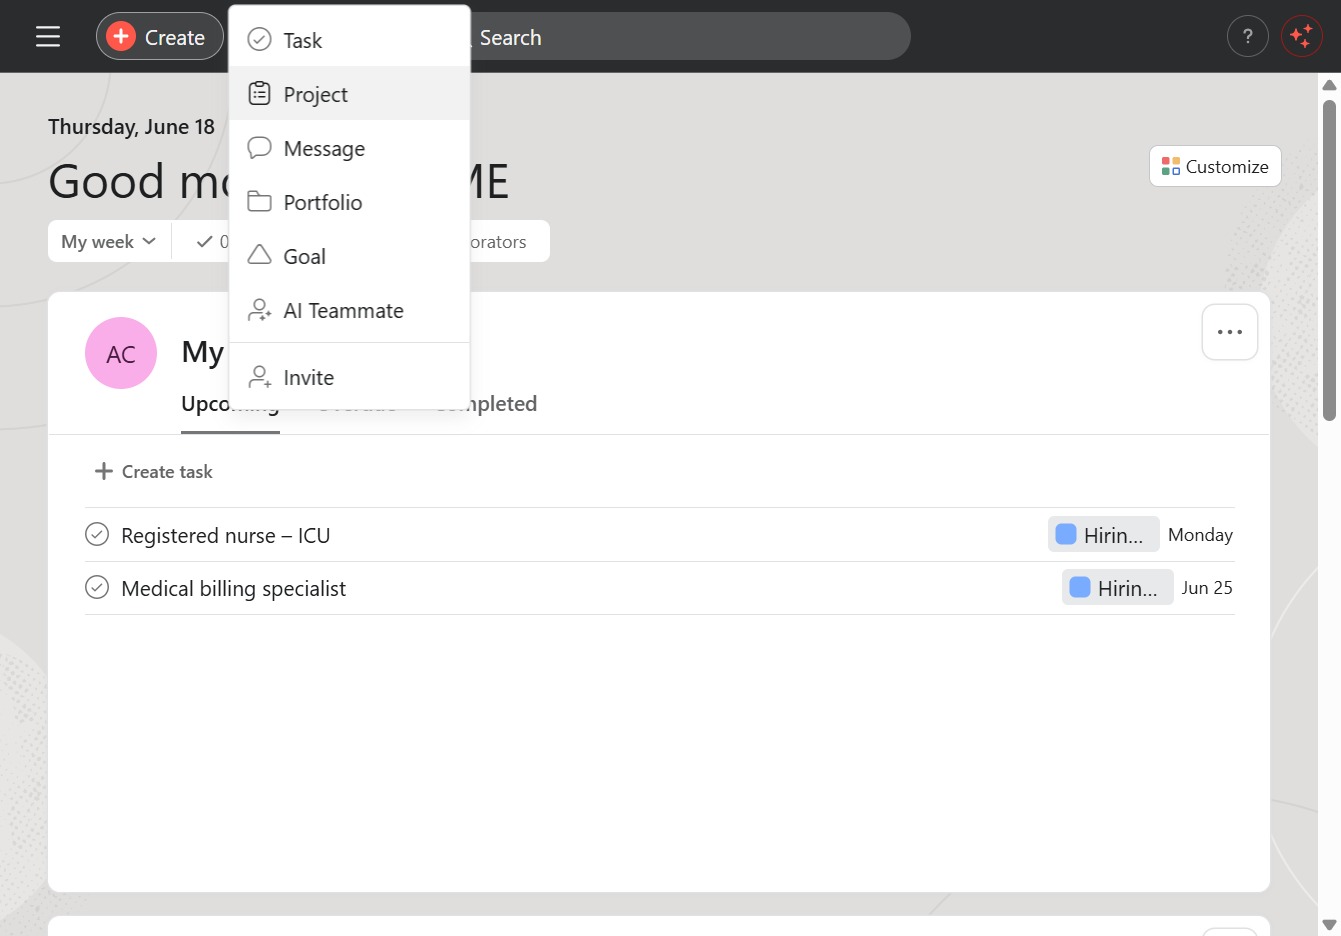
This action initiates the creation of a new blank project, allowing you to start from scratch without any predefined templates.

Click the 'Click here' input field to type in the name of your new project. This will allow you to specify the project title before proceeding to the next steps.
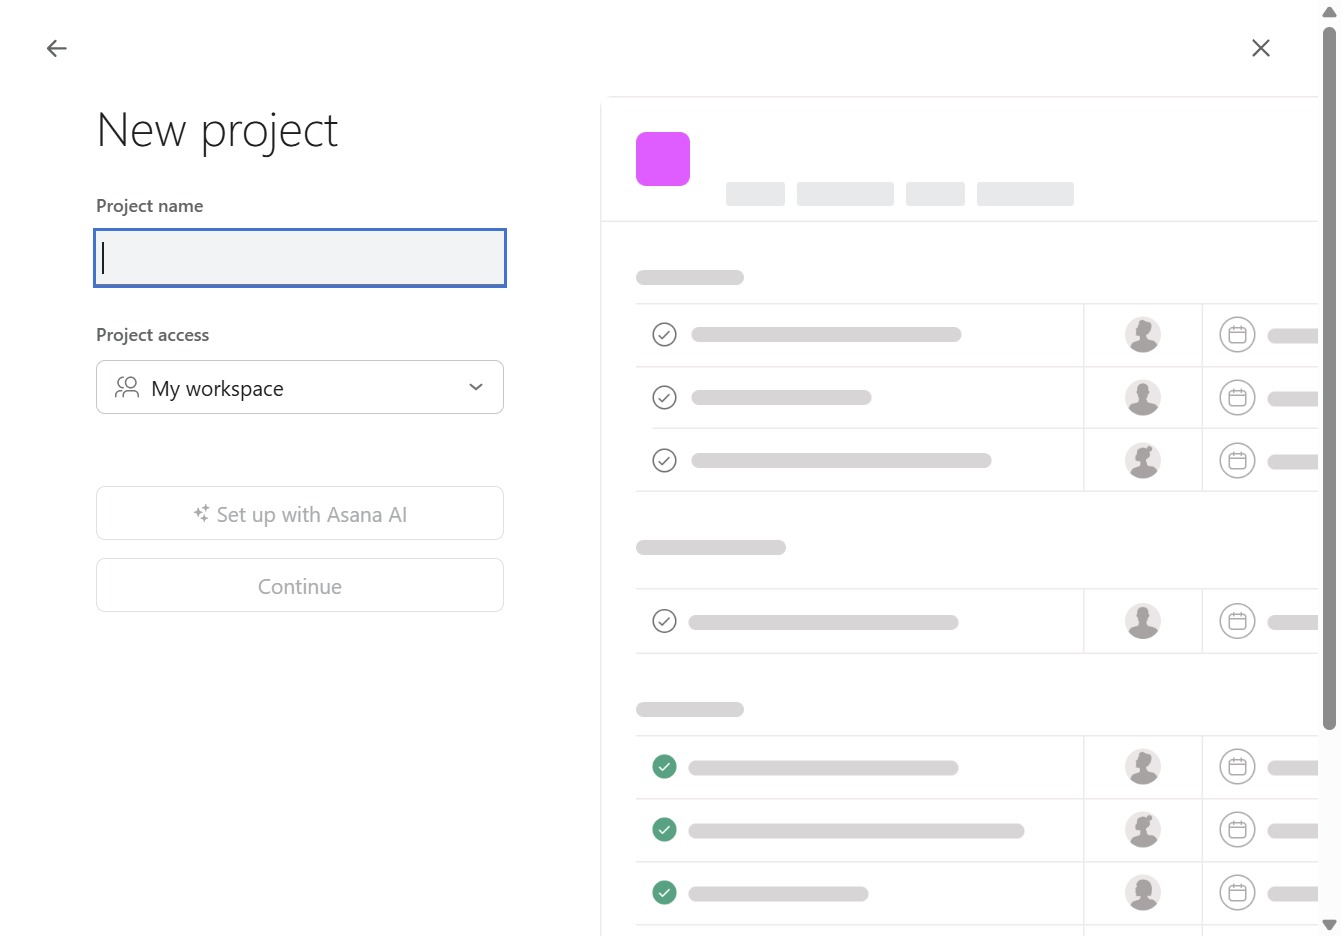
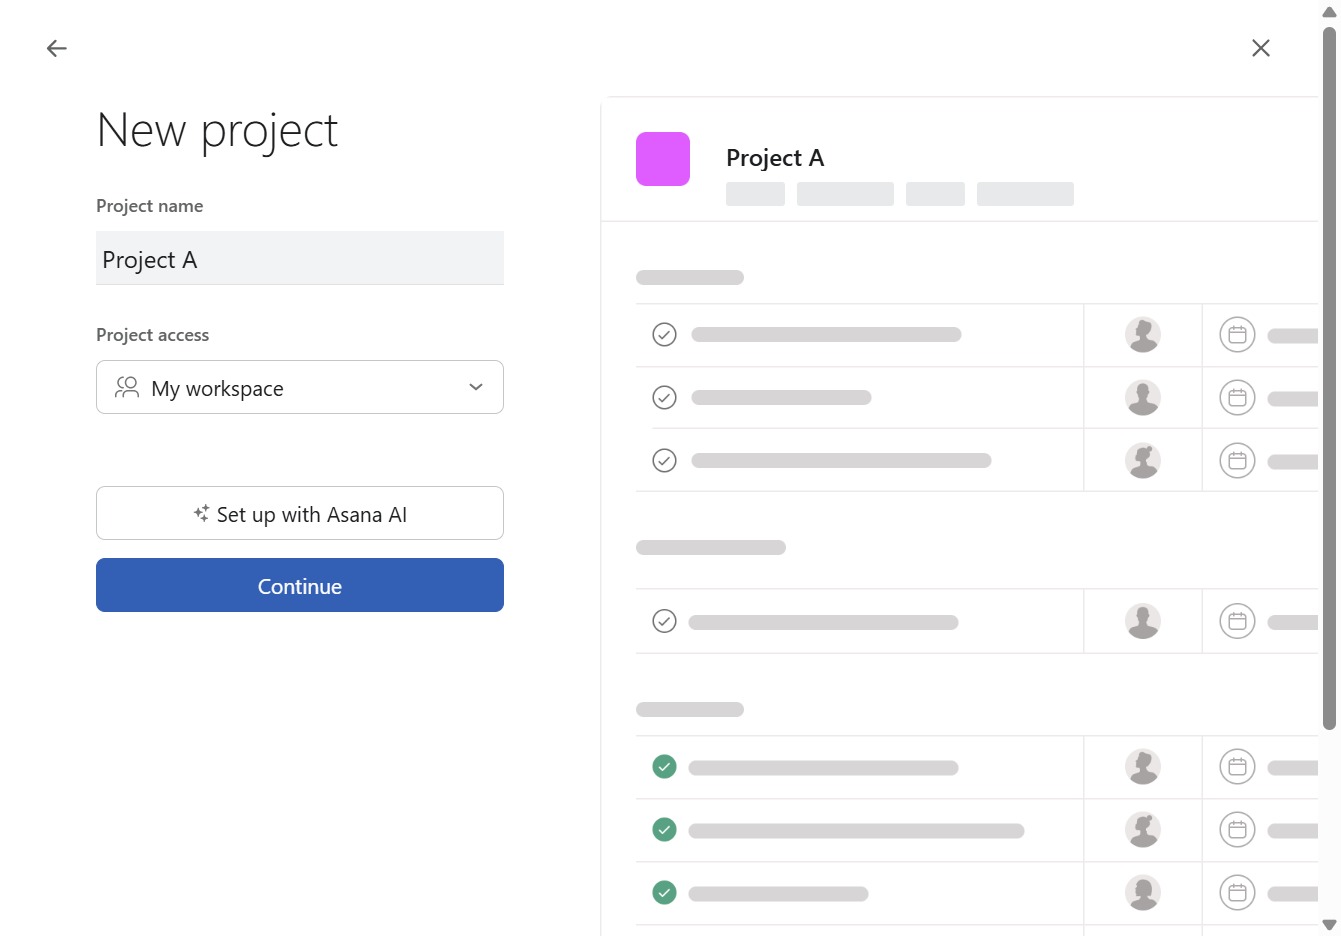
Enter "Project A" in the Project name field to define the title of your new project. This will help you easily identify and manage the project in Asana.
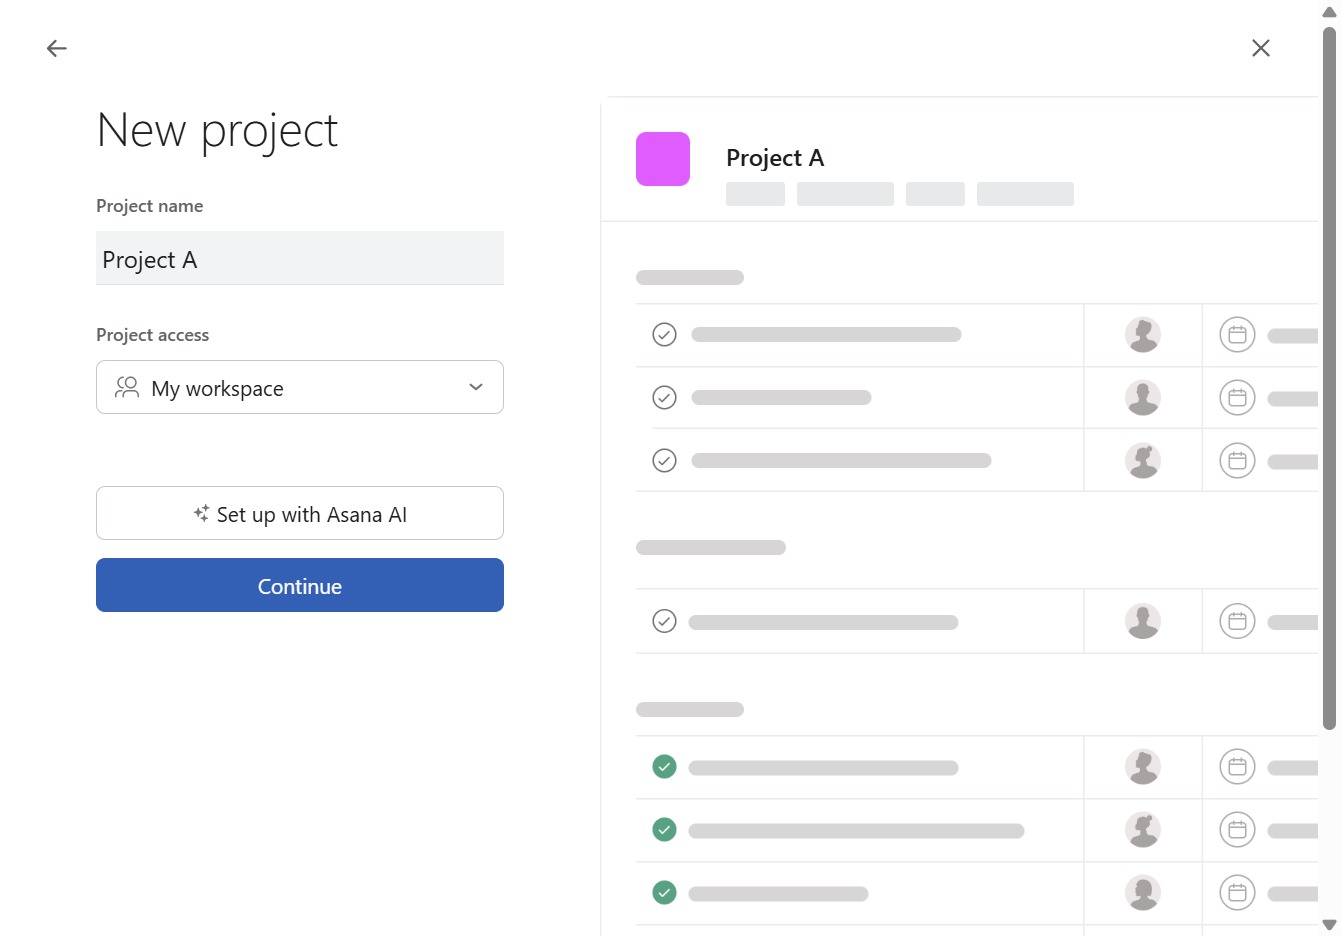
This will proceed to the next step in creating your new project, allowing you to finalize the setup and manage tasks within Asana.
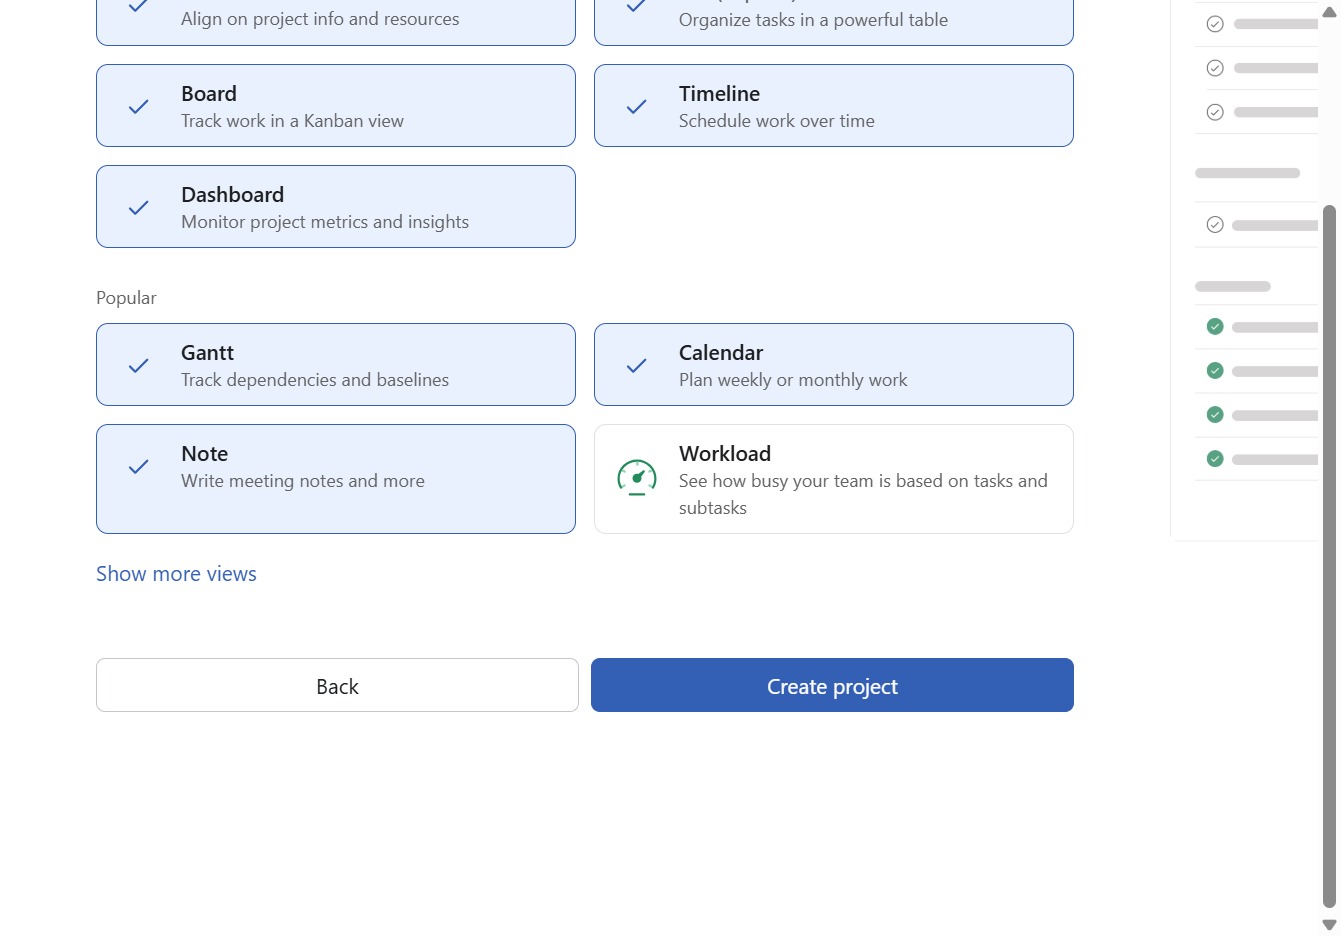
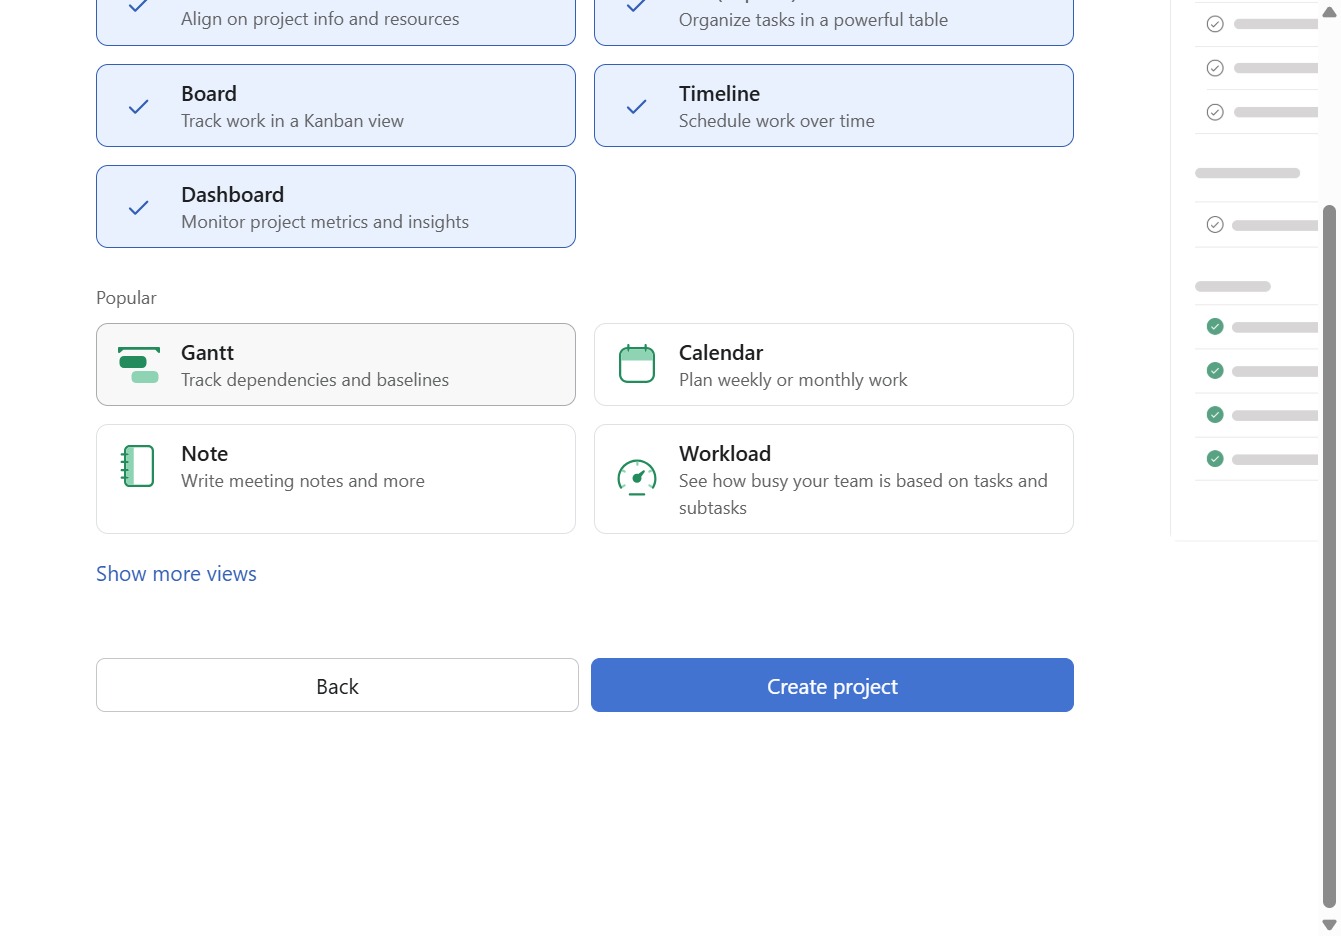
Selecting the Gantt option opens the Gantt chart view, allowing you to manage task dependencies and track project timelines visually.
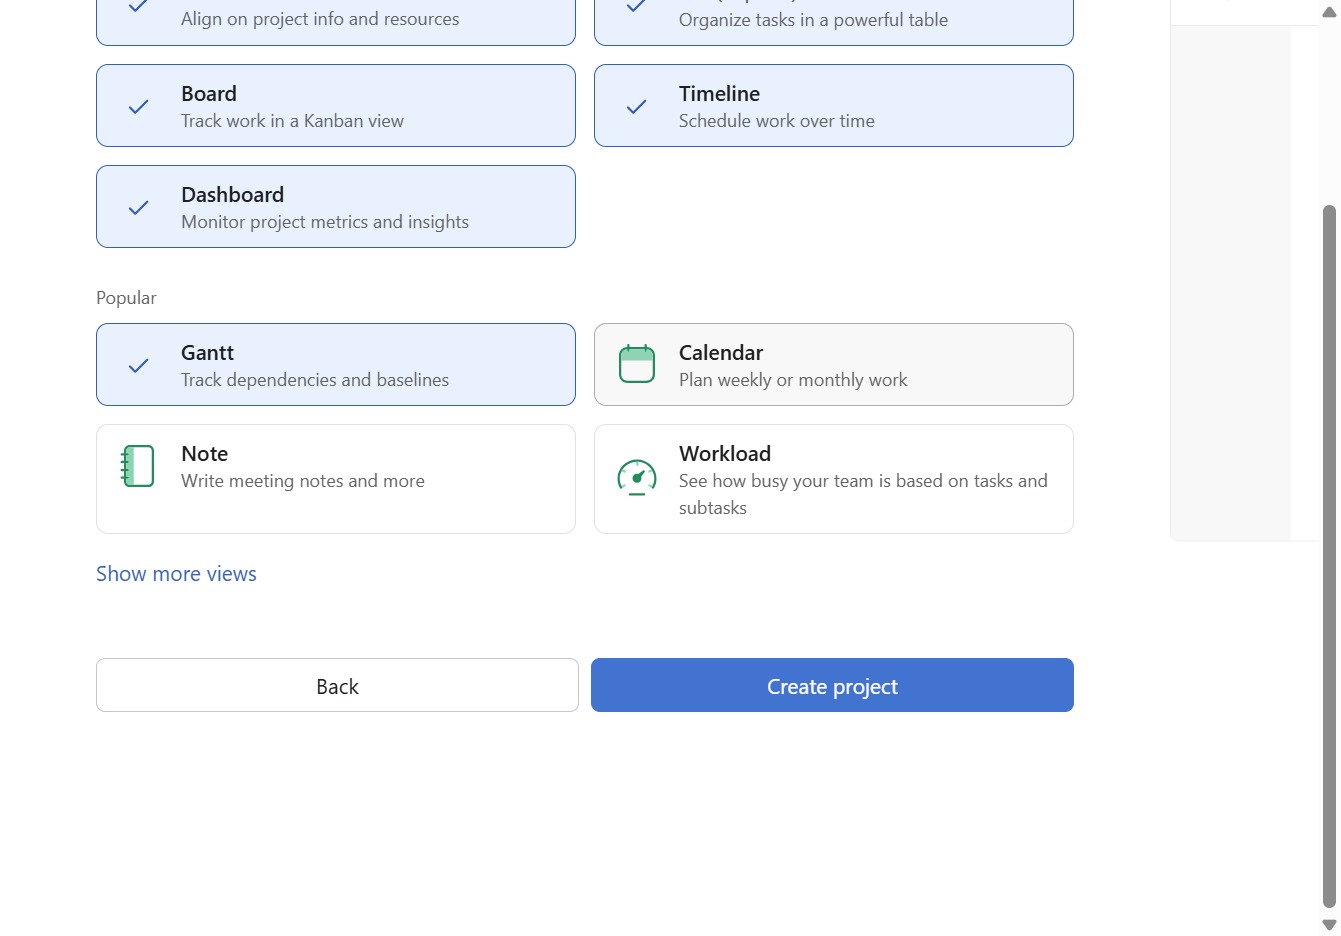
This will open the calendar view, allowing you to plan your work weekly or monthly.
Selecting the NoteWrite option allows you to create and manage meeting notes, enhancing your project collaboration.
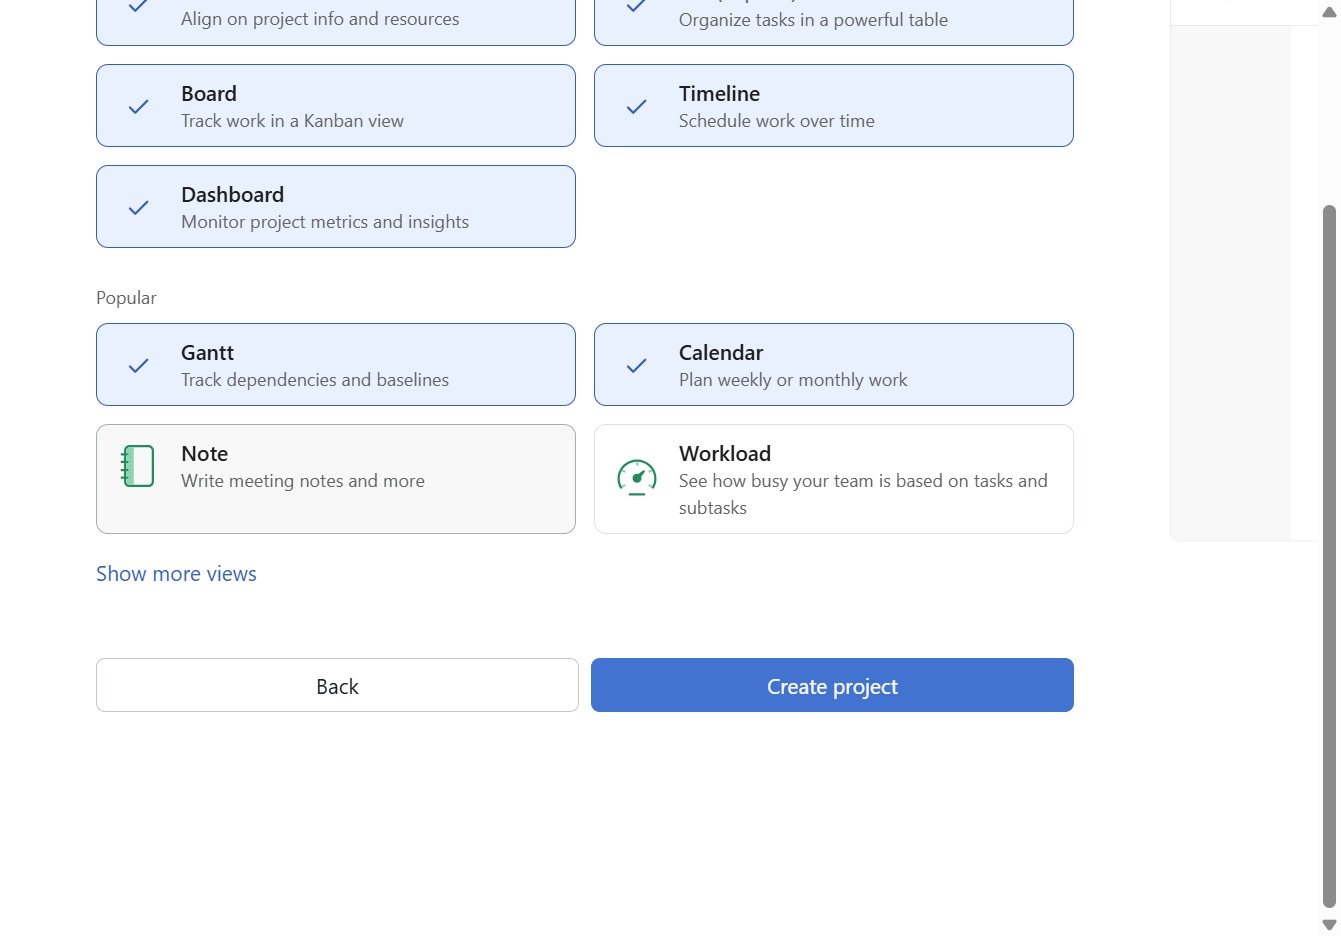
This action will initiate the process of setting up a new project, allowing you to define key project details and objectives.