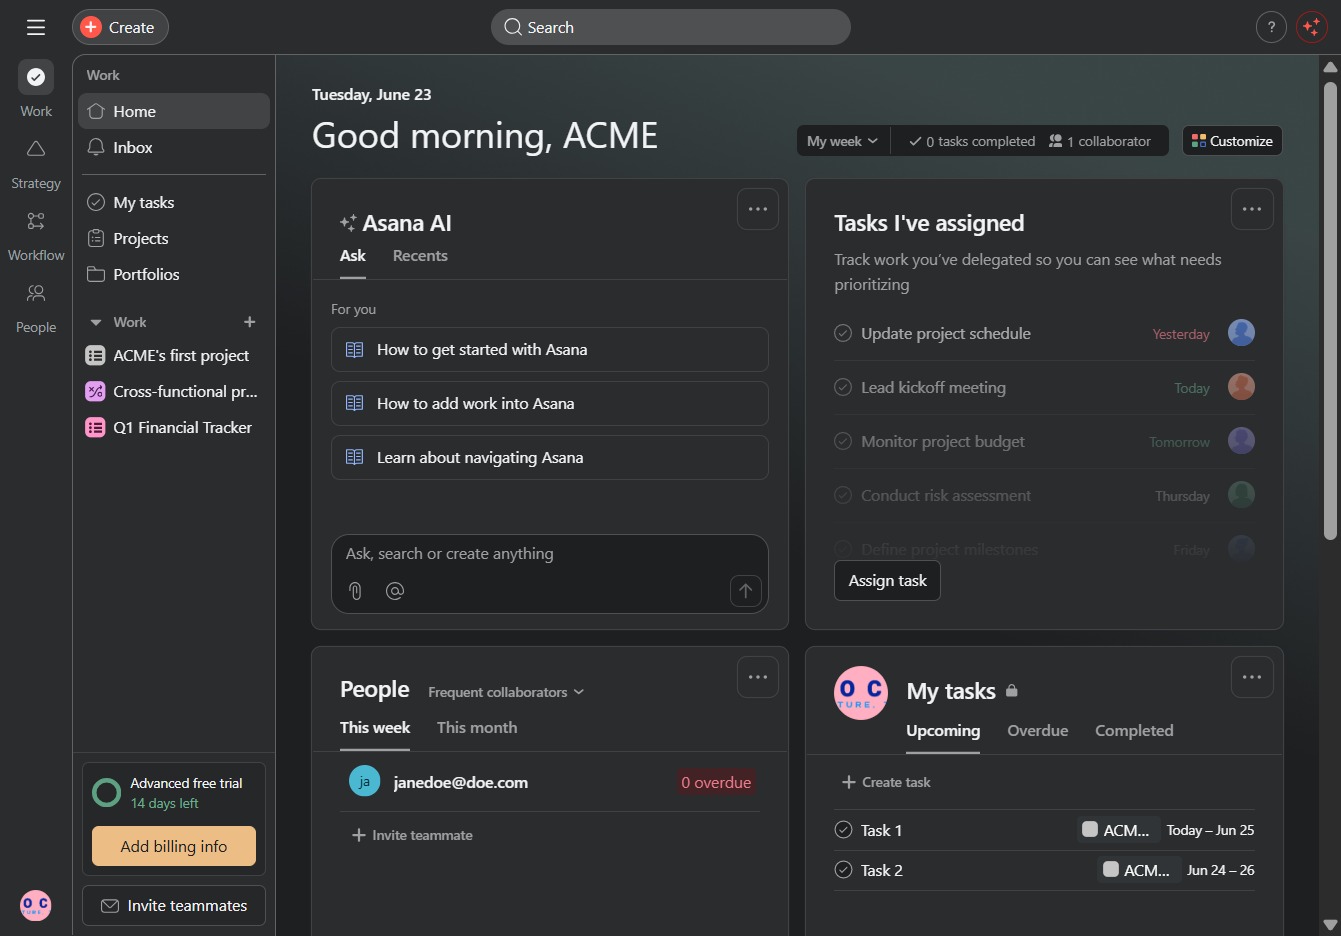
Click the Create button
Clicking the 'Create' button allows you to start a new task or project, enabling you to add details and set parameters for your work in Asana.
Loading screenshot…
100%
This guide walks you through the process of creating a private project in Asana, from initiating the project setup and defining its name, to setting access permissions and…
 viktoria
This guide walks you through the process of creating a private project in Asana, from initiating the project setup and defining its name, to setting access permissions and customizing project views. Follow these steps to ensure your project's confidentiality and manage your team effectively.
Clicking the 'Create' button allows you to start a new task or project, enabling you to add details and set parameters for your work in Asana.
Clicking on the 'Project' option will take you to the projects section, where you can view and manage various projects associated with your tasks.

This action initiates the process of setting up a new project from scratch, allowing you to begin adding tasks and organizing your work immediately.

Enter 'Private' in the Project name field to define the title of your new project. This name will be used to identify your project within the system.
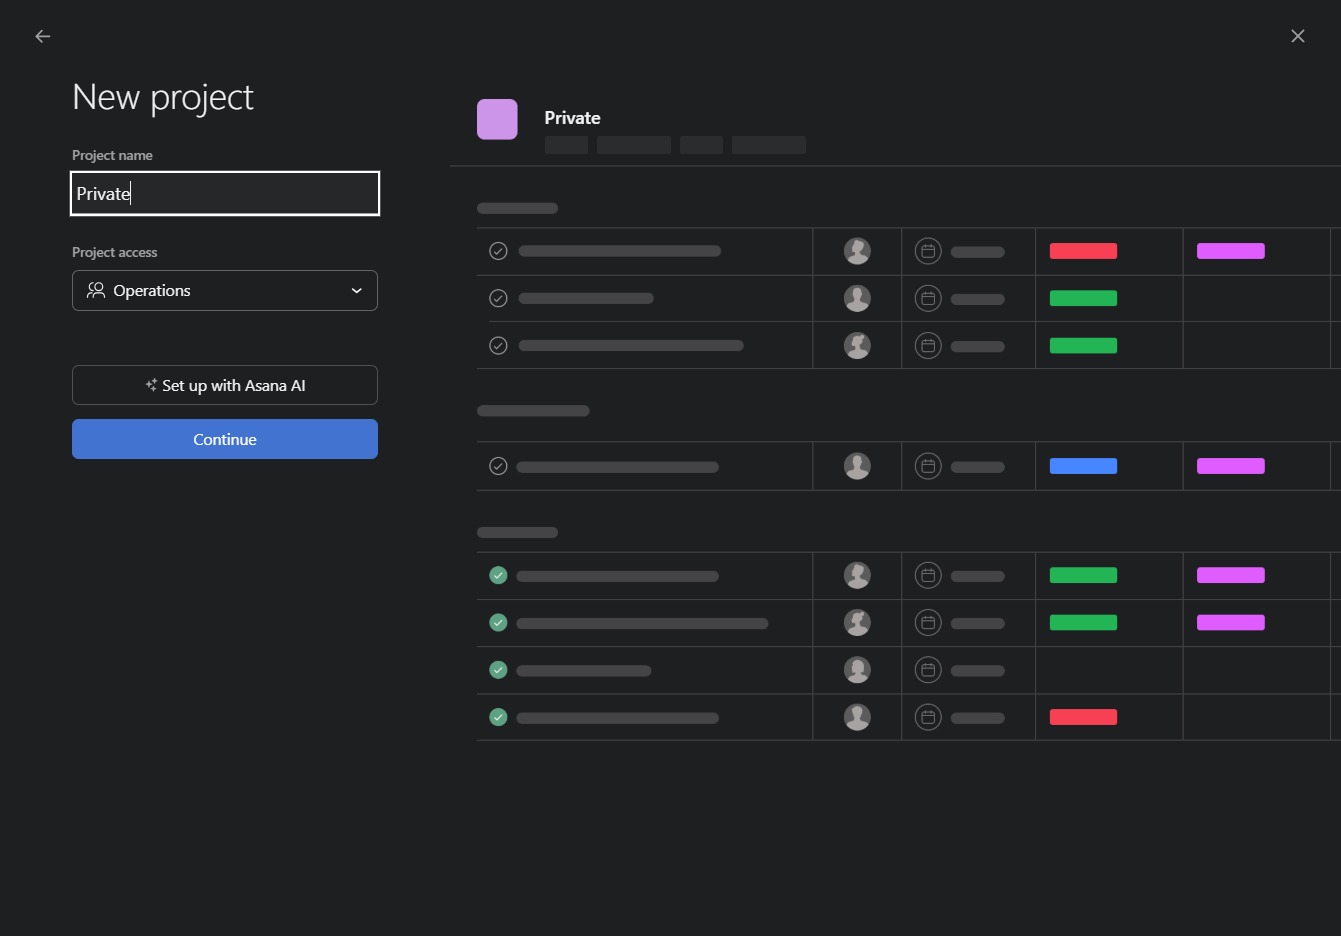
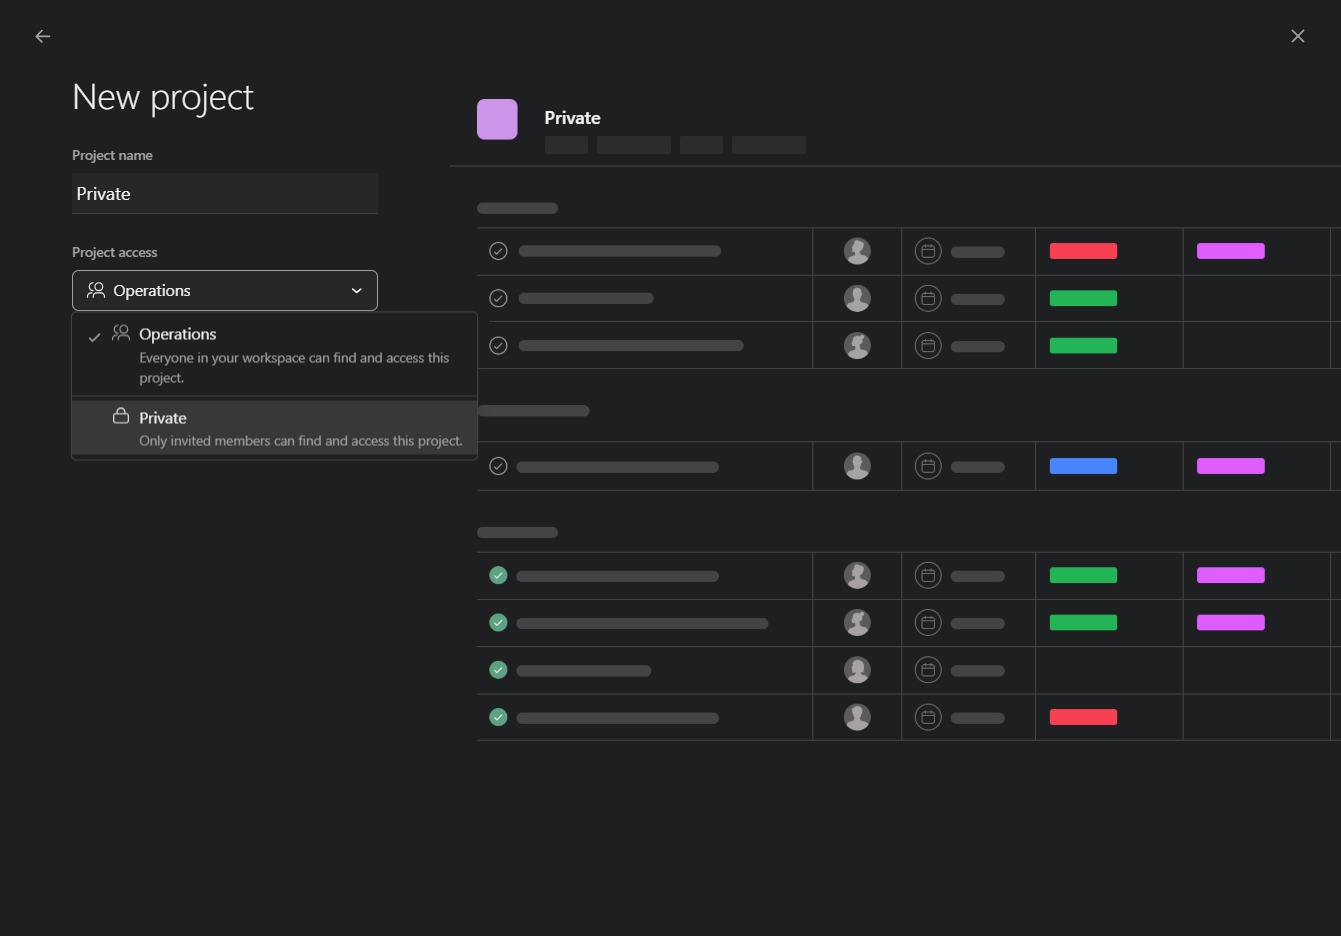
Selecting 'Operations' will assign the project access level, allowing you to manage permissions specifically for users associated with the Operations team.
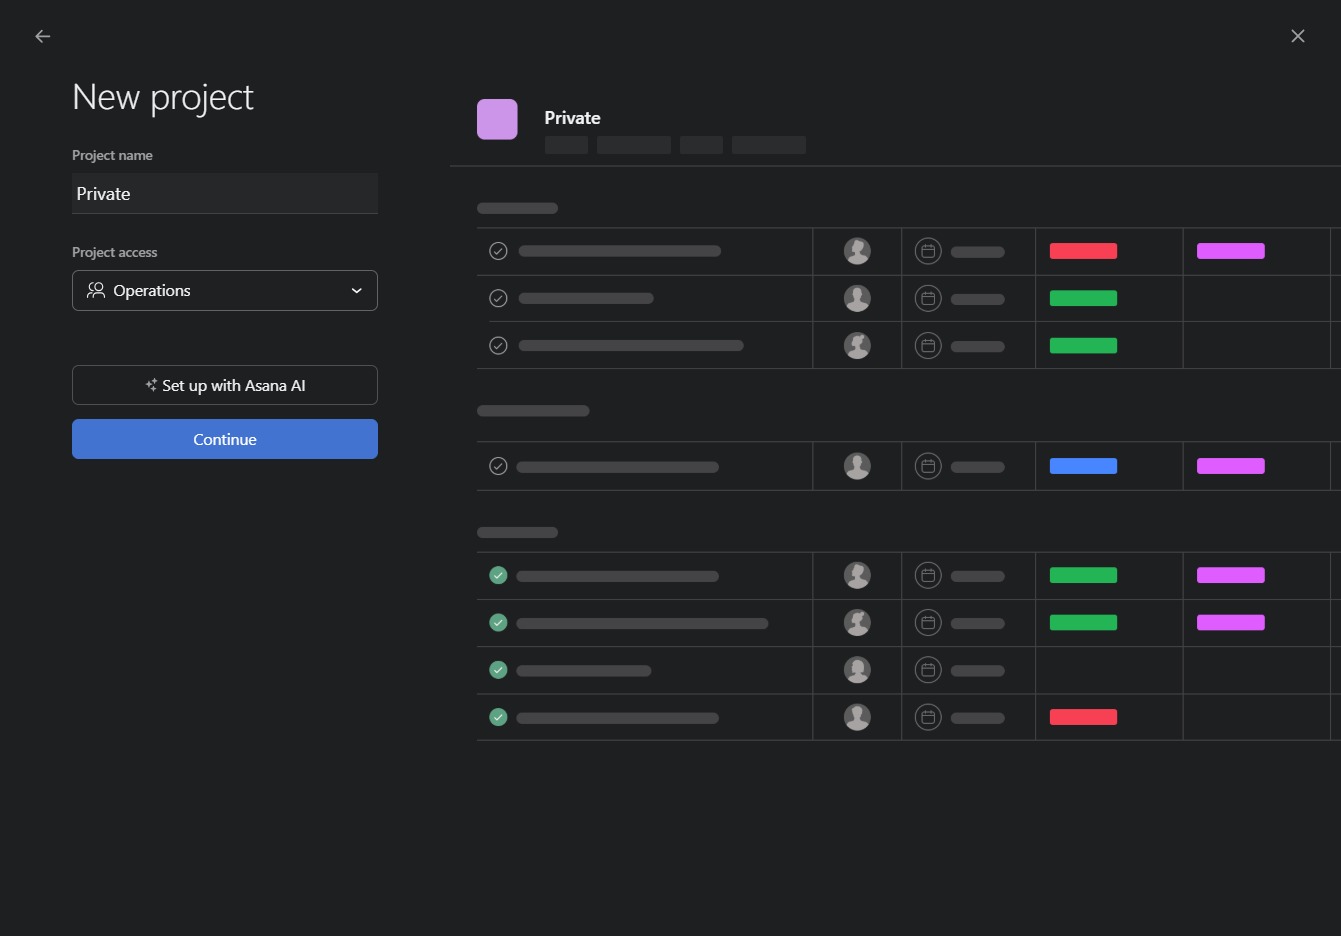
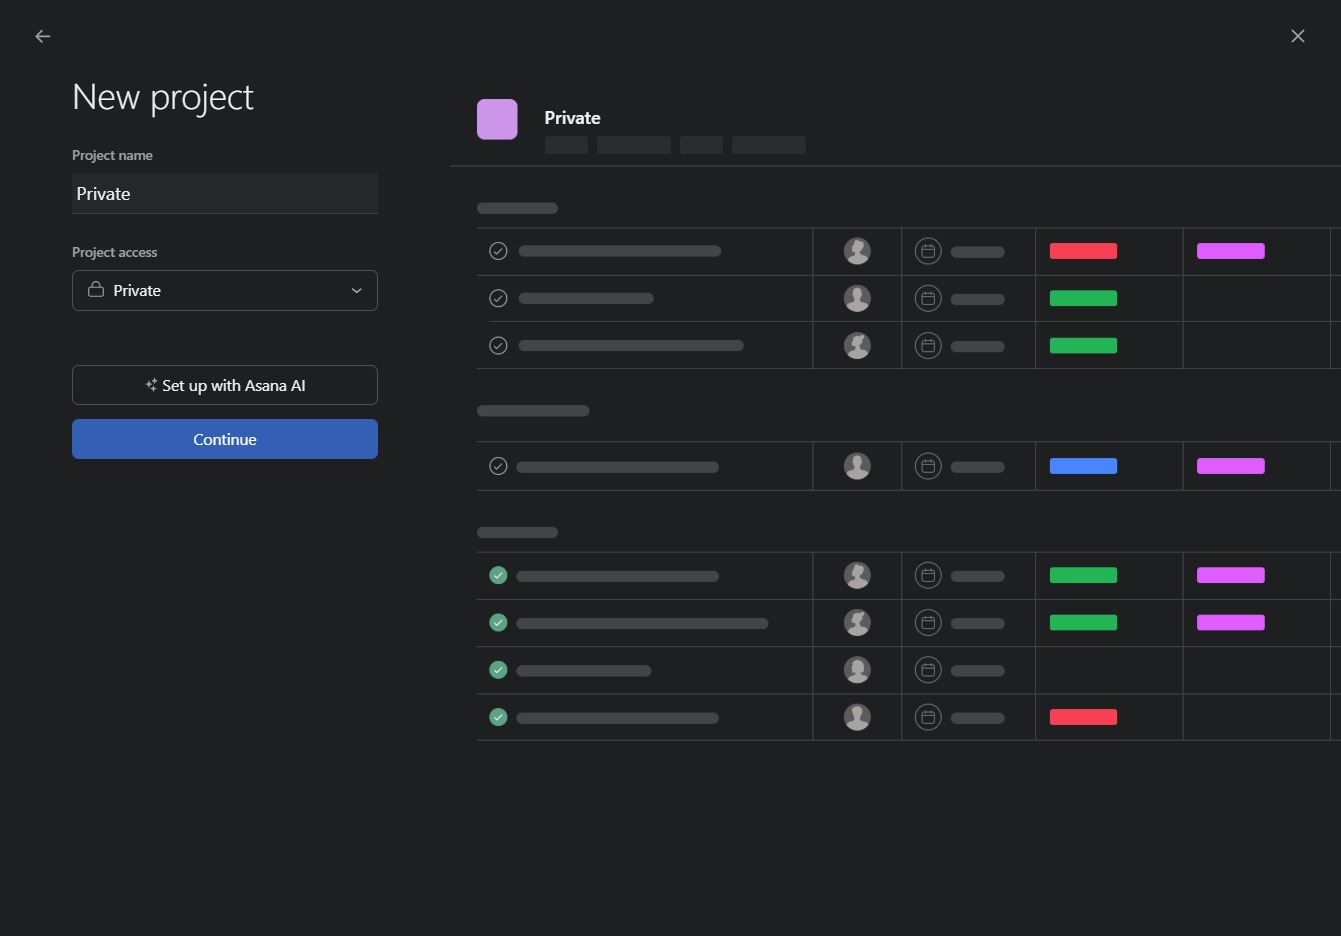
Selecting the 'Private' option ensures that only invited members can find and access this project, enhancing its confidentiality.
Clicking 'Continue' will proceed to the next step of creating your new project. You will be directed to set up project details, including assigning team members and setting deadlines.
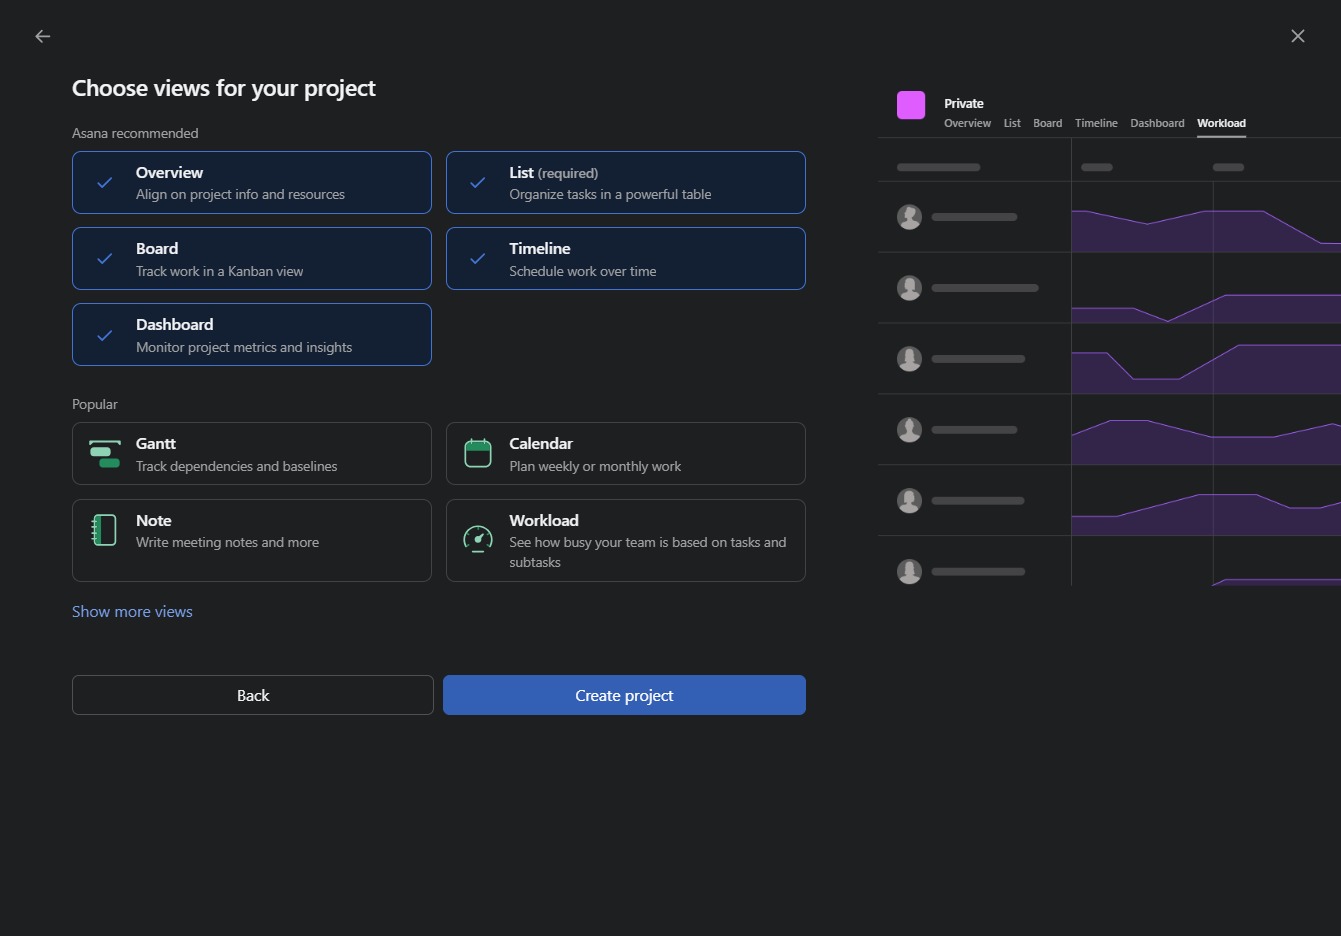
This action will initiate the process of setting up a new project, allowing you to customize various views such as Overview, List, and Timeline.