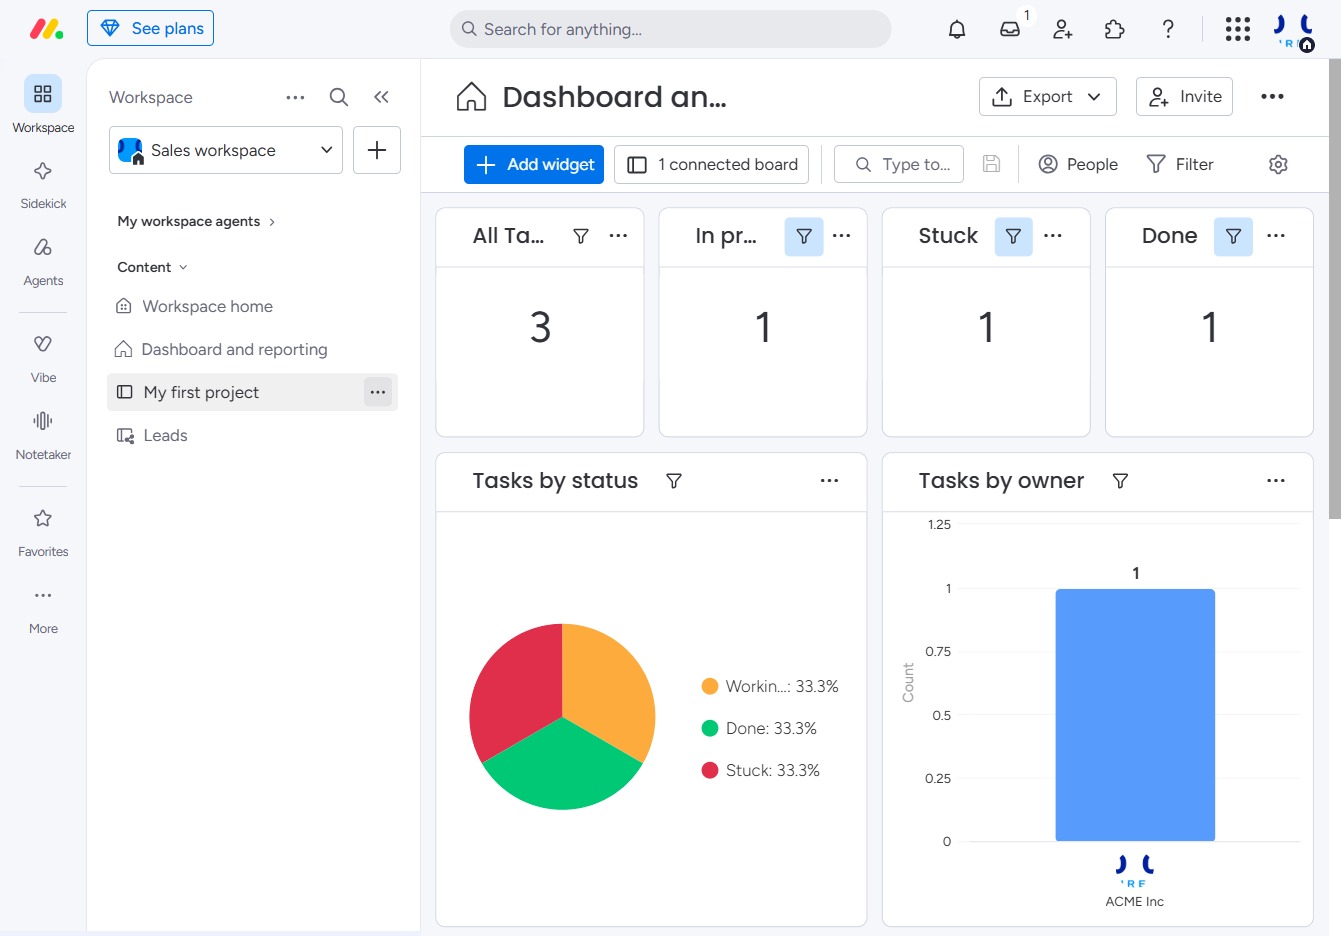
Click here to add a widget
Clicking this option will allow you to add a new widget to your dashboard, helping you customize your view of tasks and progress.
Loading screenshot…
100%
In this how-to guide, you'll learn to create a private board by customizing your dashboard, changing project visibility settings, and managing user access.
 viktoria
In this how-to guide, you'll learn to create a private board by customizing your dashboard, changing project visibility settings, and managing user access. Follow the steps to ensure that only selected individuals can view and interact with your board, enhancing your project's privacy and collaboration.
Clicking this option will allow you to add a new widget to your dashboard, helping you customize your view of tasks and progress.
Selecting the 'Change type' option allows you to modify the current type of the selected project, giving you choices to switch to either 'Private' or 'Shareable' settings.
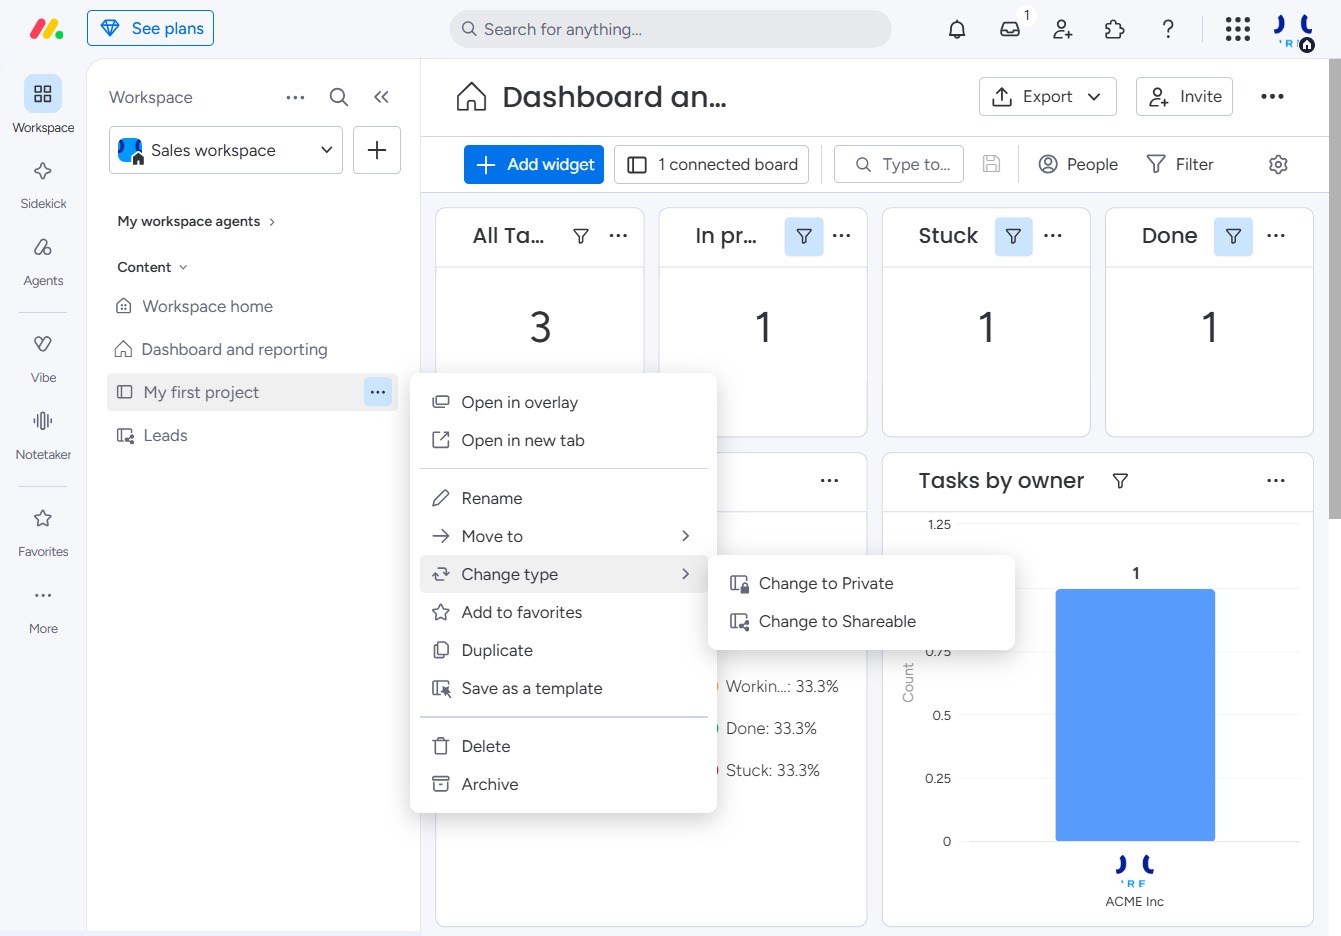
Select the 'Change type' option to toggle the visibility of the task between Private and Shareable settings. This allows you to control who can see and access the task within your project.
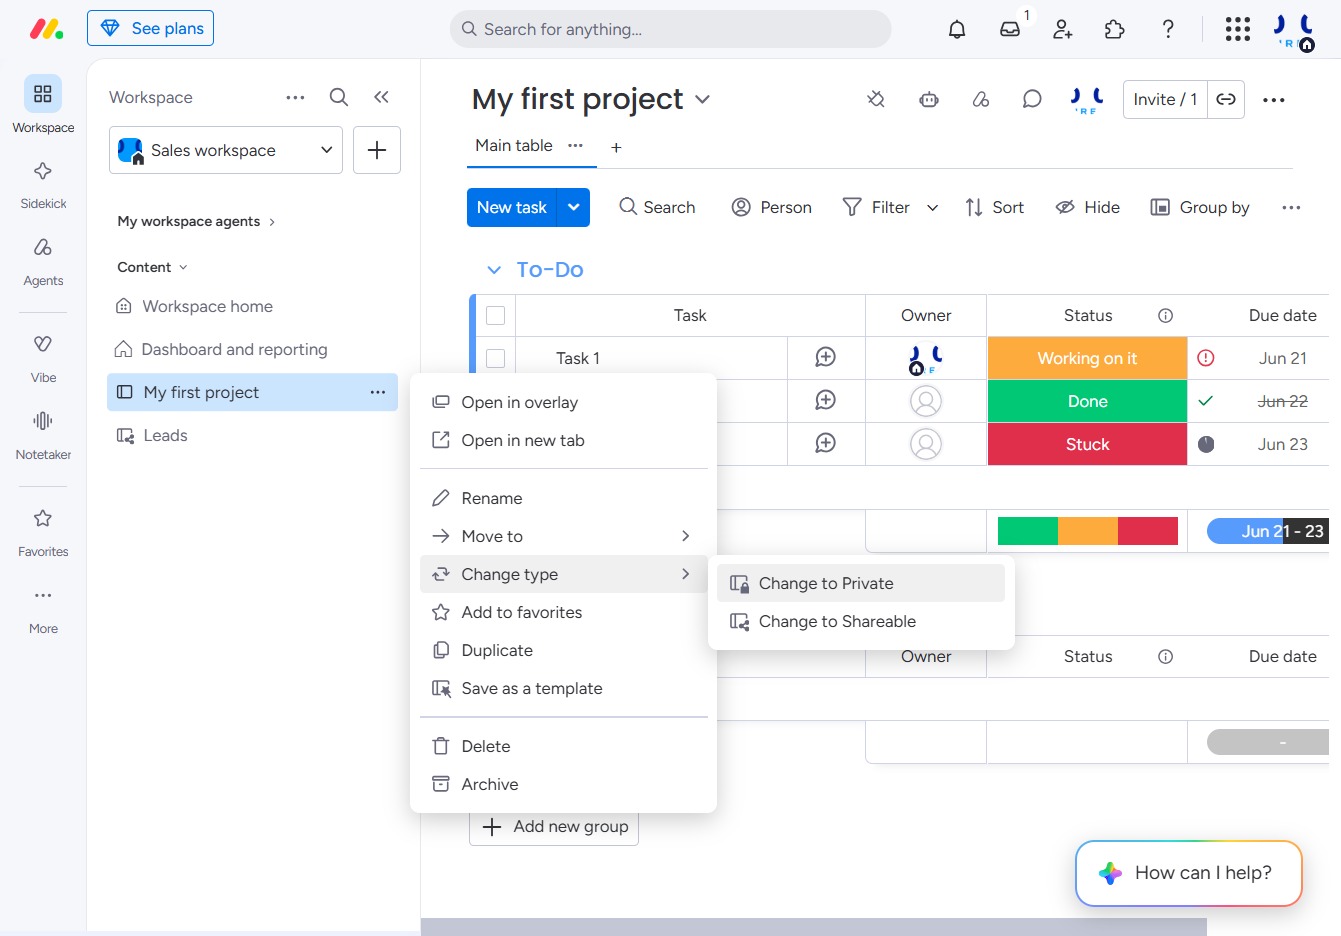
By selecting this option, you will allow specific users to access the board. Ensure that only the intended users receive access by checking the related invitees before finalizing the action.
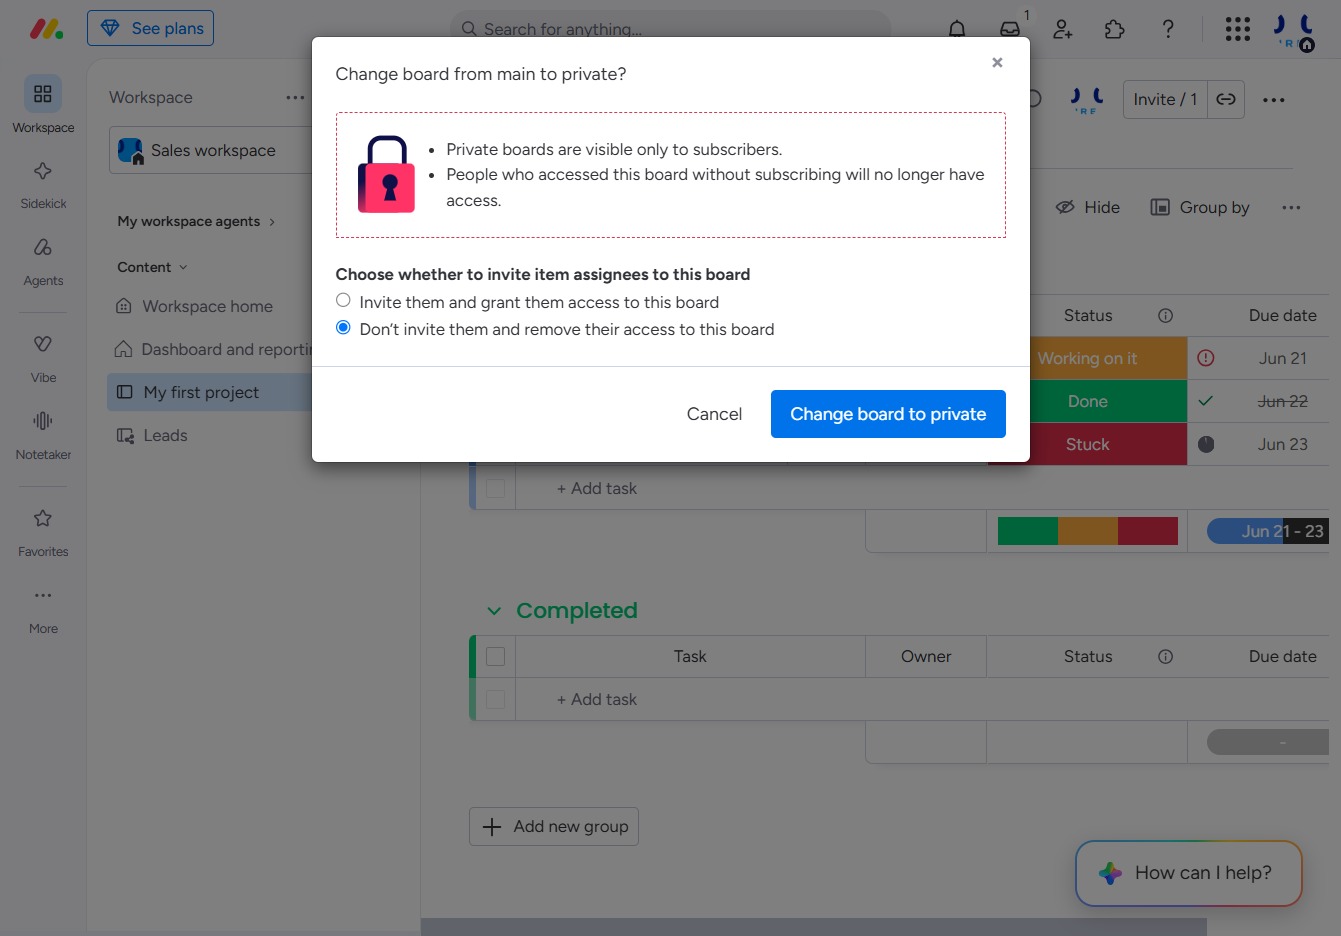
This action will change the visibility of the board to private, restricting access to only those who are subscribers. You will also have the option to invite current assignees to this board.
