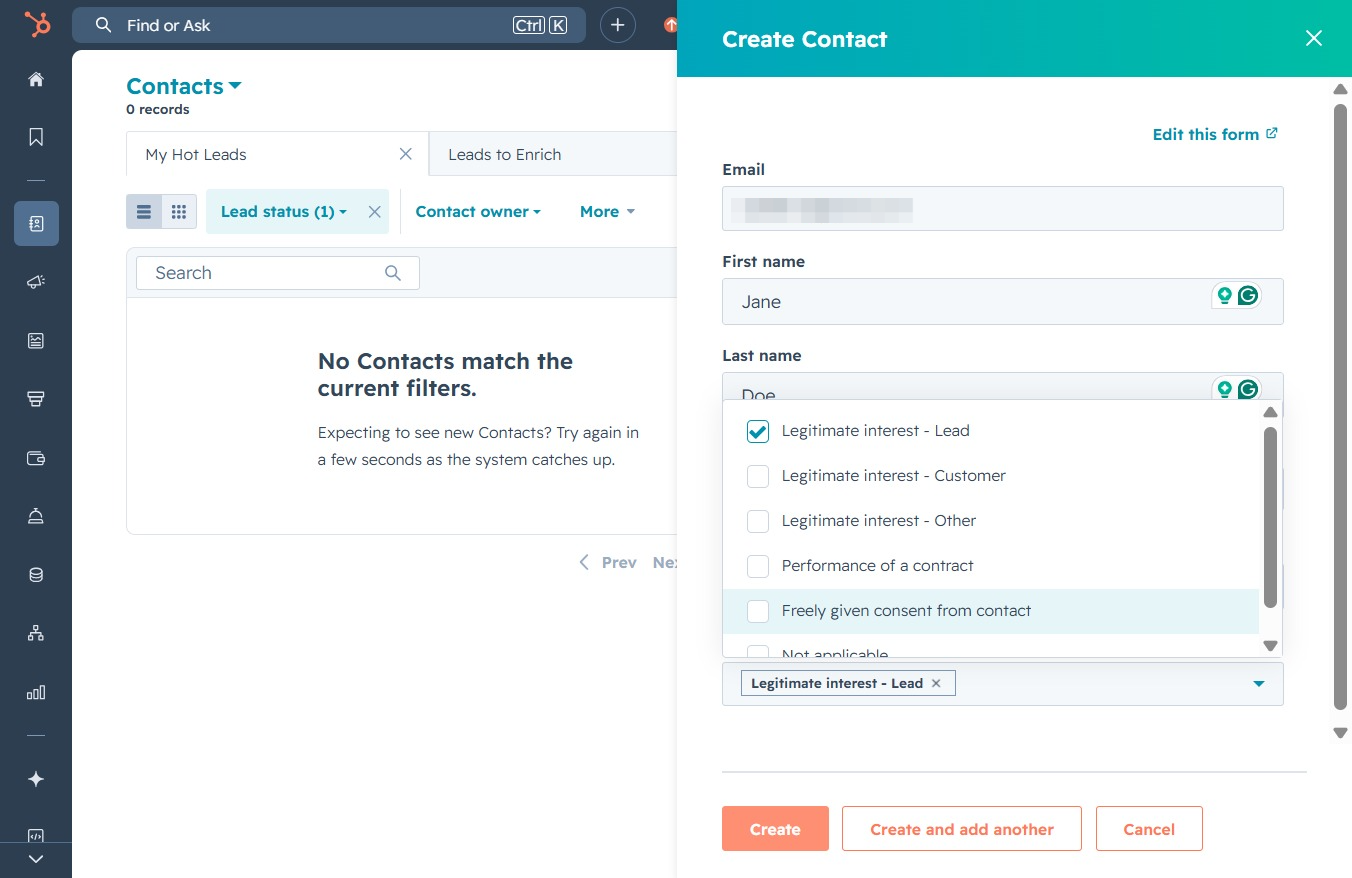
Click the Contacts link
This will open the Contacts section where you can manage and view your contact lists within the CRM.
Loading screenshot…
100%
Learn to create a new contact in the CRM software by entering essential details such as email, first name, last name, and phone number to effectively manage your contacts.
 viktoria
Learn to create a new contact in the CRM software by entering essential details such as email, first name, last name, and phone number to effectively manage your contacts.
This will open the Contacts section where you can manage and view your contact lists within the CRM.
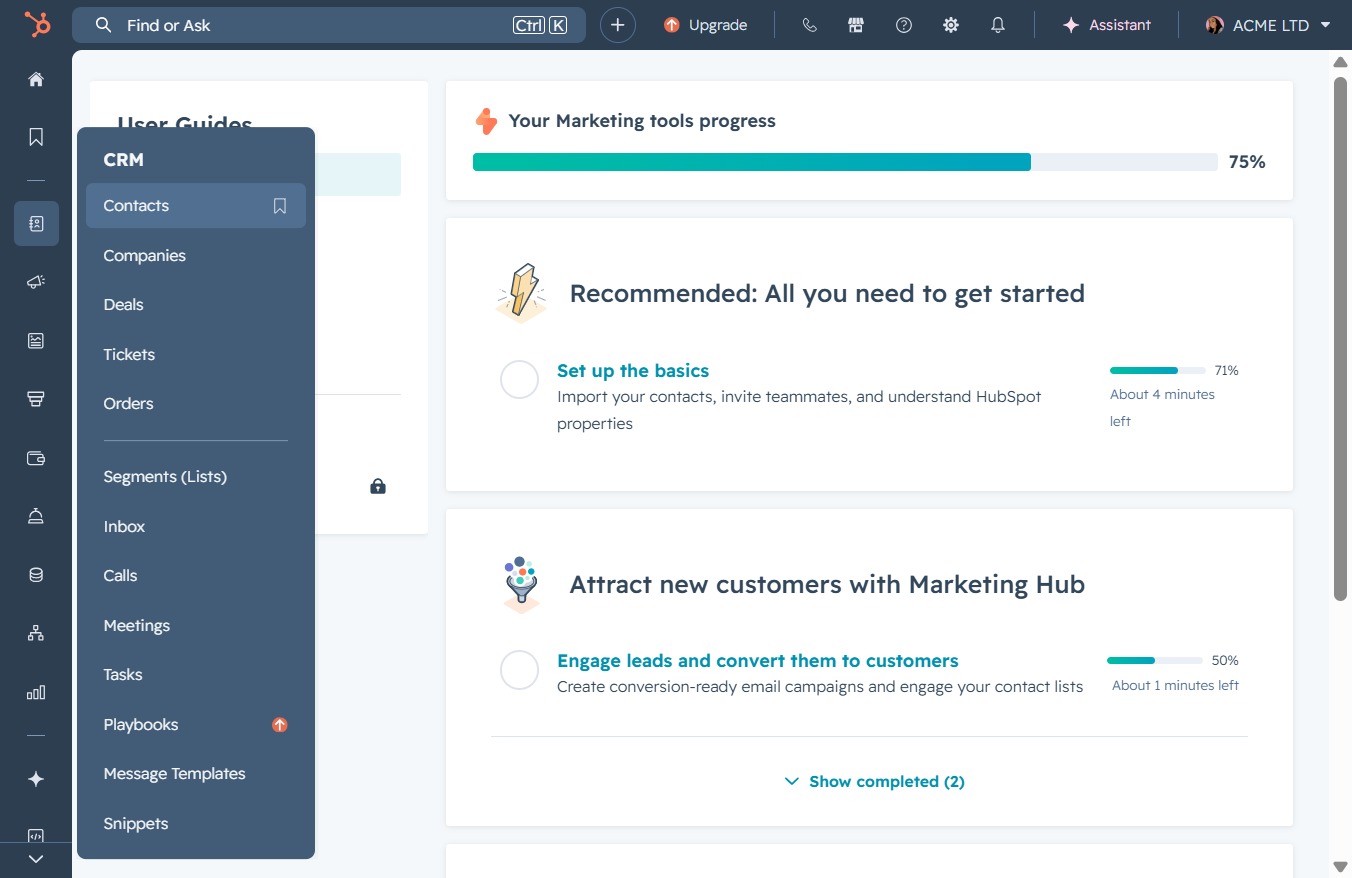
Clicking this button allows you to start adding a new contact to your database. You will be prompted to enter the contact's details in the subsequent form.
By clicking this button, you will open the form to enter the new contact's details, including their email, first name, and last name.
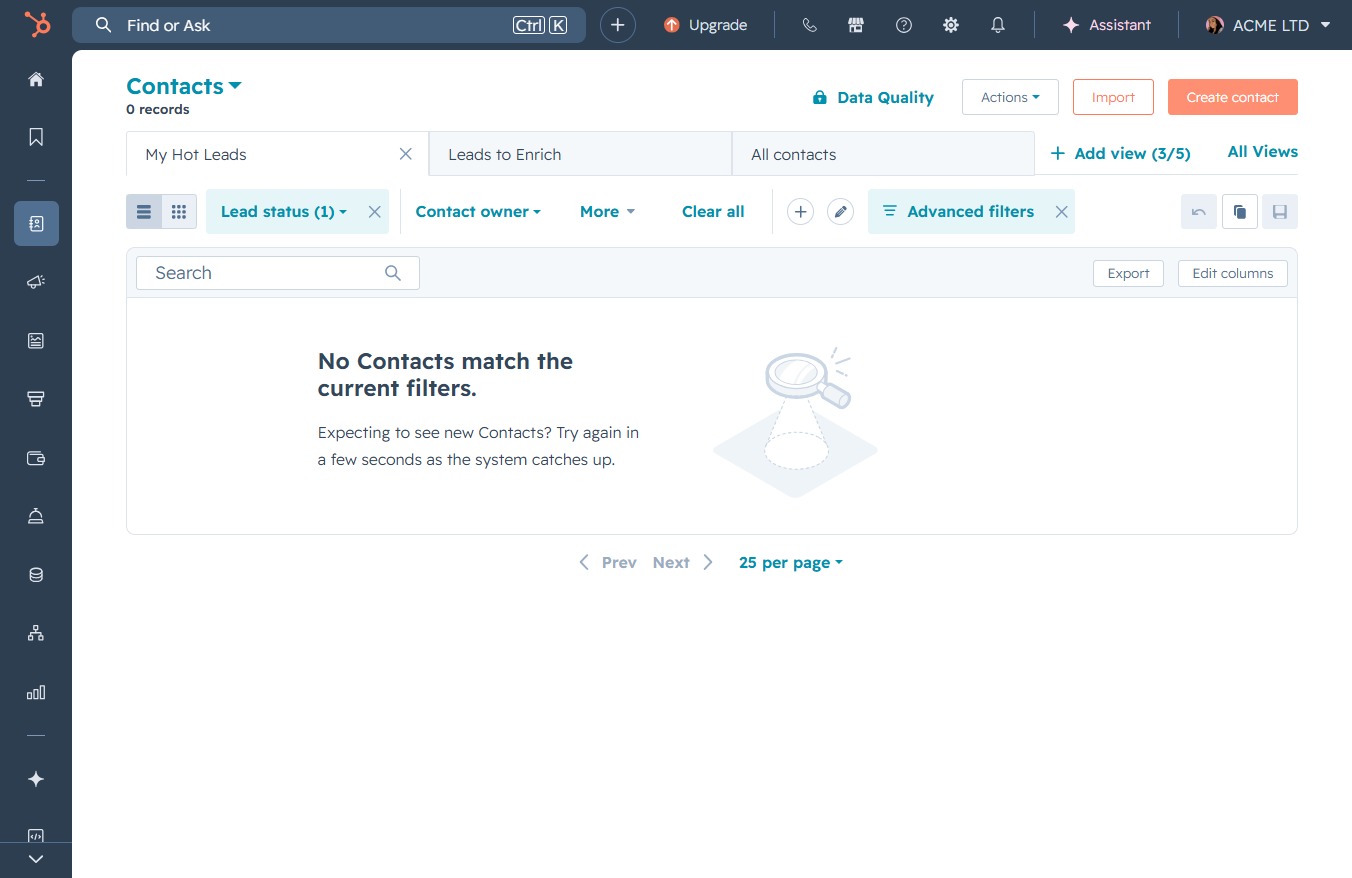
Enter your email address in the Email field to create a new contact. This information will be used to identify and communicate with the contact in your system.
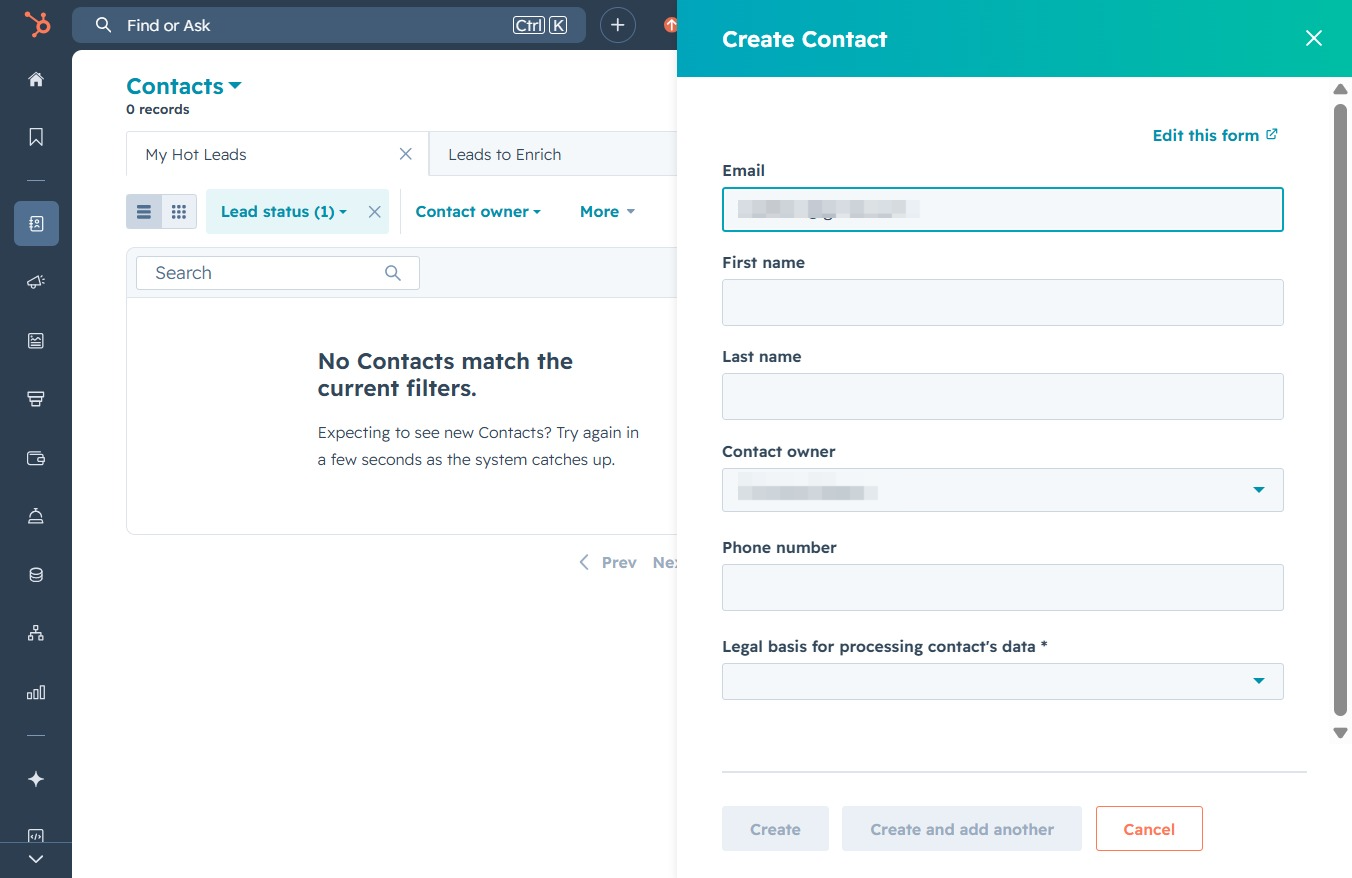
This action opens the 'Create Contact' form where you can enter details such as email, first name, last name, and contact owner.
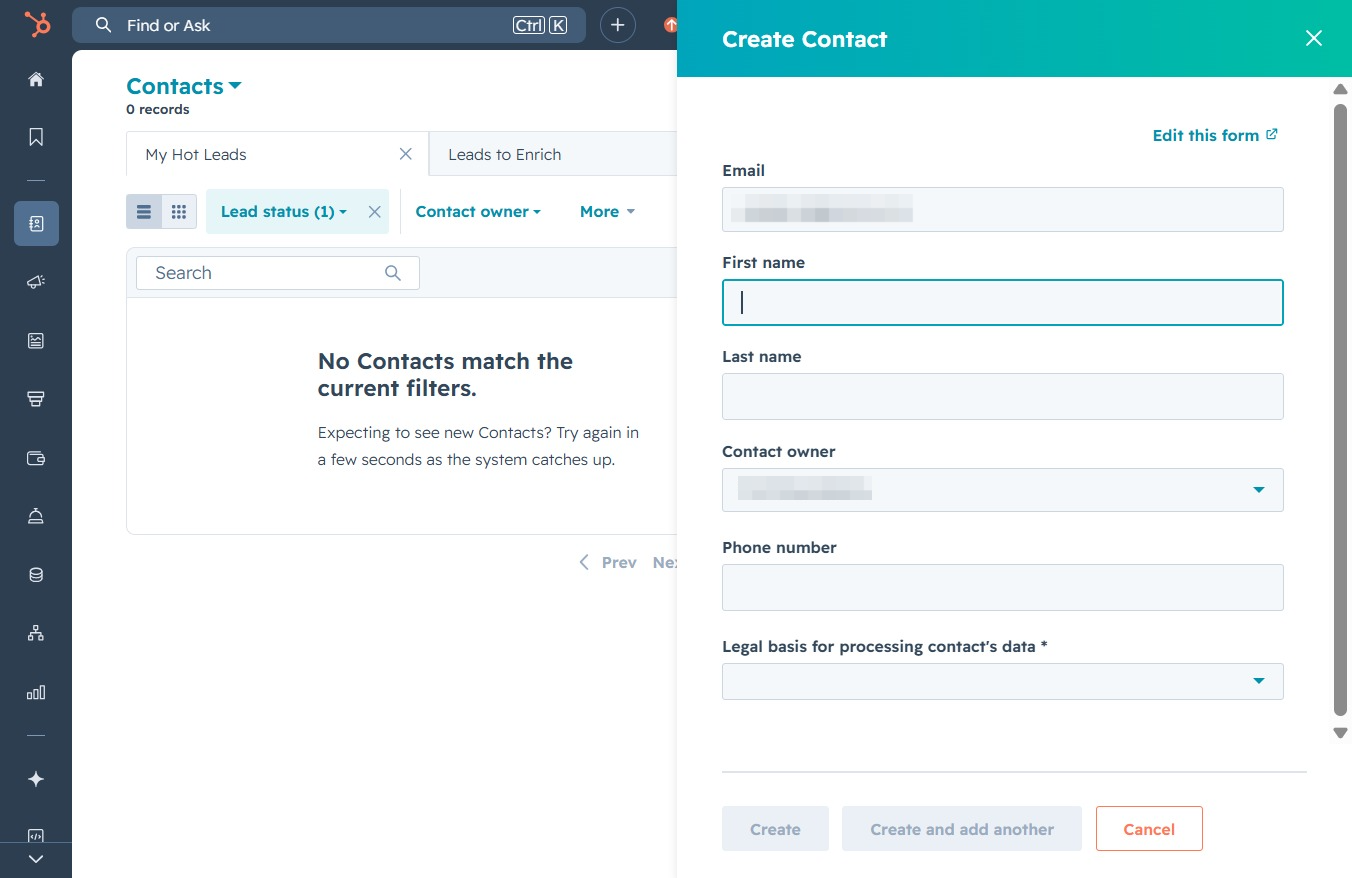
Enter the first name of the contact in the designated field. This information will be saved as part of the new contact's profile.

Clicking this link will open the form to create a new contact, allowing you to enter essential details such as email, first name, and last name.

Enter 'Jane' in the First Name field and 'Doe' in the Last Name field to create a new contact. This information will be saved as part of the contact's profile.
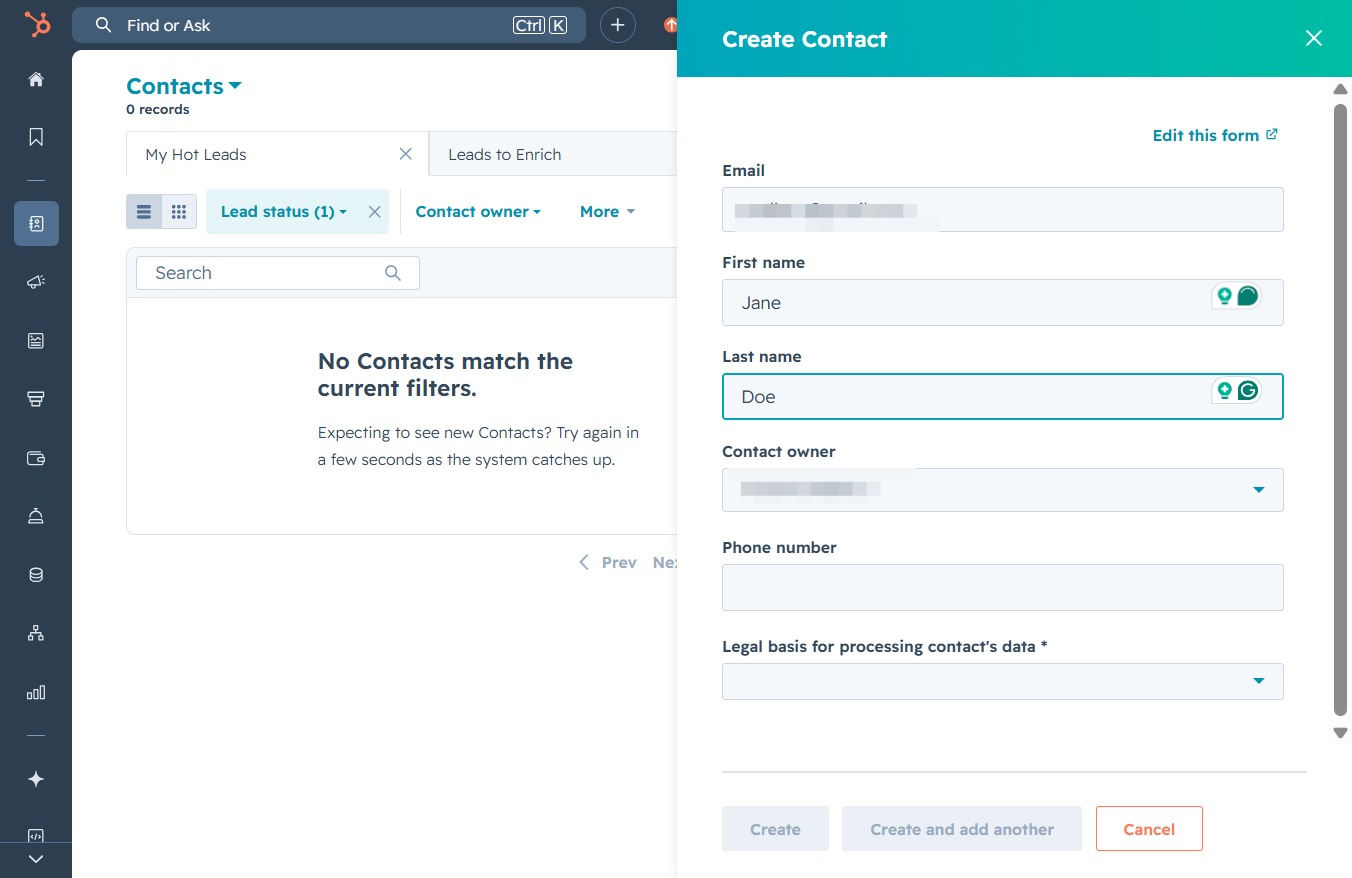
By clicking this link, you will open a form to input the details for a new contact, including email, name, and contact owner.
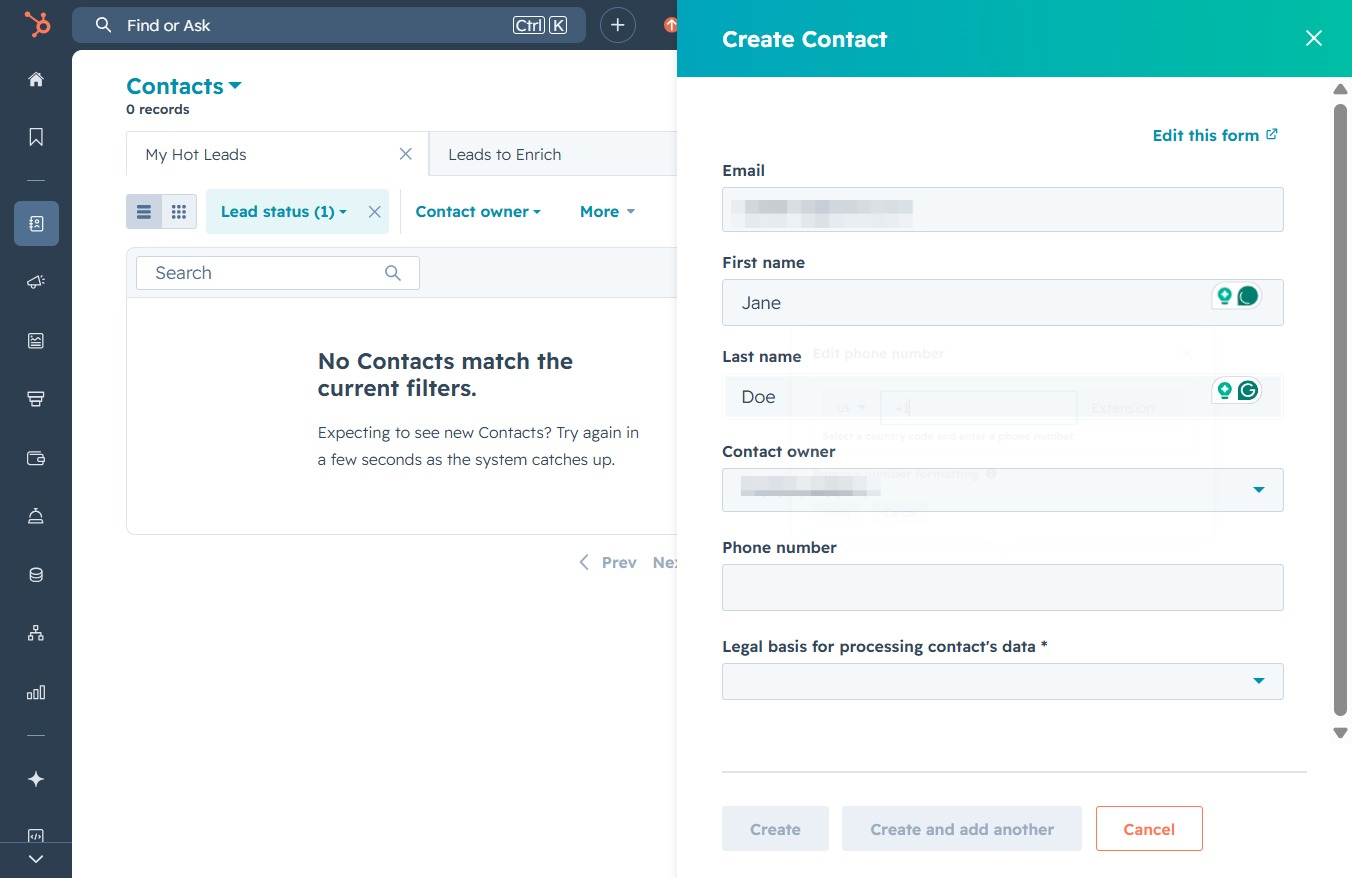
Enter the formatted phone number in the Phone-number-input field to add it to the contact's details. This will ensure the contact has the correct phone number stored for future reference.

This action saves the changes made to the phone number field for the contact. Ensure the information is accurate before applying the updates.

After clicking 'Create', the new contact will be saved to your Contacts list, allowing you to manage it and complete further actions.

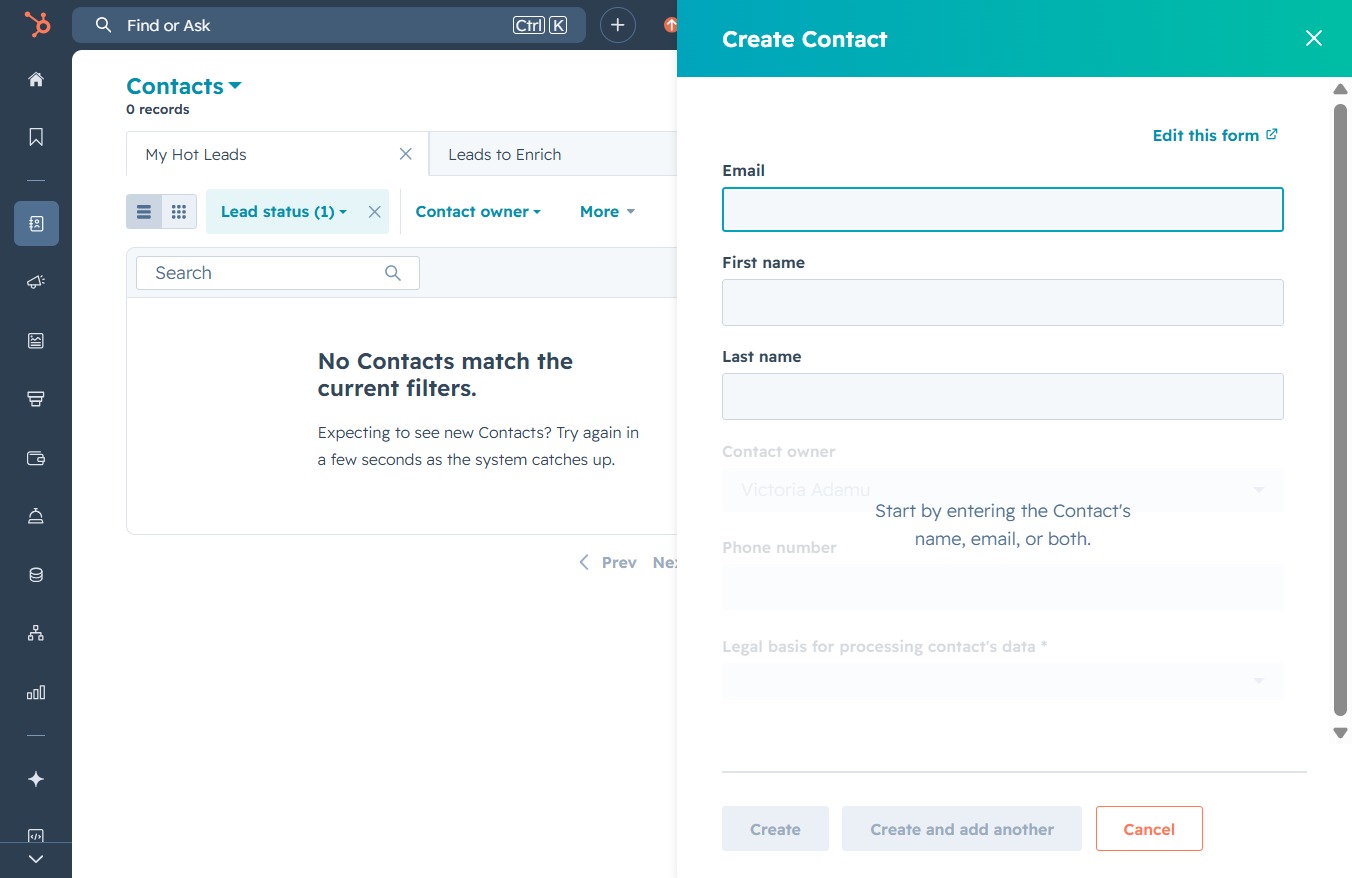
This selection allows you to specify the type of legitimate interest for the new contact being created. It helps categorize the contact appropriately within your CRM system.
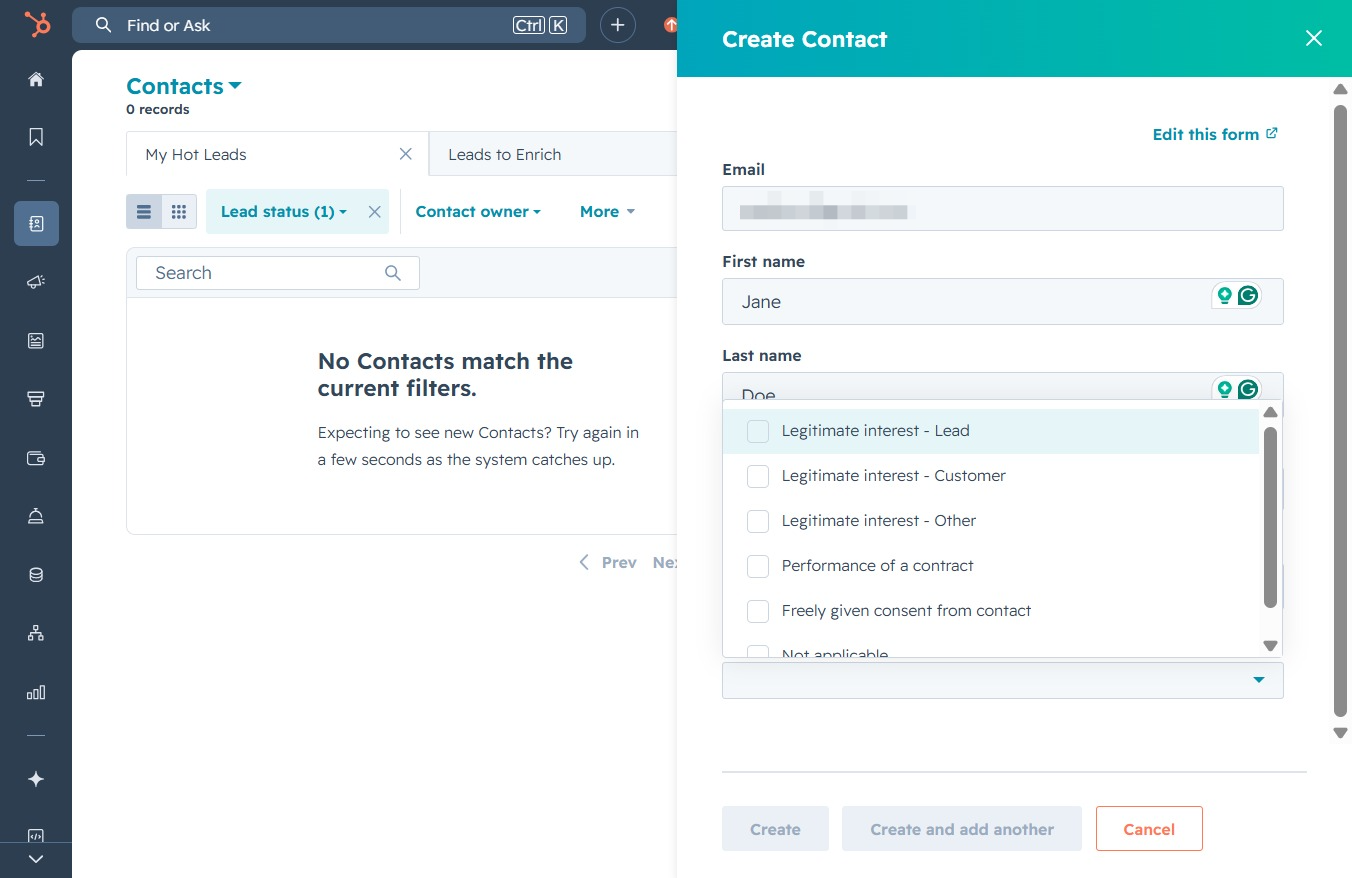
This action will submit the information entered in the Create Contact form, adding a new contact to your list under the specified filters.