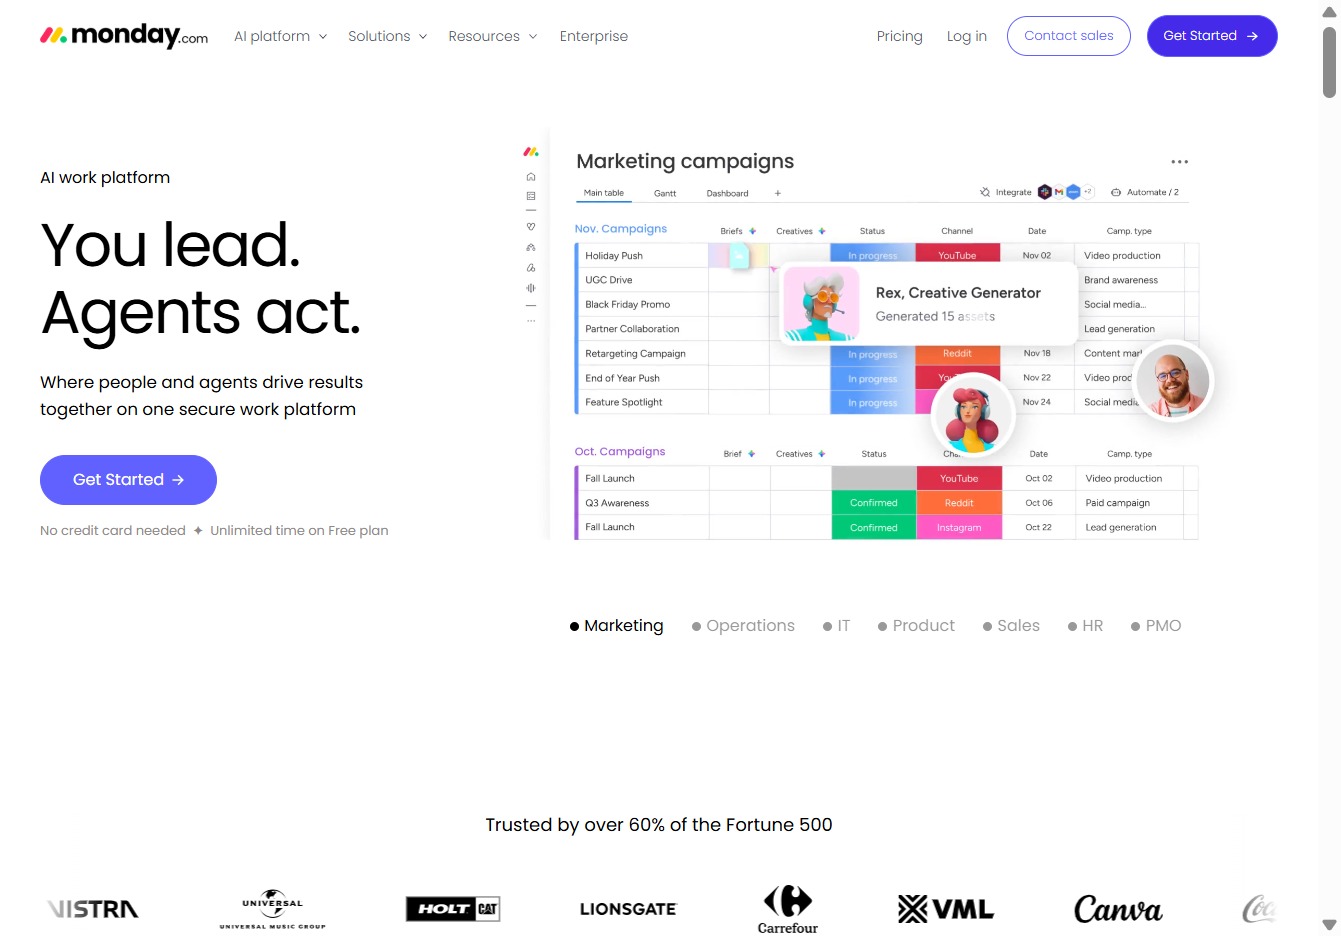
Click the Get Started link
This will take you to the onboarding section where you can explore features and set up your account on the work platform.
Loading screenshot…
100%
In this how-to guide, learn step-by-step instructions to create a Monday.com account, including entering your email, personal details, and selecting your account preferences.
 viktoria
In this how-to guide, learn step-by-step instructions to create a Monday.com account, including entering your email, personal details, and selecting your account preferences. Follow these simple steps to optimize your workspace experience and tailor it to your needs.
This will take you to the onboarding section where you can explore features and set up your account on the work platform.
Enter your email address in the provided field to create an account or log in to monday.com. Once filled, proceed by clicking the 'Continue' button.
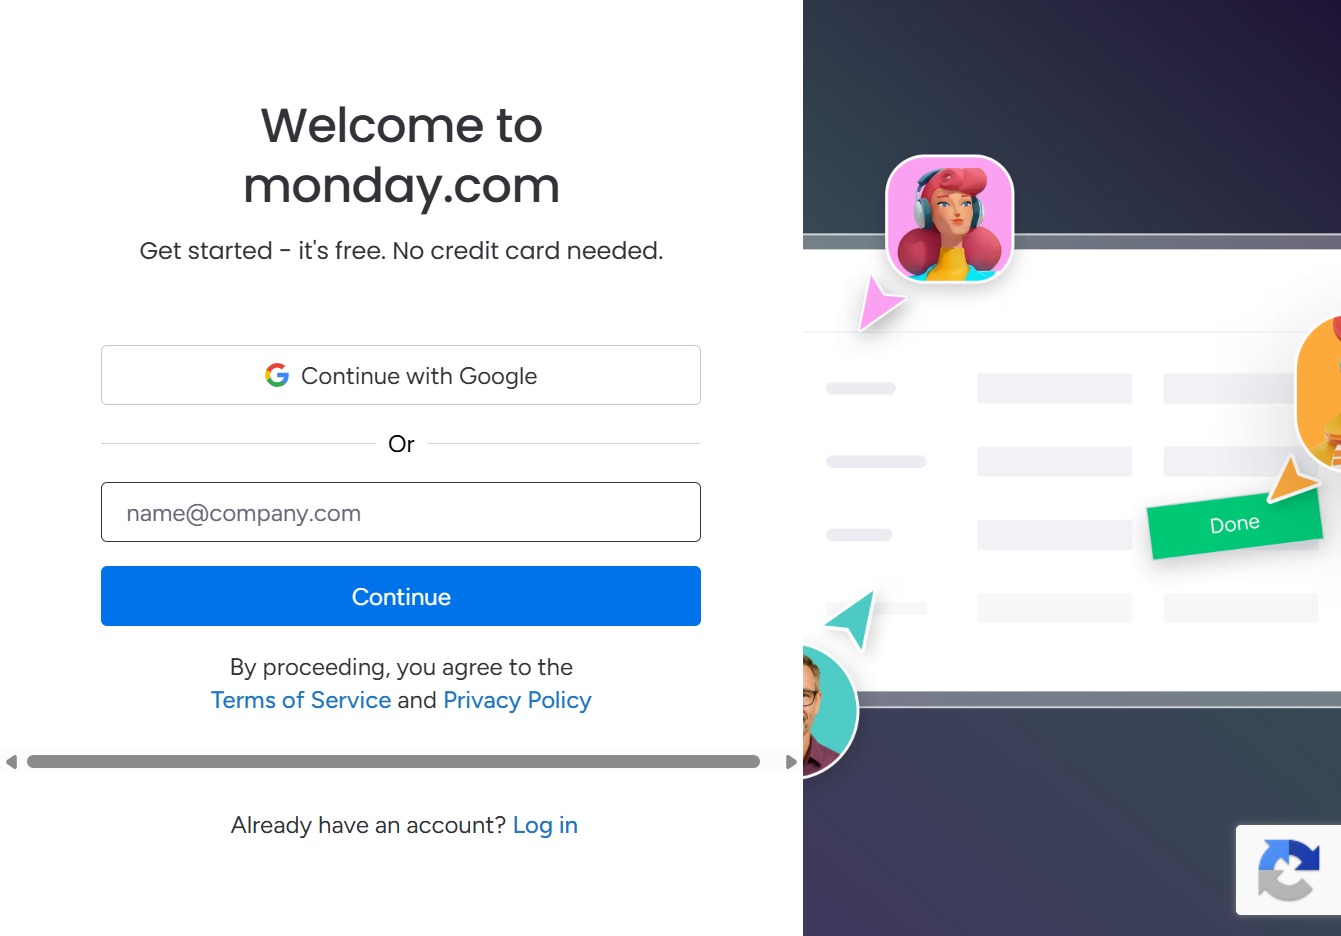
Enter "sa.mu.elerutt.er.4.14@gmail.com" in the email input field to continue with the sign-up process on monday.com. After typing your email, click the Continue button to proceed.
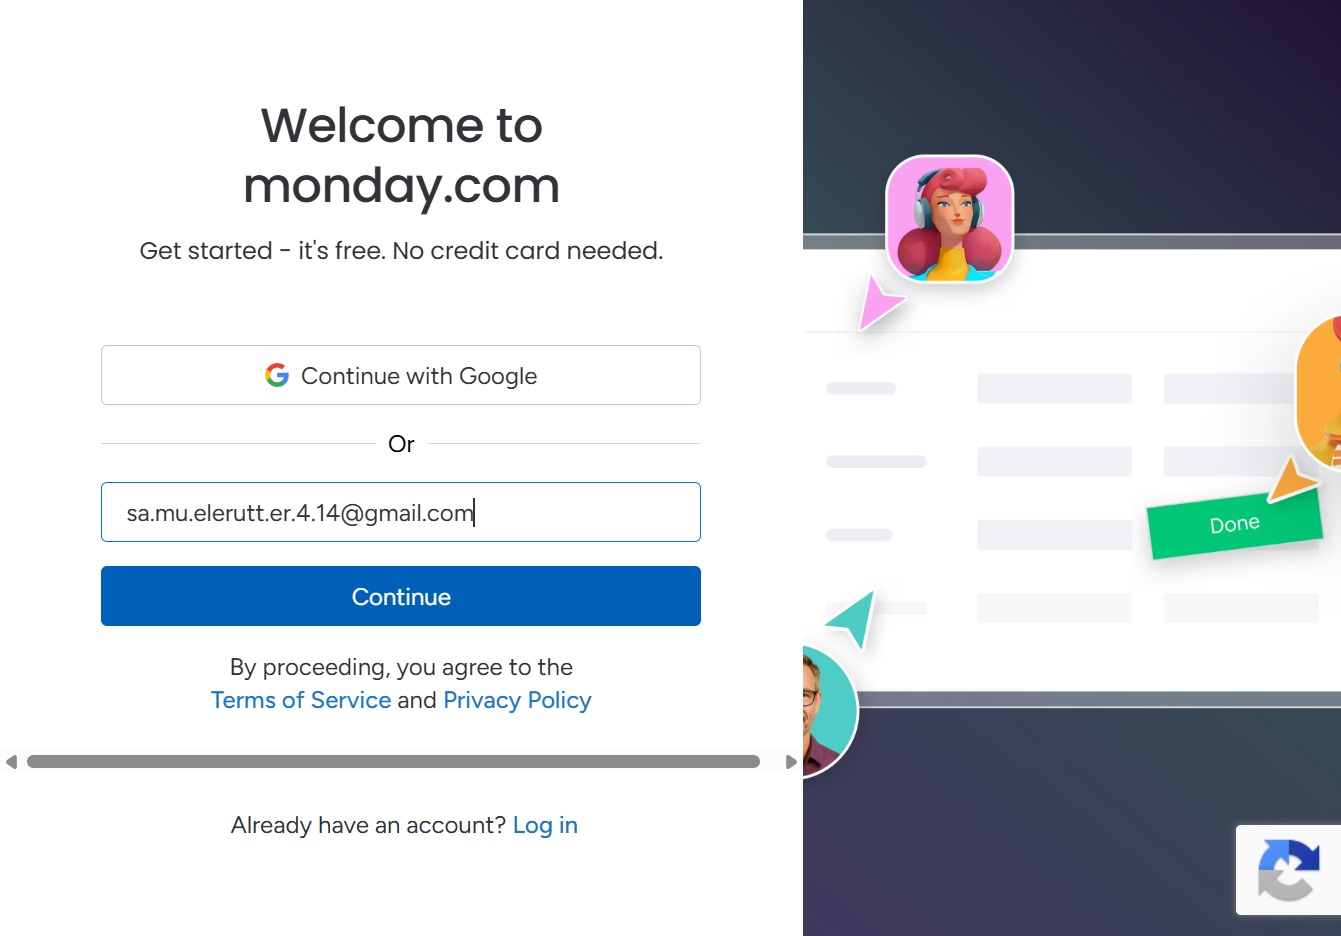
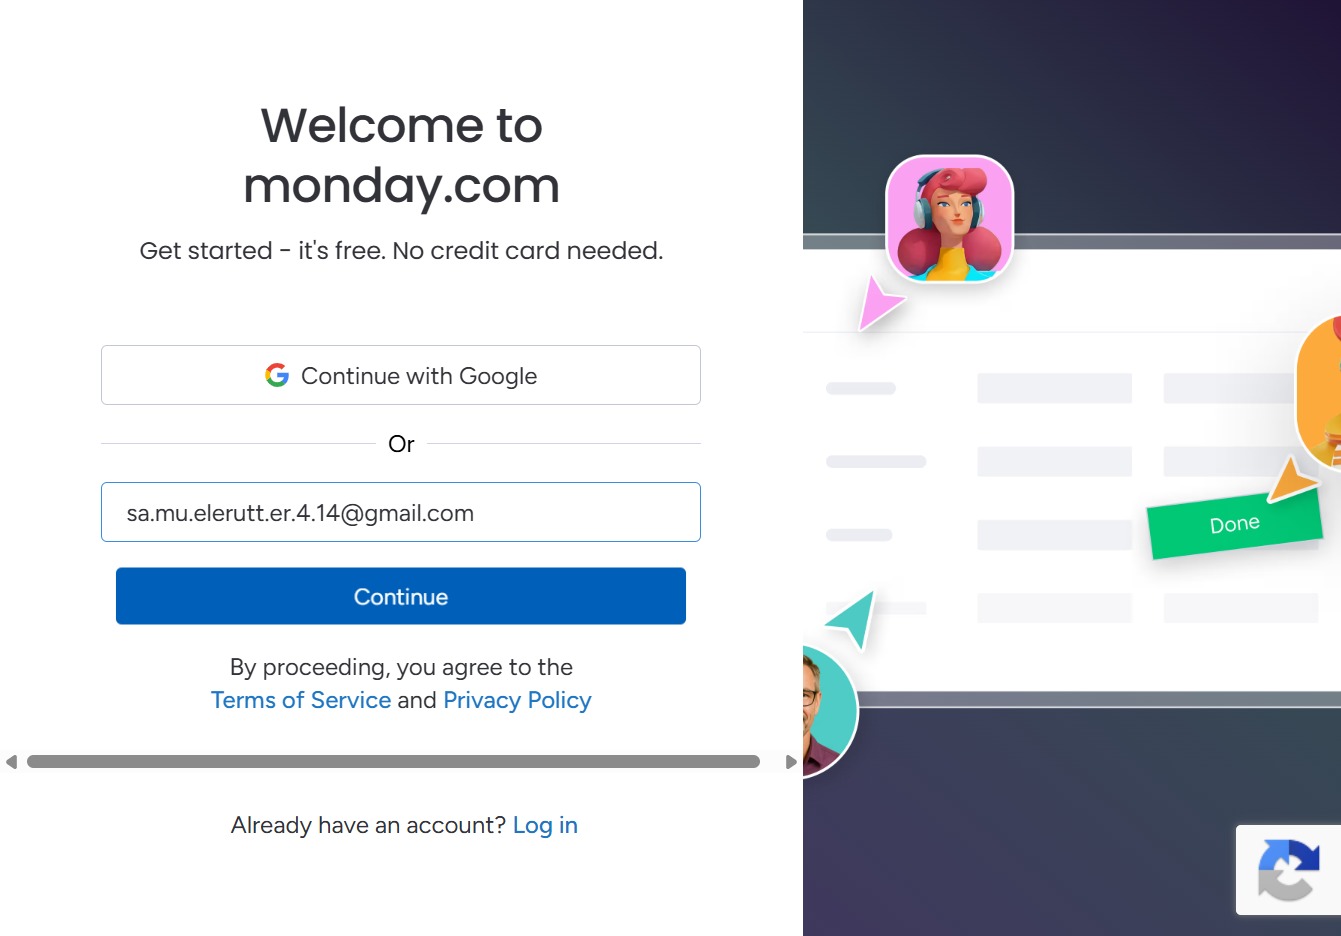
By clicking the Continue button, you will proceed to the next step in the sign-up process for monday.com.
Enter your full name in the designated field to help create your account. This information is necessary to personalize your experience on the platform.

Enter 'Jane Doe' in the Full name field to proceed with creating your account on monday.com. This information is necessary for user identification within the application.
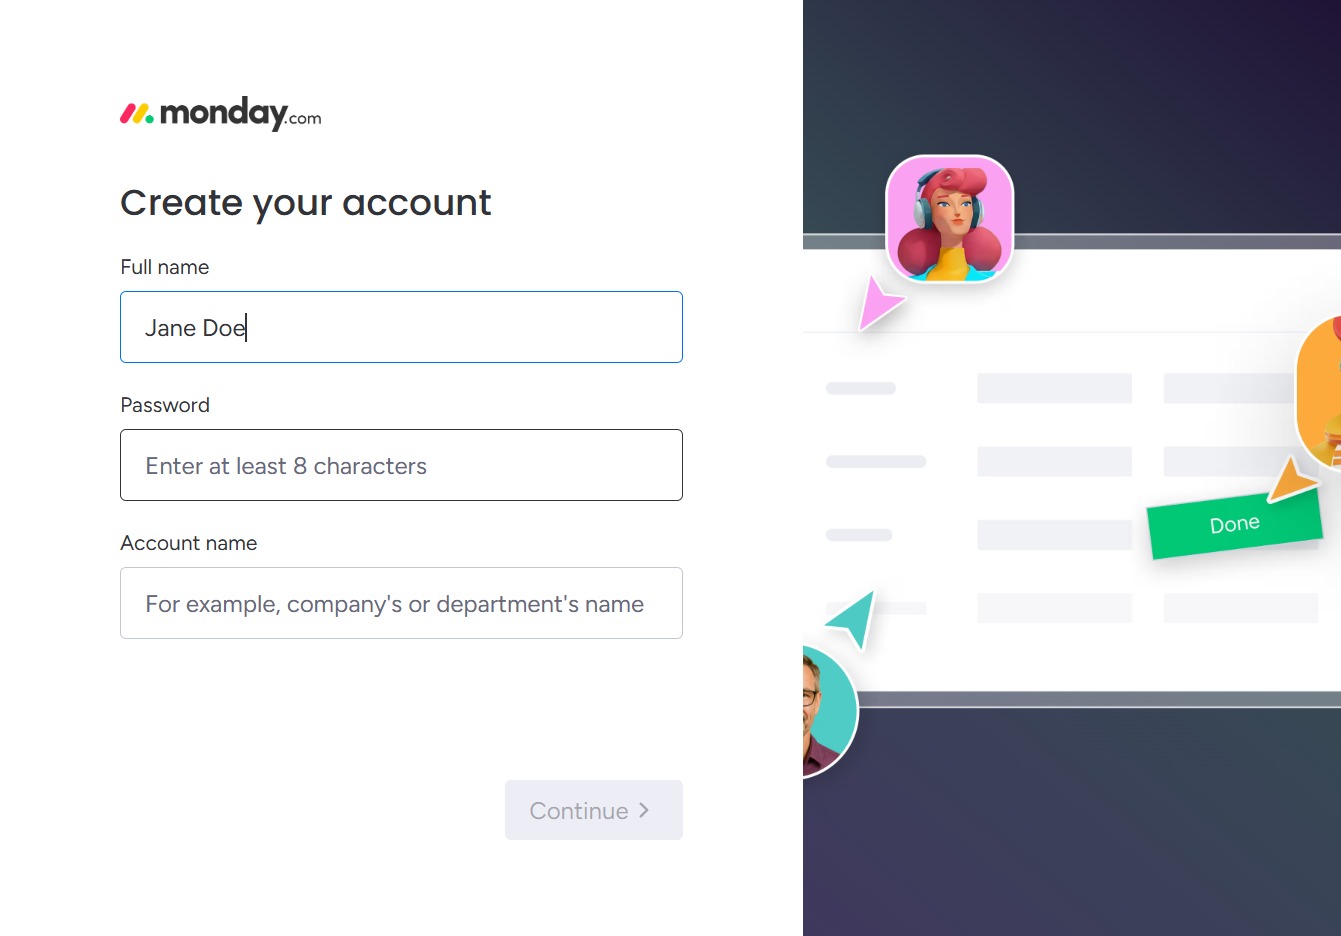
Enter your desired password, ensuring it is at least 8 characters long, to secure your account.
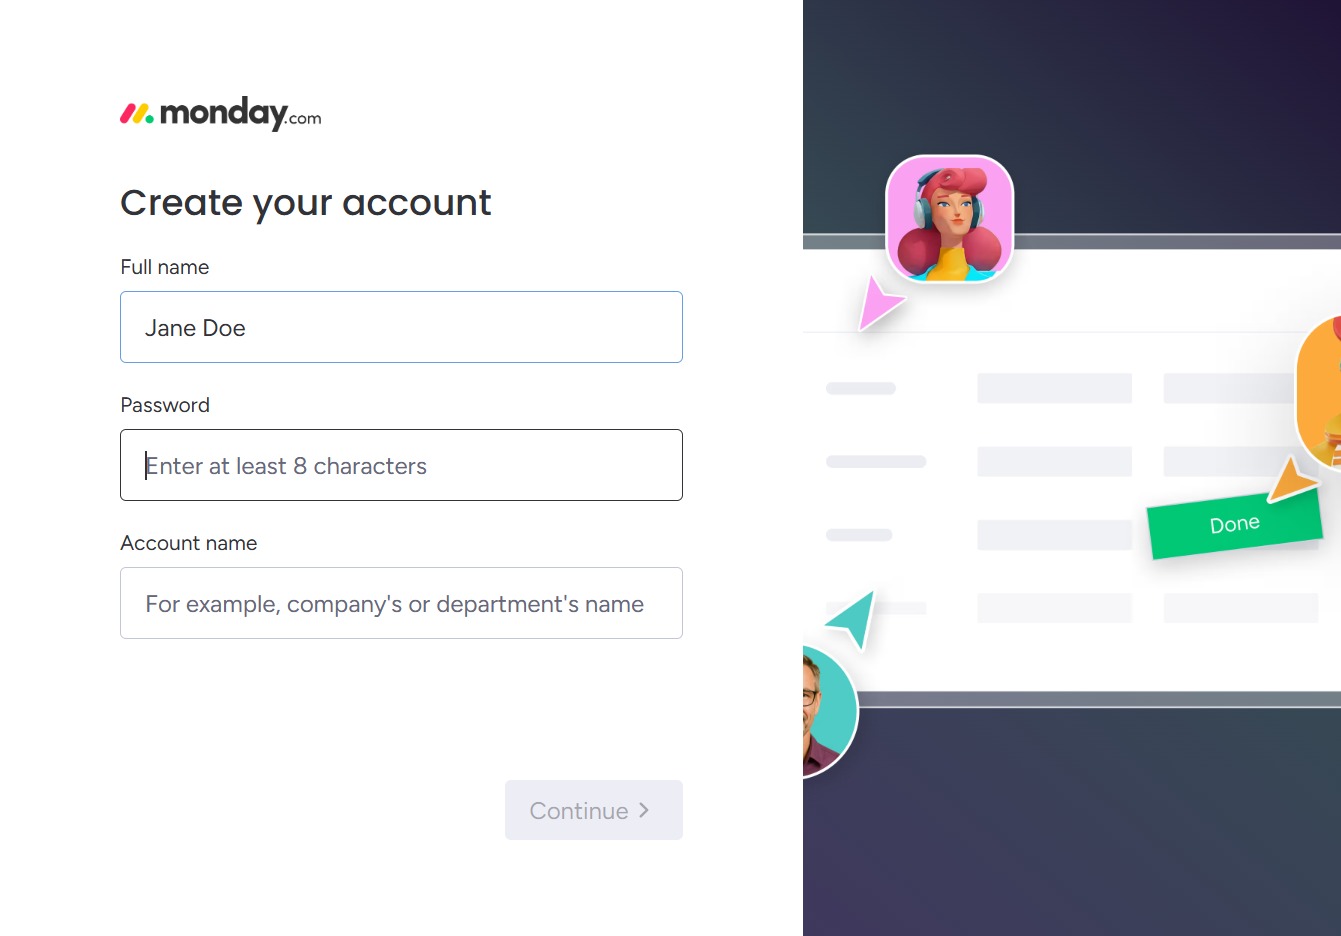
Enter the desired name for your account, which can be your company's or department's name. This name will help identify your workspace within the platform.

Enter 'Jane Doe' into the Account Name field to designate the name that will represent your account within the platform. This name will be visible to other users and associated with your activities.
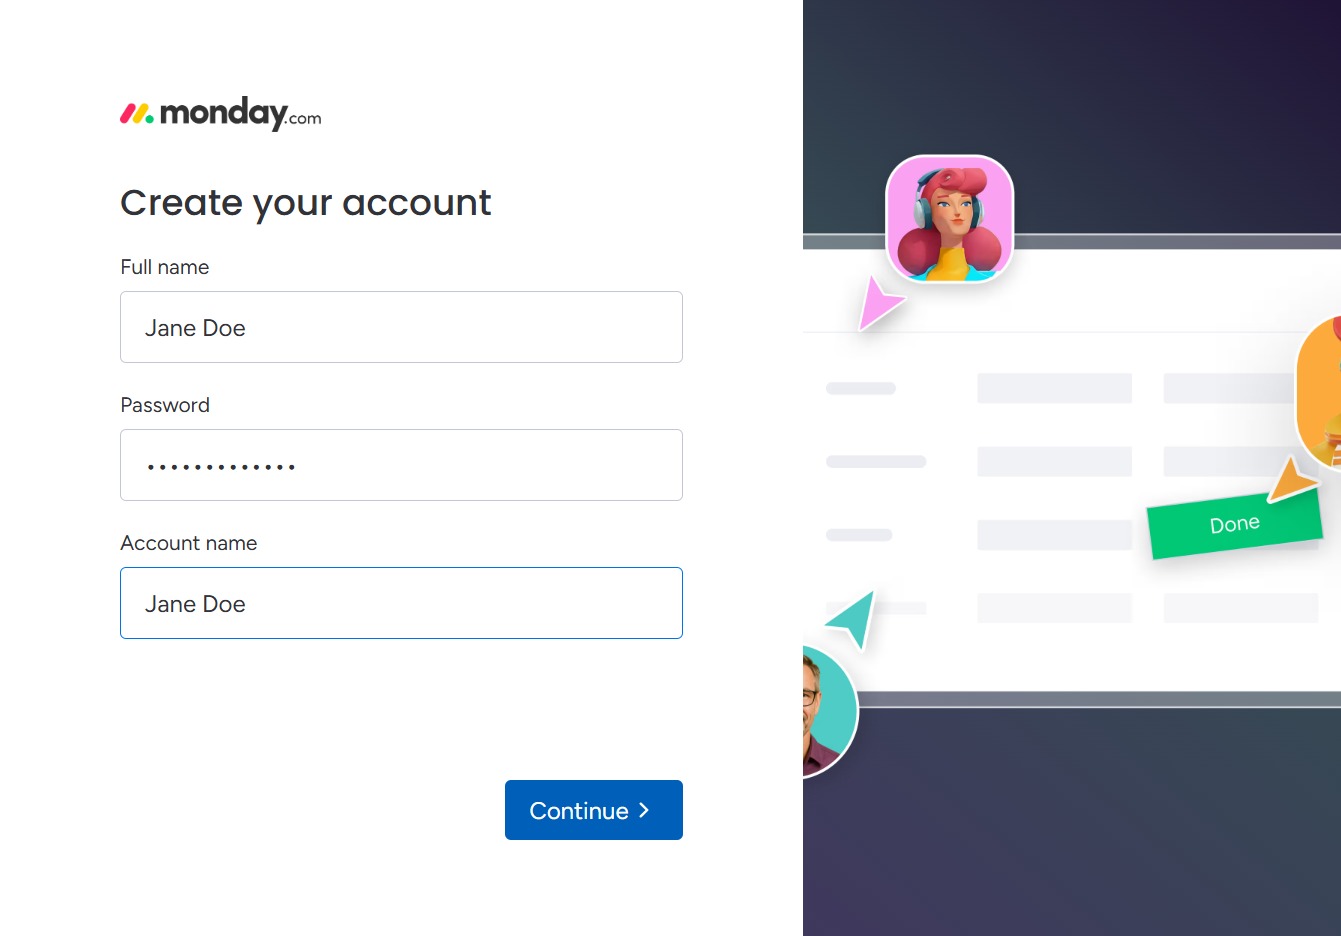
This action will proceed to the next step in creating your account on monday.com after entering your details.

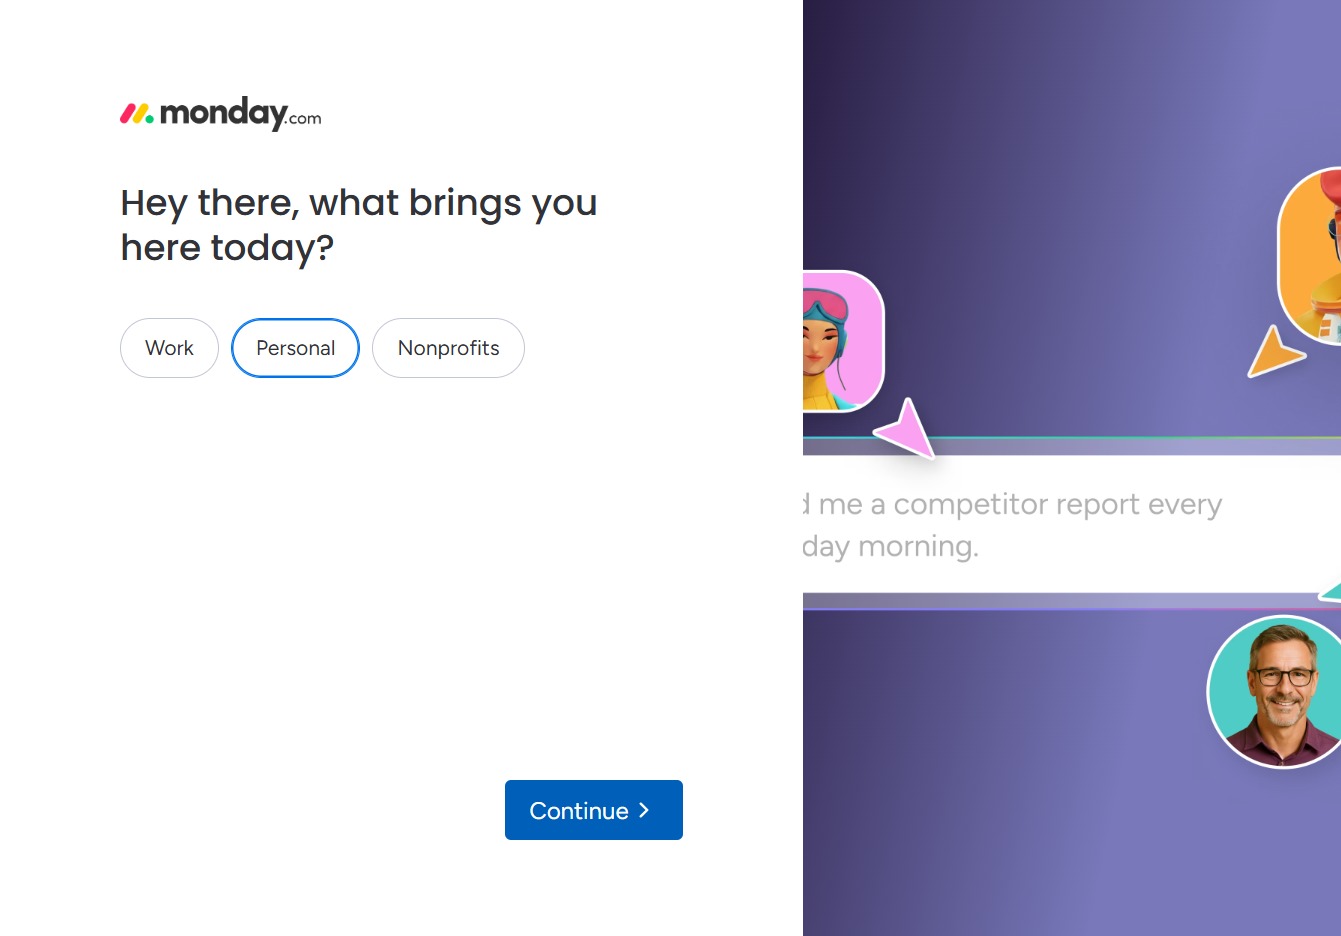
Selecting the 'Personal' option directs you to features tailored for personal use within the application, allowing you to manage personal projects and tasks.
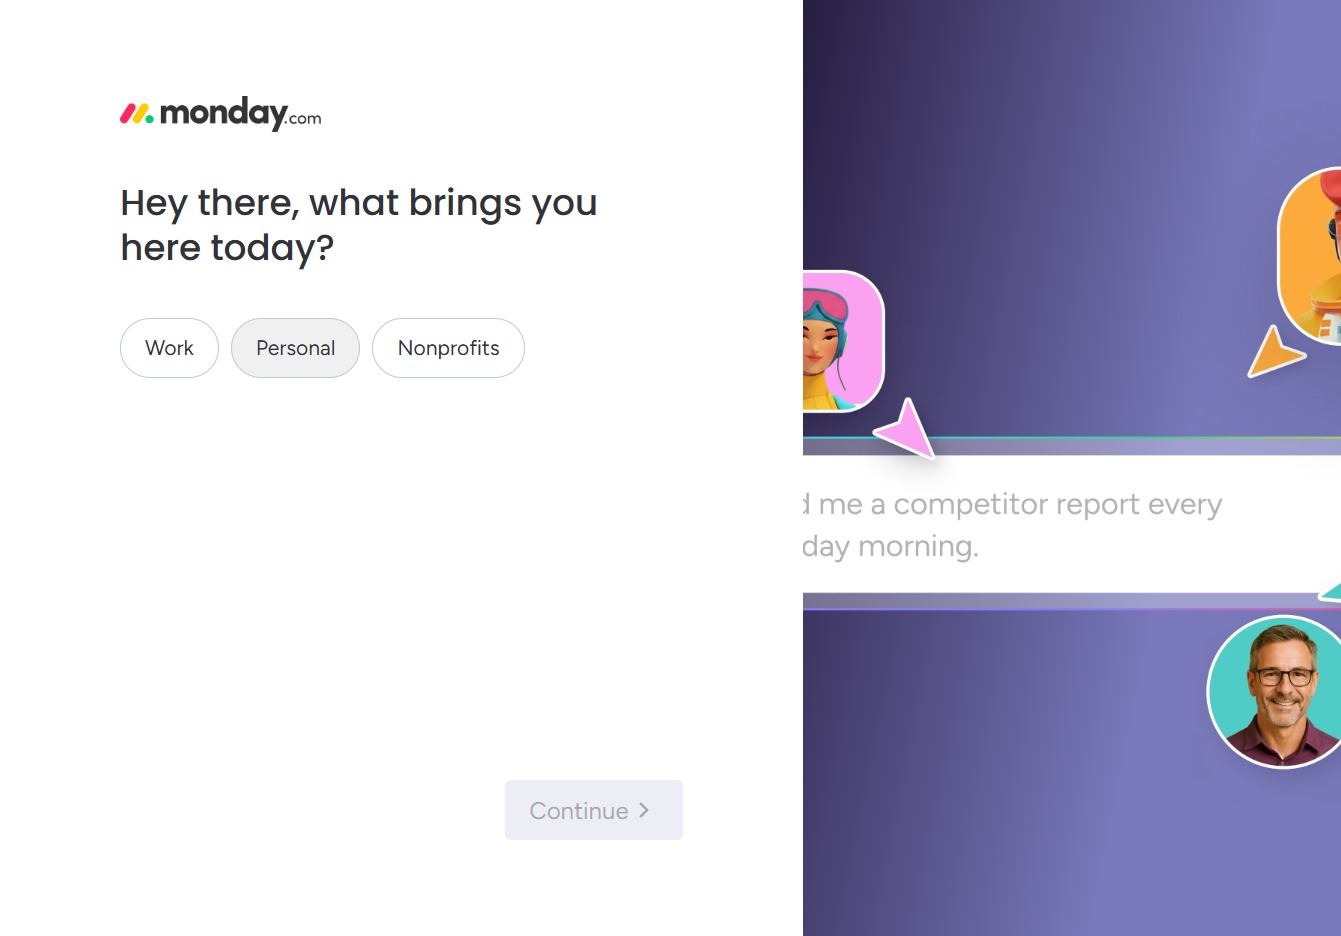
Clicking the 'Continue' button will advance you to the next step, where you can choose the type of setup for your experience on monday.com.
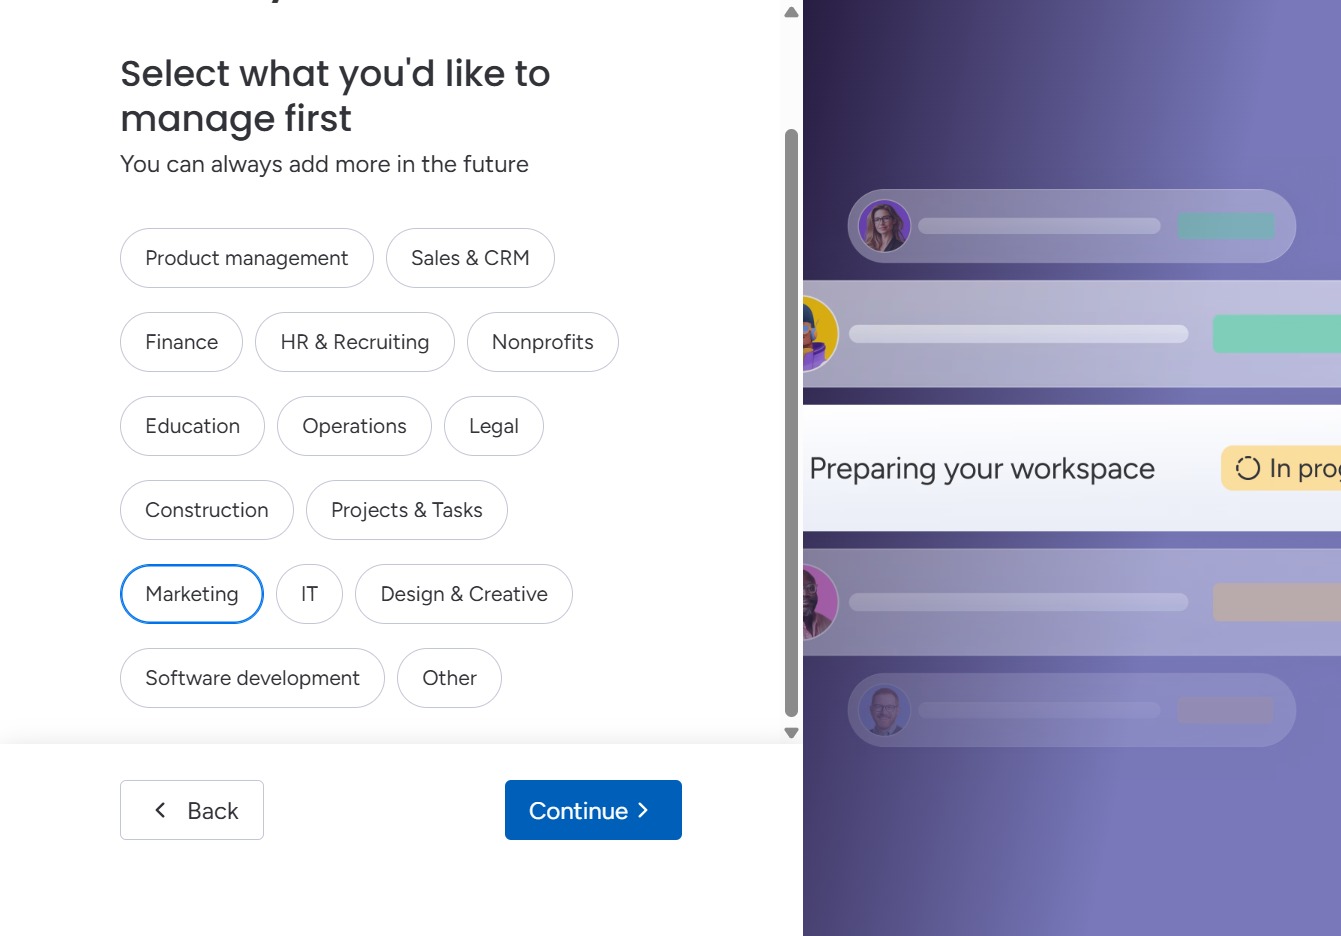
By selecting 'Marketing', you will specify the area you wish to manage first, enabling tailored setup for your workspace.

By clicking the 'Continue' button, you will proceed to the next step of setting up your workspace based on your selected management areas.
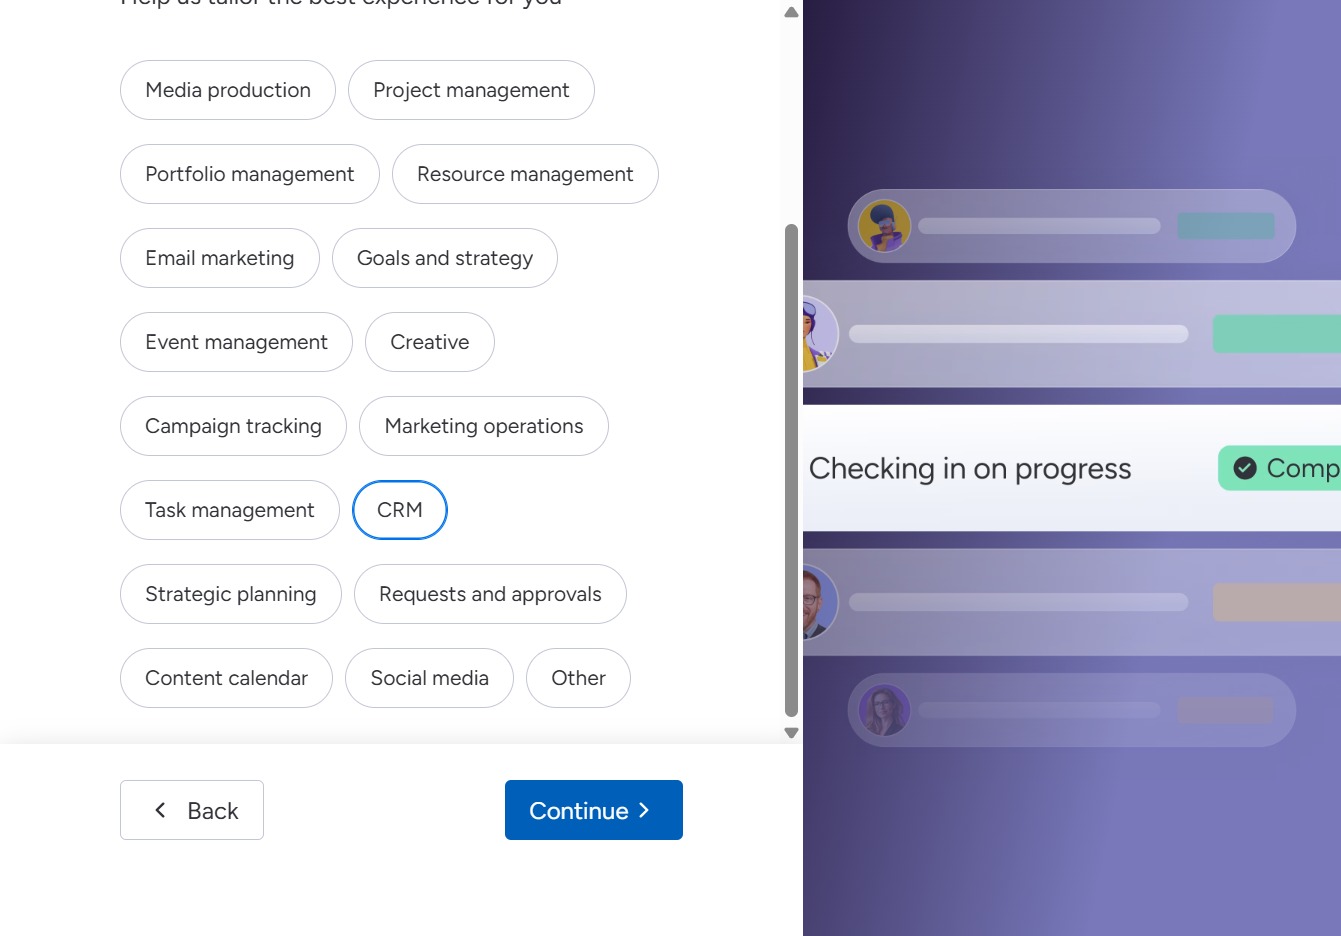
Selecting the CRM option will focus your experience on customer relationship management features, allowing you to tailor your setup according to your needs.

Clicking the Continue button will finalize your selections and proceed to the next step in the setup process, allowing you to configure your preferences for the platform.
This action allows you to postpone the invitation process for adding team members, enabling you to return to it at a later time.

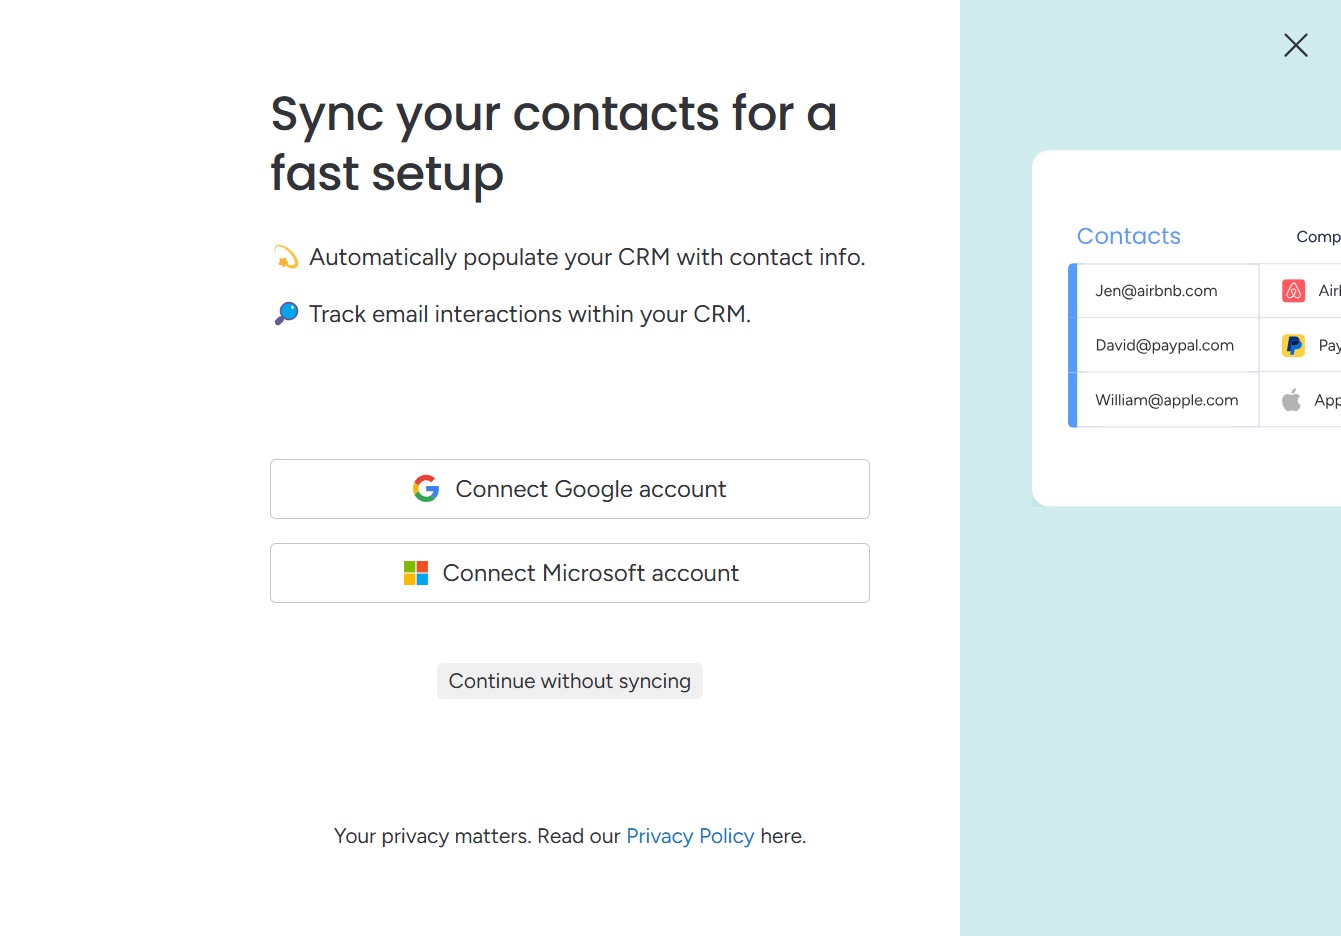
This action proceeds to the next step in the setup process without syncing your contacts with the CRM. You'll still be able to complete the setup but may miss out on automatic contact population.
This action moves you to the next step in adding your contacts to the monday CRM setup.
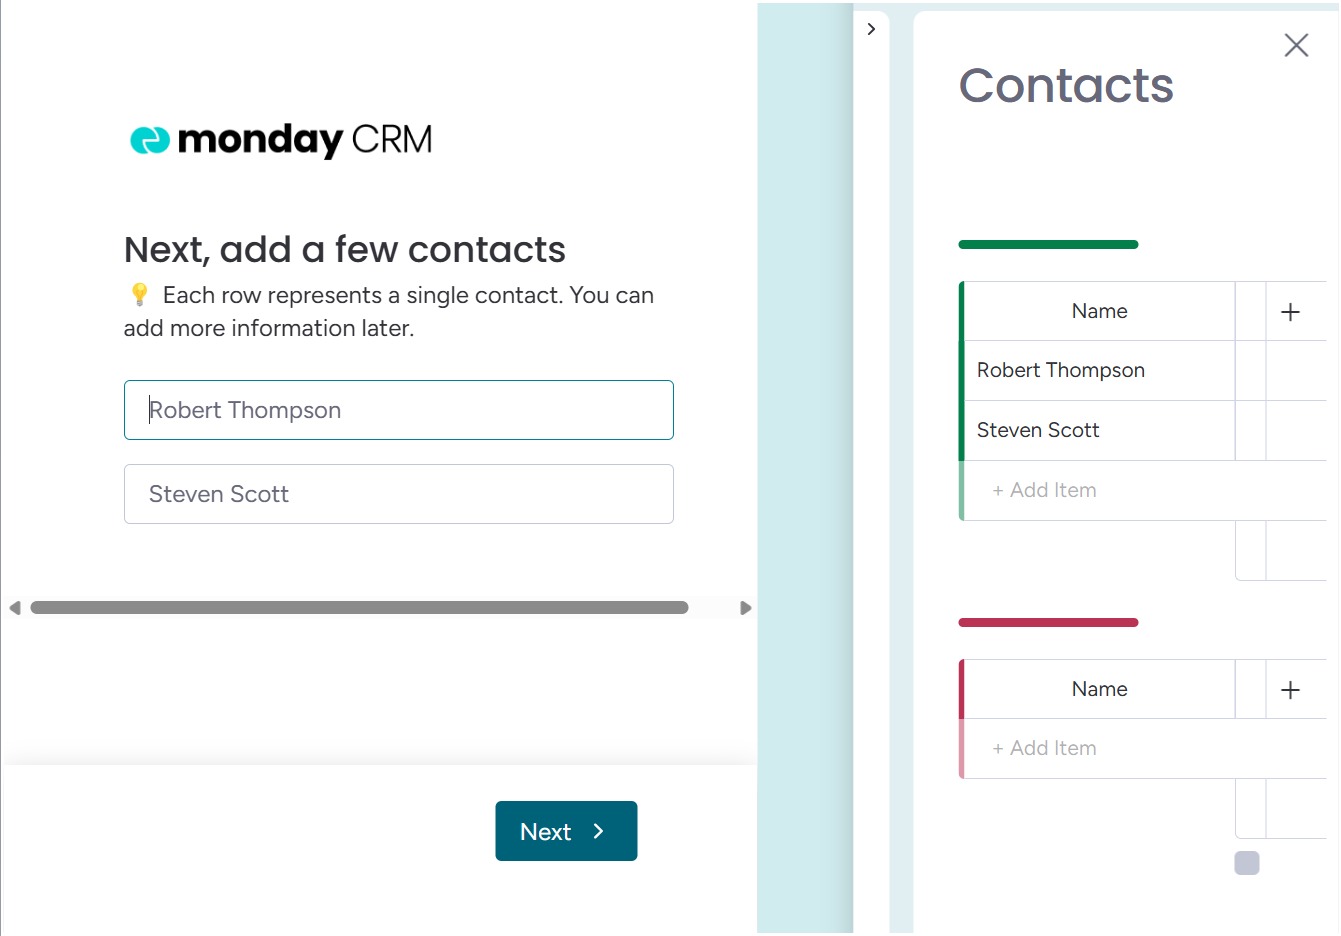
This action will take you to the next step in setting up your contacts, where you can further customize the displayed columns.

This action completes the setup process, allowing you to proceed to managing your Contacts in monday CRM.
