Click here to add a widget
Clicking this option allows you to add a new widget to your dashboard, enhancing your workspace with additional tools or metrics.

Loading screenshot…
100%
In this how-to guide, you'll learn how to create a customized main board in your workspace, specifically named 'Leads.' The steps cover adding a new widget, configuring settings,…
 viktoria
In this how-to guide, you'll learn how to create a customized main board in your workspace, specifically named 'Leads.' The steps cover adding a new widget, configuring settings, and finalizing the setup to effectively organize and manage your tasks and projects.
Clicking this option allows you to add a new widget to your dashboard, enhancing your workspace with additional tools or metrics.
Selecting 'New Board' will initiate the creation of a new board within your workspace, allowing you to organize tasks and projects effectively.
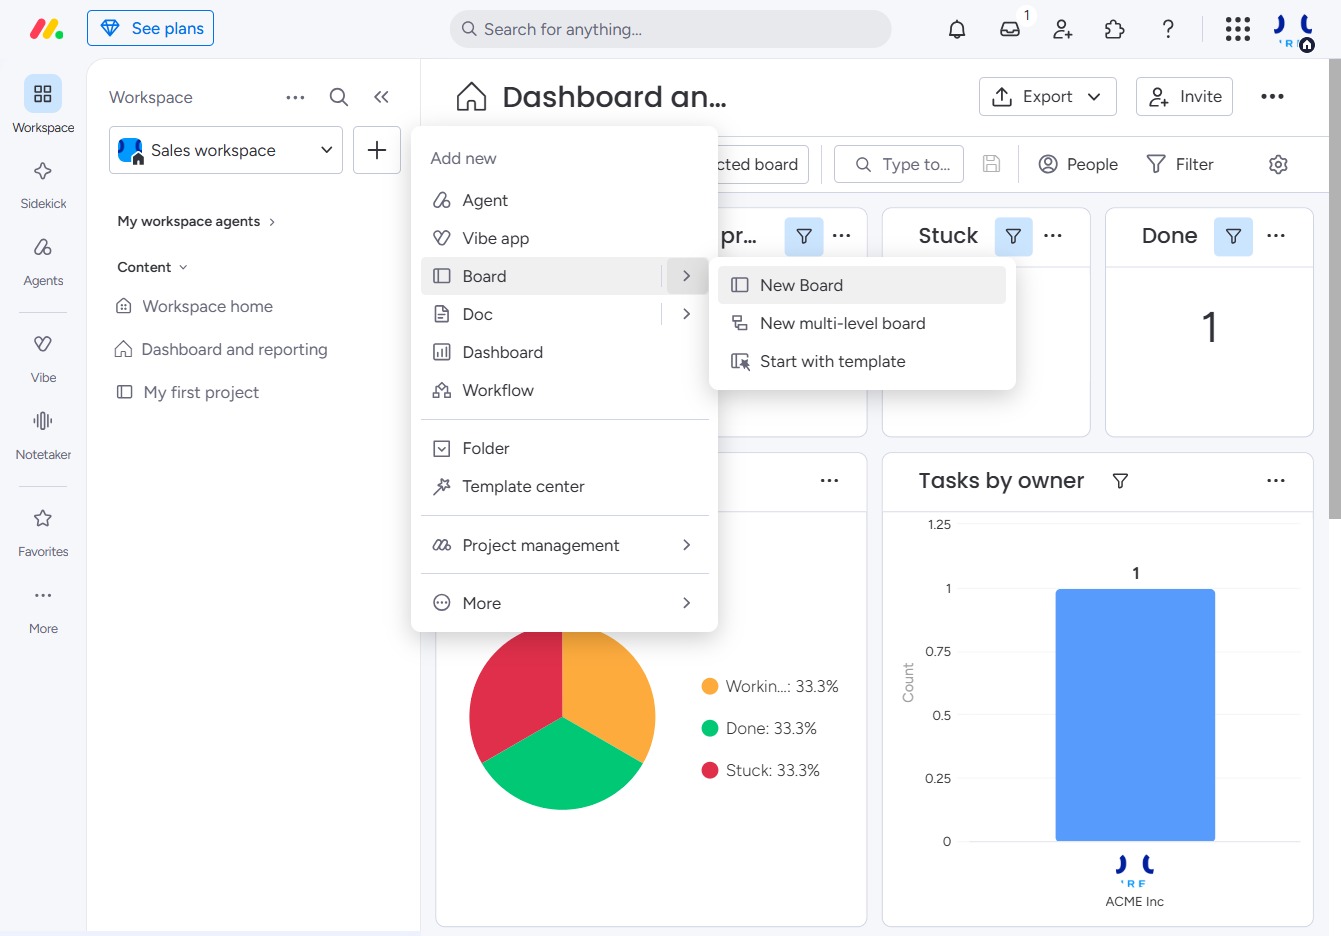
Selecting 'Create board manually' allows you to set up a board with custom configurations instead of the guided setup. This option is ideal for users who prefer to define their board without suggested templates.

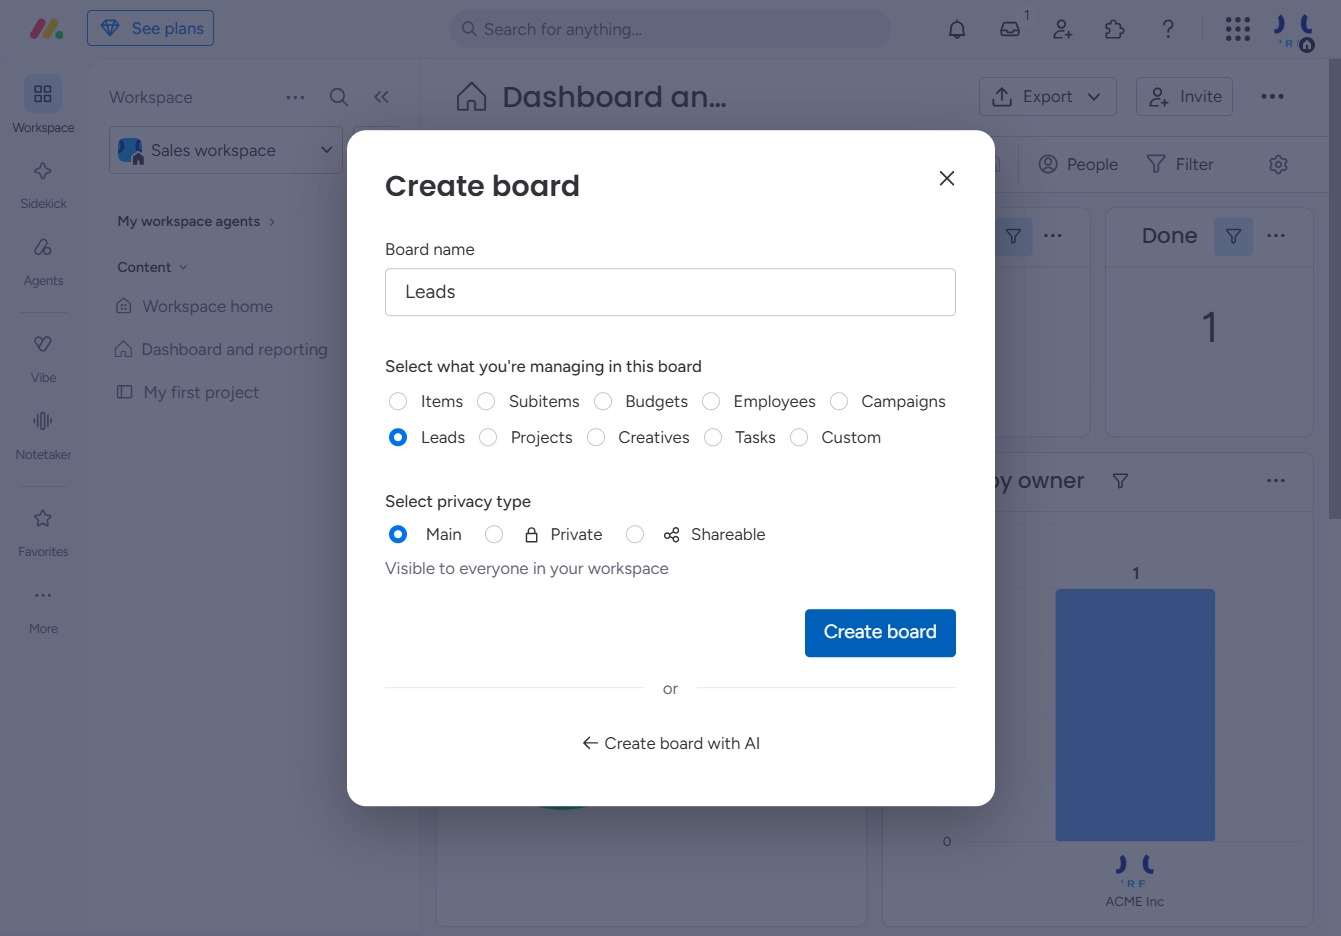
This action opens the 'Create board' dialog, allowing you to name your board and select its content type and privacy settings.

In the 'Create board' dialog, enter 'Leads' as the name for your new board. This will help you organize and manage tasks specifically related to leads within your workspace.

By clicking this button, you will finalize the creation of a new board titled 'Leads' in your dashboard, allowing you to organize and manage relevant items such as projects, tasks, or campaigns.

This action opens a dialog where you can name your board and select its management type and privacy settings. After configuring these options, you can proceed to create a new board tailored for your needs.