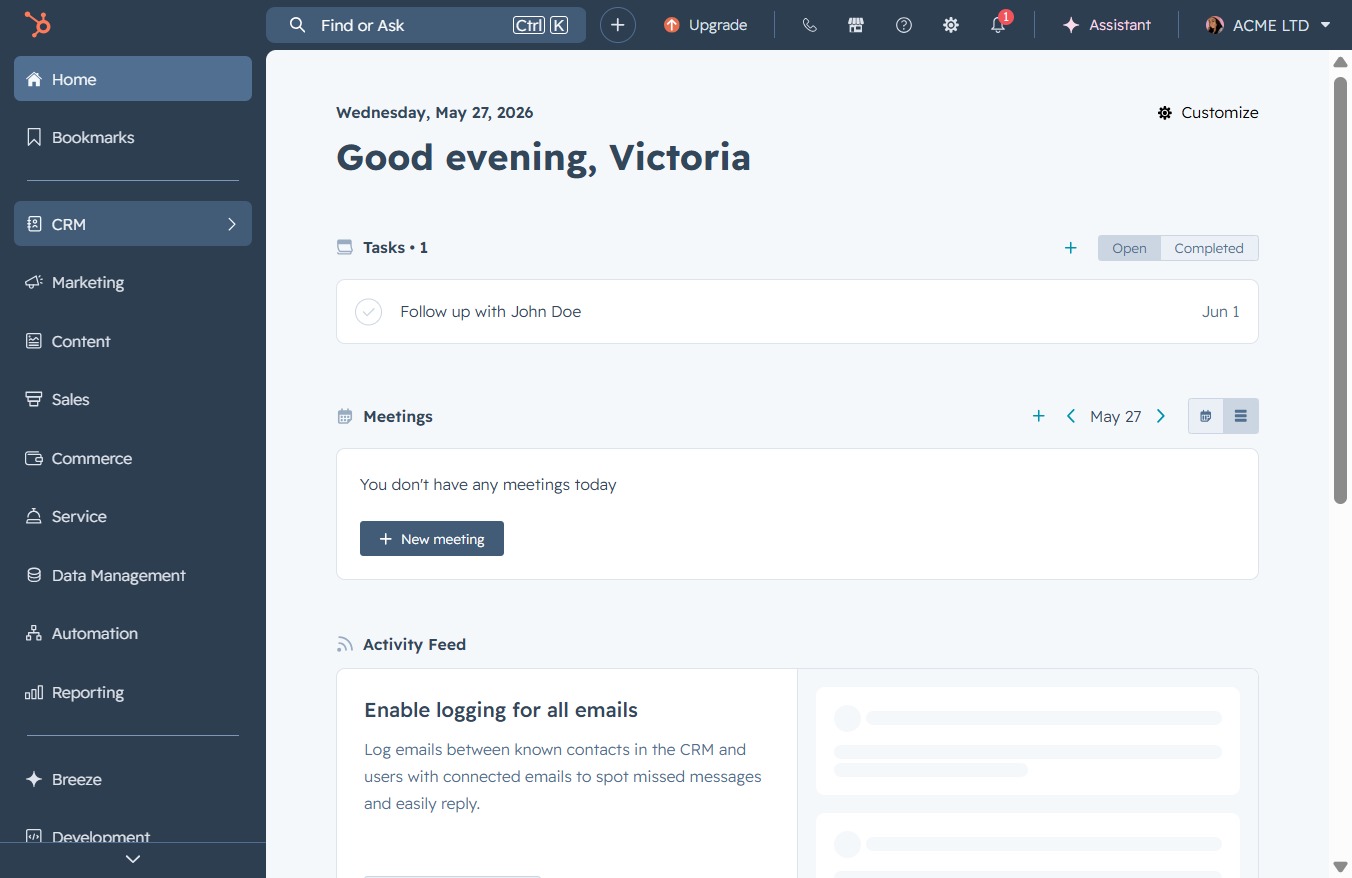
Click the CRM icon
Clicking the CRM icon will navigate you to the Customer Relationship Management section, where you can view and manage your contacts, tasks, and activities.
Loading screenshot…
100%
Create a segment for high intent leads in HubSpot by defining filters based on criteria like intent signals, ensuring effective targeting of your communication efforts.
 viktoria
Create a segment for high intent leads in HubSpot by defining filters based on criteria like intent signals, ensuring effective targeting of your communication efforts.
Clicking the CRM icon will navigate you to the Customer Relationship Management section, where you can view and manage your contacts, tasks, and activities.
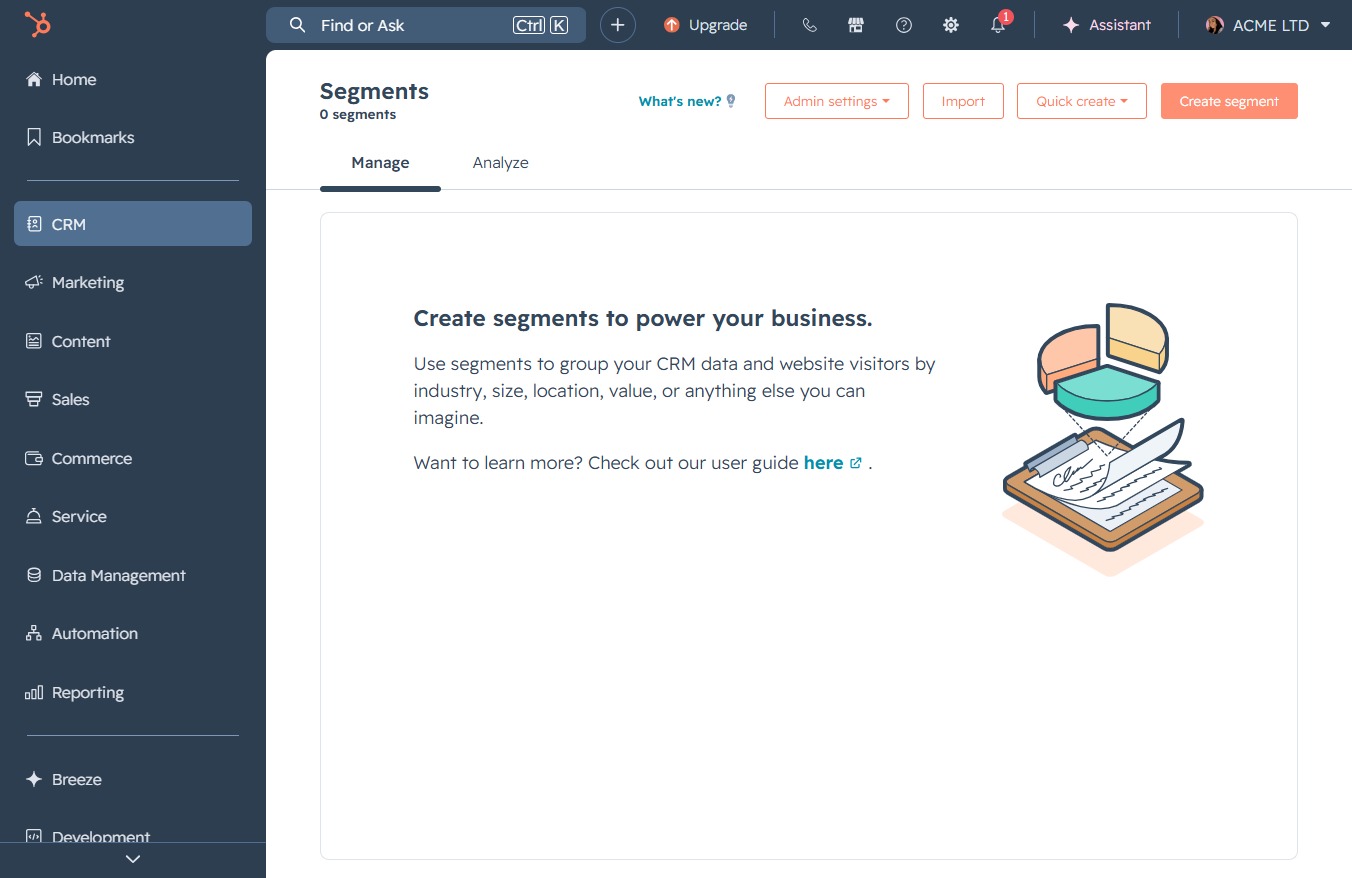
Selecting 'Segments (Lists)' will display a list of segmented contacts in your CRM, allowing you to manage and organize your communication efforts effectively.

This action opens the segment creation interface, allowing you to group your CRM data and website visitors by various criteria such as industry, size, location, or other customizable parameters.
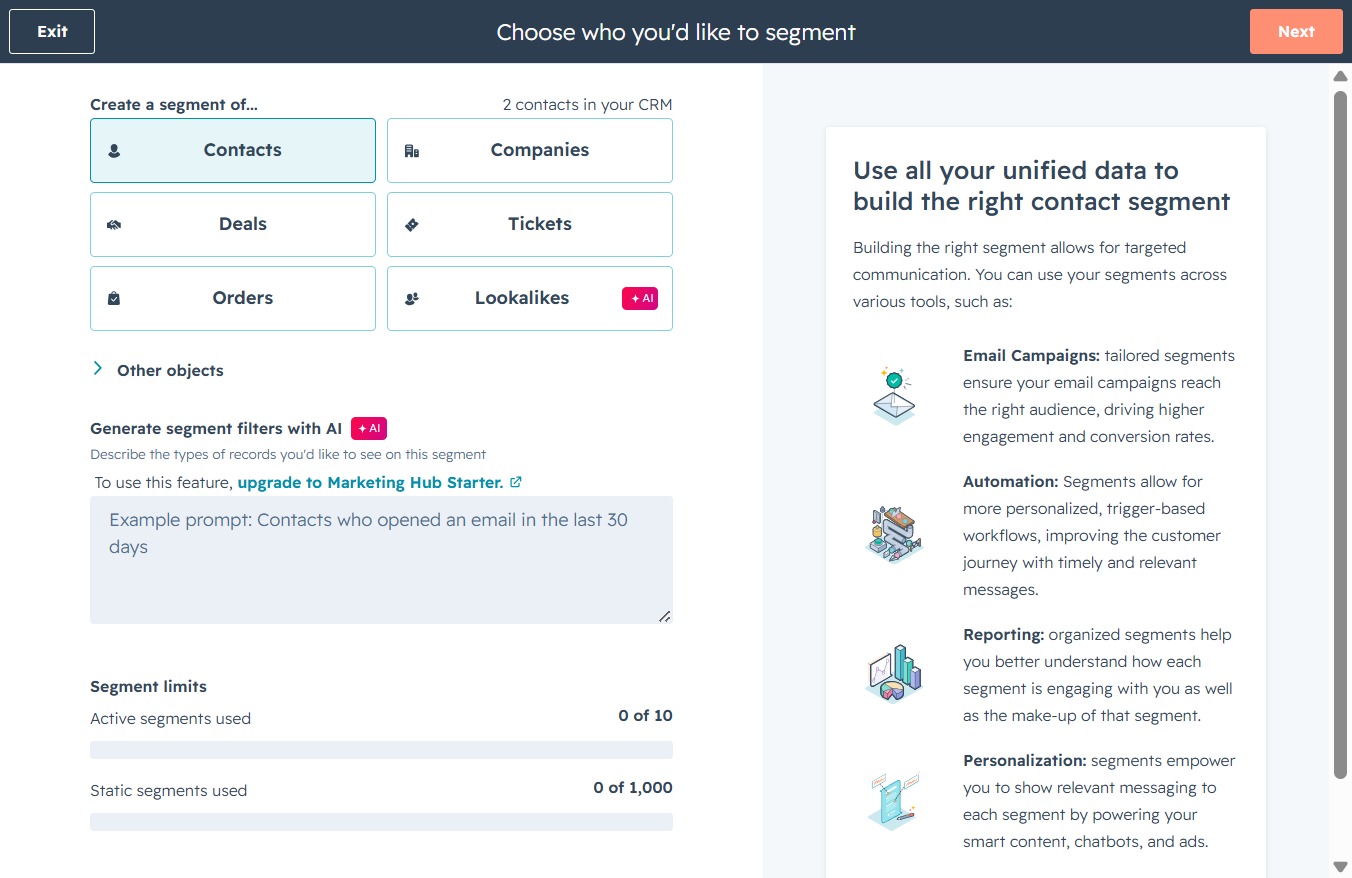
By clicking the 'Next' button, you proceed to the next step in creating your contact segment, where you can further define the specific filters and criteria for your segment.
Clicking this field allows you to add a name for the list.
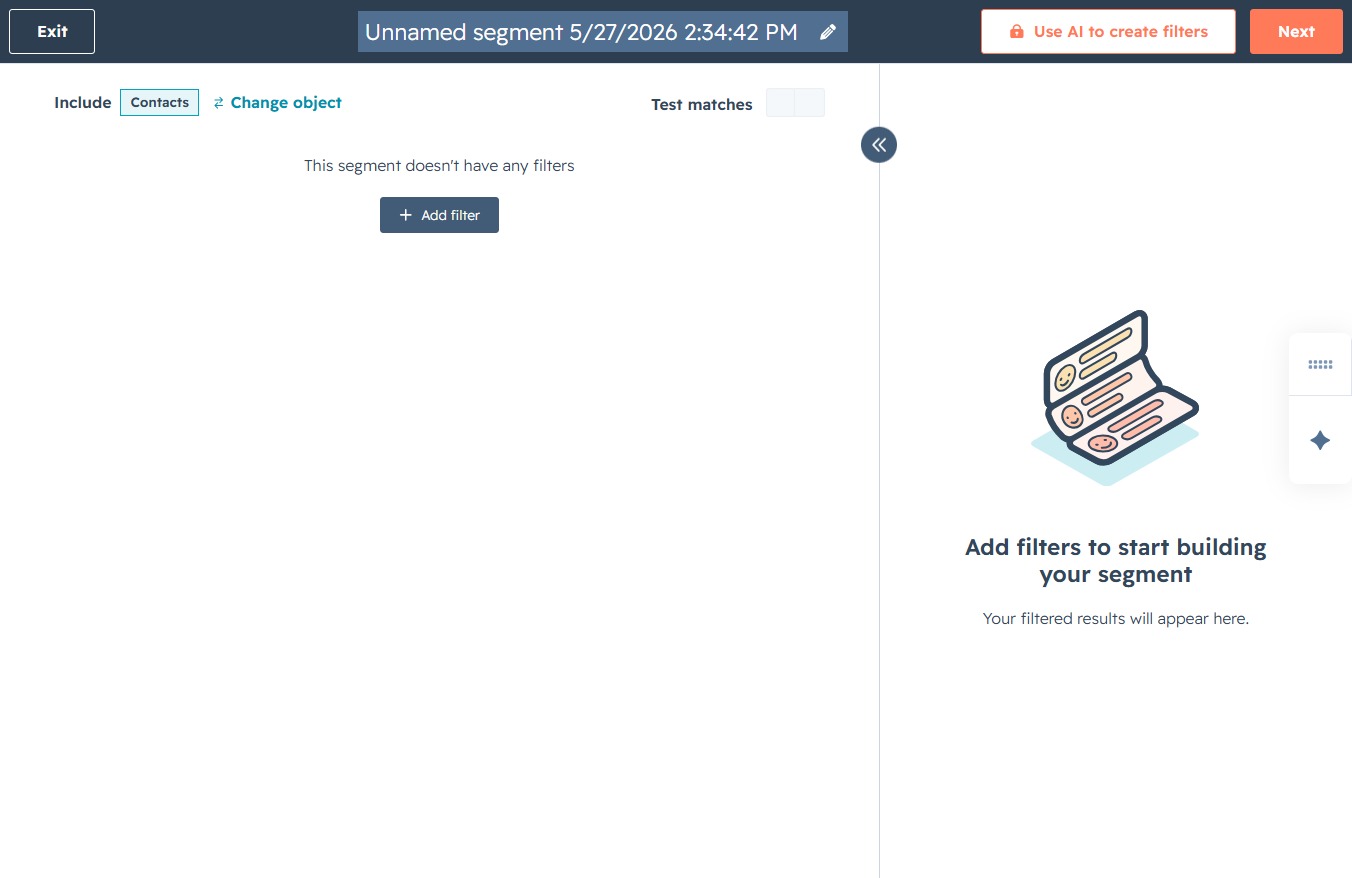
Enter 'High Intent Leads' in the 'Name your new segment' field to label your segment appropriately. This will help in identifying the segment for future use and when applying filters.
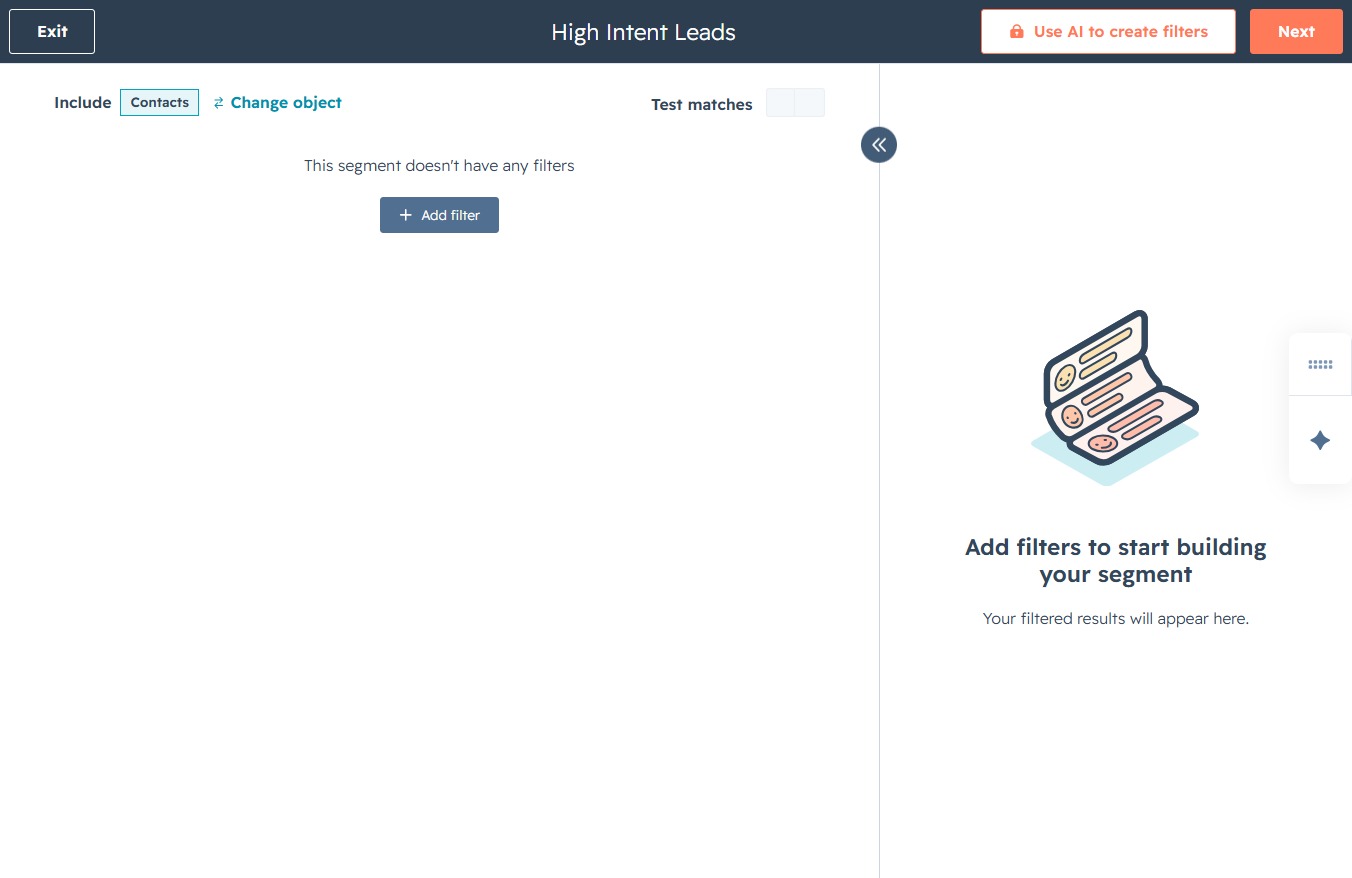
This action allows you to introduce criteria for your segment, enabling more specific filtering of the leads displayed in your High Intent Leads section.

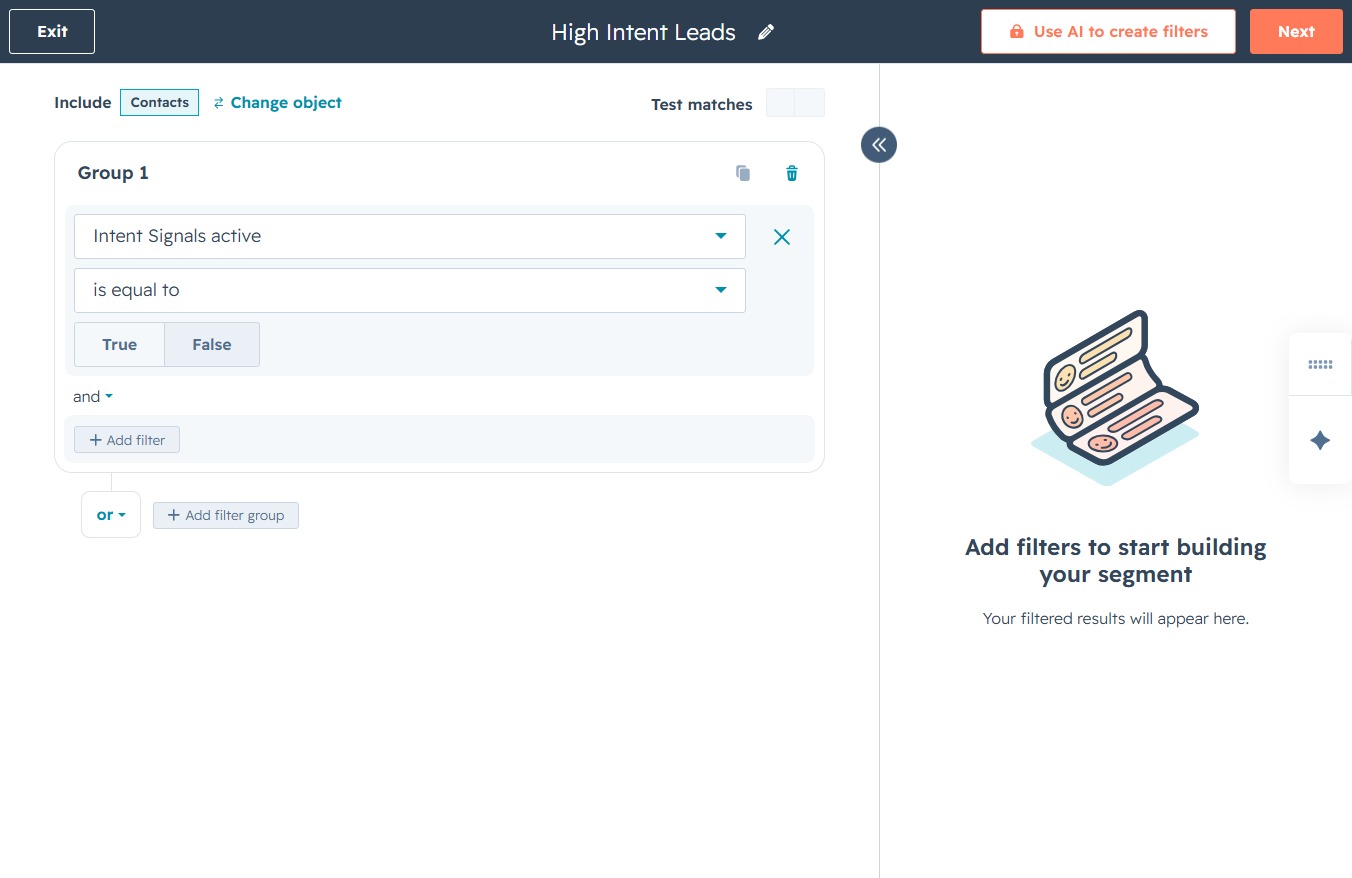
Selecting 'Intent Signals active' will apply this filter to your segment, helping you refine the data based on user intent signals.

Selecting 'True' or 'False' allows you to specify the condition for the filter regarding 'Intent Signals active' in your segment.
Proceed to the next step in your segmentation process, which will allow you to refine the filters you've applied to your High Intent Leads.
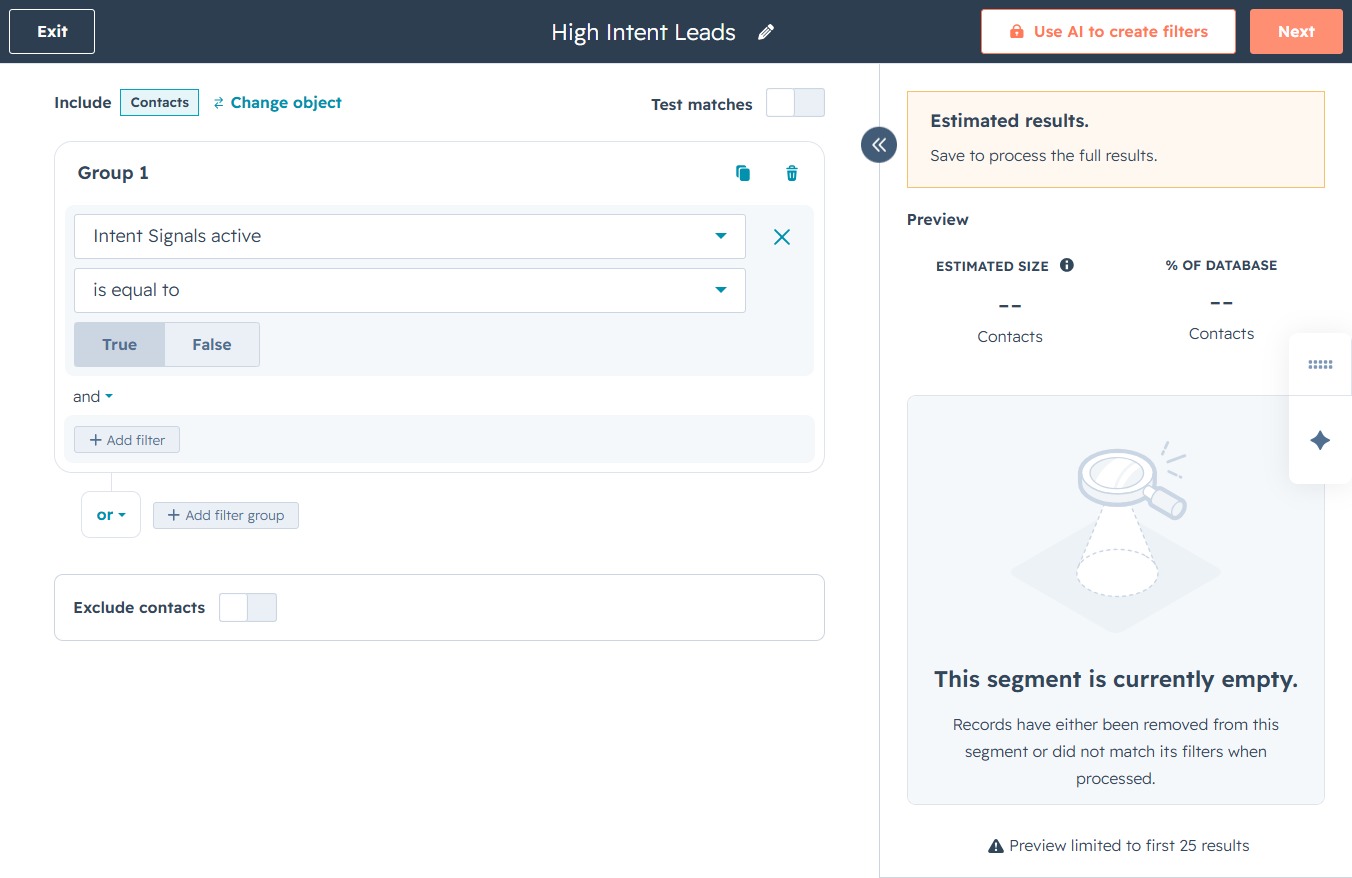
This action will save the current segment settings and initiate the processing of the selected contacts based on the chosen criteria. Once completed, you will receive confirmation of the segment creation.
