Click the Spaces option
Selecting 'Spaces' will display a list of available spaces and projects, allowing you to manage and navigate through your team's collaboration areas within Confluence.

Loading screenshot…
100%
Learn how to create a comprehensive company wiki using Confluence with this step-by-step guide.
 viktoria
Learn how to create a comprehensive company wiki using Confluence with this step-by-step guide. From setting up a new space for collaboration to publishing documentation, you’ll discover how to efficiently organize, manage, and share important information within your team.
Selecting 'Spaces' will display a list of available spaces and projects, allowing you to manage and navigate through your team's collaboration areas within Confluence.
This action opens the space creation interface, allowing you to set up a new area for collaboration within Confluence.
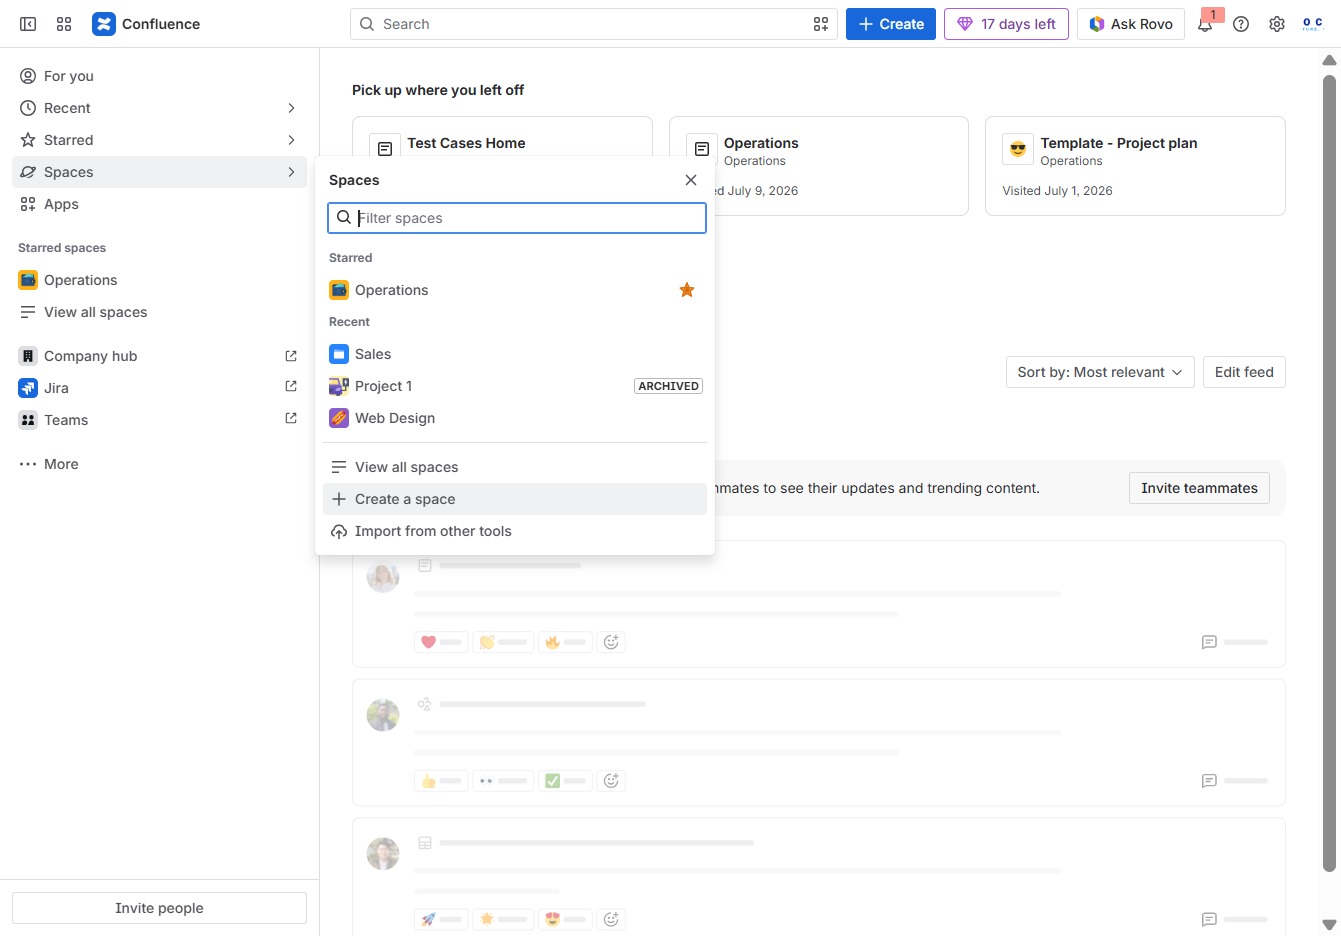
Click this button to initiate the process of creating a new space in the application, where you can define its name and purpose.
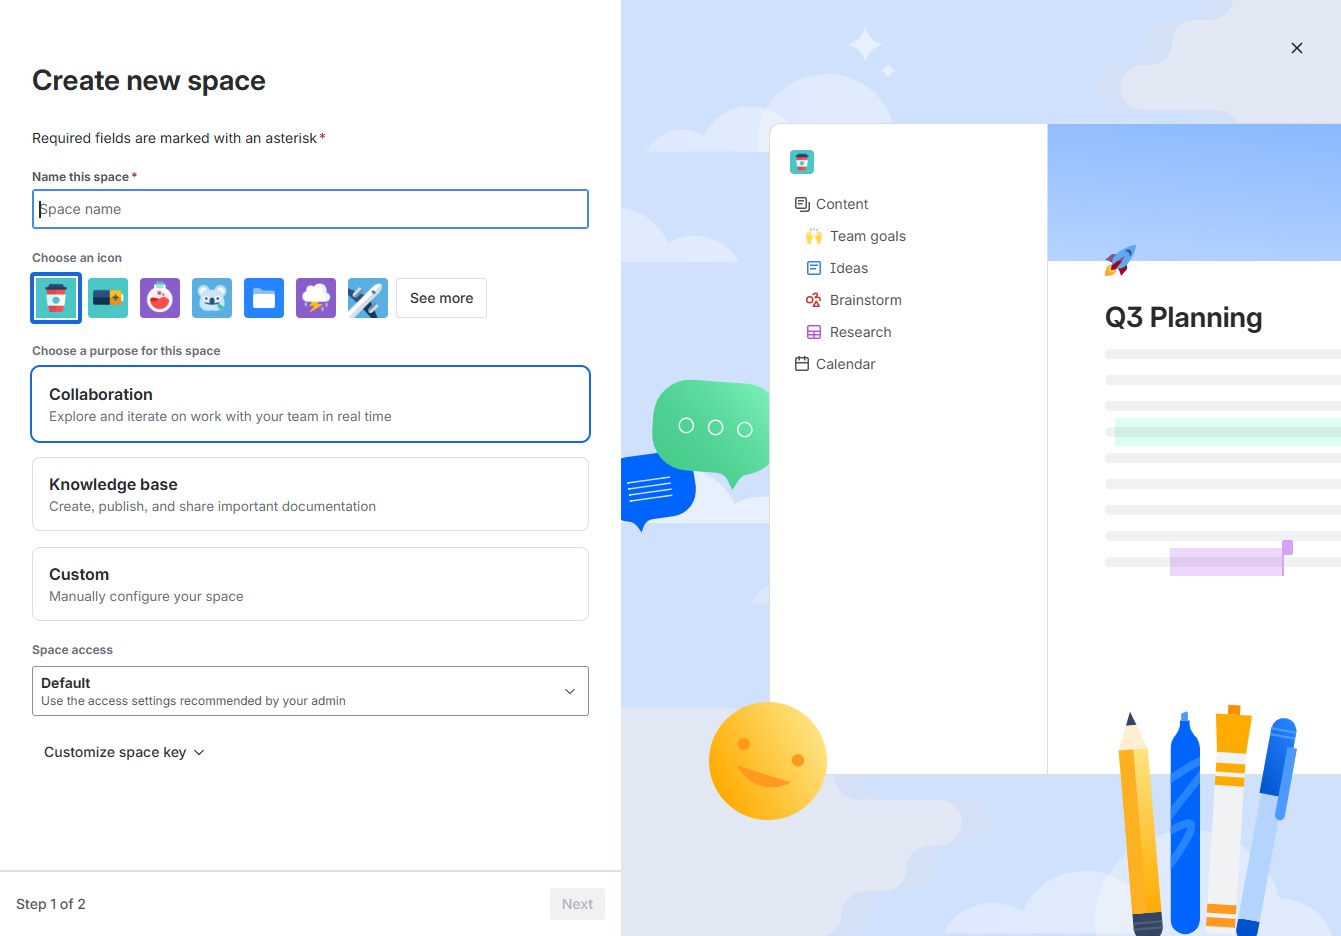
Enter 'Company Wiki' in the designated field to set the identifier for your new space. This name will help differentiate this space from others in your workspace.

This action creates a new space for your project, allowing you to organize and manage your team's collaborative efforts effectively.

Select the Knowledge base option to create, publish, and share important documentation for your team. This will set up your space with the necessary features for documentation management.
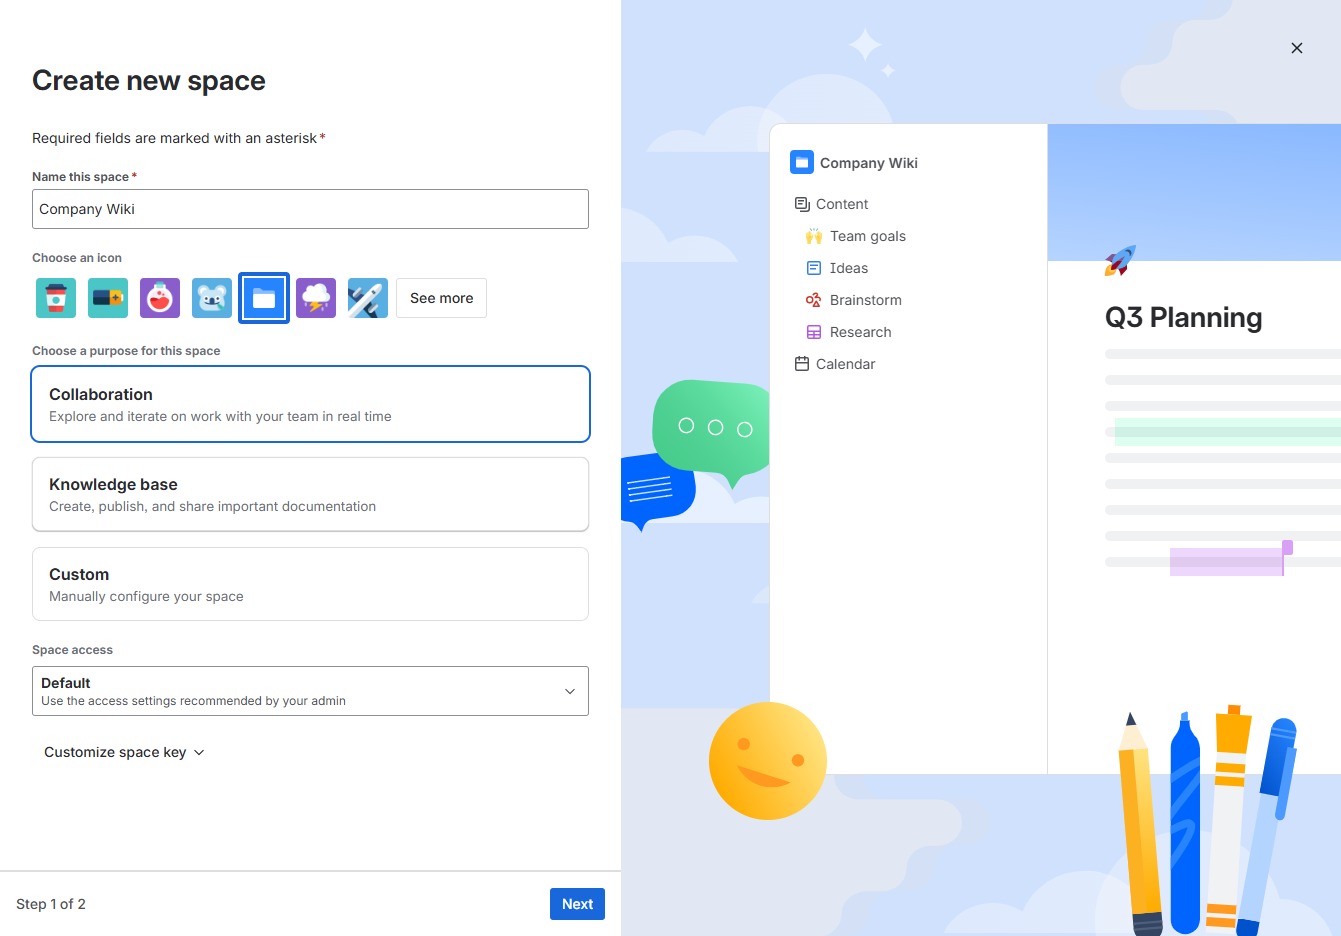
This action advances you to the next step in the process of creating a new space for your Company Wiki.

Clicking this button will initiate the process to set up a new space within your knowledge base, allowing you to organize and manage your documentation effectively.
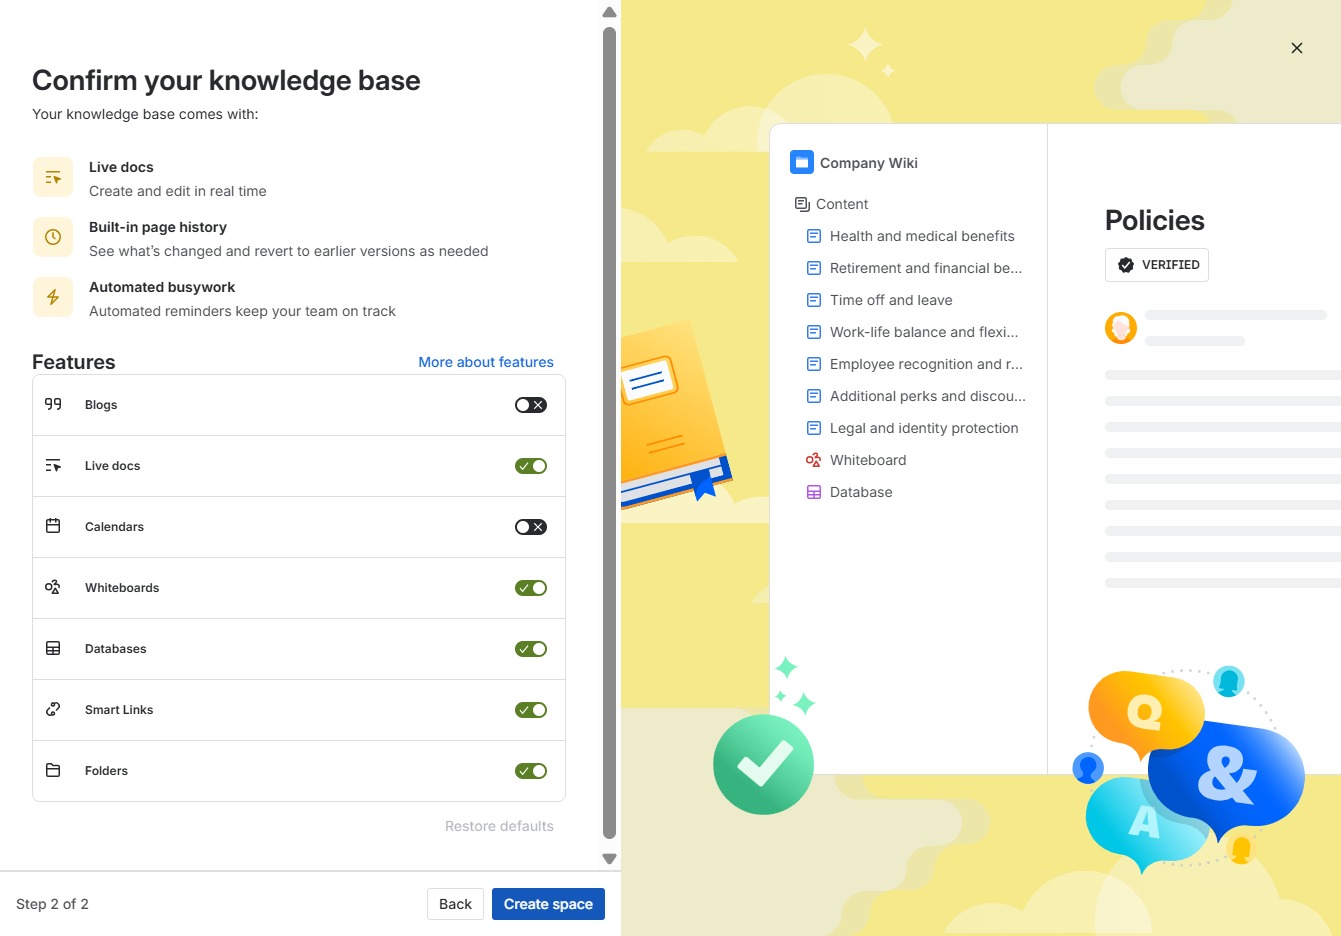
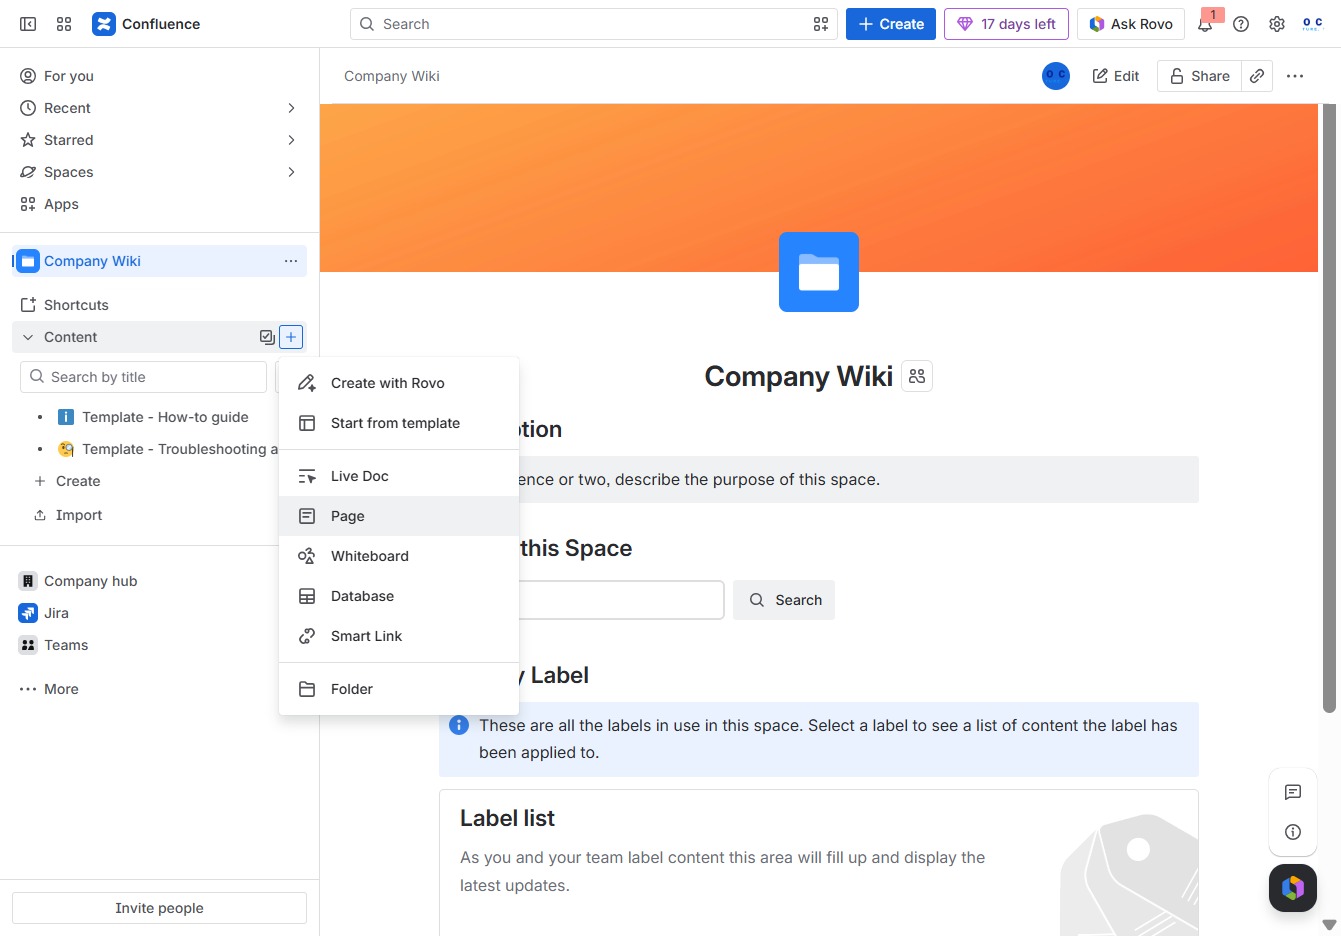
Clicking the 'Create' button initiates the process to add new content to the Company Wiki space. This action will open a new page where you can enter details for the content you wish to create.

Selecting the Page option allows you to create or access a new page within the Company Wiki space, enabling you to add or edit content as needed.
In this field, you can enter a descriptive title for your page, which will help to identify its content. This title will be displayed at the top of the page and in the page list.
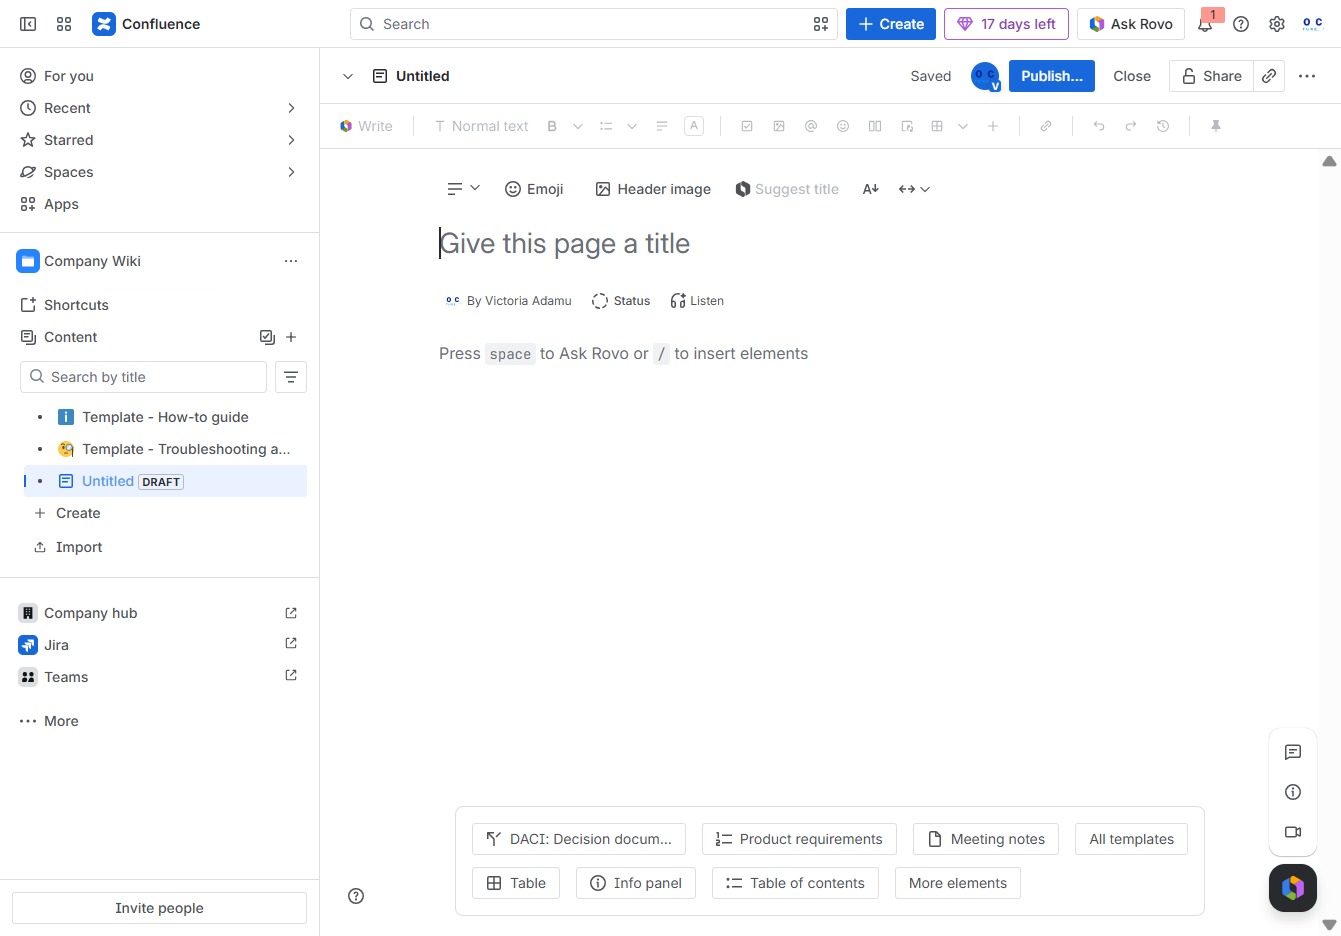
In the 'Give this page a title' text area, enter 'Wiki' to designate the title for your new page. This title will be displayed in the Company Wiki and help in organizing content.

Clicking the Add button allows you to insert new elements into your Wiki page, enabling you to enhance the content and structure of your documentation.

This will open a calendar where you can select a specific date for your entry in the Wiki.

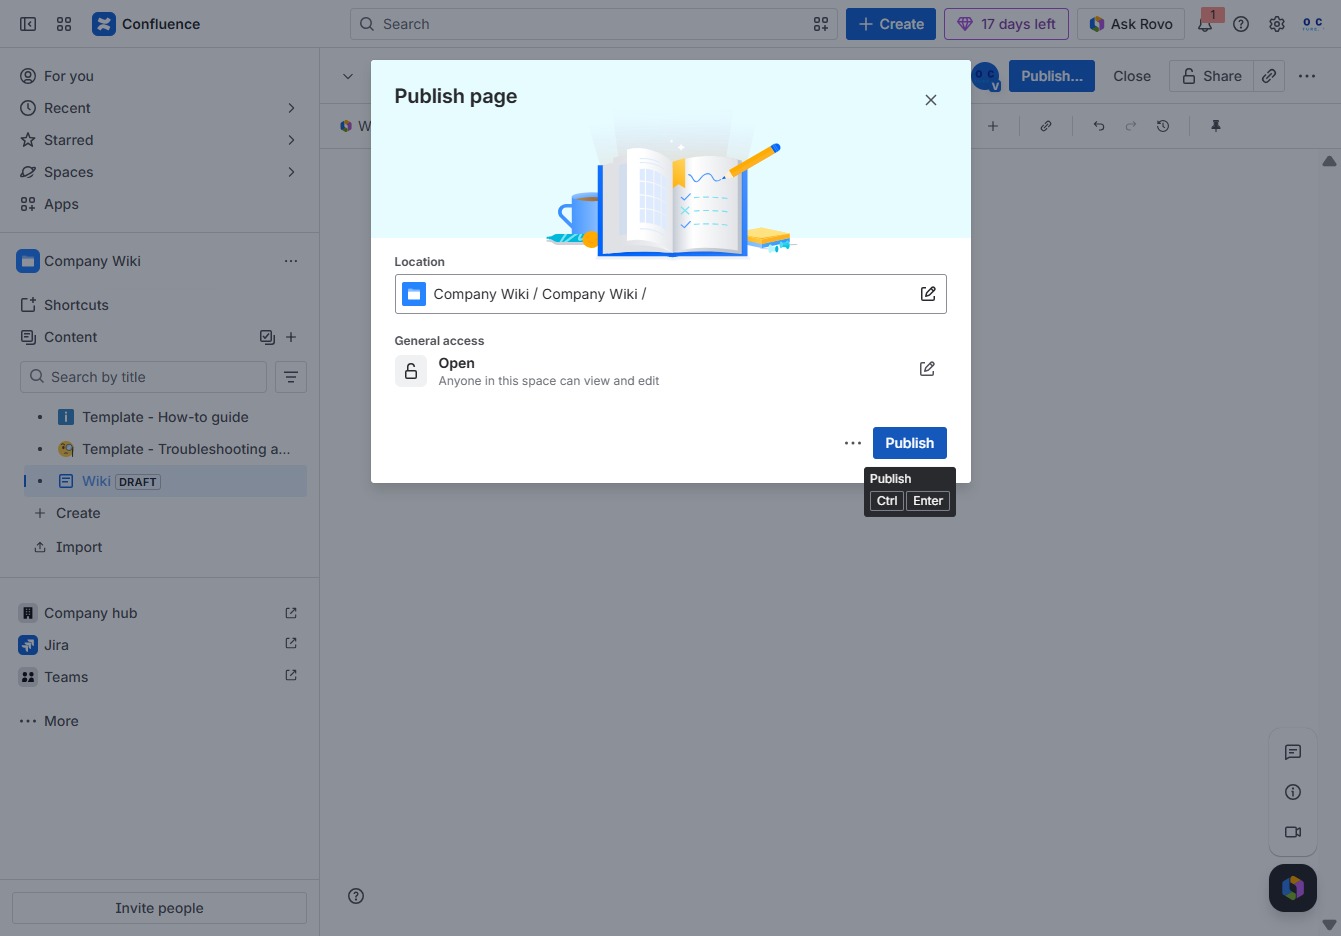
This action will publish your current document to the Confluence space, making it accessible to other users. Ensure all edits are finalized before publishing.
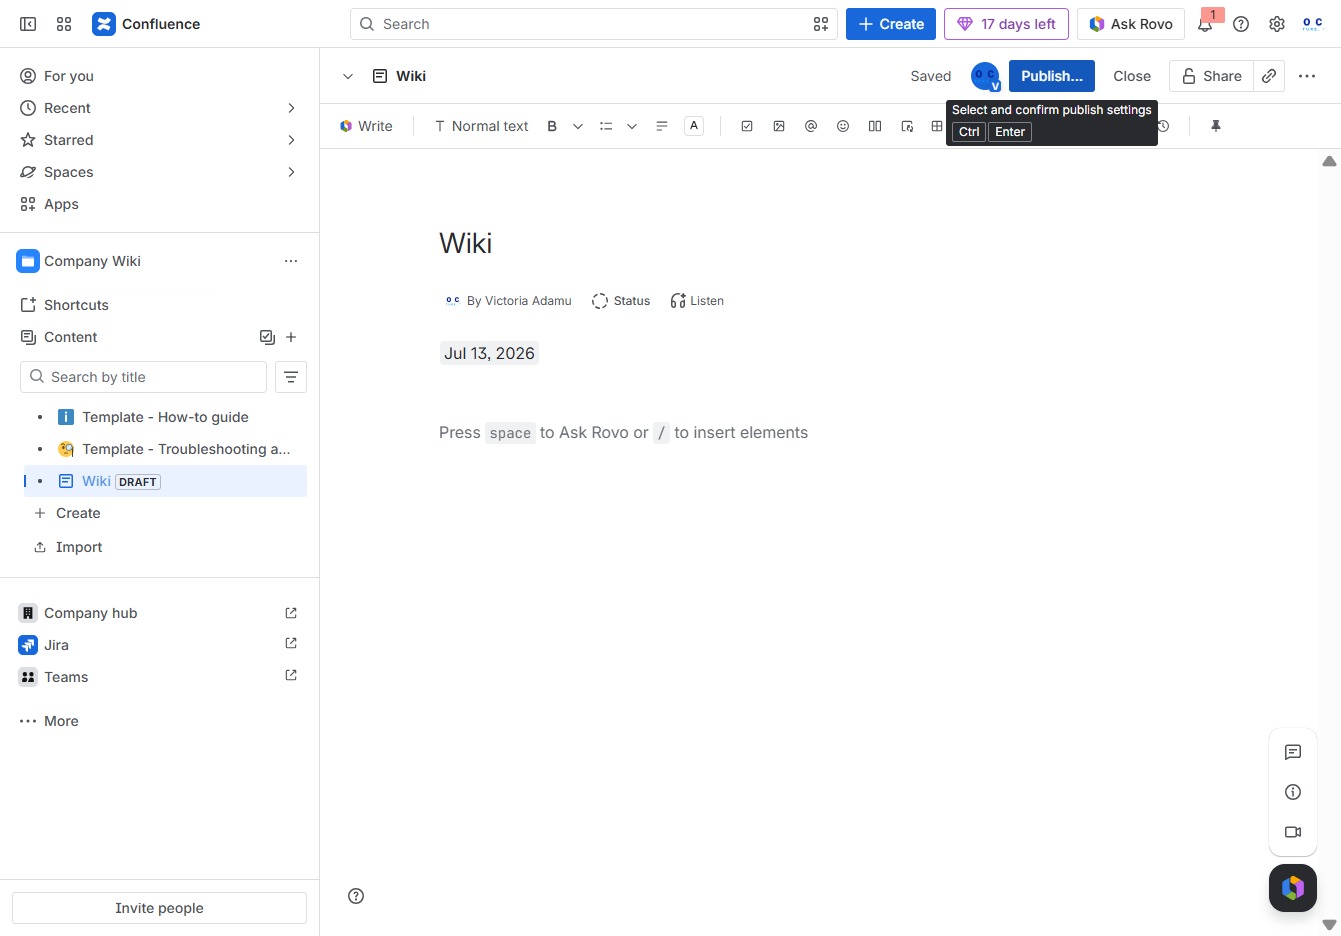
Clicking the Publish button will save your changes and make the page available in the selected location in the Company Wiki. Ensure the General Access settings are configured to allow the appropriate viewership.