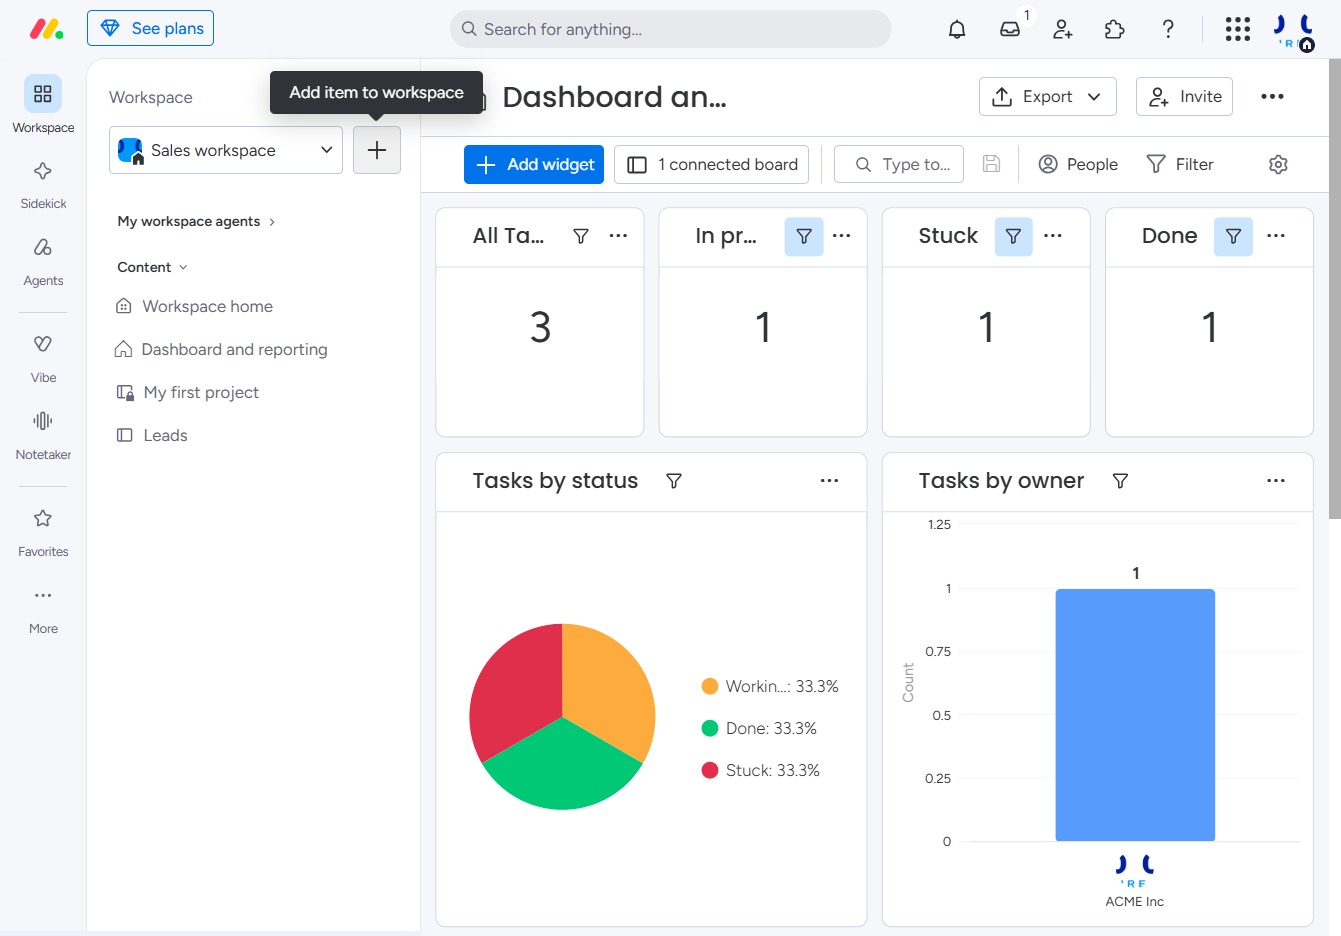
Click the Add item to workspace button
This action opens a menu that allows you to add new items or elements to your current workspace, enhancing your project management capabilities.
Loading screenshot…
100%
This how-to guide provides step-by-step instructions on creating a new board in your workspace, allowing you to effectively manage tasks and projects.
 viktoria
This how-to guide provides step-by-step instructions on creating a new board in your workspace, allowing you to effectively manage tasks and projects. Learn how to customize your board's layout, set privacy options, and name your board for better organization, ensuring a streamlined project management experience.
This action opens a menu that allows you to add new items or elements to your current workspace, enhancing your project management capabilities.
Select 'New Board' to create a new blank board in your workspace. This allows you to start organizing tasks and projects using a customizable layout.
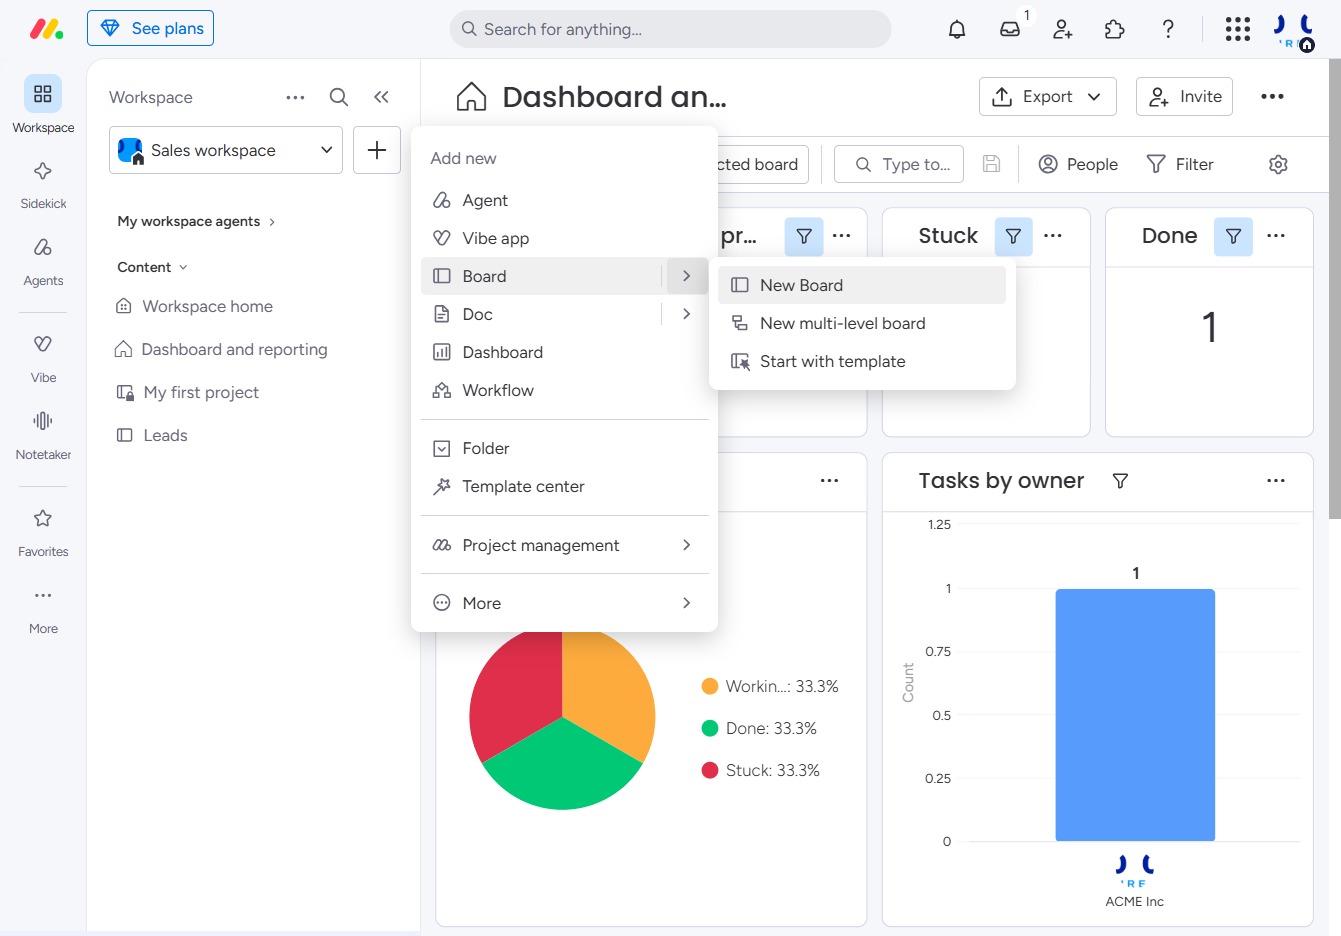
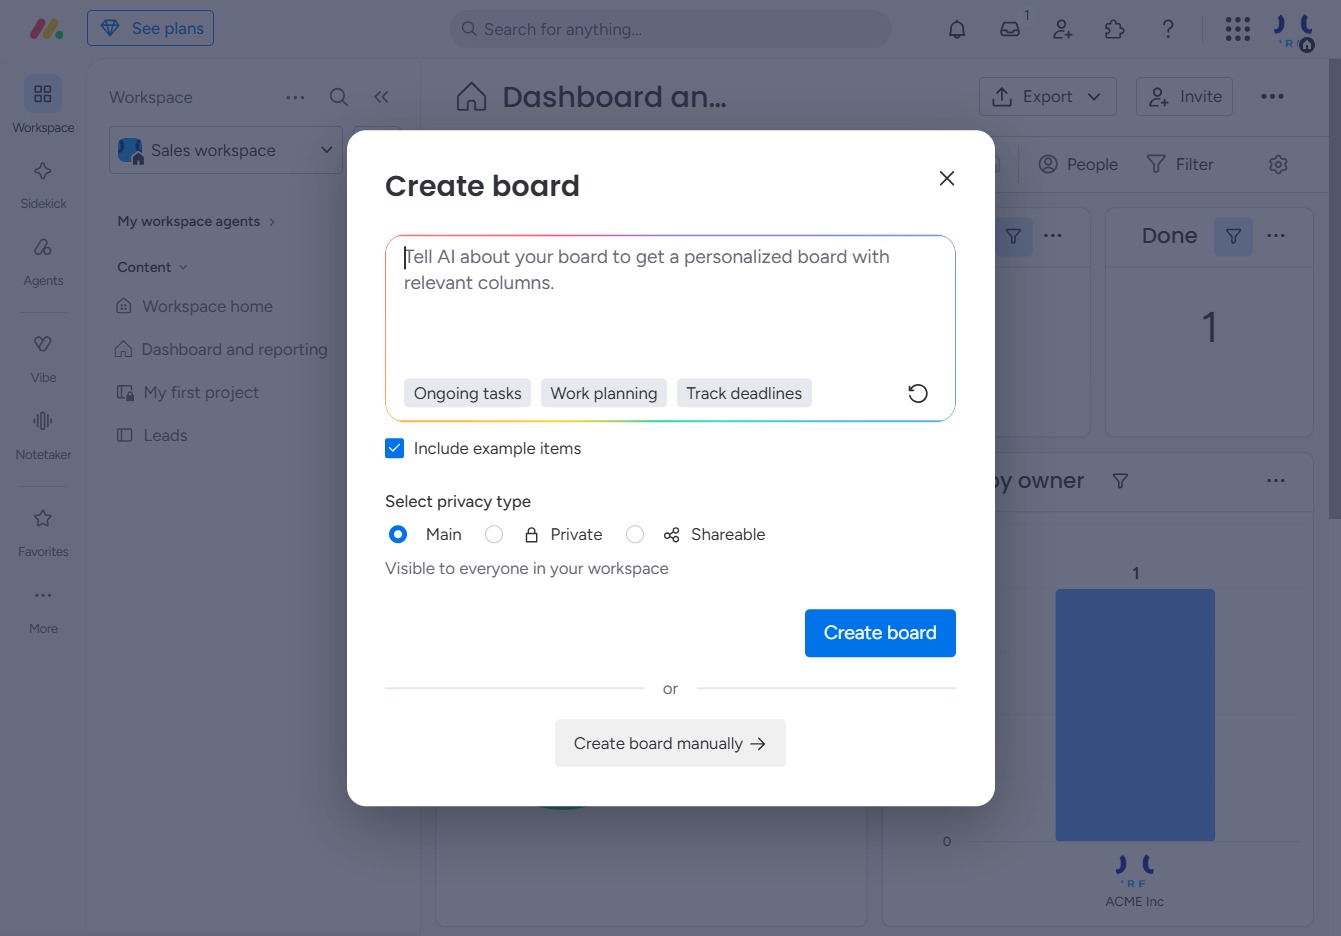
Select this option to set up a board without using a predefined template. You will be guided through a customizable process to build your board from scratch.
Enter 'Projects' into the Board name field to specify the title of your new board. This name will help categorize the board for easier identification within your workspace.

This action will finalize the board setup and create a new board named 'Projects' in your workspace.

Select 'Create board' to initiate the process of setting up a new board for managing your projects. Fill in the necessary details to customize your board options and privacy settings.
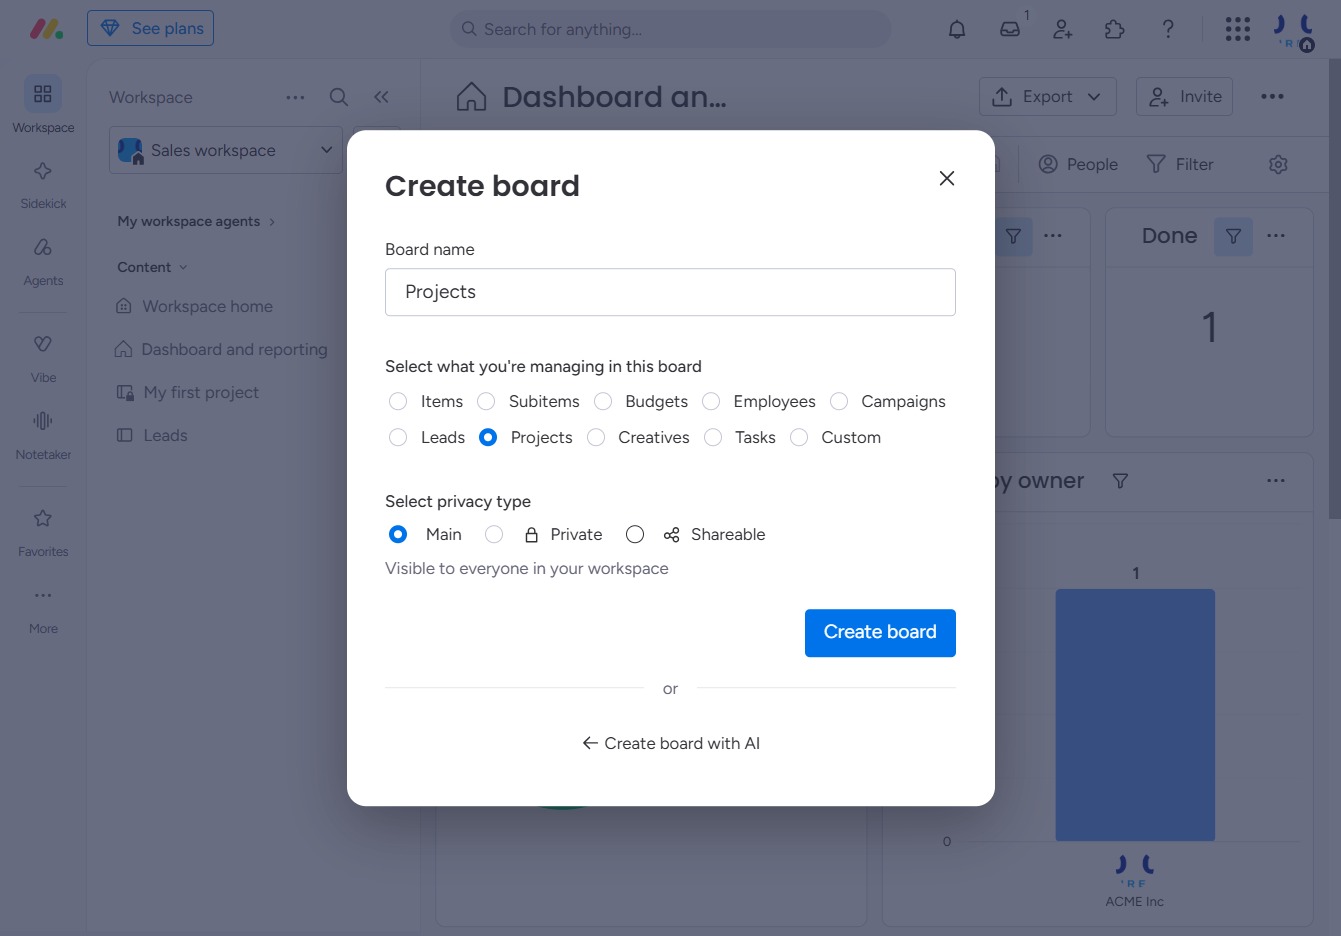
This action opens a dialog where you can name your new board, select what you're managing in it, and choose the privacy type before finalizing the creation.

Clicking this button will dismiss the welcome message, allowing you to start using your first shareable board without any further distractions.
