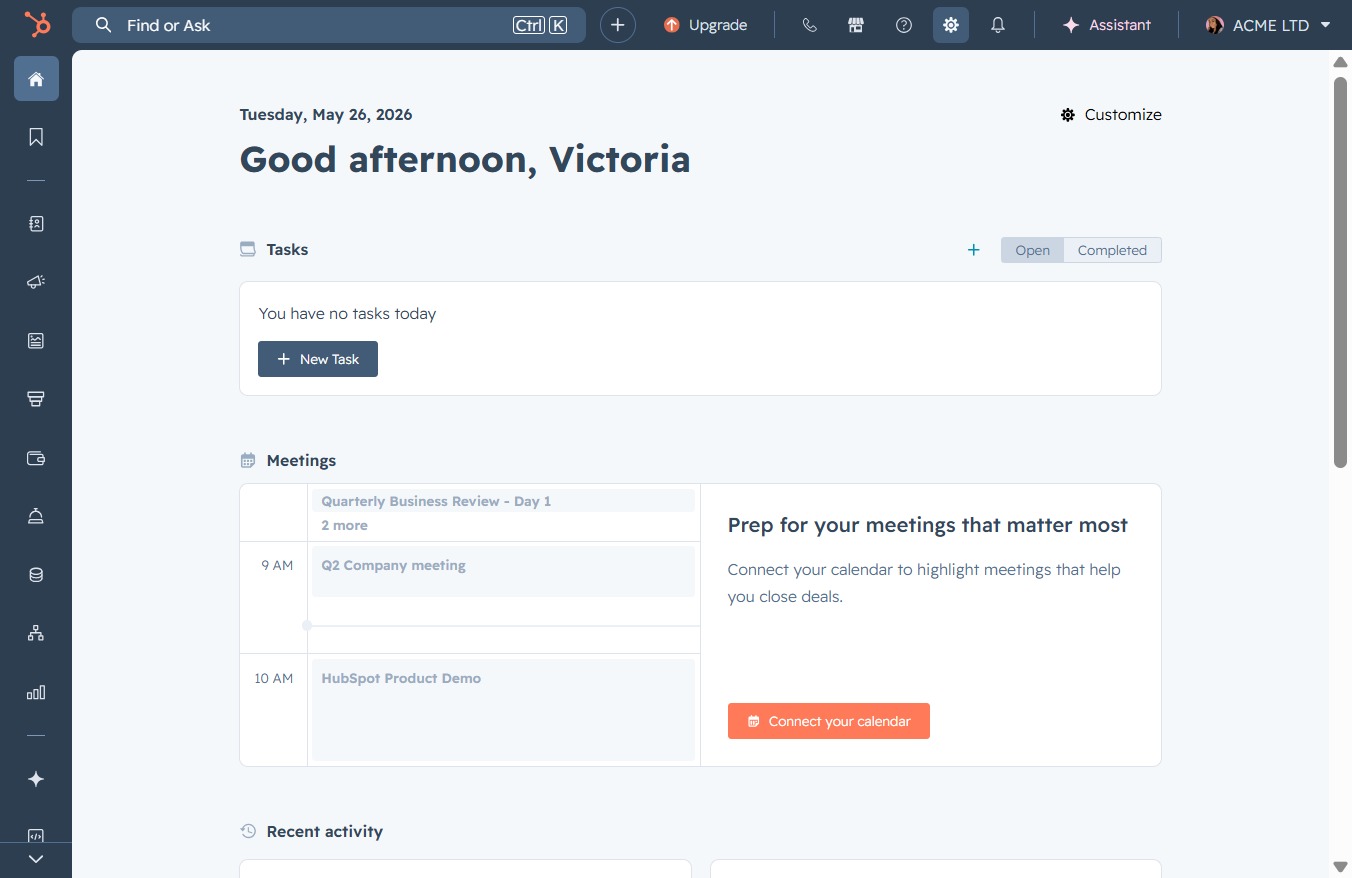
Click the Settings link
This action opens the Settings menu where you can adjust your preferences and manage your account options.
Loading screenshot…
100%
Connect your Microsoft Outlook calendar to HubSpot to synchronize events and appointments, enhancing your scheduling capabilities and facilitating seamless task management.
 viktoria
Connect your Microsoft Outlook calendar to HubSpot to synchronize events and appointments, enhancing your scheduling capabilities and facilitating seamless task management.
This action opens the Settings menu where you can adjust your preferences and manage your account options.
This will open the Calendar settings, allowing you to manage your scheduled events and appointments within HubSpot.
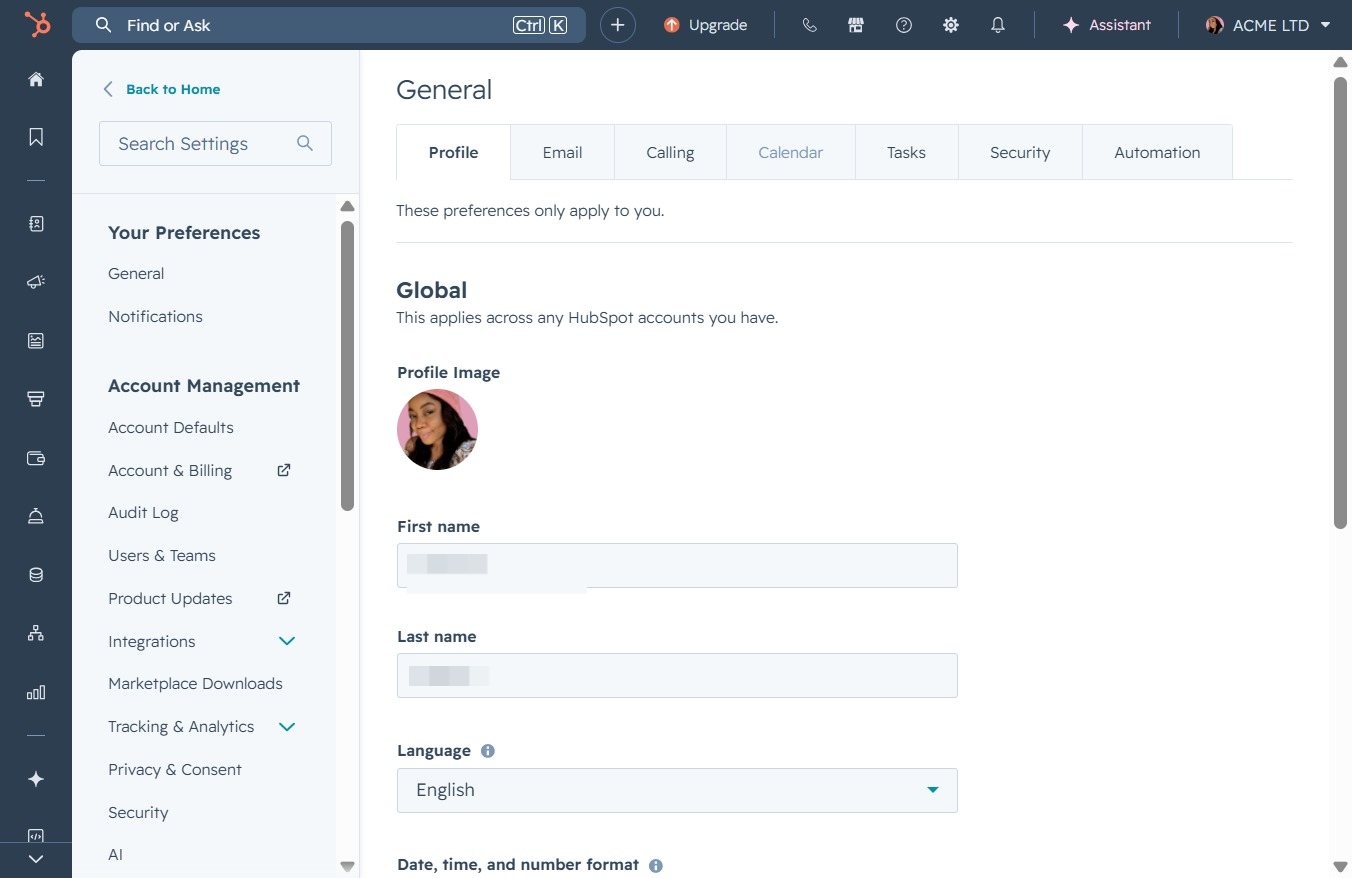
By clicking this link, you will initiate the process to connect your calendar to HubSpot Meetings, allowing for enhanced scheduling and task management features.

This action will initiate the process to connect your Microsoft Outlook calendar, allowing you to synchronize events and appointments with your current application.
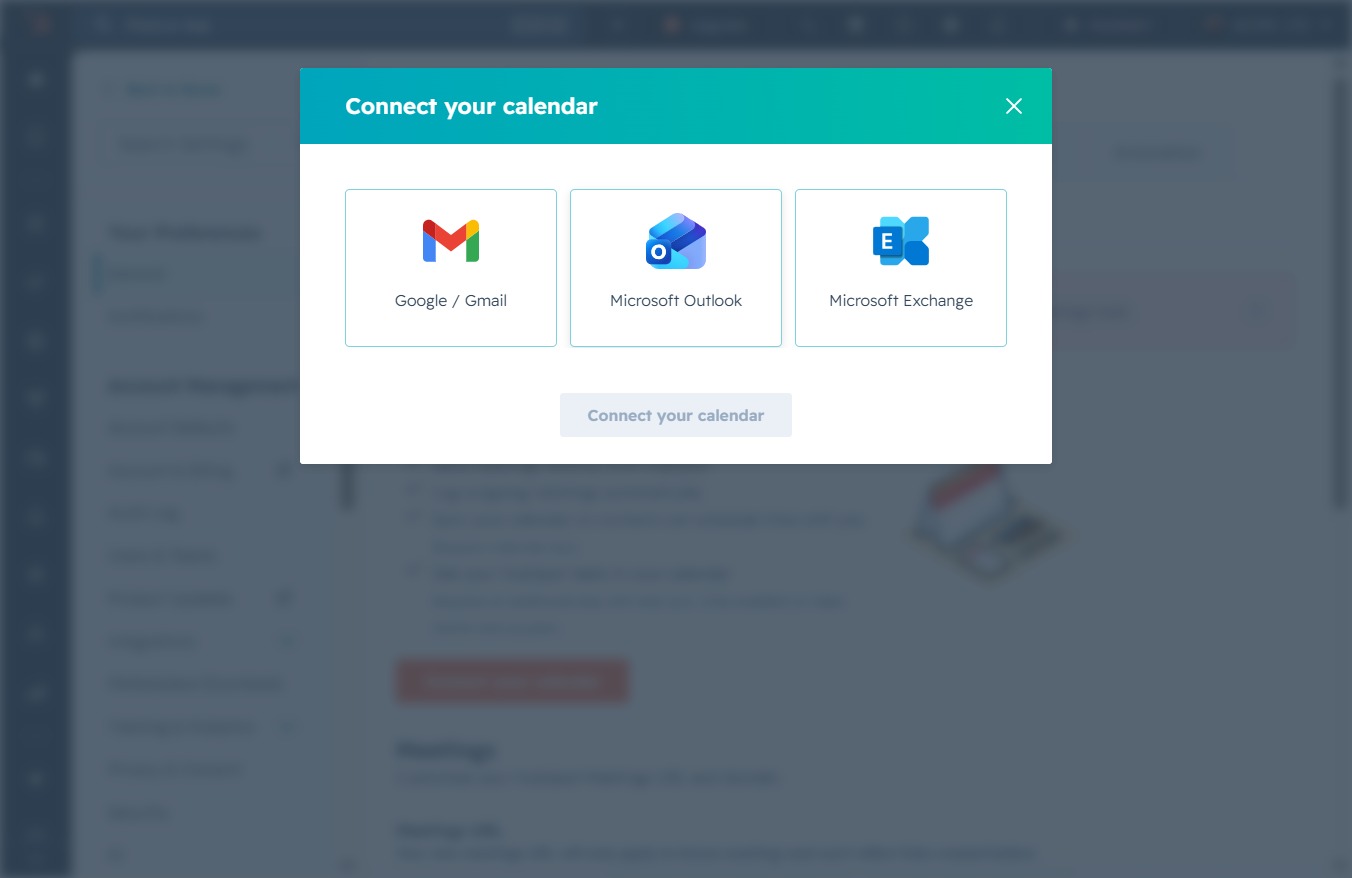
This action will initiate the process for linking your preferred calendar service, allowing you to sync events and appointments with the application.
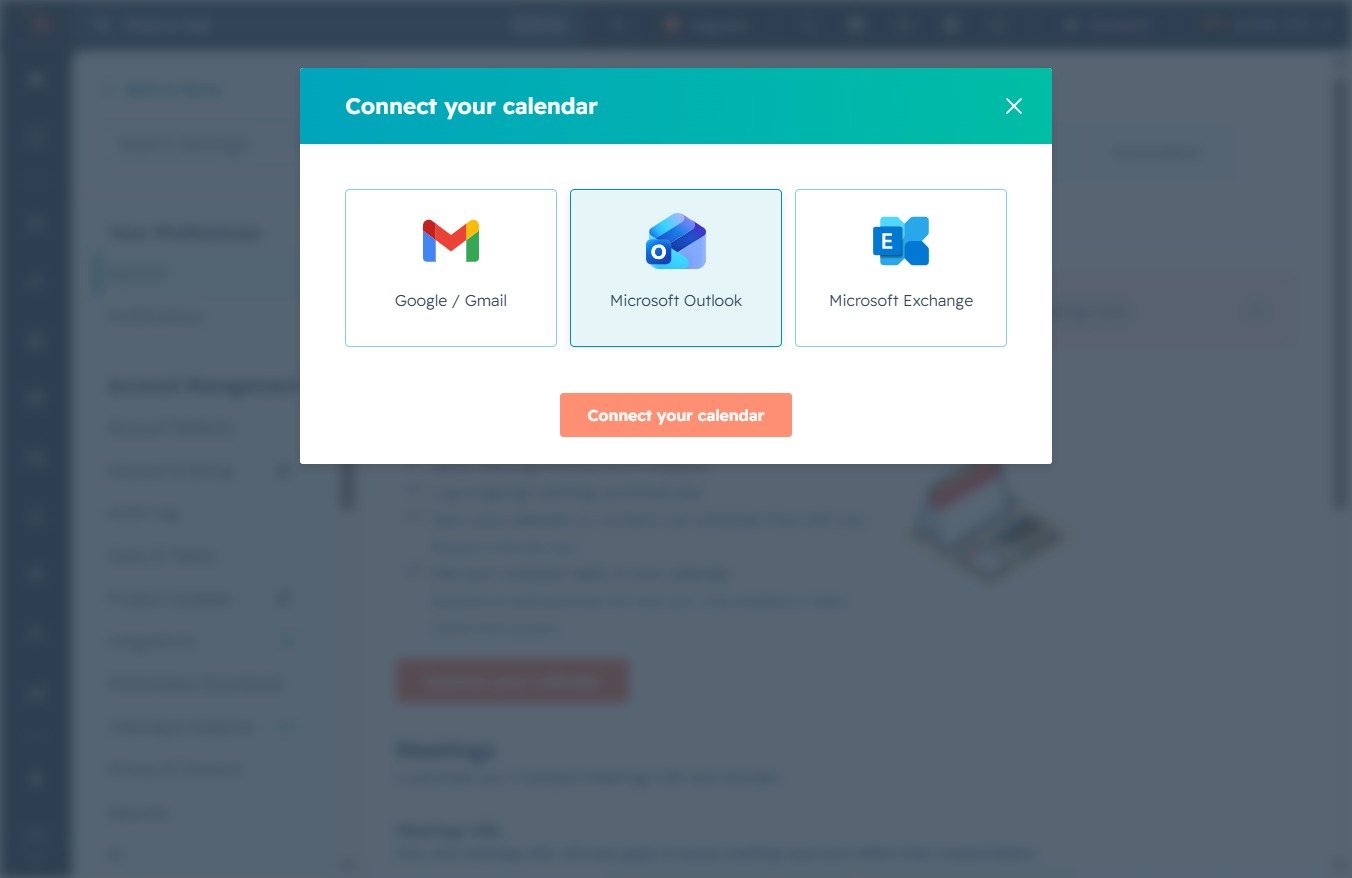
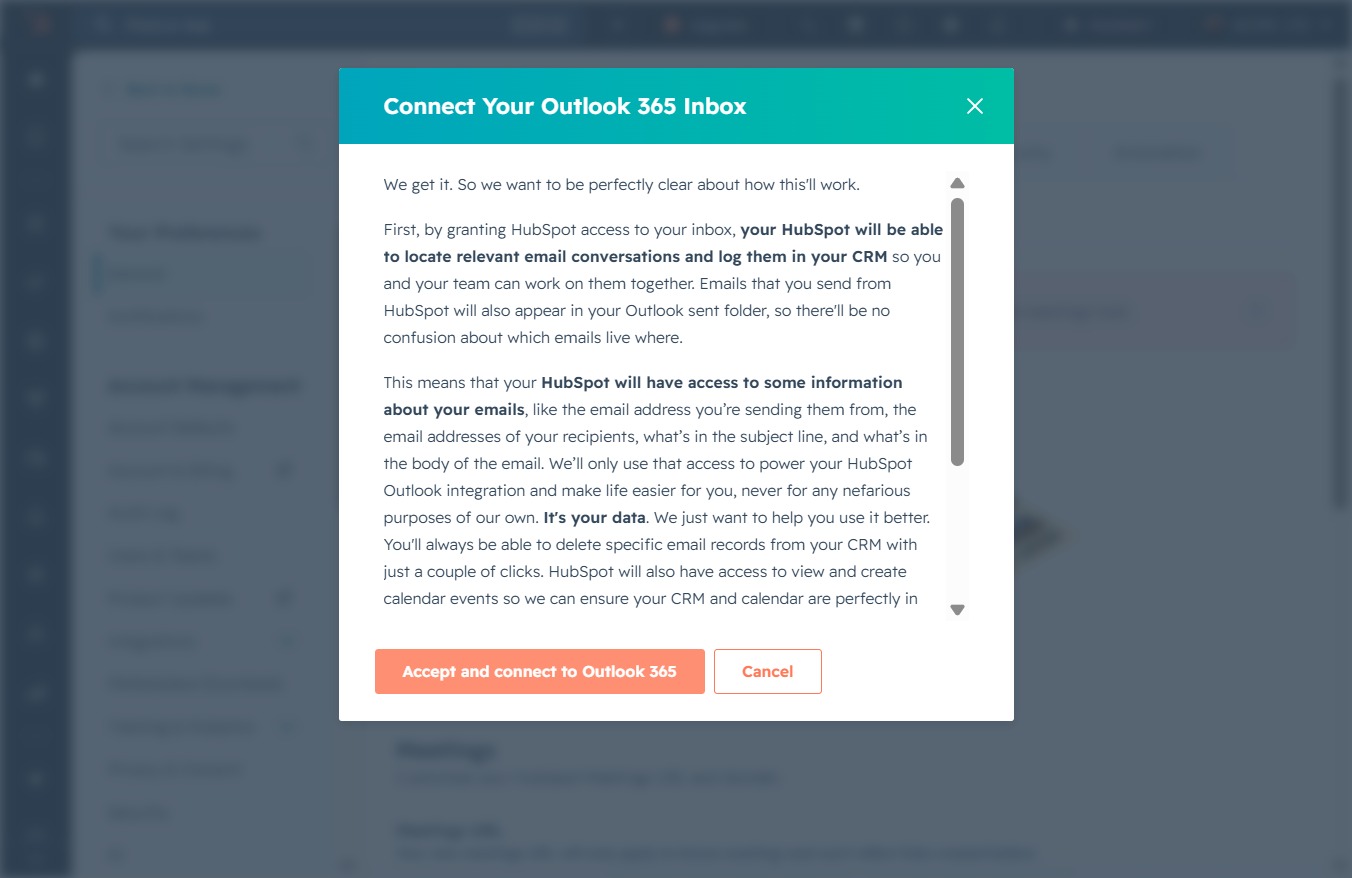
By clicking this button, you grant HubSpot access to your Outlook 365 inbox, enabling it to log relevant email conversations and sync data between your inbox and HubSpot.
This will display your account details and provide options for managing your account settings.
