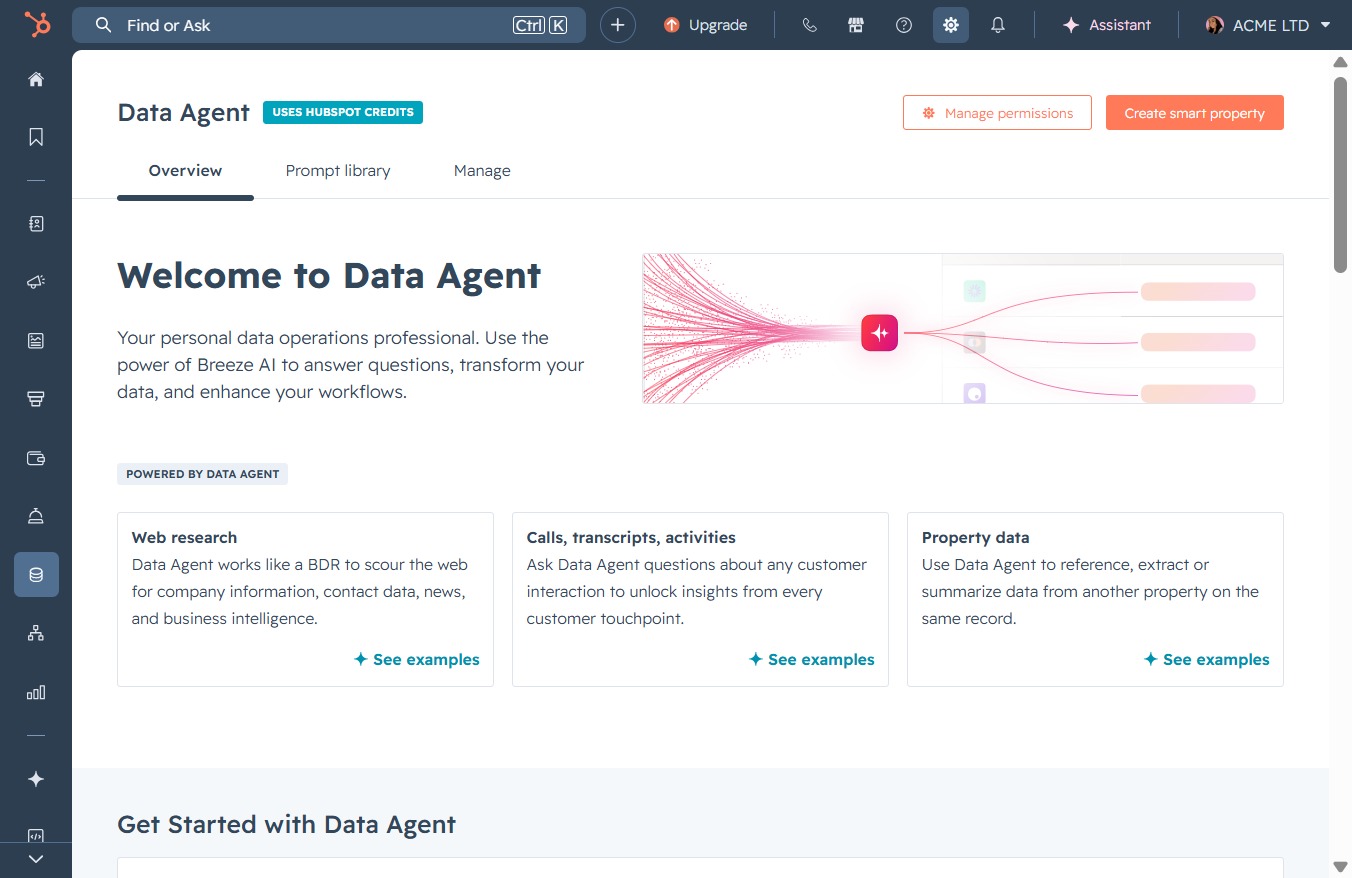
Click here to proceed
Clicking this link will take you to the next step or action related to the Data Agent overview, enabling further interactions with the available features.
Loading screenshot…
100%
Link your personal email to HubSpot to manage and integrate your email correspondence seamlessly within the platform, enabling automatic logging of messages and follow-up tasks.
 viktoria
Link your personal email to HubSpot to manage and integrate your email correspondence seamlessly within the platform, enabling automatic logging of messages and follow-up tasks.
Clicking this link will take you to the next step or action related to the Data Agent overview, enabling further interactions with the available features.
This will open the Email settings where you can customize your email preferences and manage notification settings.

This action initiates the process to link your personal email account to HubSpot, allowing you to log, send, and receive emails directly within the platform.

Clicking this button will link your email to HubSpot, enabling you to send and schedule emails directly from the platform while automatically logging replies.
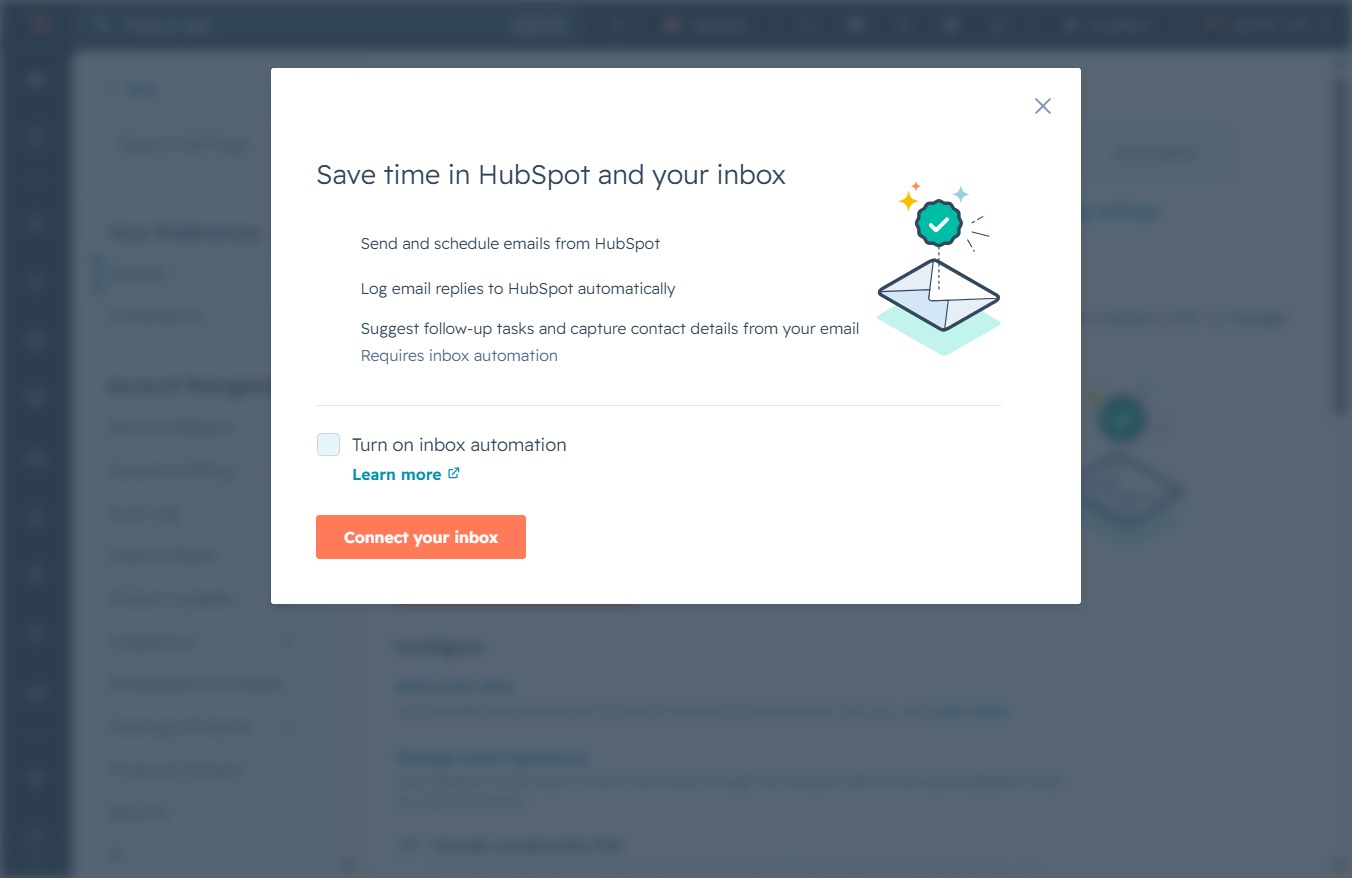
Clicking this button initiates the connection process between HubSpot and your email inbox, allowing for automatic logging of emails and follow-up tasks.

By clicking this field, you can input your email address to set up your account. Make sure to enter a valid email to proceed to the next step.
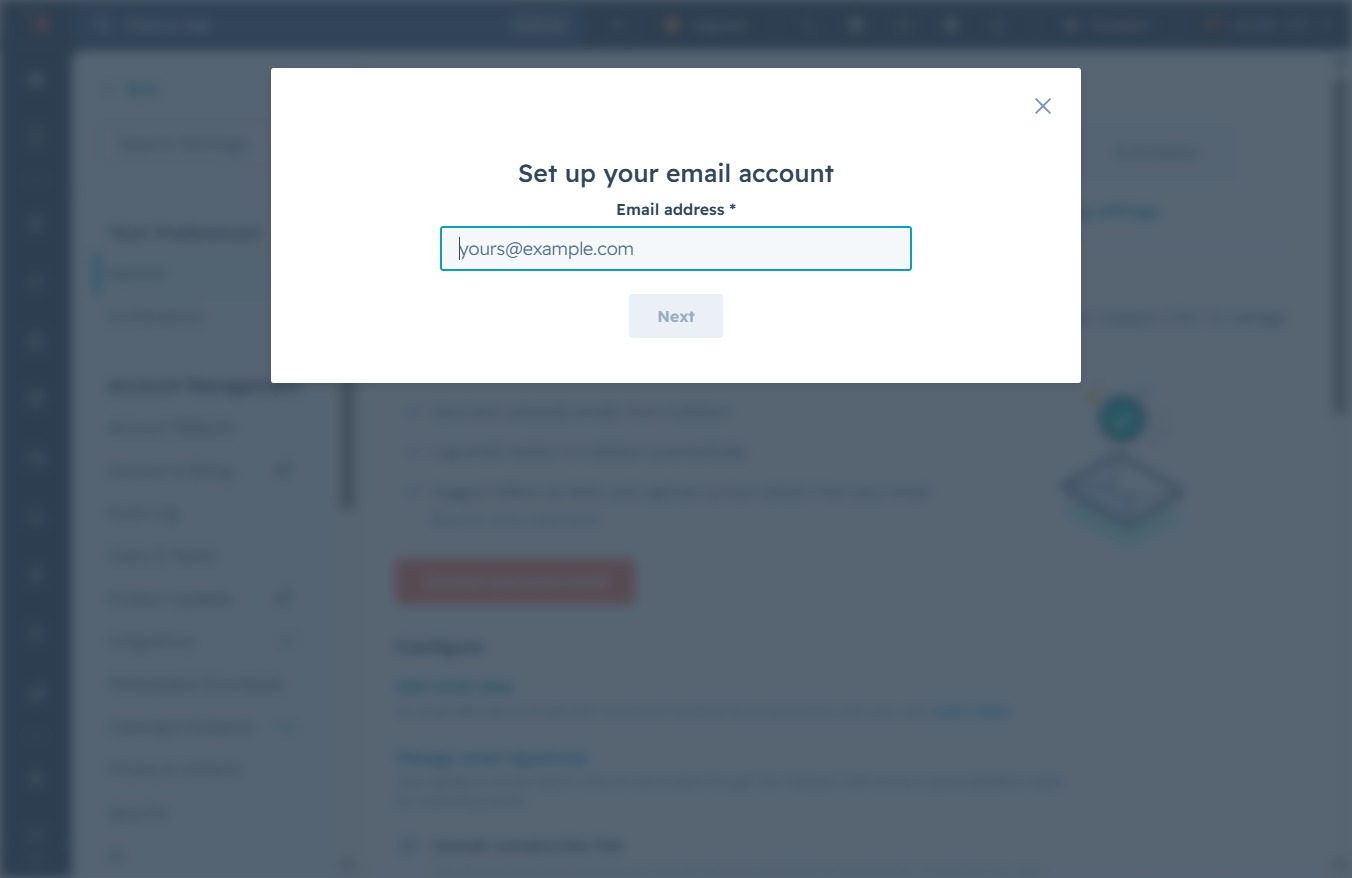
Enter '@gmail.com' in the Email address field to proceed with the account setup. Once entered, click 'Next' to continue with the configuration.
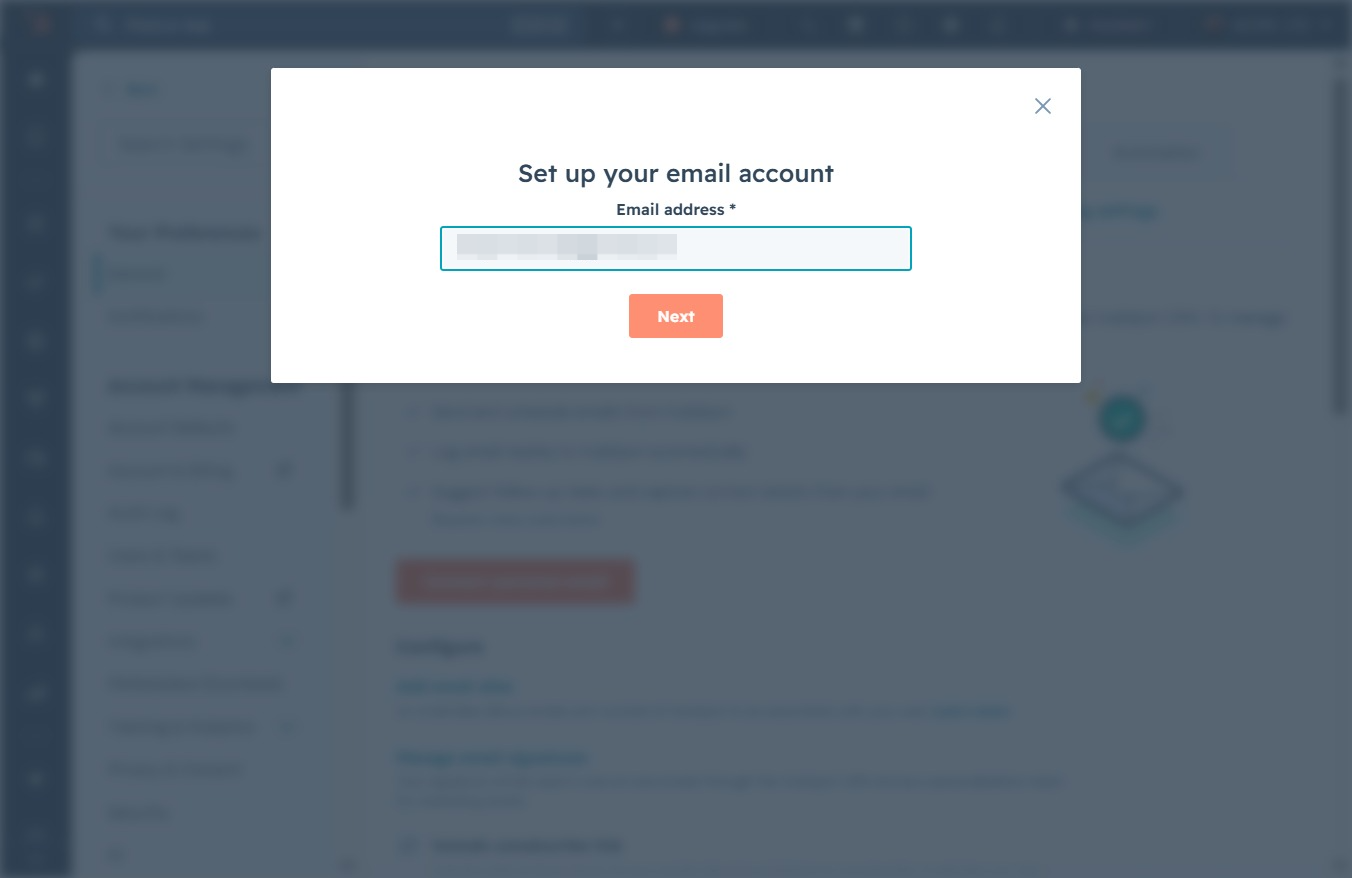
Clicking the 'NextLoading' button will proceed to the next step of the email account setup process, allowing you to enter additional configuration details.
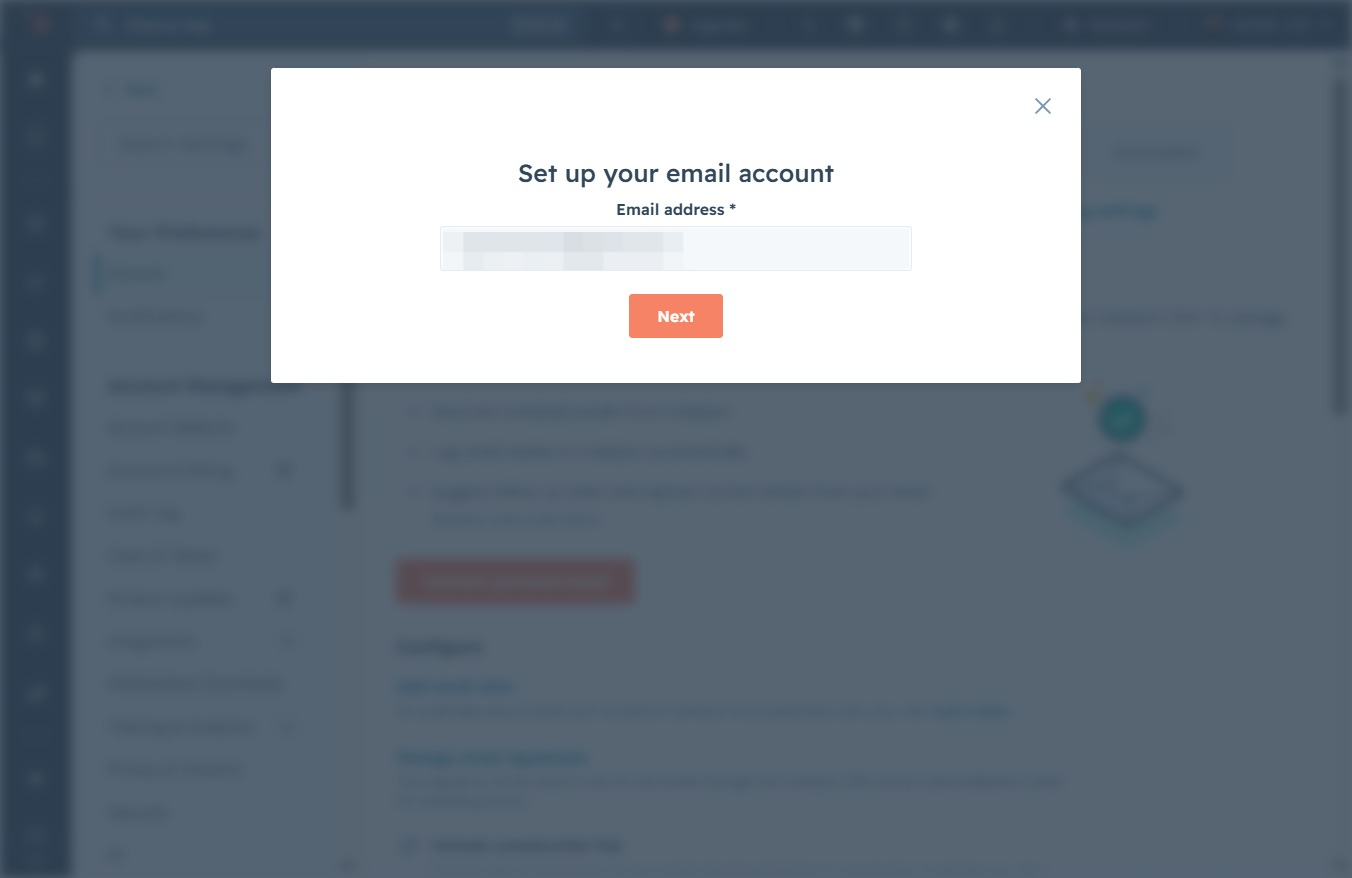
This action will initiate the process to link your Gmail account, allowing you to access your emails directly within the application.

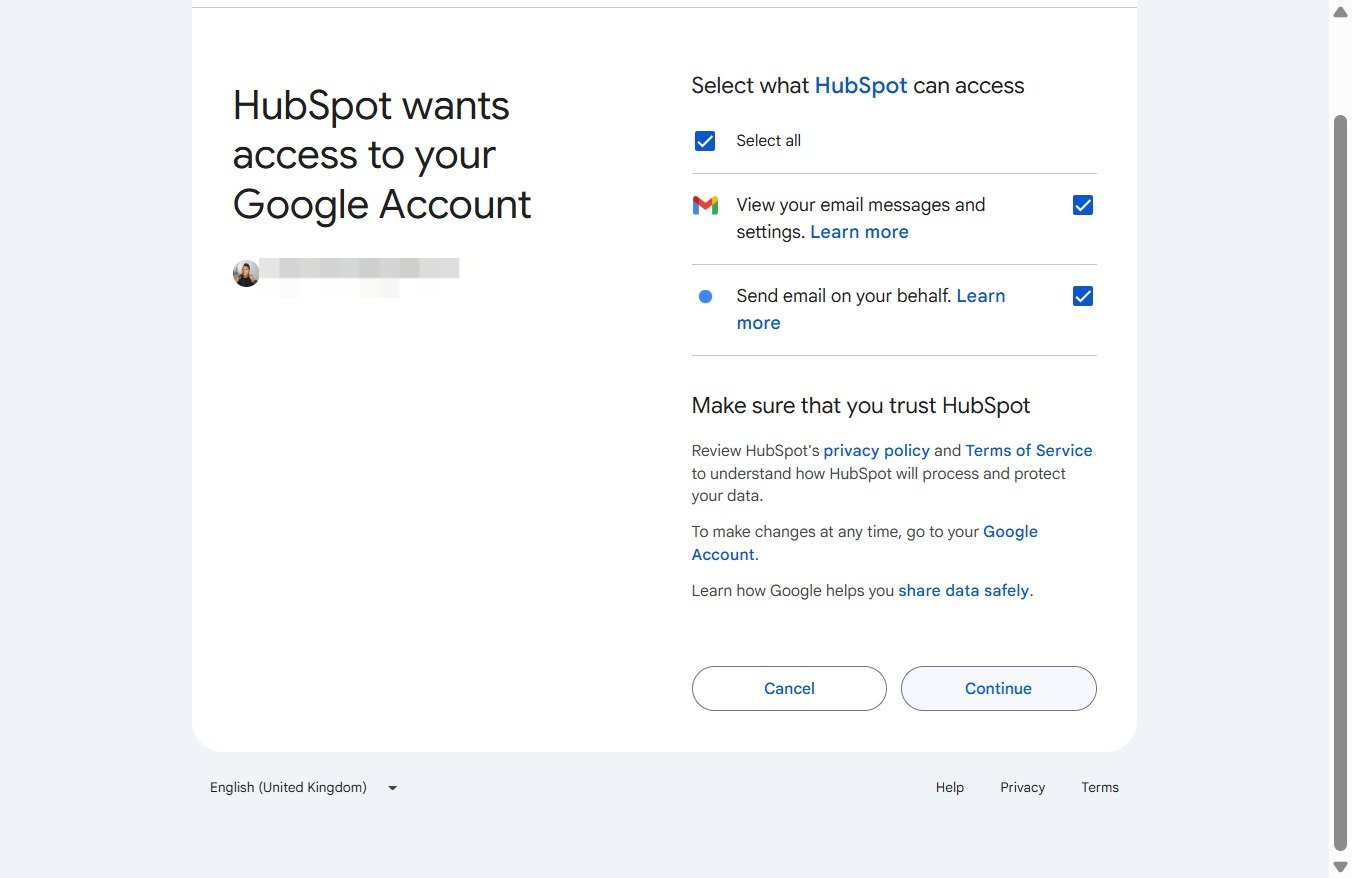
Clicking 'Continue' finalizes the connection of your Google account to HubSpot CRM, allowing integration for better management of your contacts and email correspondence.

Select the email associated with your Google account to proceed with signing into HubSpot. This will authenticate your access and direct you to the HubSpot dashboard.
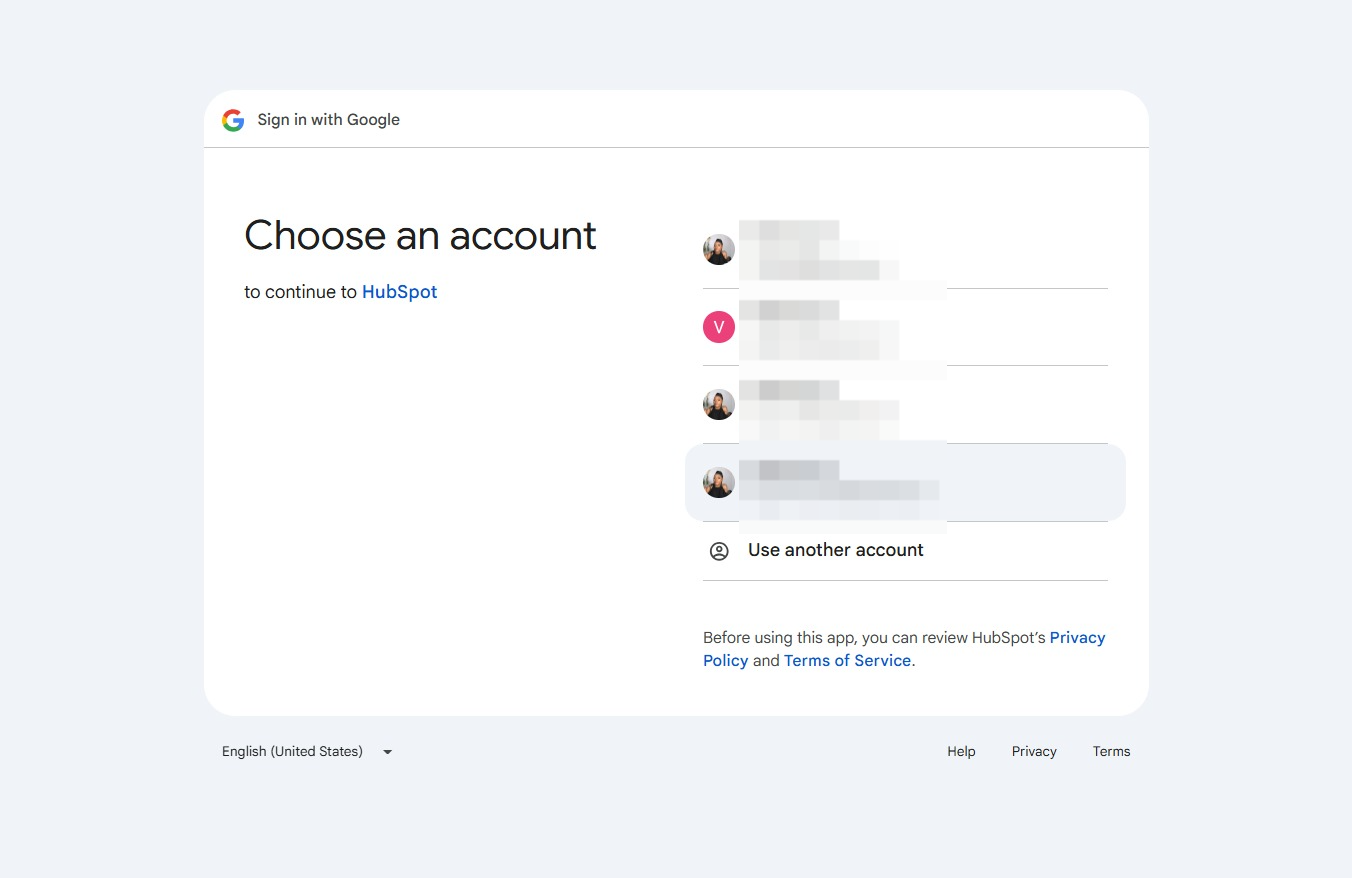
Proceed with signing into HubSpot by confirming access to your information. This step will allow HubSpot to retrieve the necessary details from your Google account.
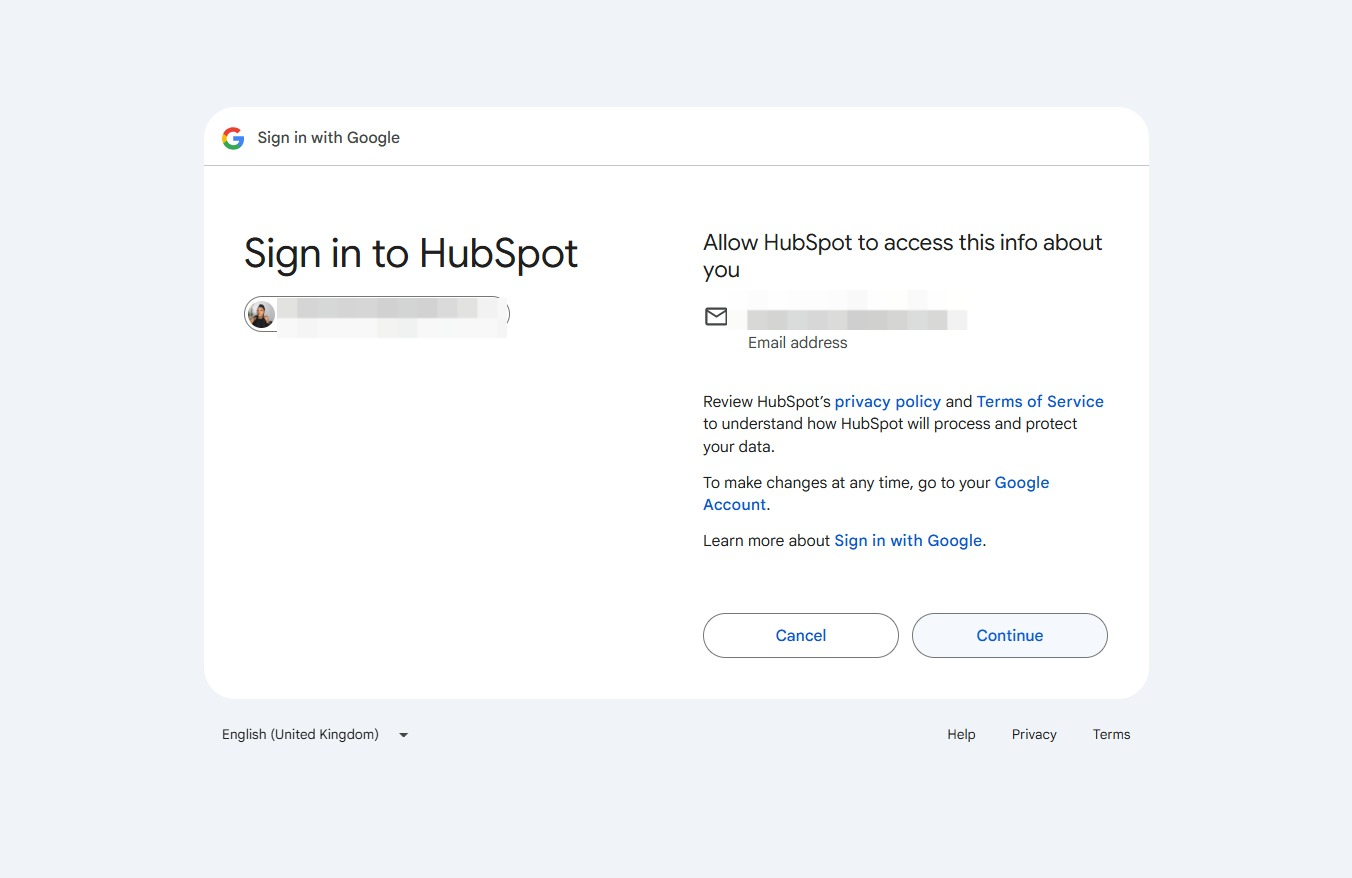
After clicking Continue, HubSpot will request the specified permissions to access your Google Account, enabling features such as viewing email messages and settings or sending emails on your behalf.

Proceed by clicking the Continue button to grant HubSpot access to your selected Google account permissions. This action will move you forward in the authorization process.