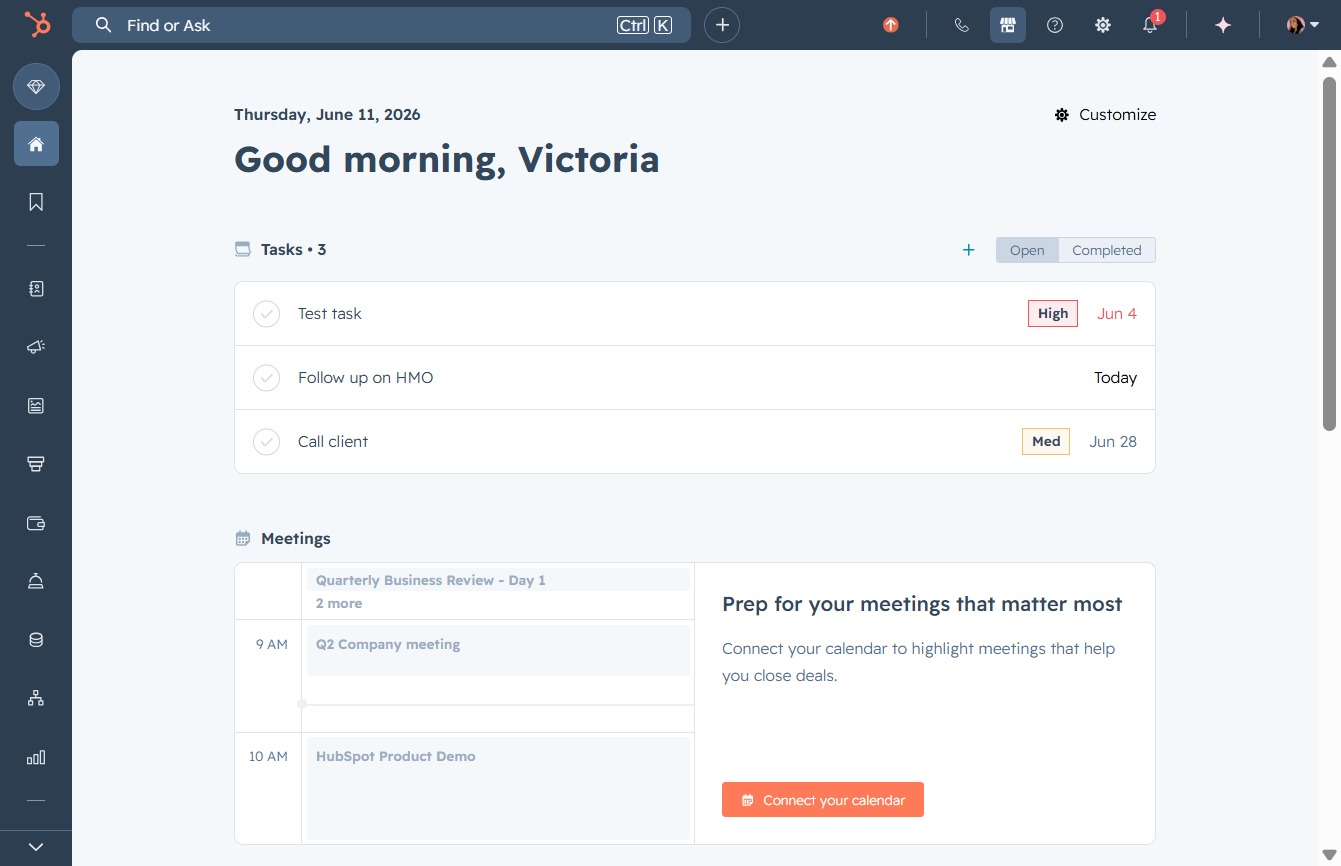
Click here to connect your calendar
Click this link to integrate your calendar with the application, allowing you to highlight important meetings and streamline your scheduling process.
Loading screenshot…
100%
Integrate Stripe with HubSpot to streamline payment processing and synchronize your financial data by connecting accounts, setting up industry specifics, and entering website and…
 viktoria
Integrate Stripe with HubSpot to streamline payment processing and synchronize your financial data by connecting accounts, setting up industry specifics, and entering website and product details.
Click this link to integrate your calendar with the application, allowing you to highlight important meetings and streamline your scheduling process.
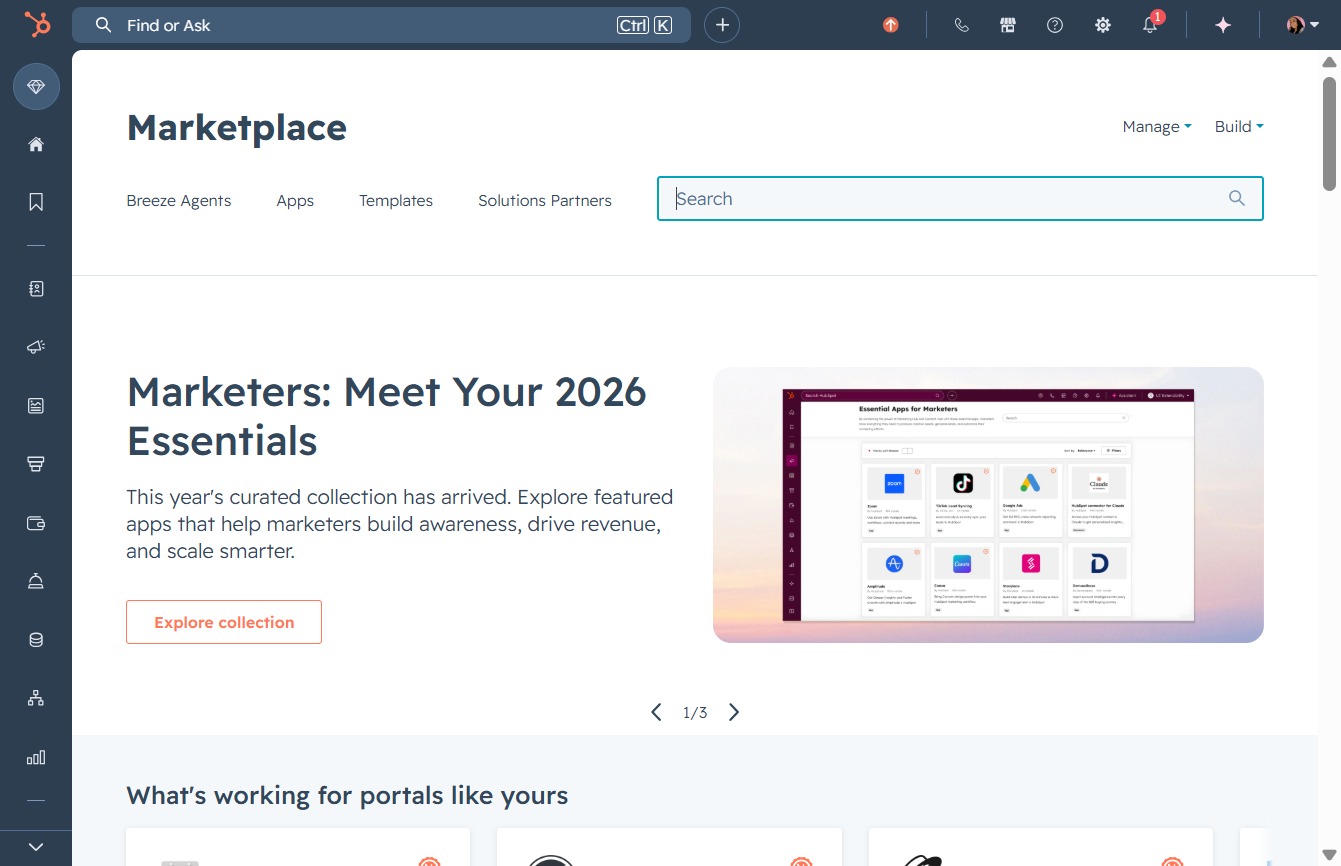
This will open the HubSpot Marketplace, allowing you to browse and install various apps and integrations to enhance your HubSpot functionalities.

Clicking this link will take you to a curated collection of featured apps designed to help marketers enhance their strategies and increase revenue.
Enter 'stripe' to find relevant apps and services in the marketplace. This action will display a list of options related to Stripe for selection.
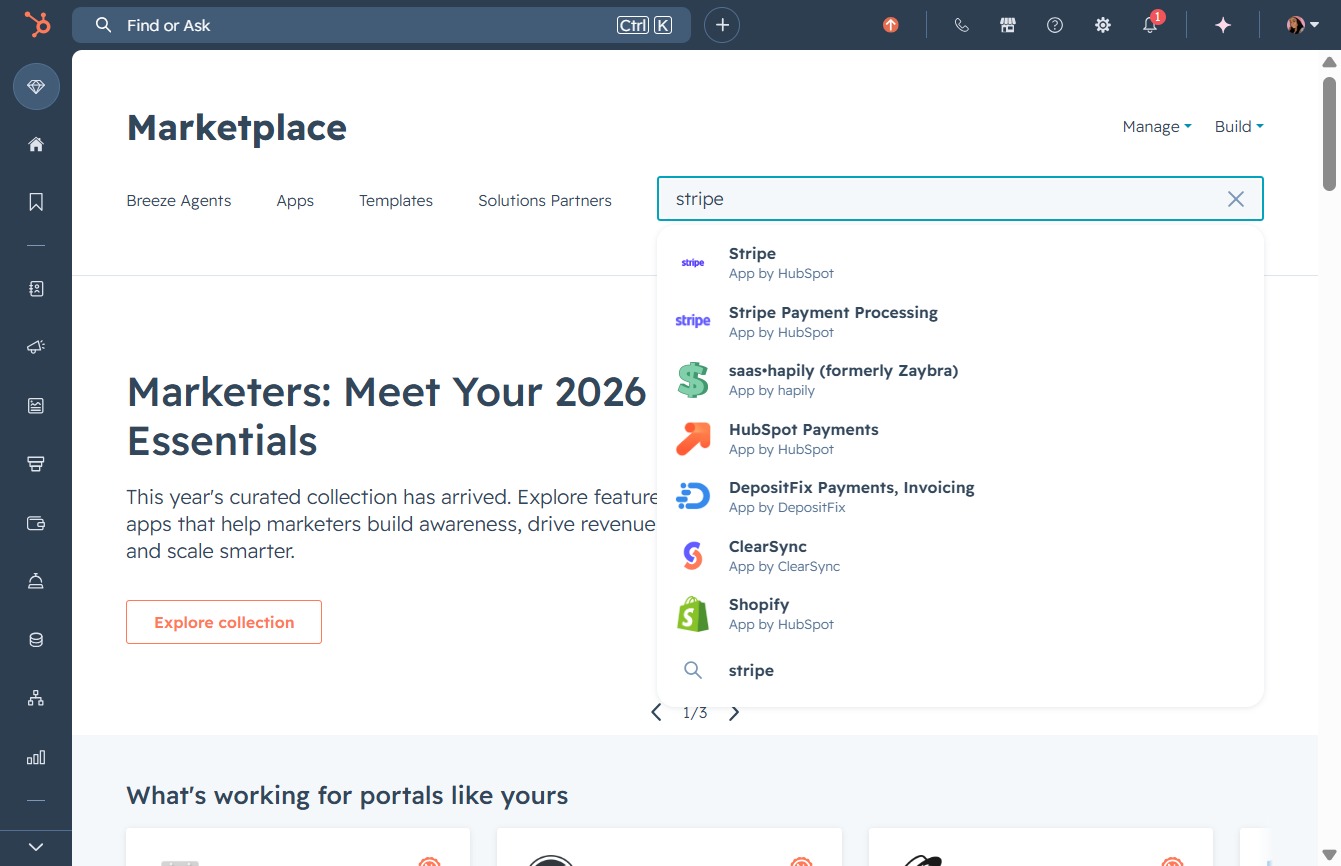
Clicking the Stripe option allows you to access payment settings, manage transactions, and view payment reports within the platform.

Clicking the Install button initiates the process to integrate the Stripe app with your HubSpot account, allowing you to sync your Stripe and HubSpot data efficiently.
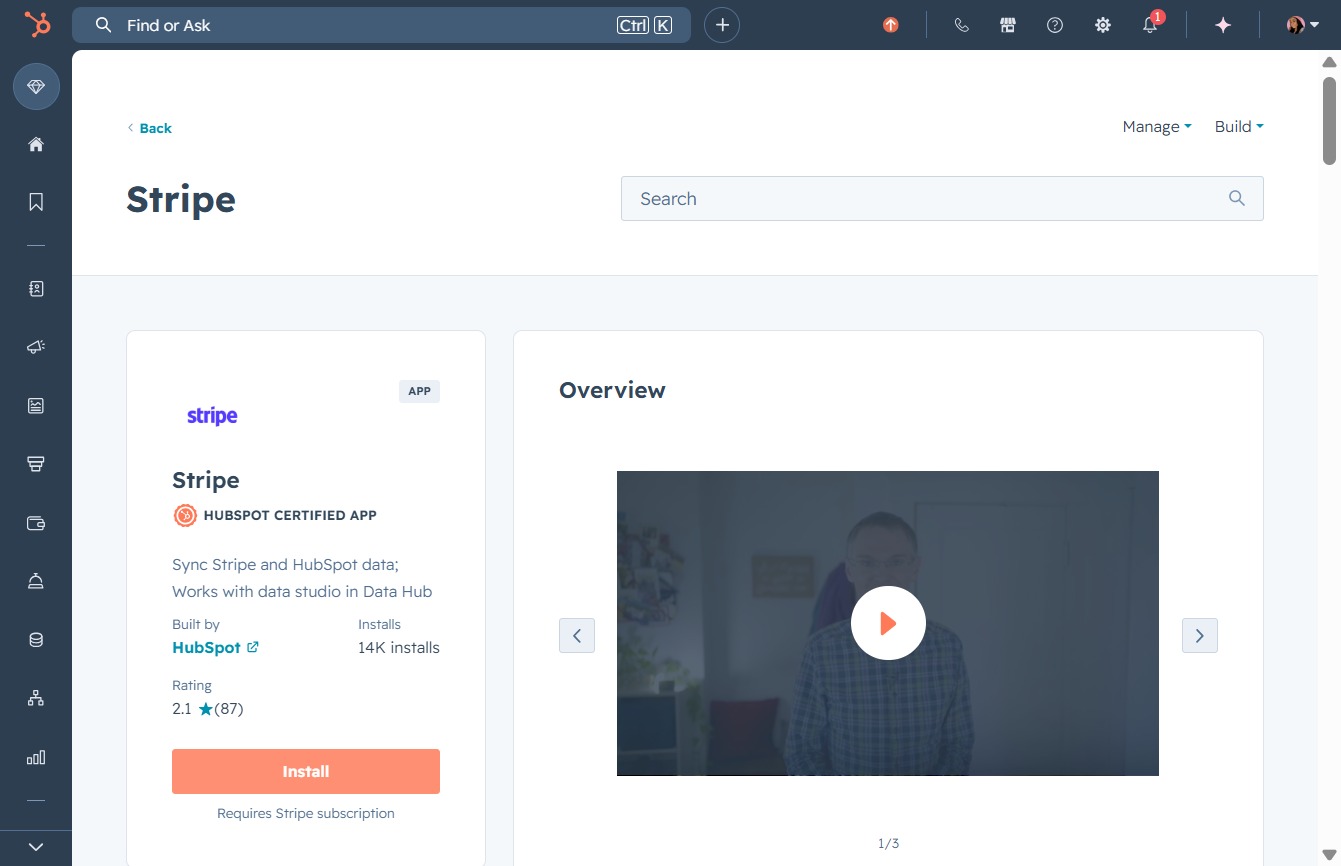
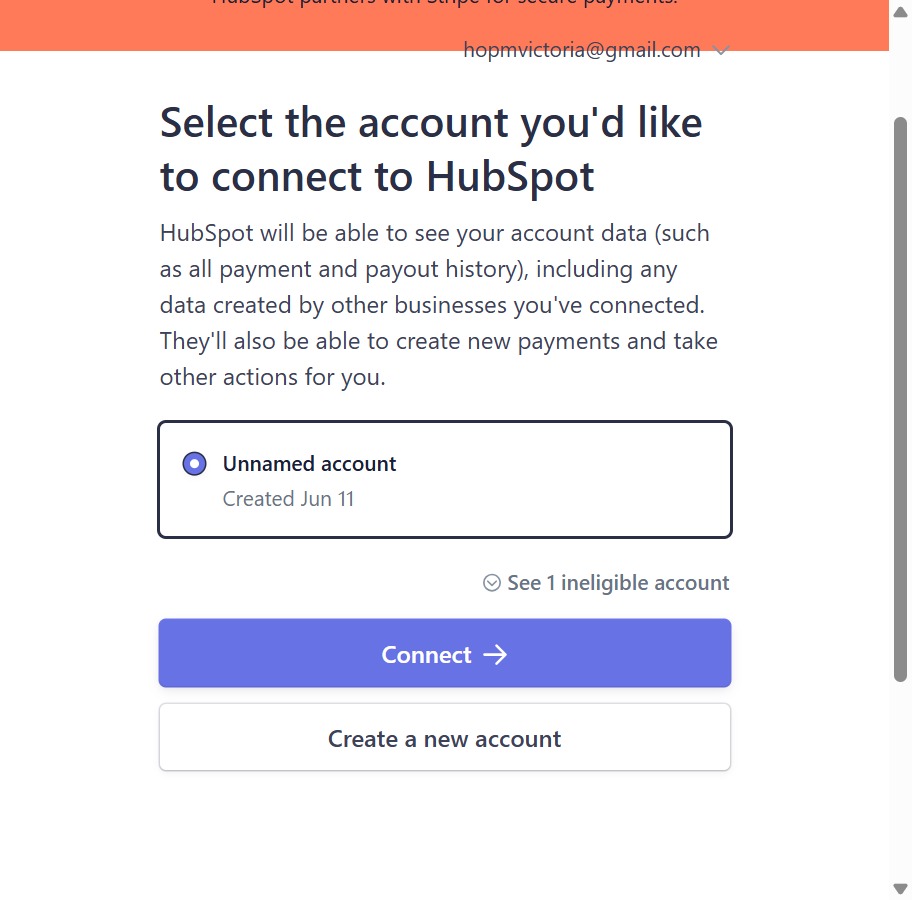
Initiate the process to connect your Stripe account. This will allow Stripe to share data with HubSpot, enabling synchronization of relevant financial information.

Clicking the Connect button will initiate the process of linking your selected account to HubSpot, allowing it to access your account data and manage payments.
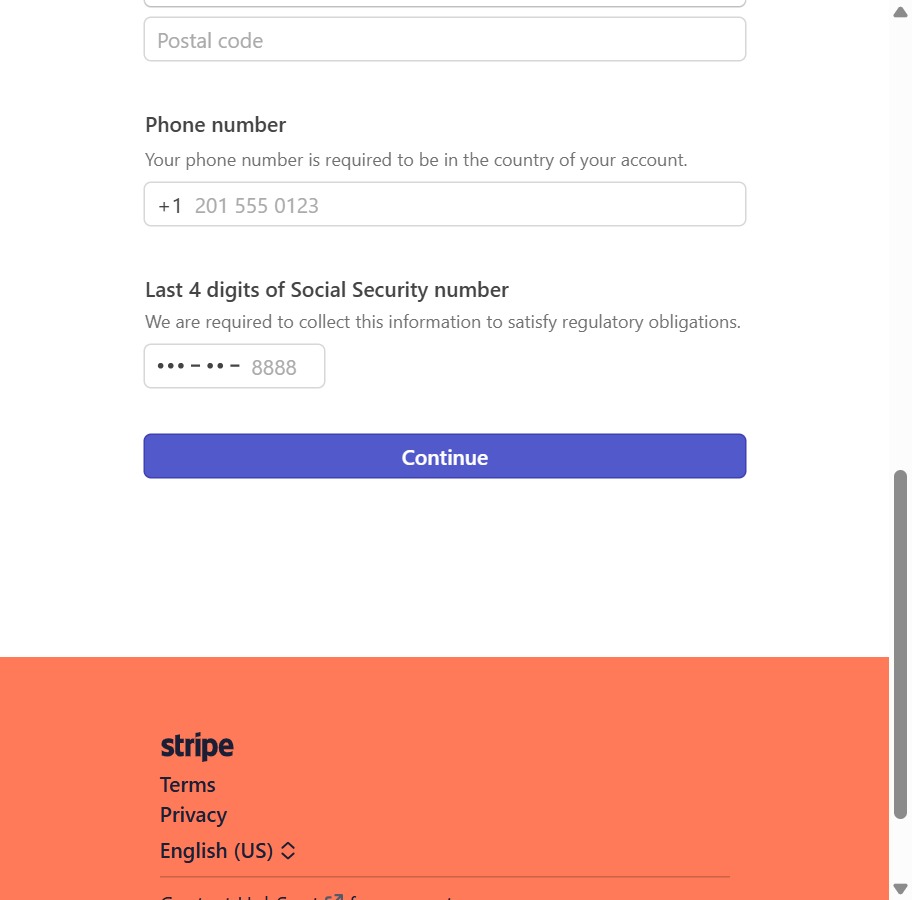
This action will proceed to the next step in the account setup process, allowing you to verify the entered information.
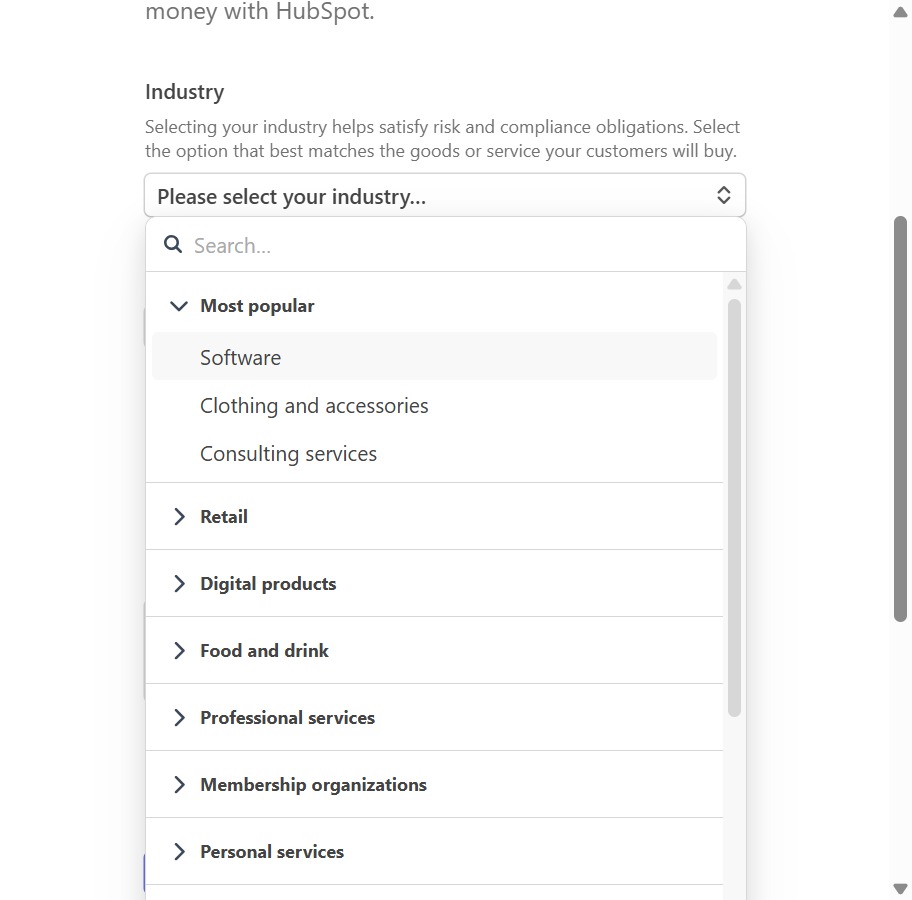
Choose the industry that aligns with your business to ensure compliance and risk management. This selection helps tailor your experience and enables HubSpot to provide relevant features.

Selecting 'Software' will categorize your business under this industry for better alignment with HubSpot's features and services.
Enter the URL of your website where you promote your products or services. Ensure the website provides relevant information, as generic URLs are not supported.
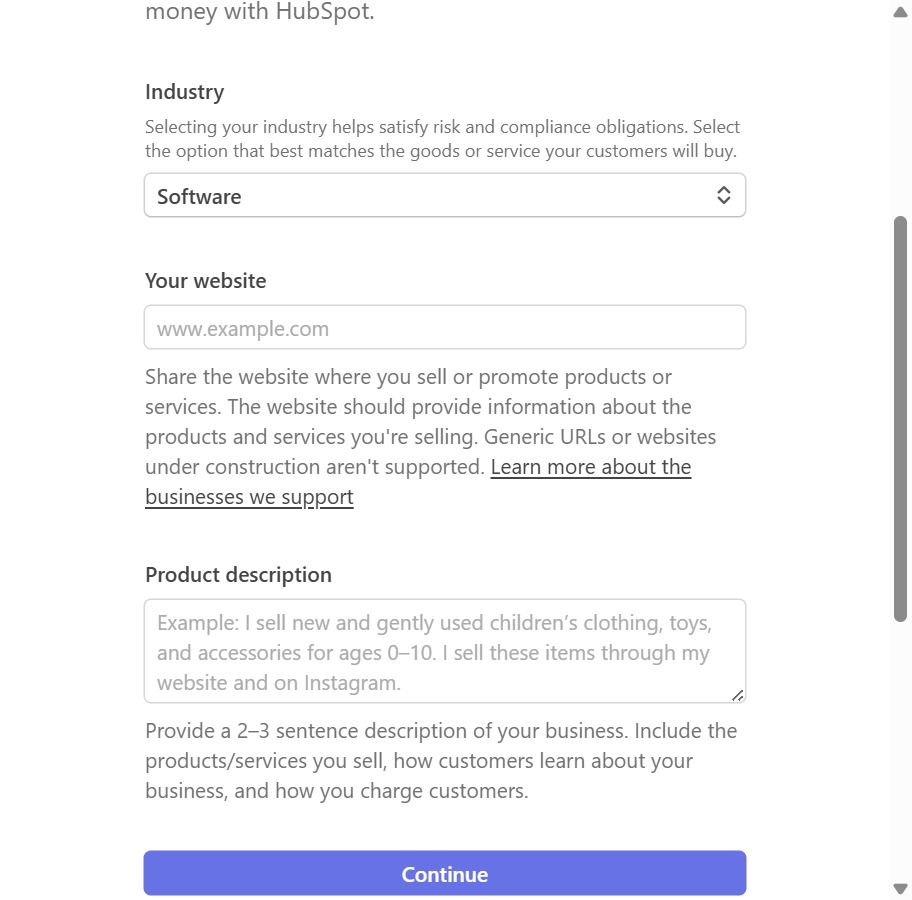
Enter "www.sample.com" in the 'Your website' field to provide the link to your business. This information helps HubSpot understand where you promote your products or services.
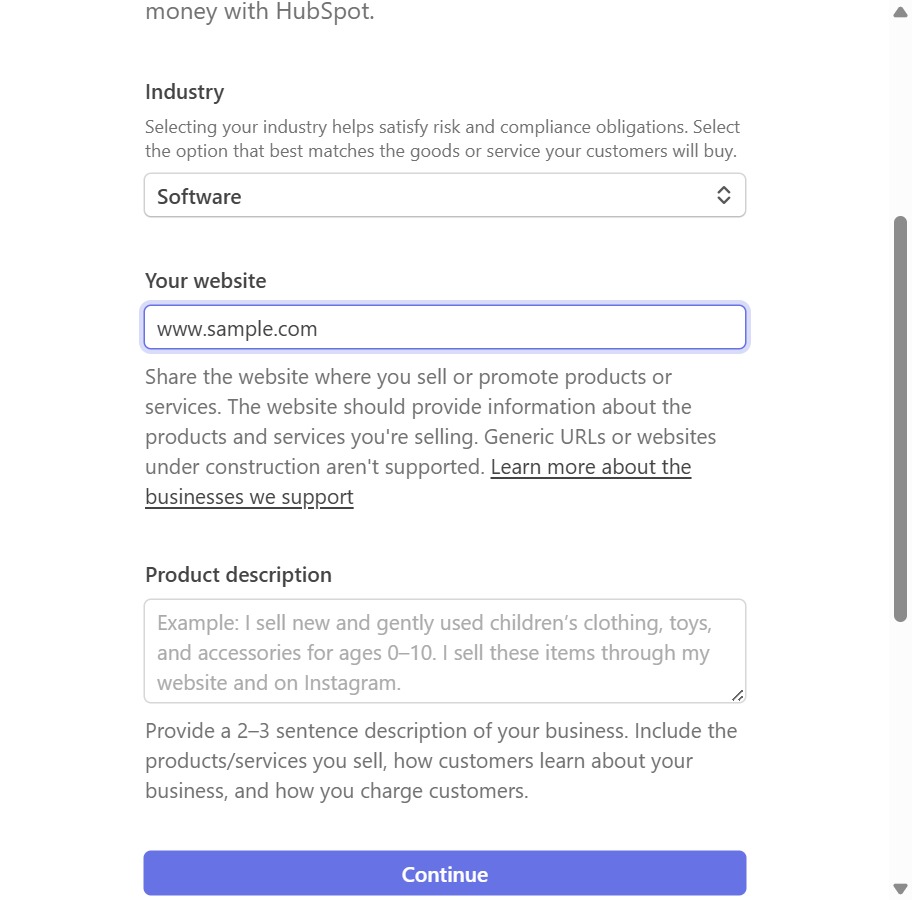
Clicking in the Product Description text area allows you to enter a brief description of your business, outlining how customers learn about your products and services.

Enter "software consultation" in the Product description textarea to provide a brief overview of your business. This will help potential customers understand your services better.
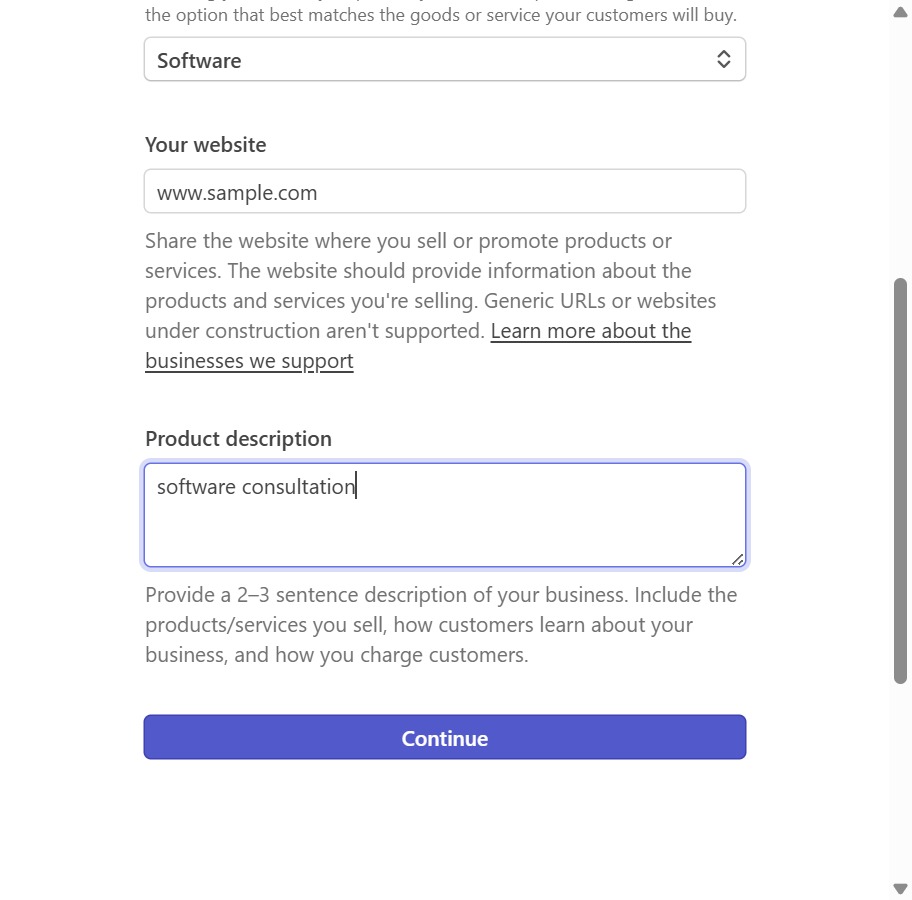
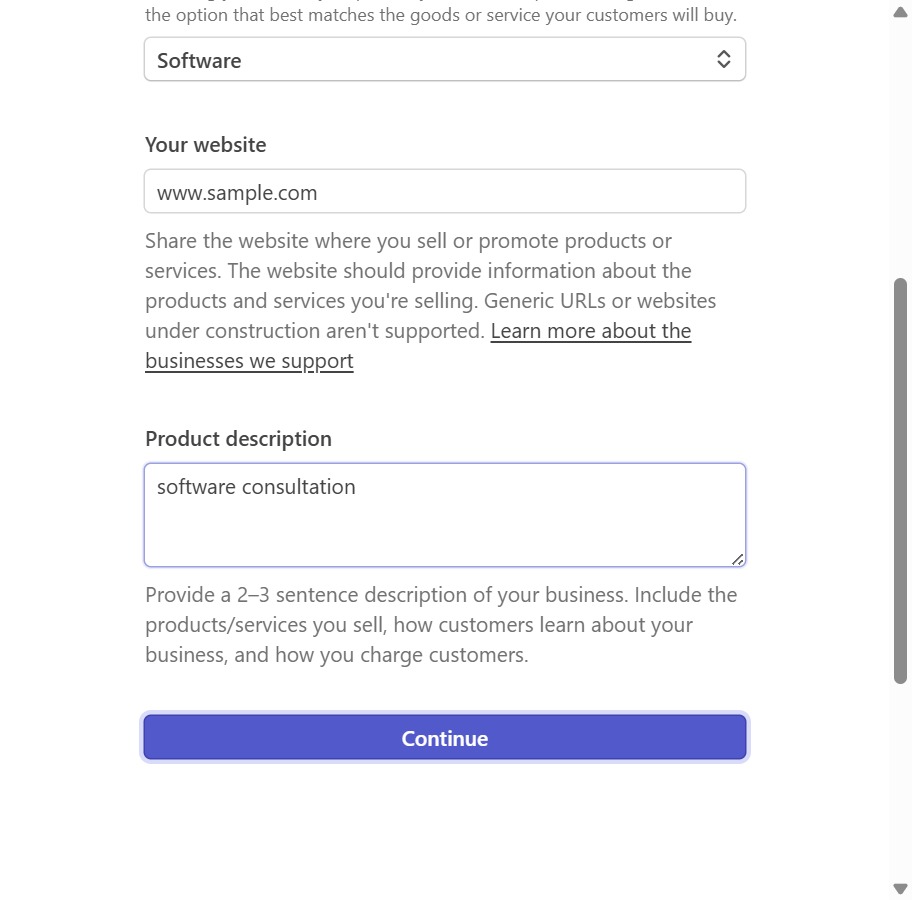
Clicking 'Continue' will proceed you to the next step in providing details about your business and its services, ensuring that all necessary information is submitted for further processing.
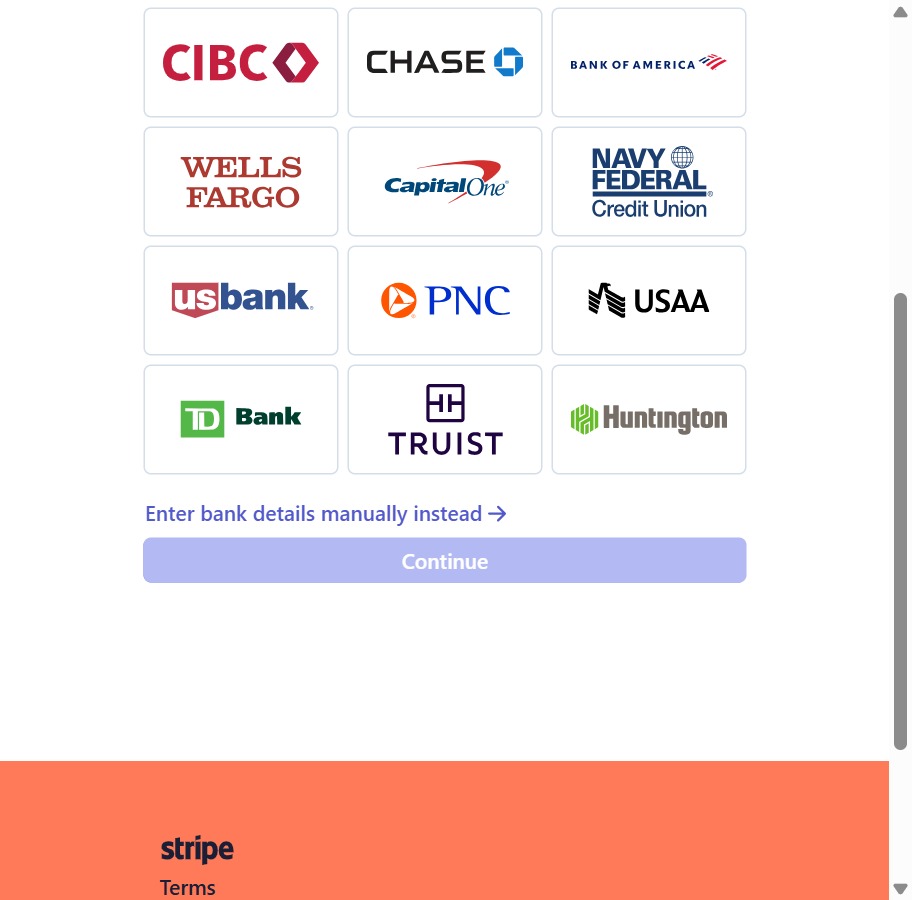
This link allows you to bypass predefined bank options and input your bank details manually for processing.