Click the 'Click here' link
This action will trigger a specific function related to the current interface, allowing you to access additional features or settings.
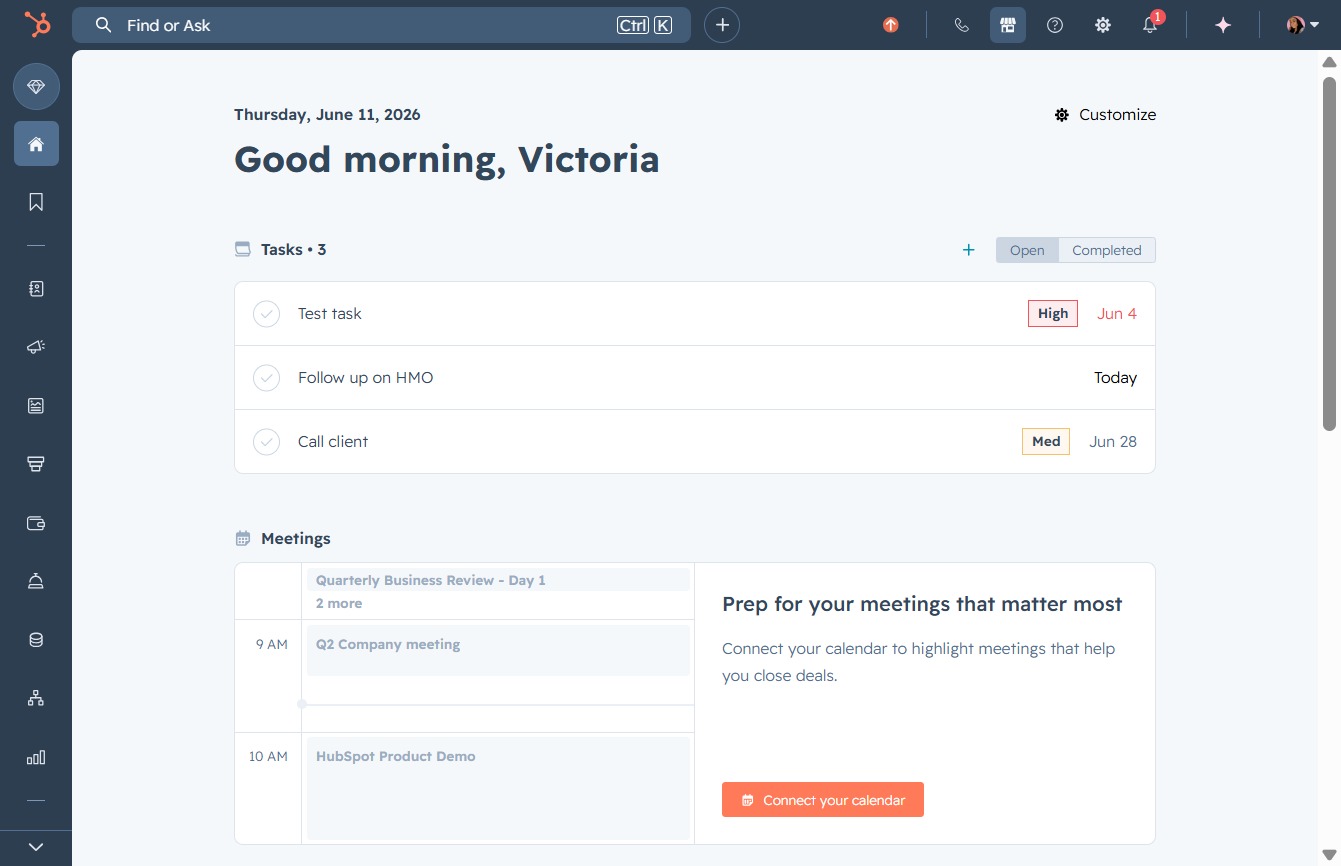
Loading screenshot…
100%
Connect QuickBooks Online to HubSpot to synchronize your financial data seamlessly, enabling better integration and management of your contacts and transactions across both…
 viktoria
Connect QuickBooks Online to HubSpot to synchronize your financial data seamlessly, enabling better integration and management of your contacts and transactions across both platforms.
This action will trigger a specific function related to the current interface, allowing you to access additional features or settings.
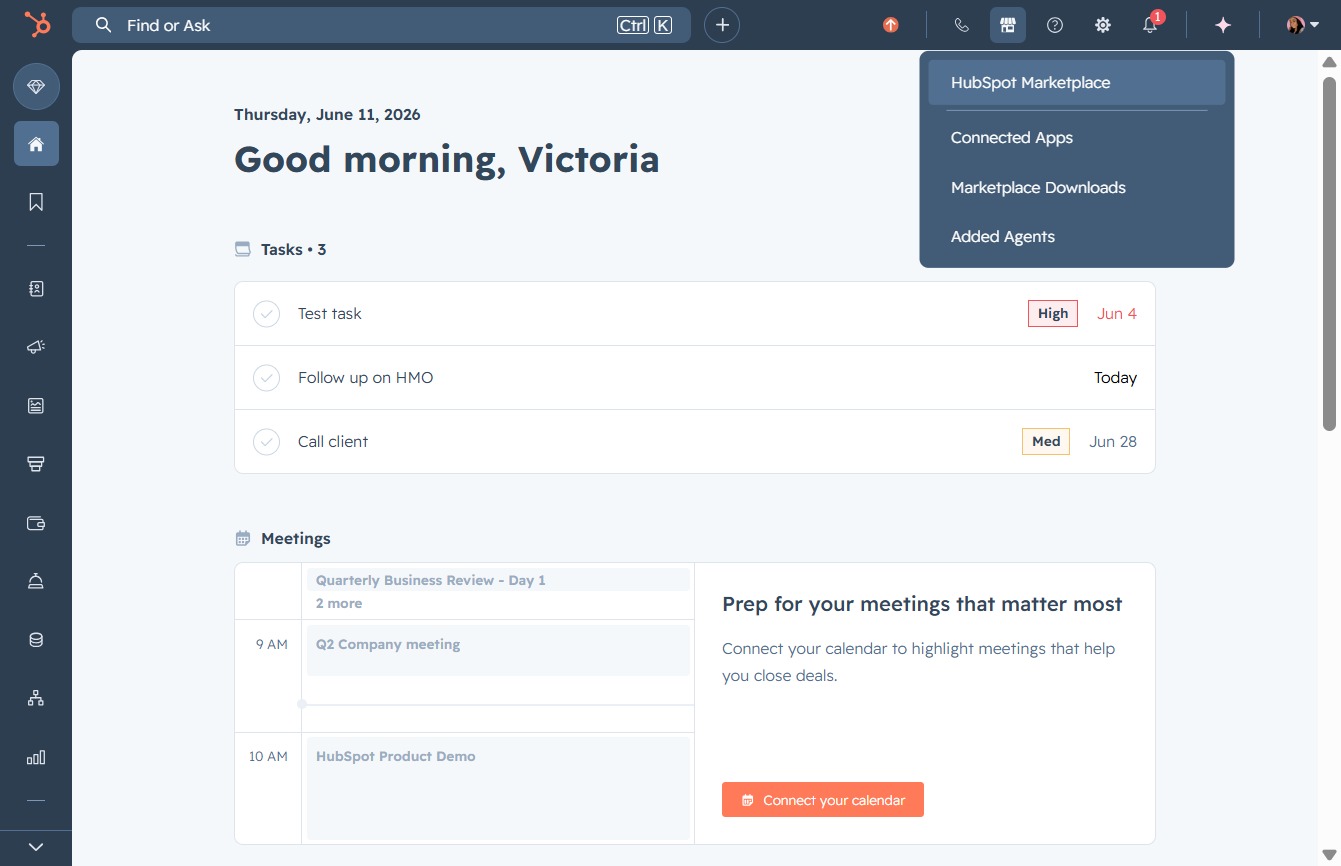
This action takes you to the HubSpot Marketplace where you can browse and explore integrations and third-party applications available for your account.
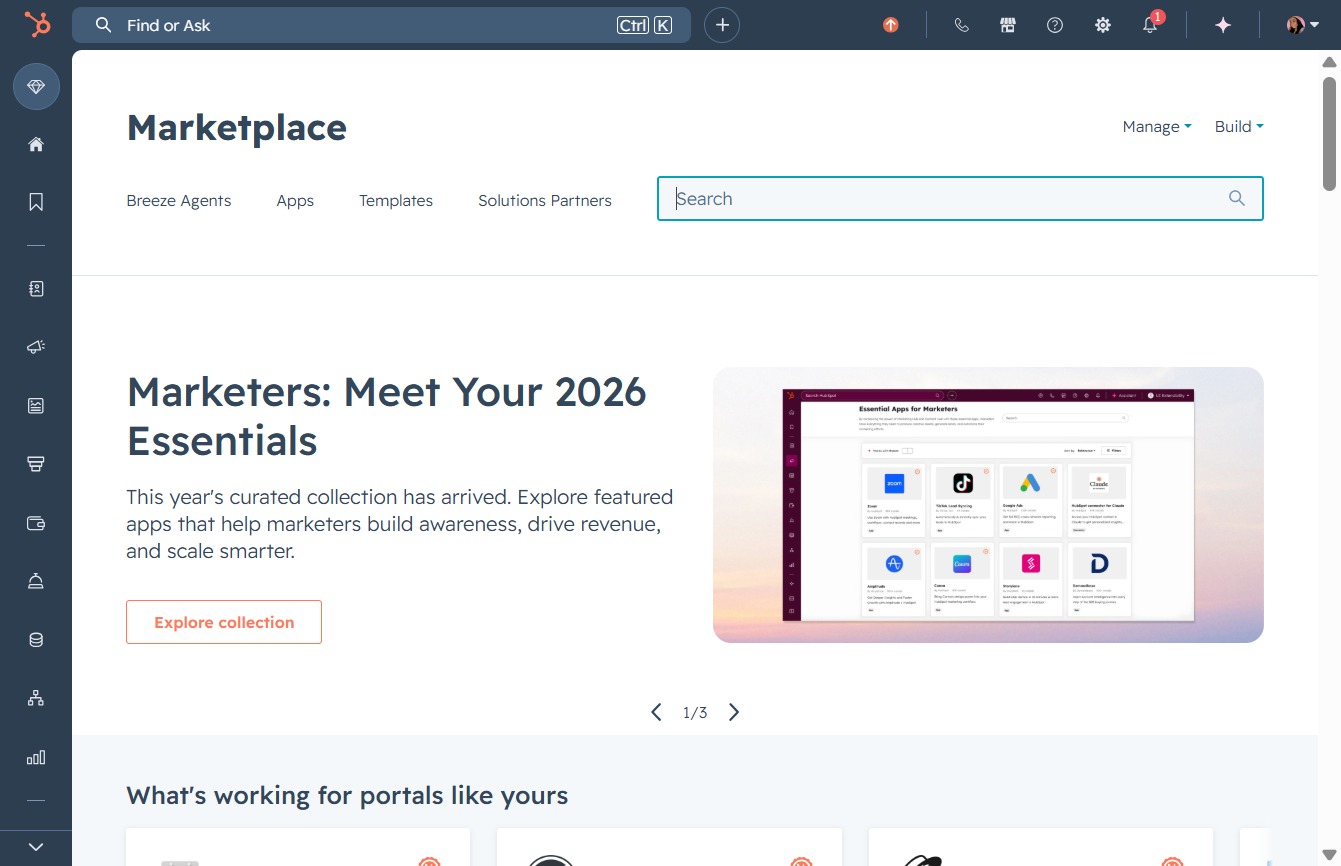
Clicking this button will take you to a curated selection of featured apps designed to enhance your marketing efforts, driving revenue and building awareness.
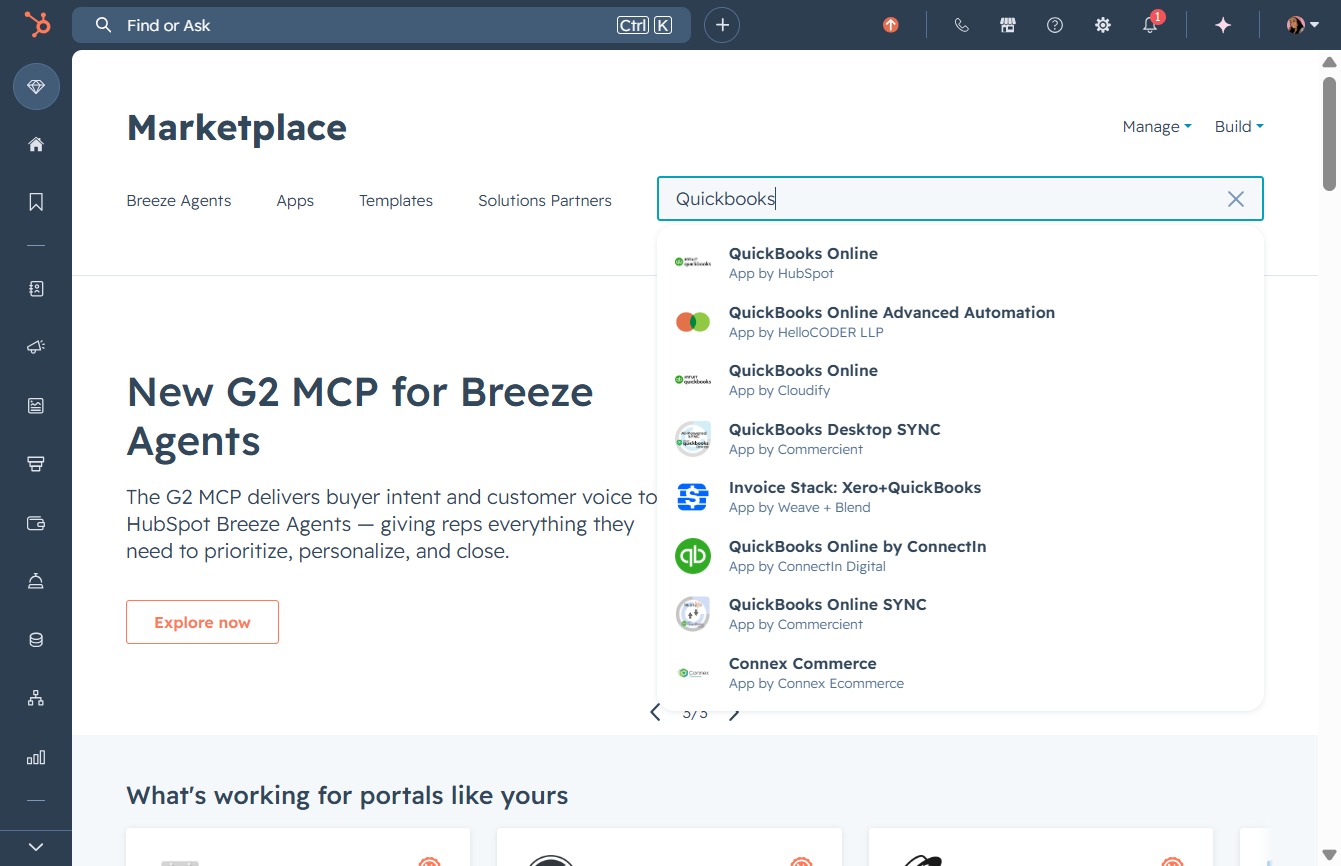
Entering 'Quickbooks' in the search bar will display relevant Quickbooks applications and integrations available in the Marketplace, helping you find the tools you need.
Clicking the QuickBooks Online link will take you to the main dashboard where you can manage your financial data, access reports, and handle transactions.
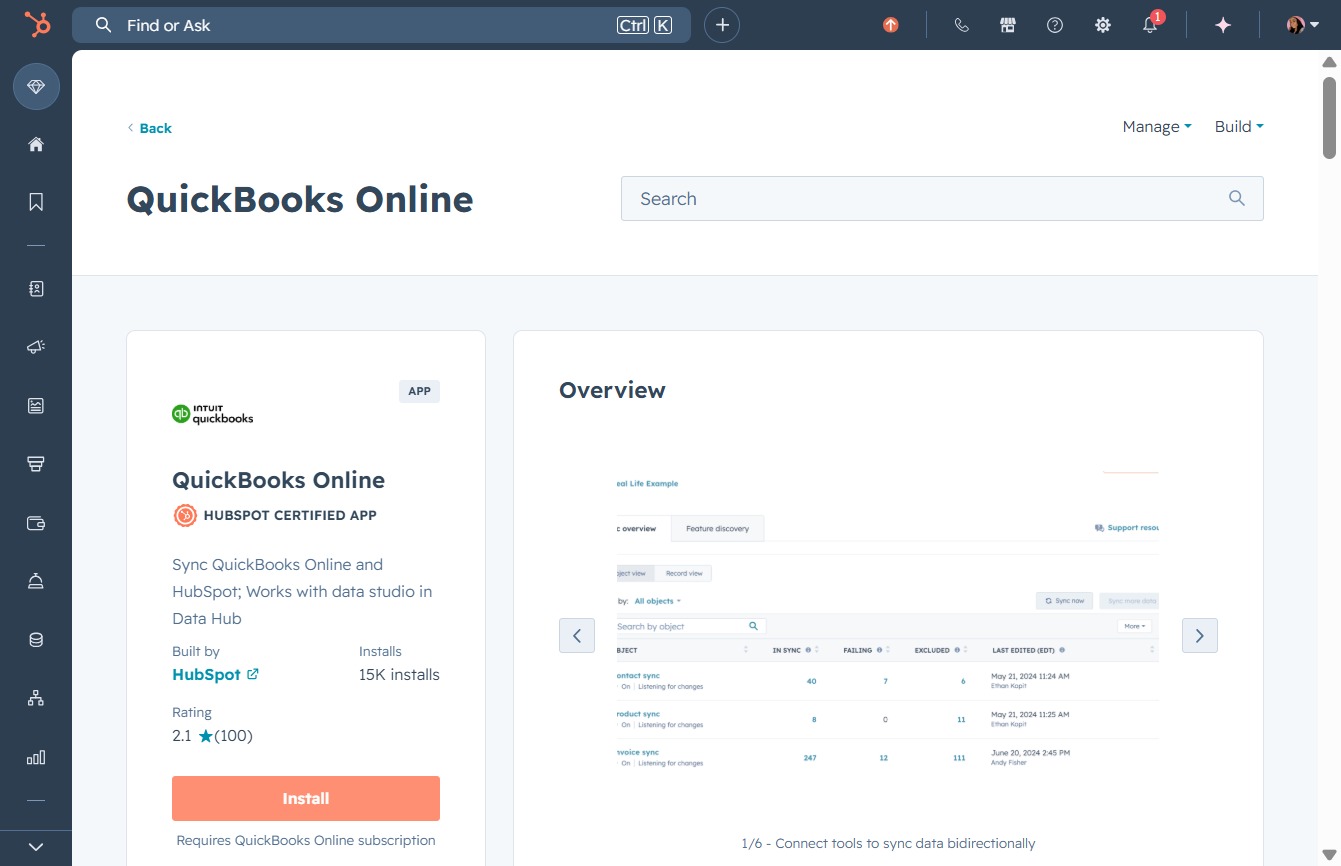
This action initiates the installation process for the QuickBooks Online integration, allowing you to sync data between QuickBooks and HubSpot.
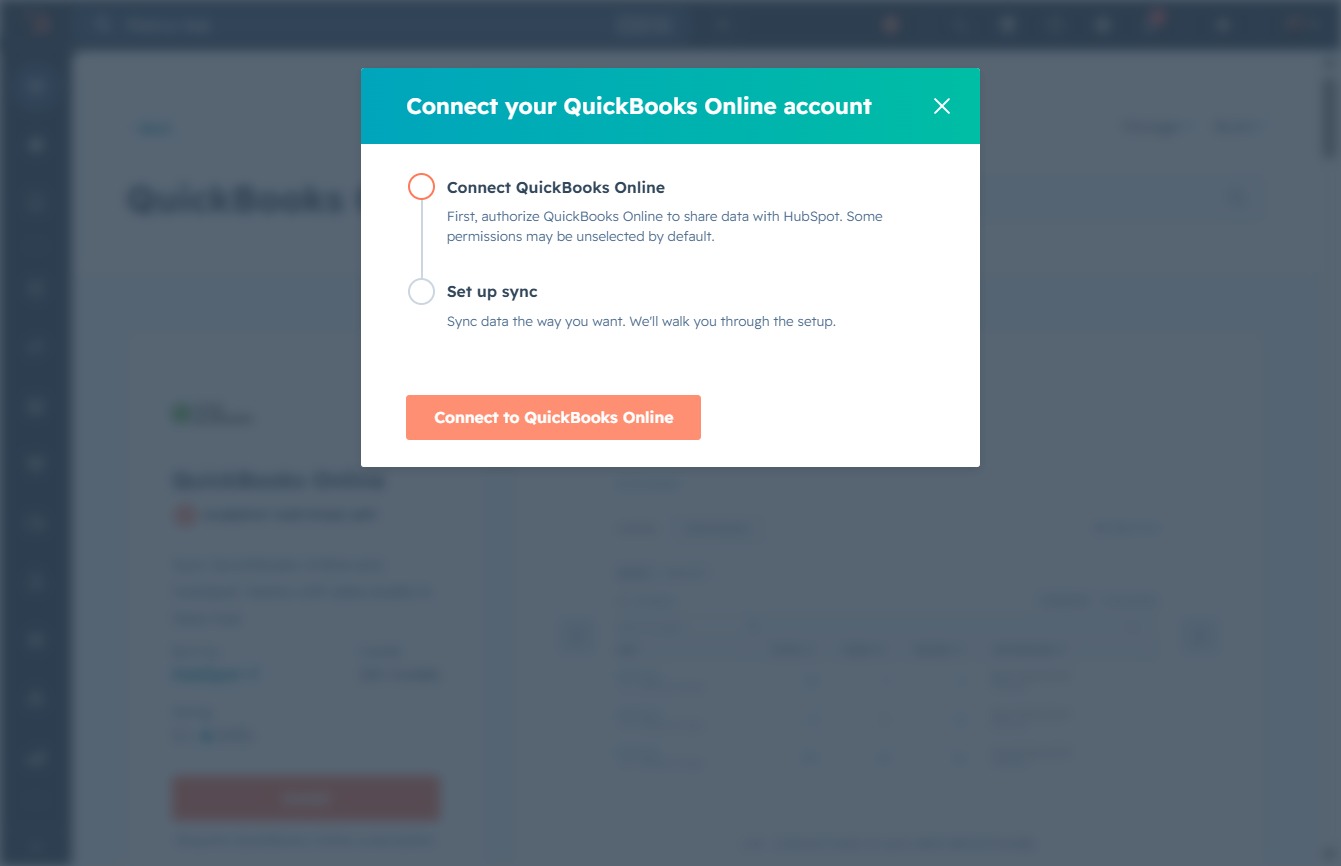
This action initiates the process to authorize QuickBooks Online, enabling data sharing between QuickBooks and HubSpot. Make sure to follow the on-screen instructions to complete the connection.
This action will initiate the process of creating a QuickBooks Online company, allowing you to connect it with HubSpot.
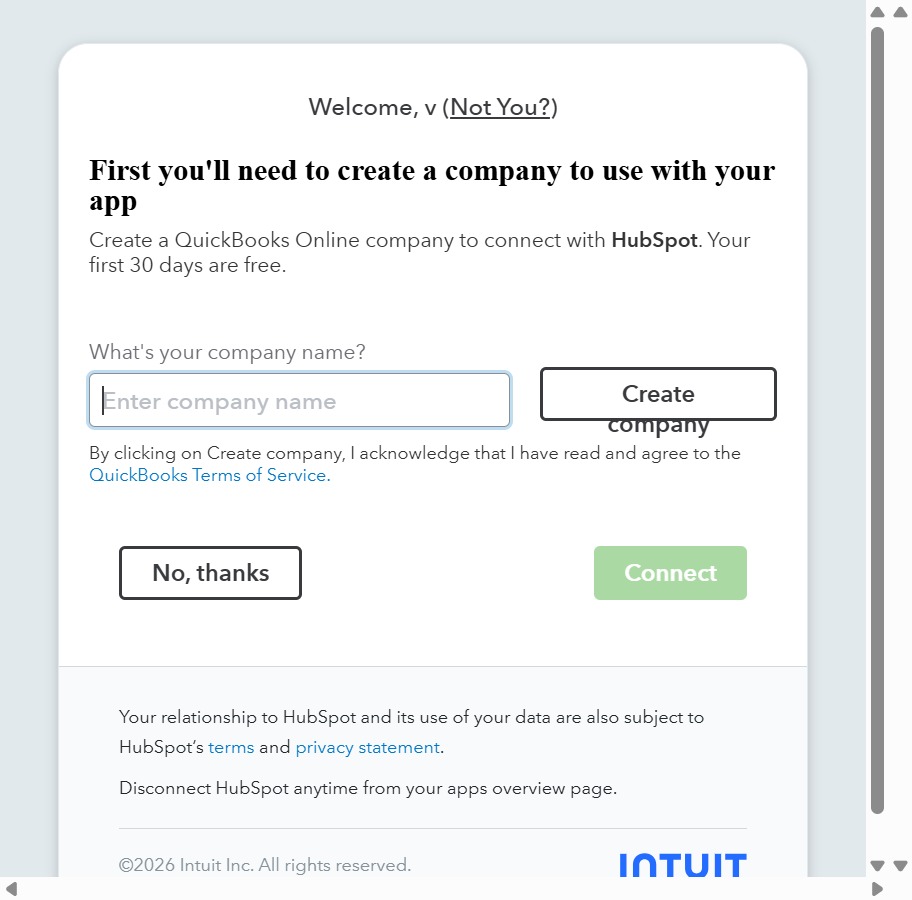
Enter 'Concept2' into the 'What’s your company name?' input field to proceed with creating your QuickBooks Online company connected to HubSpot.

This action will initiate the process of creating a QuickBooks Online company, allowing you to connect it with HubSpot for further integration.
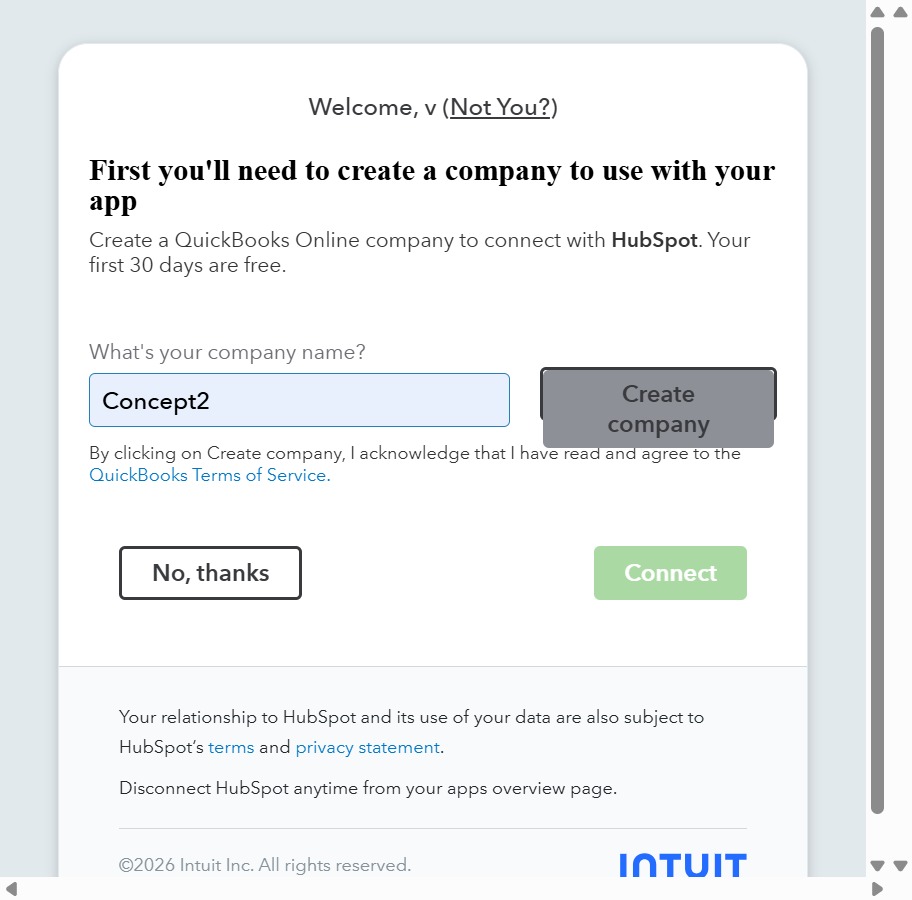
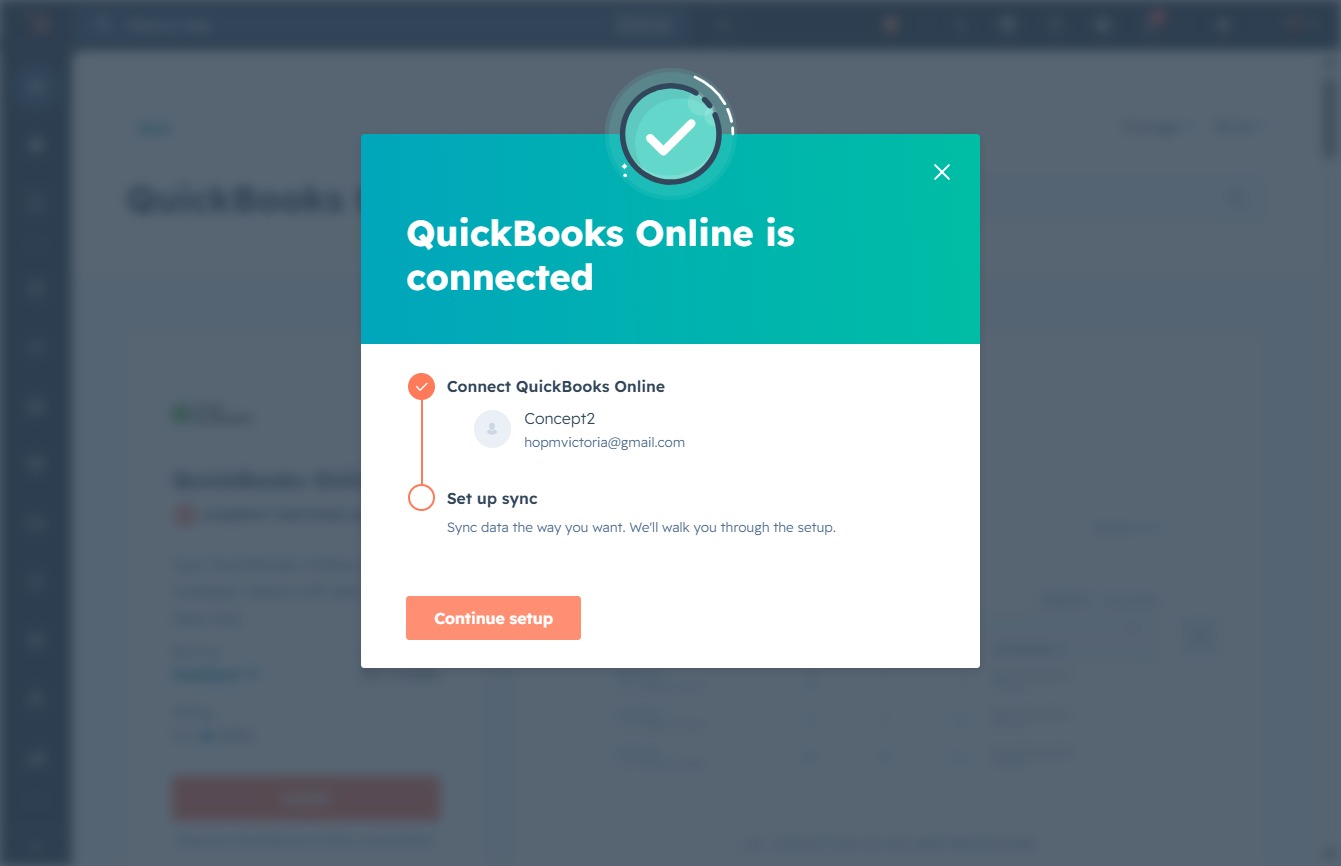
By clicking Connect, you will authorize QuickBooks to share your data with HubSpot, allowing for data integration between the two platforms.

This action will proceed to the next step in setting up your QuickBooks Online connection. Follow the prompts to complete the setup process.
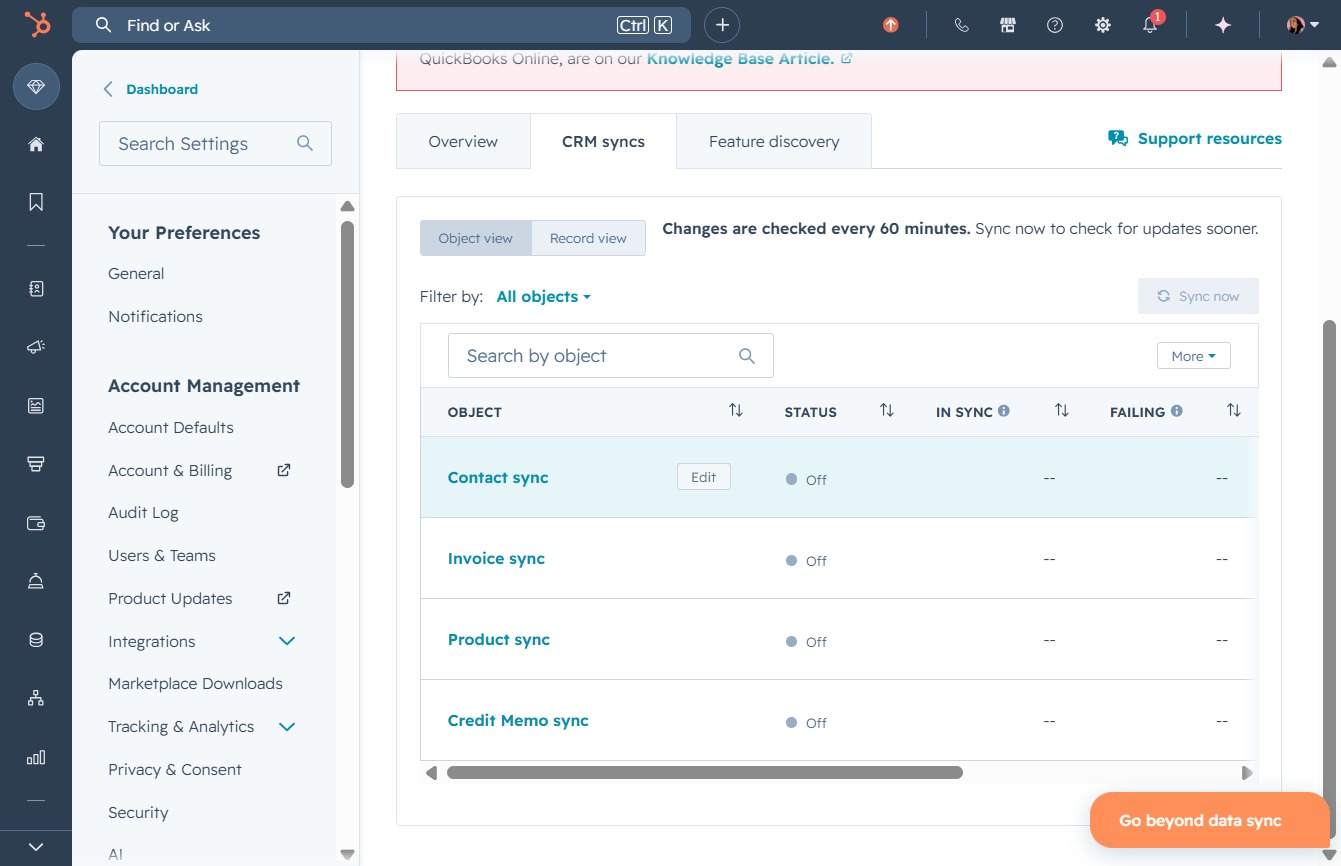
Clicking 'Edit' allows you to modify the sync settings for the selected object in your CRM sync preferences. Make necessary adjustments to ensure your data syncs correctly.
After clicking this button, you'll move on to the next step of configuring the sync settings between QuickBooks Online and HubSpot Contacts.
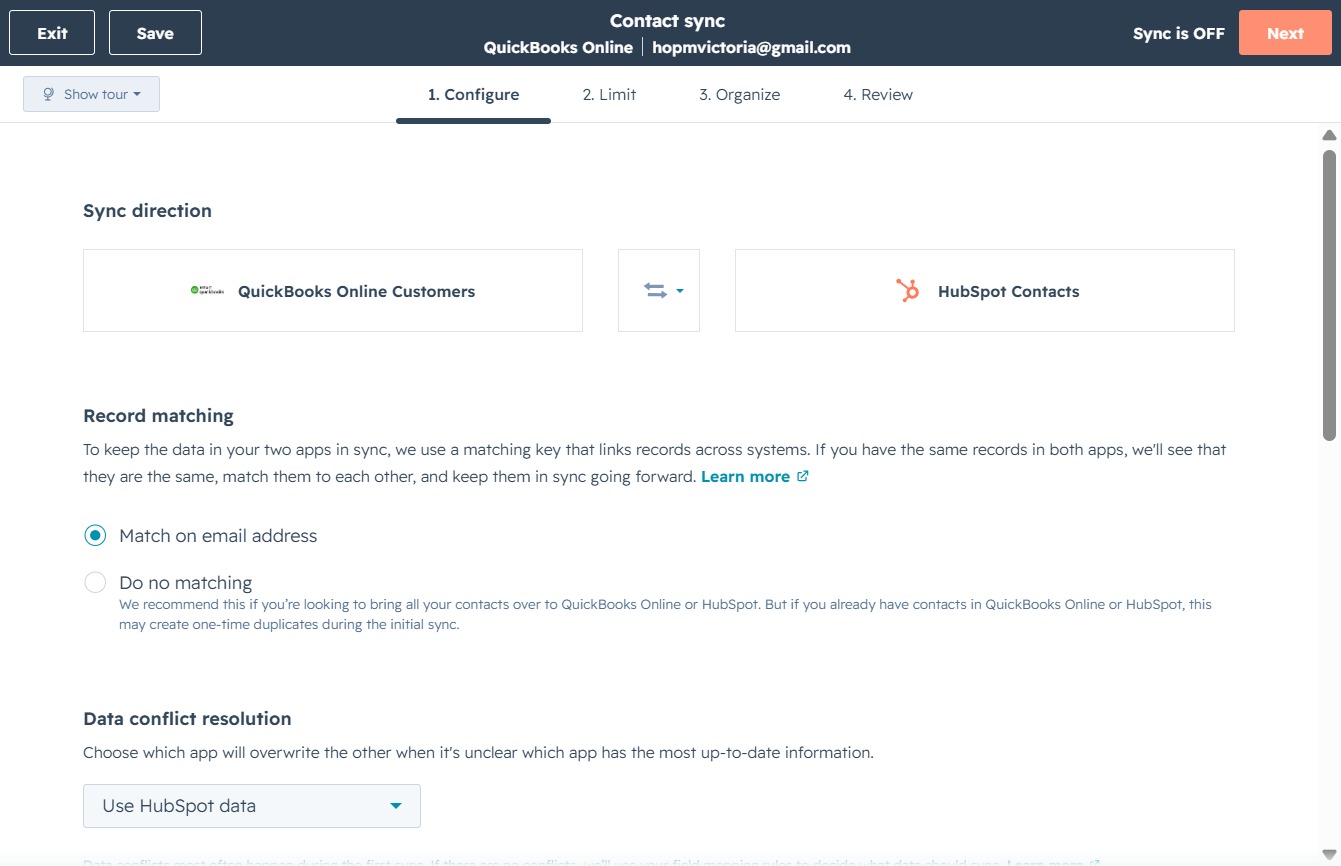
Clicking the Next button proceeds to the final review step for your contact sync settings between QuickBooks Online and HubSpot.

By clicking the Review tab, you'll proceed to the final step of the contact sync process where you can confirm your settings and ensure everything is correct before completing the synchronization.

This action will save your current settings for syncing QuickBooks Online and HubSpot contacts, ensuring that your data remains up-to-date.
