Click the Project 1 link
This action will take you to the detailed view of Project 1, where you can access project content, updates, and collaborate with your team.

Loading screenshot…
100%
In this how-to guide, you'll learn how to configure space settings for your project in Confluence, including managing permissions, editing space details, and customizing user…
 viktoria
In this how-to guide, you'll learn how to configure space settings for your project in Confluence, including managing permissions, editing space details, and customizing user status options. Follow the step-by-step instructions to effectively set up and manage your project's space for optimal collaboration.
This action will take you to the detailed view of Project 1, where you can access project content, updates, and collaborate with your team.
Clicking the 'More actions' button opens a menu with additional options related to managing the project, allowing you to perform actions like editing, sharing, or configuring settings.

Access the Space settings menu to manage configurations for the selected space, such as permissions and features.

This section provides an overview of the current space's settings, including space admins and access permissions. You can manage role assignments and view overall space details here.

Clicking this link allows you to modify the space details for your selected project, including the name, key, and owner information.

Enter a unique identifier for your space in the Space key field. This key will be used to reference the space throughout Confluence.
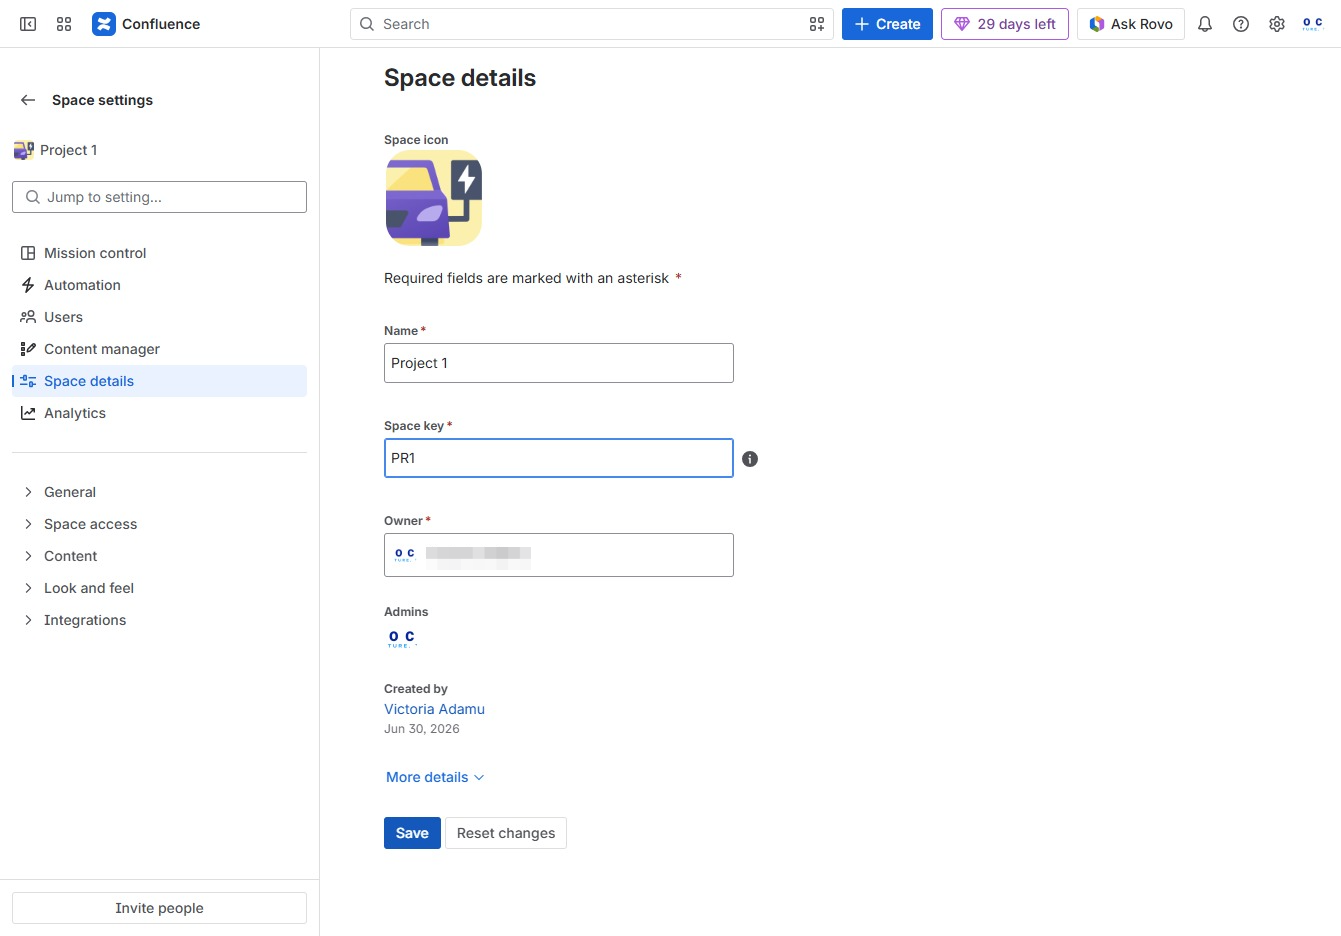
This will confirm and save the changes made to the space details for 'Project 1', including the name, space key, and owner information.

This action opens the General settings for the selected space, allowing you to manage options such as space details and permissions.

This section allows you to view and manage user avatars and their online status within the space. Clicking here will reveal options related to user visibility and customization.

Clicking 'Create a status' allows you to define a custom status that can be used in your content. This feature enables authors to tailor status options according to their workflow needs.
