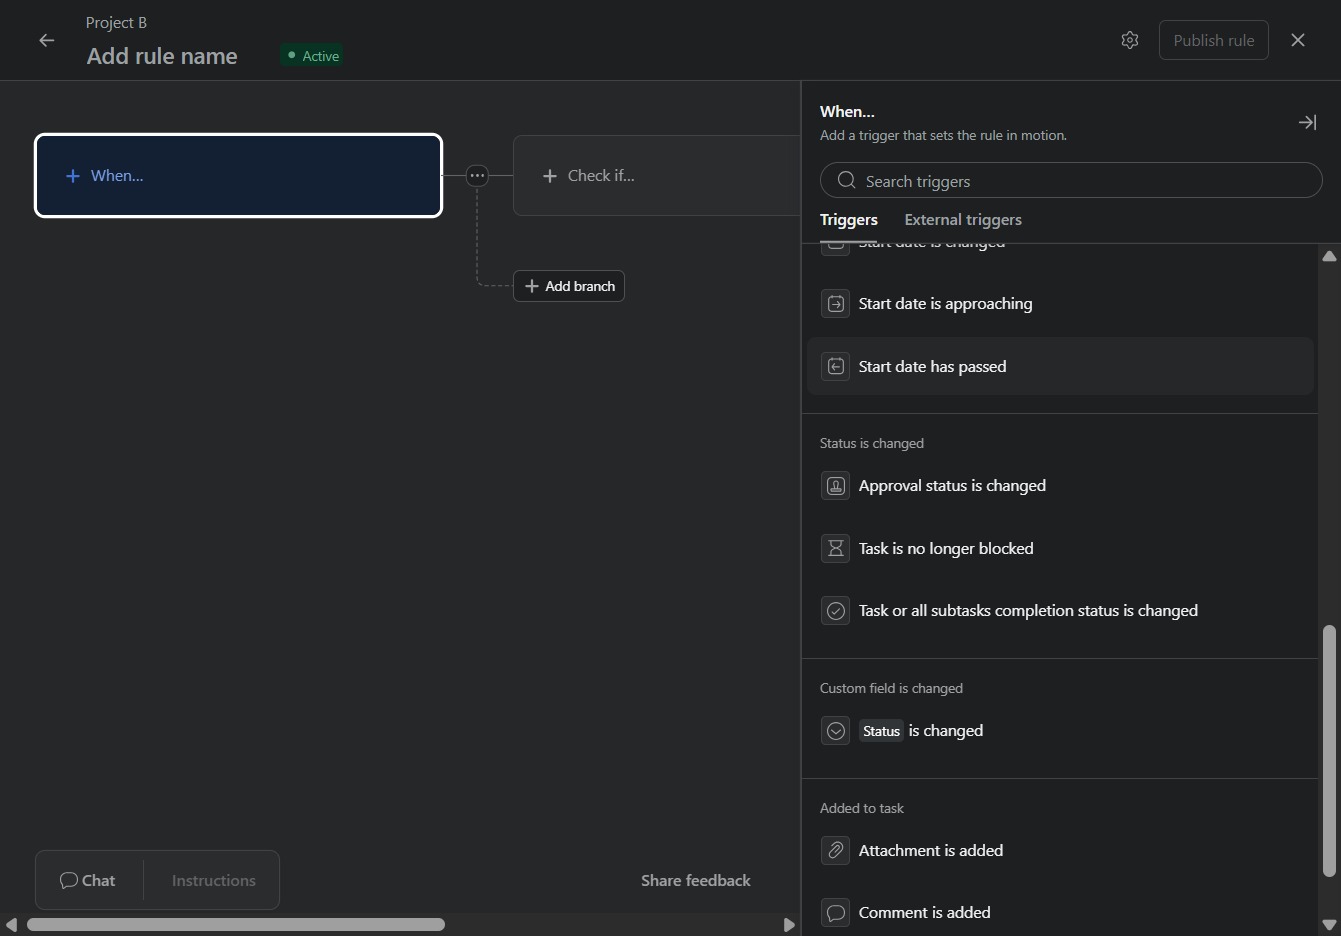
Click the Project B link
Clicking the 'Project B' link will navigate you to the specific tasks and details related to Project B, allowing you to manage and track its progress.

Loading screenshot…
100%
This how-to guide walks you through configuring rule triggers for your project, detailing each step from navigating project details to creating custom automation rules.
 viktoria
This how-to guide walks you through configuring rule triggers for your project, detailing each step from navigating project details to creating custom automation rules. Learn how to set initial conditions and configure triggers based on task deadlines to enhance project management efficiency.
Clicking the 'Project B' link will navigate you to the specific tasks and details related to Project B, allowing you to manage and track its progress.
By clicking the Customize option, you can access settings to personalize the project's appearance and functionality.
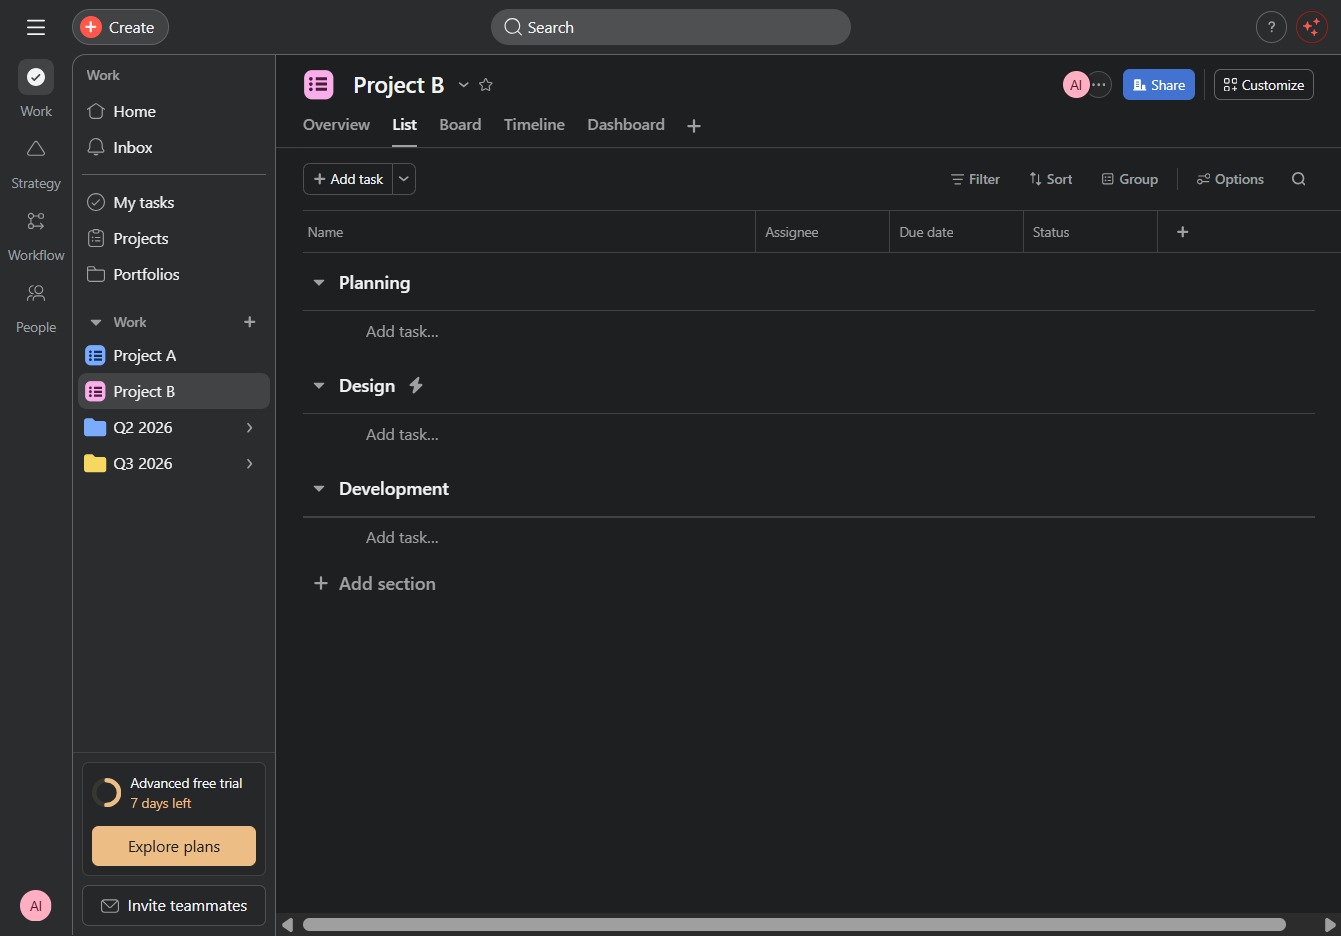
Clicking on the Rules1 section allows you to view and manage the specific rules associated with this project. Here, you can create, edit, or delete rules to automate workflow processes.

Clicking this button allows you to add a new item or task to your project, enhancing your project management capabilities.
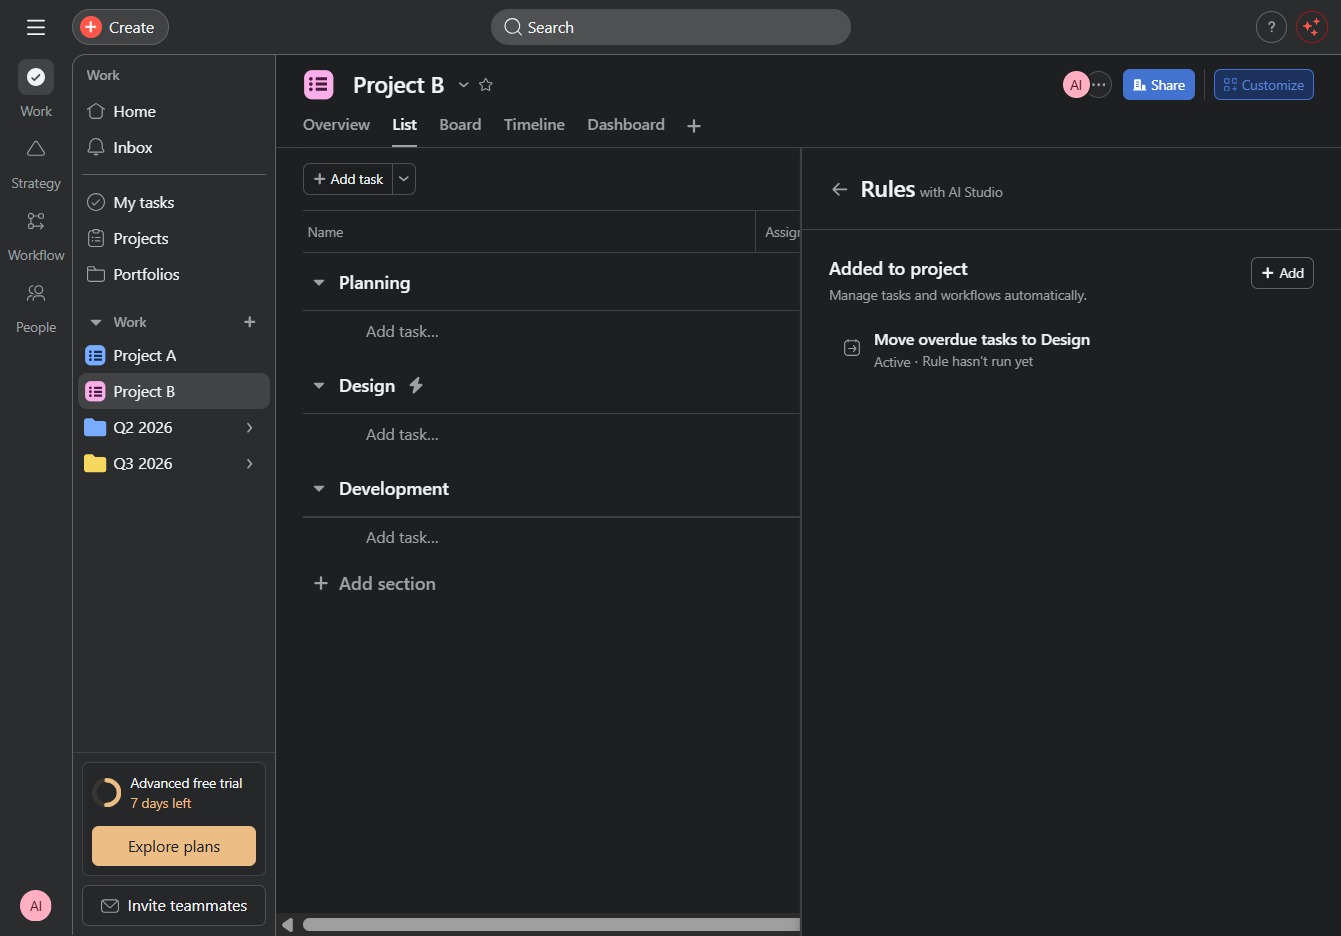
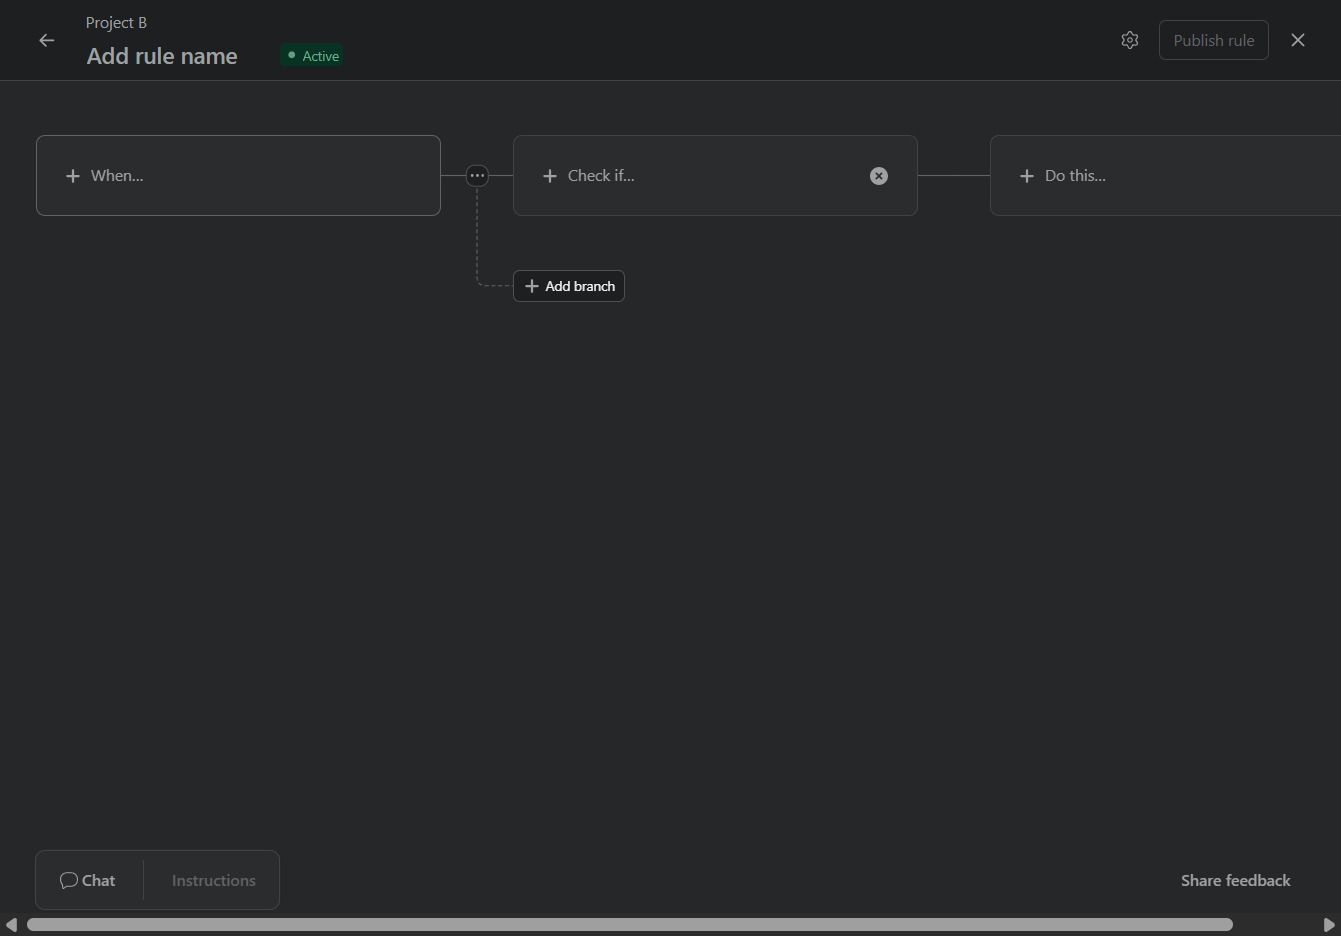
Choosing 'Start from scratch' allows you to create a custom automation rule without using any predefined templates. You will be directed to a blank rule setup where you can define your specific automation needs.
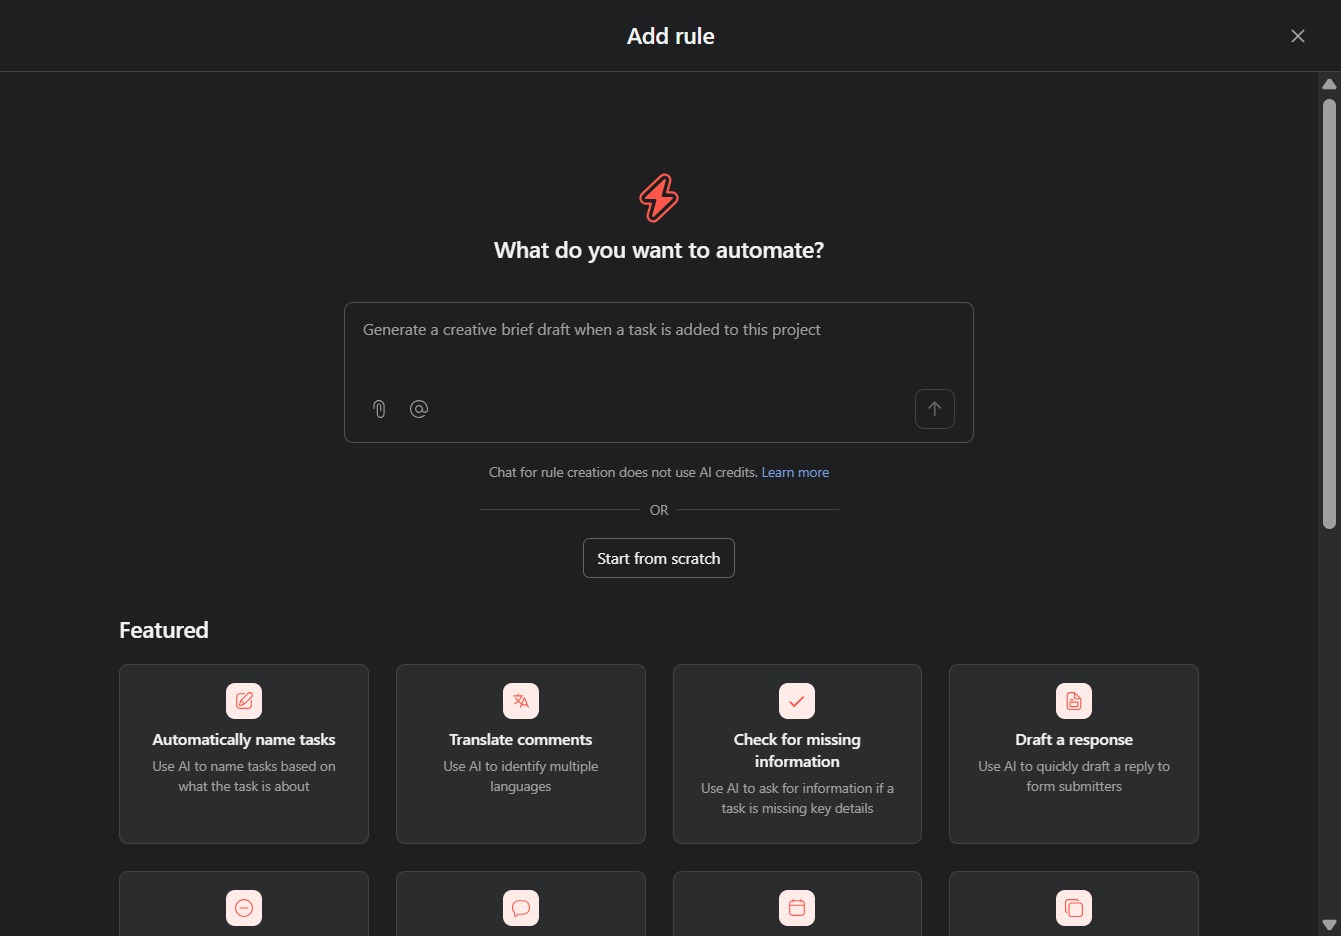
Clicking the 'When...' label allows you to define the initial condition for your automation rule. This sets the context for when the rule will be triggered.
Selecting this option allows you to configure triggers that respond when the scheduled start date of a task has been reached, enabling appropriate follow-up actions.