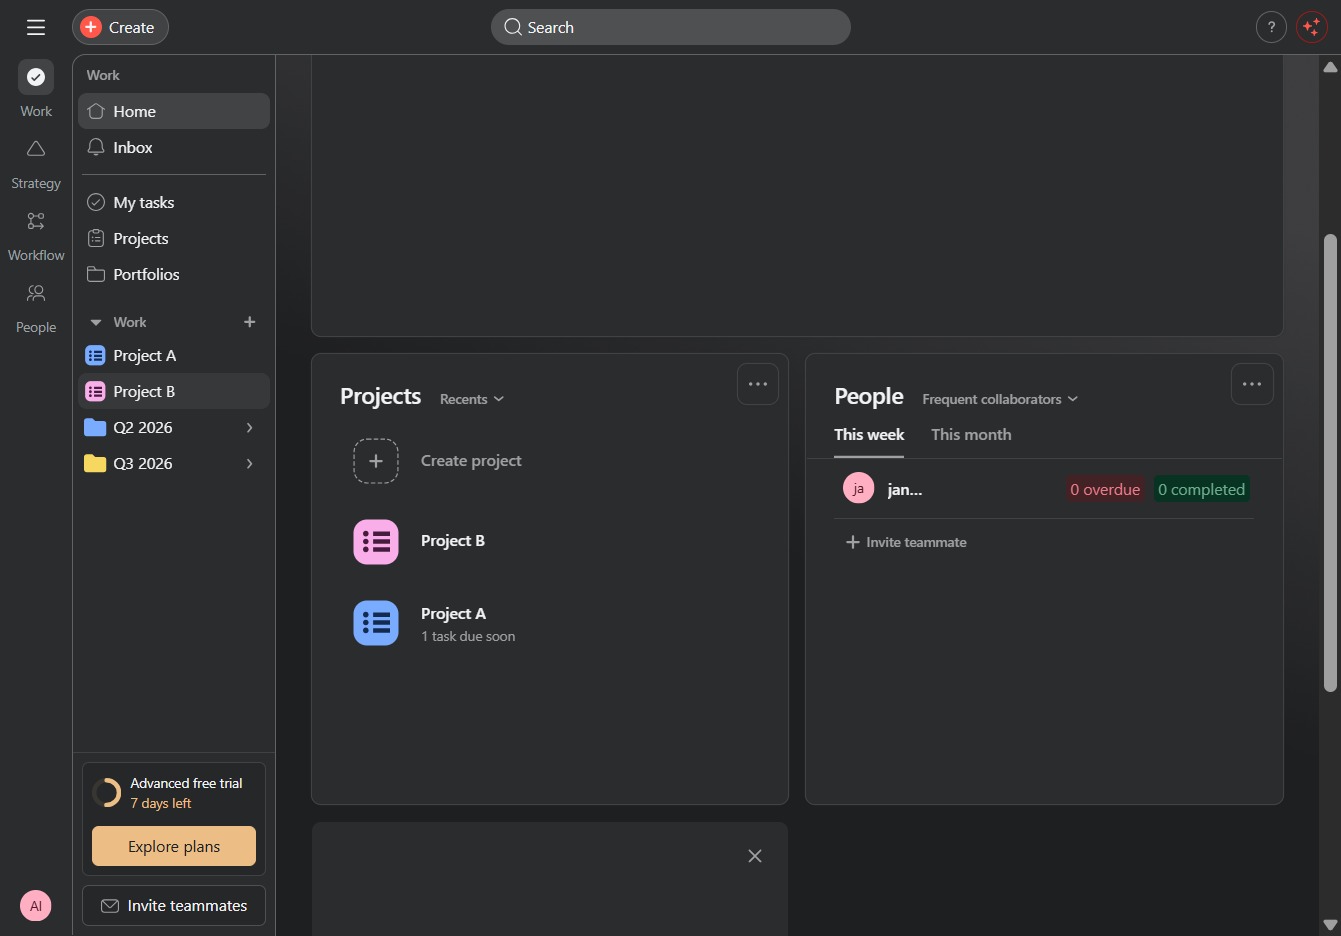
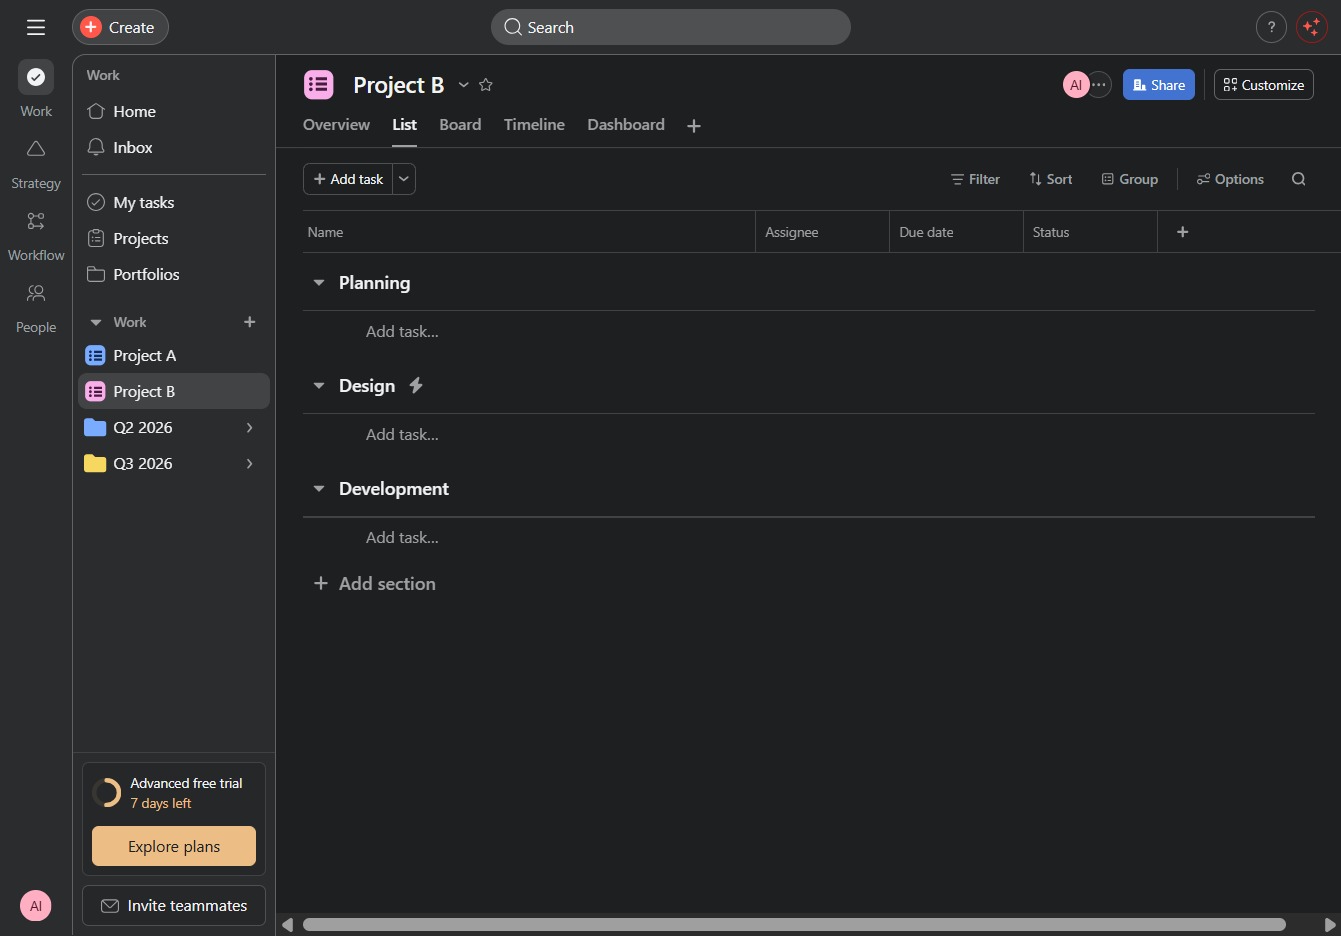
Click the Project B link
This action opens the details for Project B, allowing you to view and manage tasks, timelines, and collaborators associated with this project.
Loading screenshot…
100%
This how-to guide teaches you how to configure rule actions effectively within your project management tool.
 viktoria
This how-to guide teaches you how to configure rule actions effectively within your project management tool. You'll learn to manage tasks, customize settings, automate workflows, and organize your project by moving tasks between sections, ensuring a streamlined task management experience.
This action opens the details for Project B, allowing you to view and manage tasks, timelines, and collaborators associated with this project.
Selecting the Customize option allows you to adjust various settings and preferences for your current project view, enhancing your task management experience.
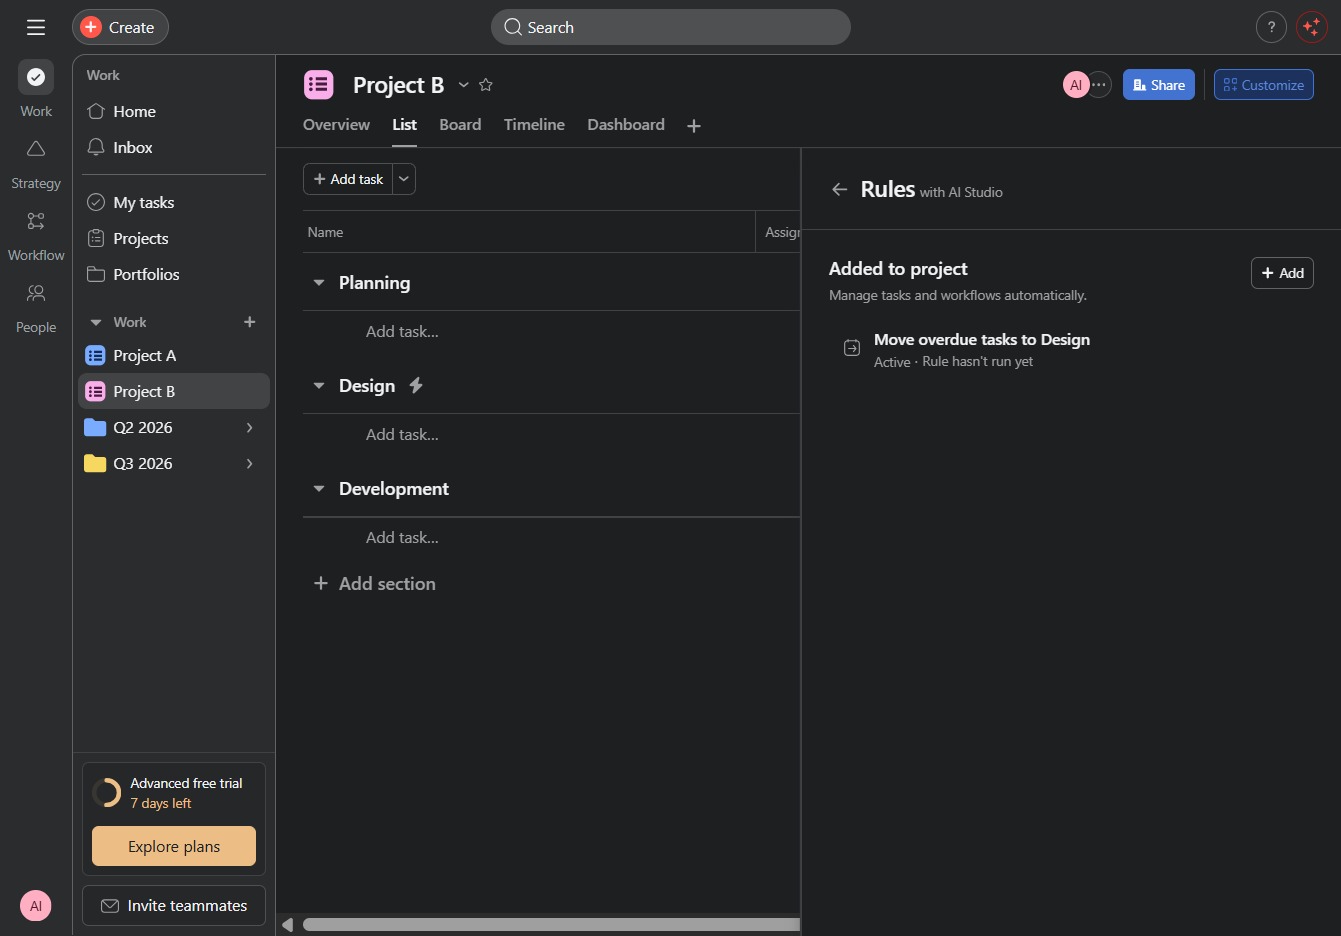
This will open the configuration settings for rules within the project, allowing you to define automated actions based on specific triggers.

This action will create a new task within the selected project, allowing you to manage and organize your workflow more effectively.
This action begins a new automation rule without any pre-existing templates, allowing you to customize the rule to fit your specific needs.
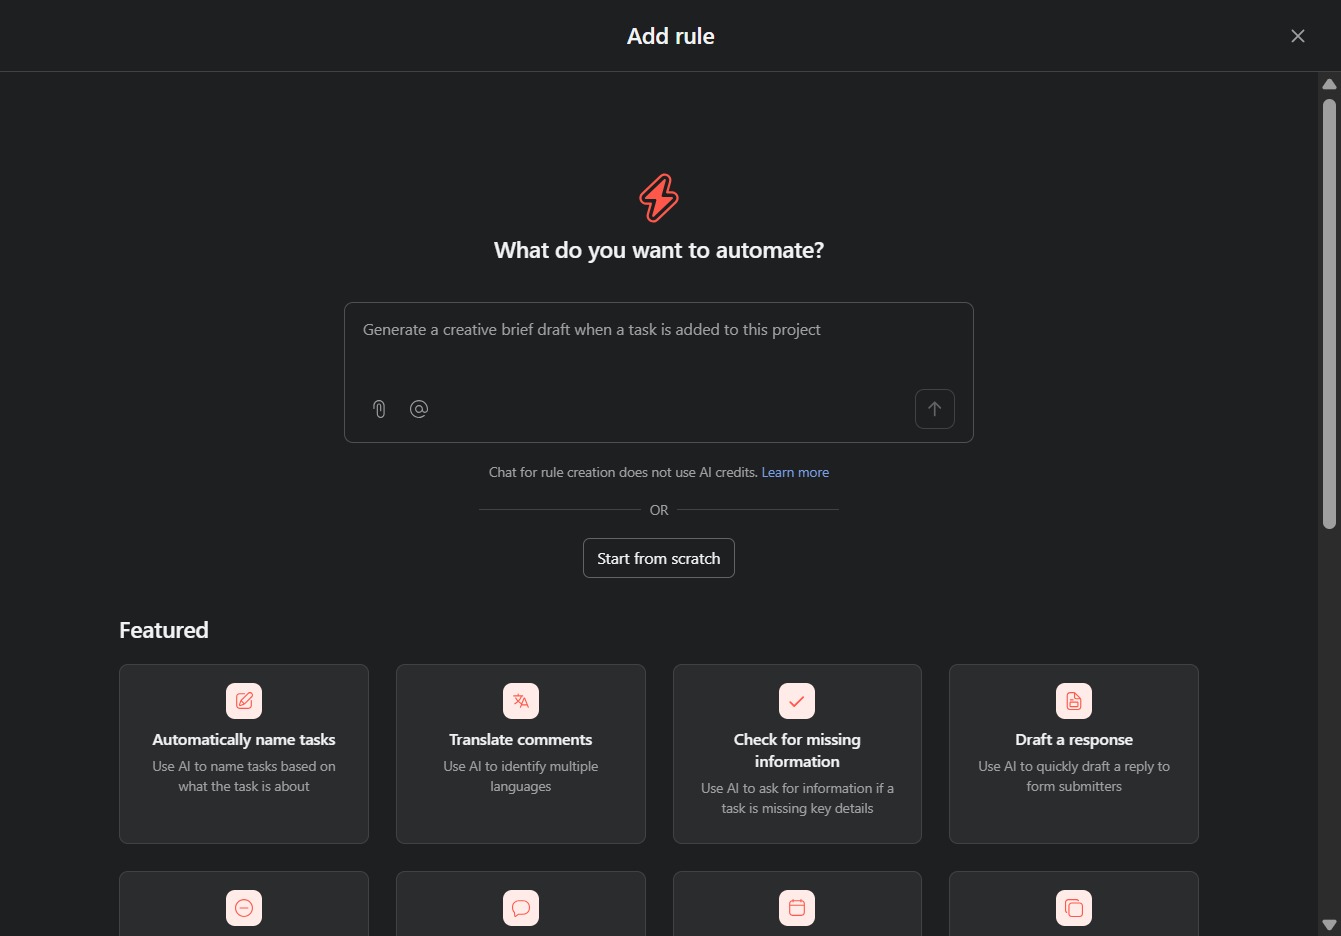
By clicking this link, you will open a prompt that allows you to specify what you want to automate in your workflow.
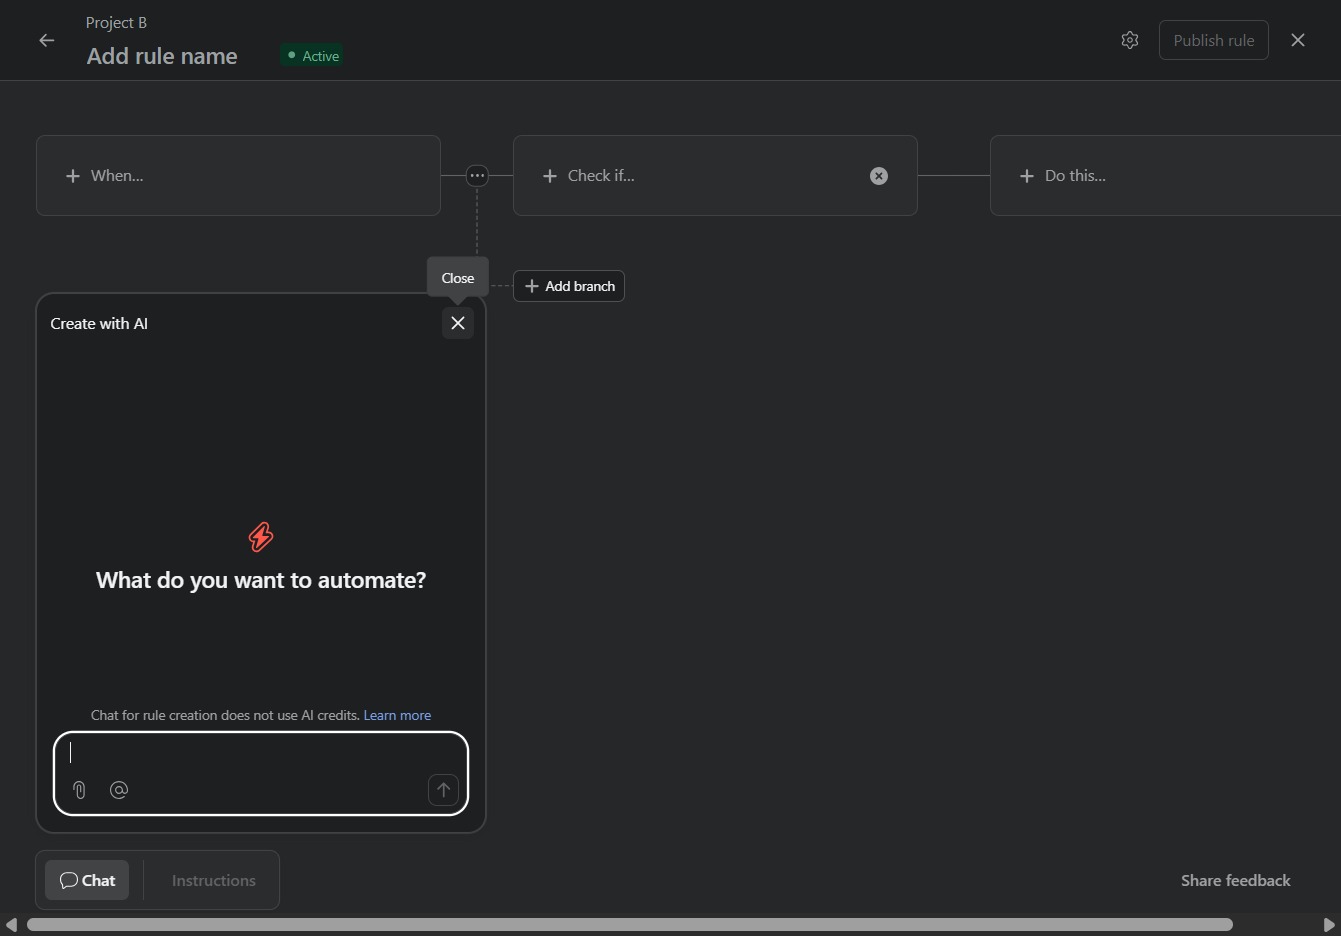
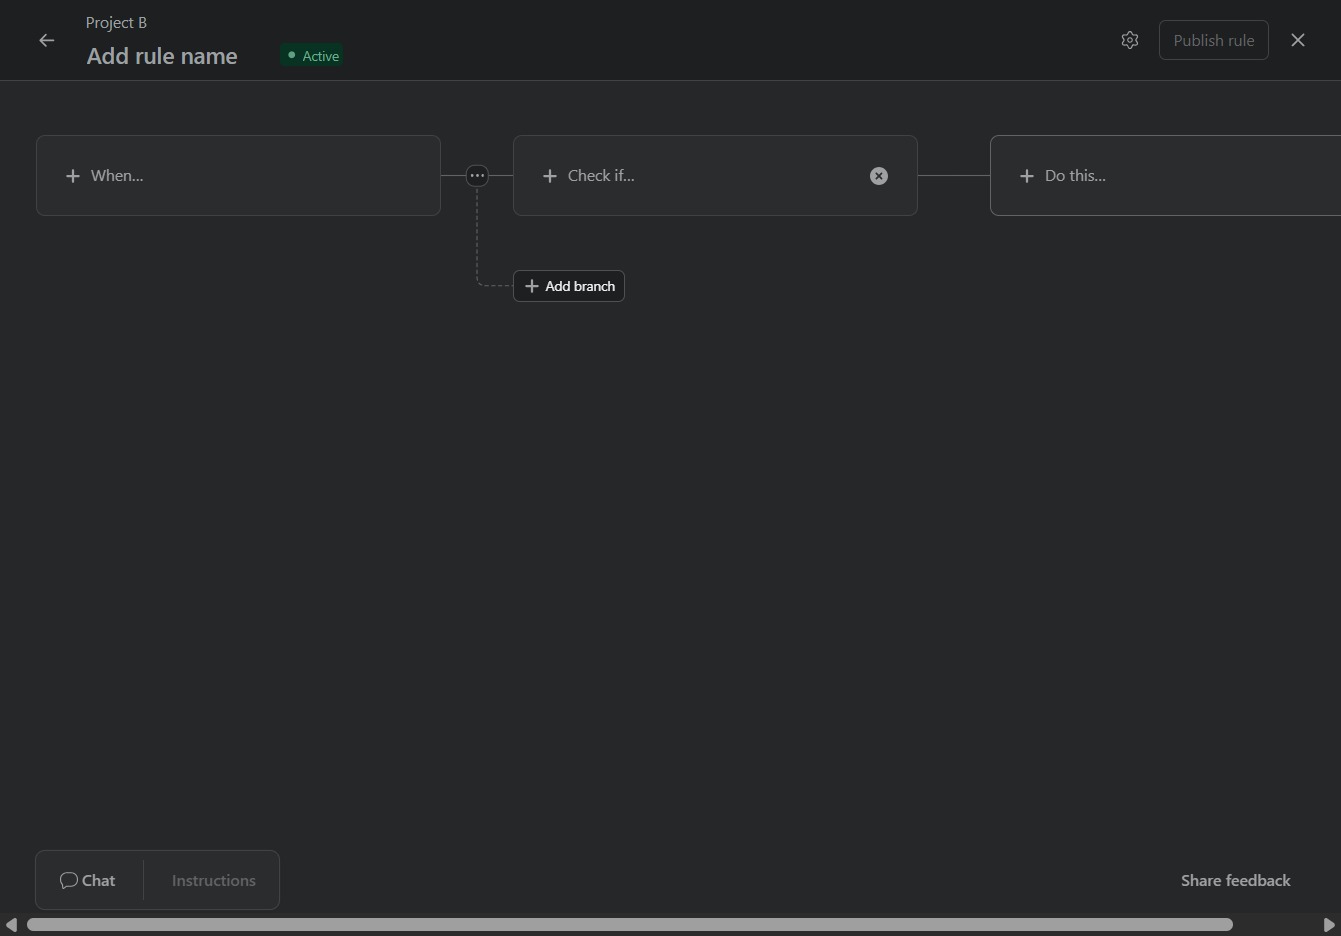
Selecting the 'Do this...' option will open a menu to choose an action to automate in your workflow, allowing you to define the subsequent steps in your rule.
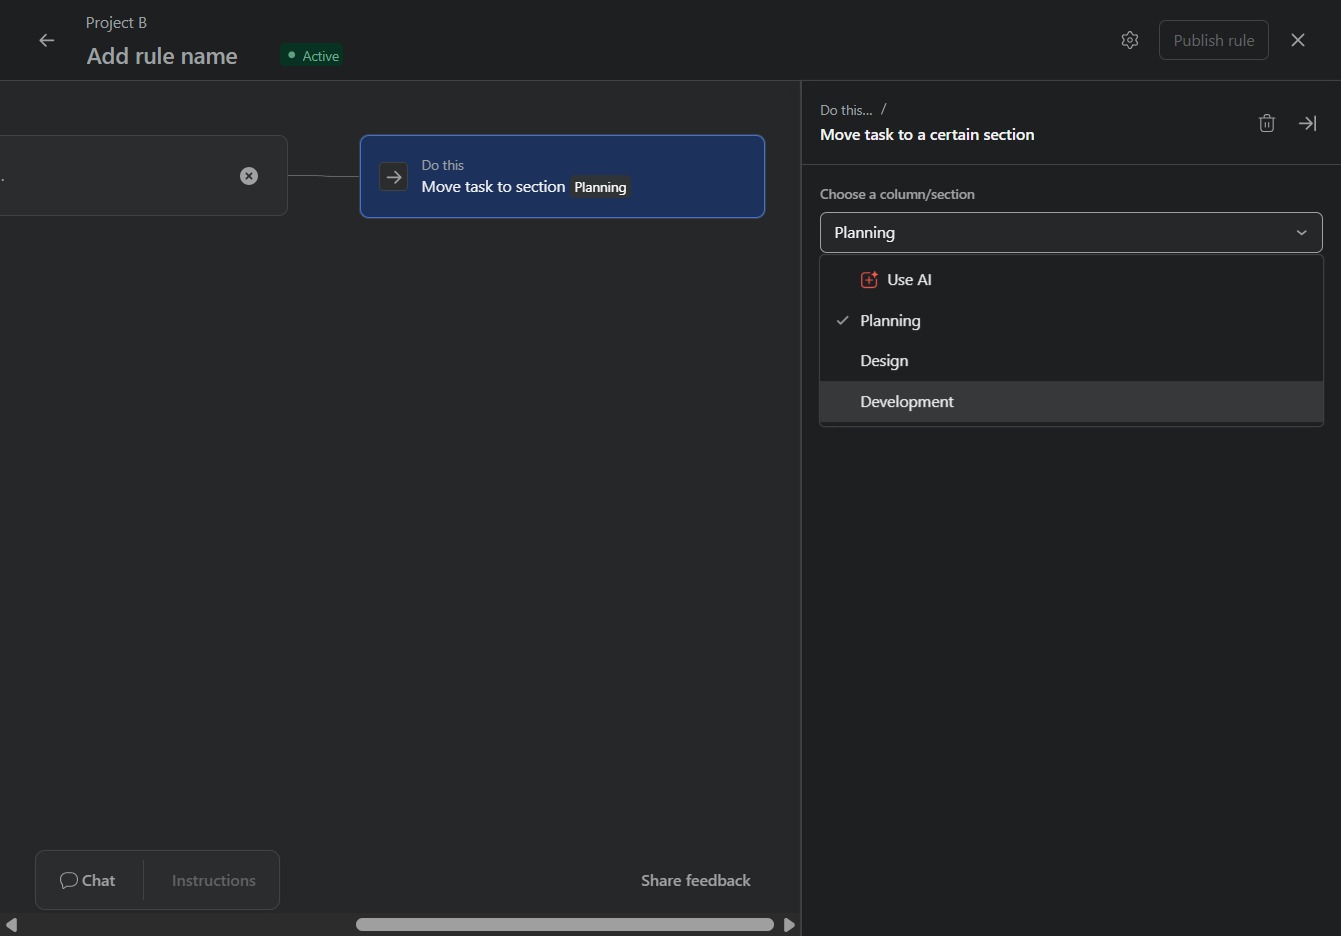
Clicking this option allows you to choose a specific section to which the task will be moved, helping organize and prioritize your project more effectively.

This action will move the selected task to the Planning section, allowing you to organize your tasks more effectively within the workflow.
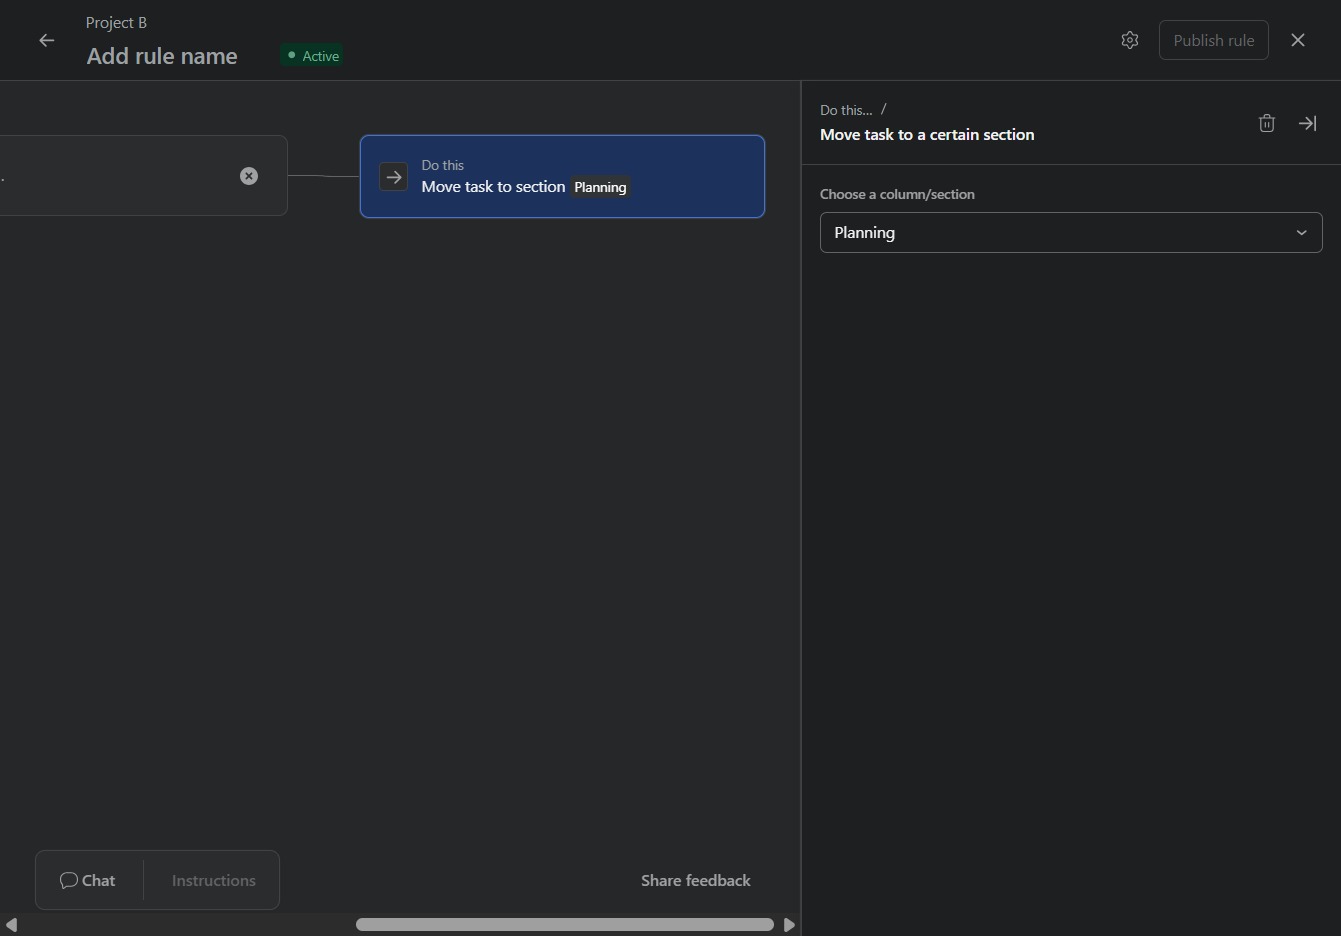
This action selects the Development section to which you can move the task. After clicking, the task will be categorized under Development for better organization.