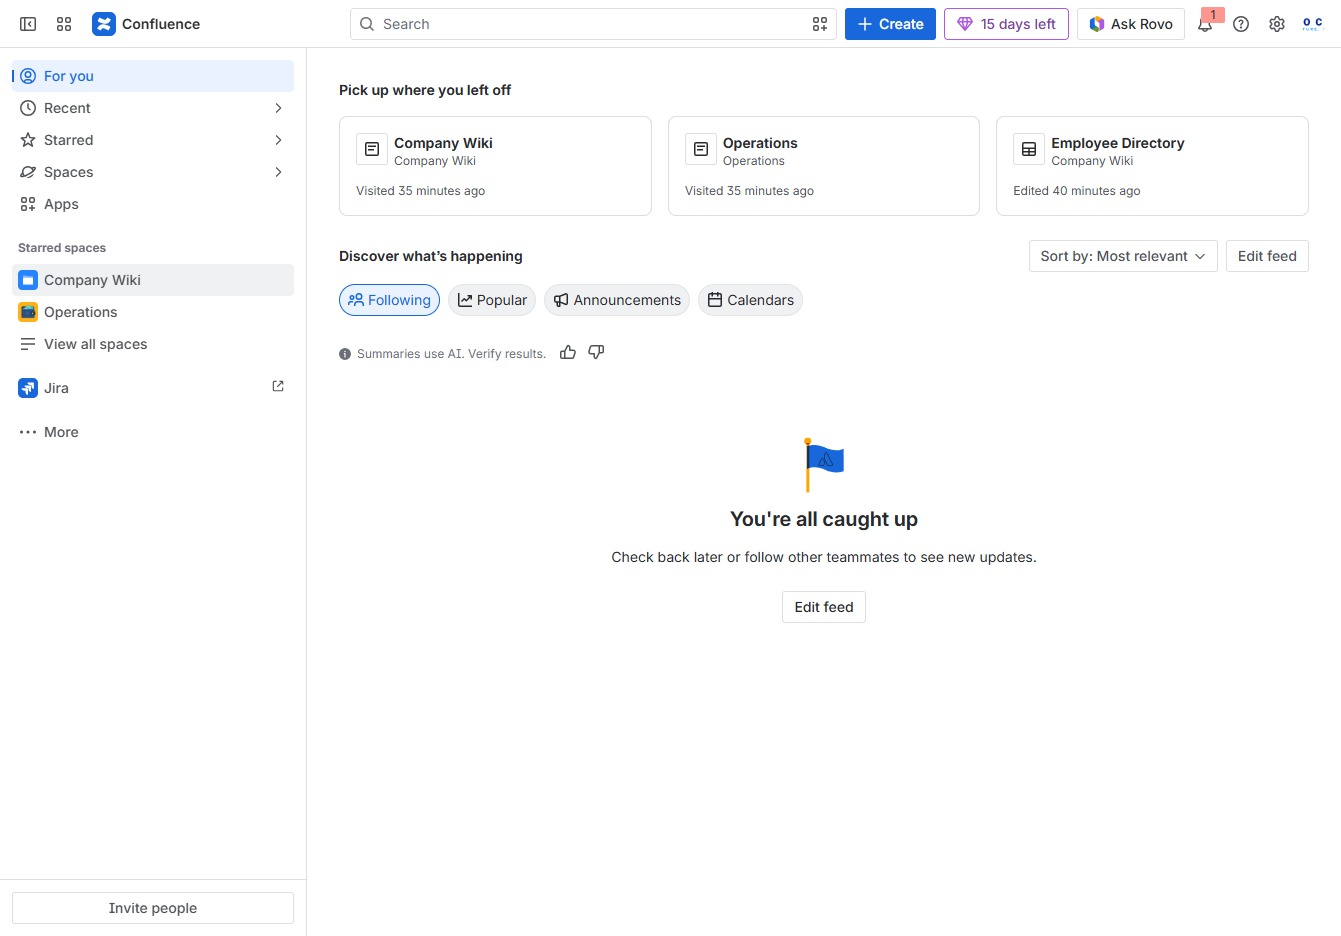
Click the Company Wiki section
This will navigate you to the Company Wiki page where you can access and edit company documents and information.
Loading screenshot…
100%
This how-to guide walks you through the process of collaborating on a whiteboard using your company’s wiki.
 viktoria
This how-to guide walks you through the process of collaborating on a whiteboard using your company’s wiki. You'll learn how to navigate to key sections, create child content for brainstorming, share the board with team members, and manage access permissions to enhance collaborative efforts.
This will navigate you to the Company Wiki page where you can access and edit company documents and information.
This action allows you to create child content under the Brainstorming section, helping you organize related ideas and topics effectively.

This action will open a profile or details view for Victoria Adamu, allowing you to access additional information about her contributions or activities within the system.
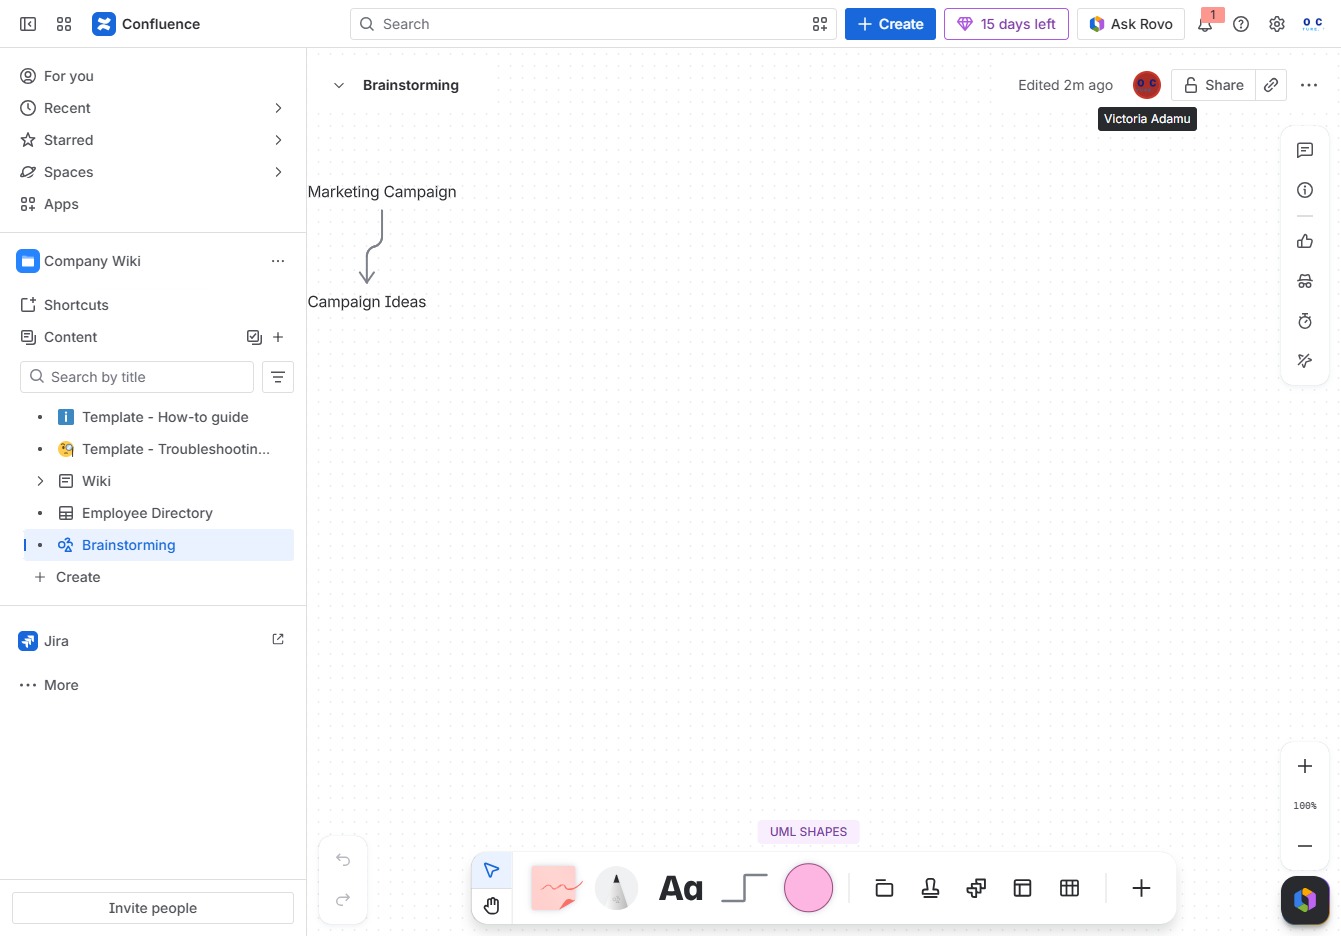
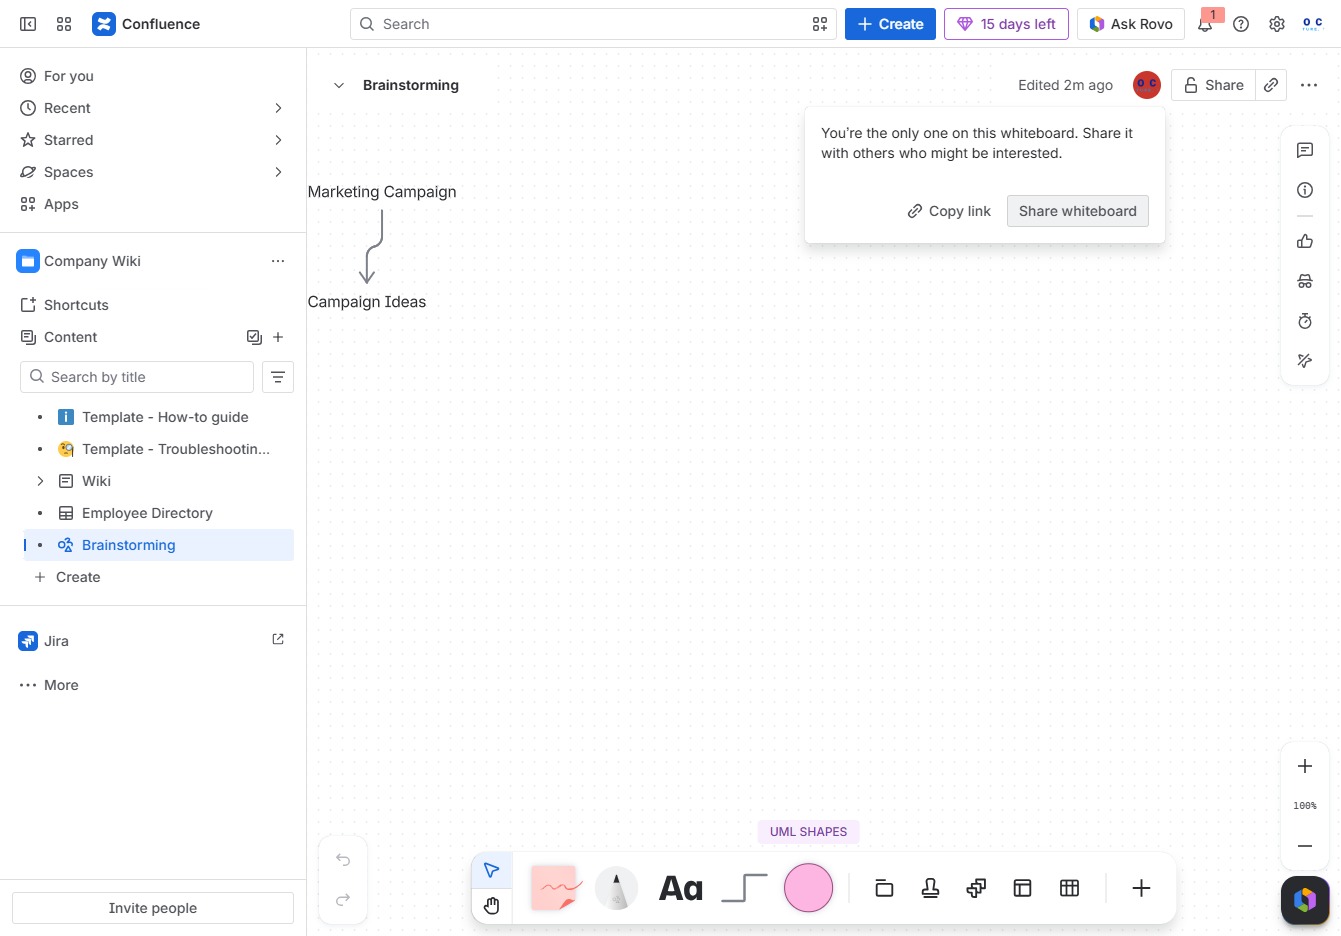
This action allows you to share the current whiteboard with others, enabling collaboration on your brainstorming session. You can invite team members to join and contribute their ideas.
By clicking on 'John John', you can modify the access permissions for this user within the sharing options. This allows you to manage their editing abilities for the shared content.
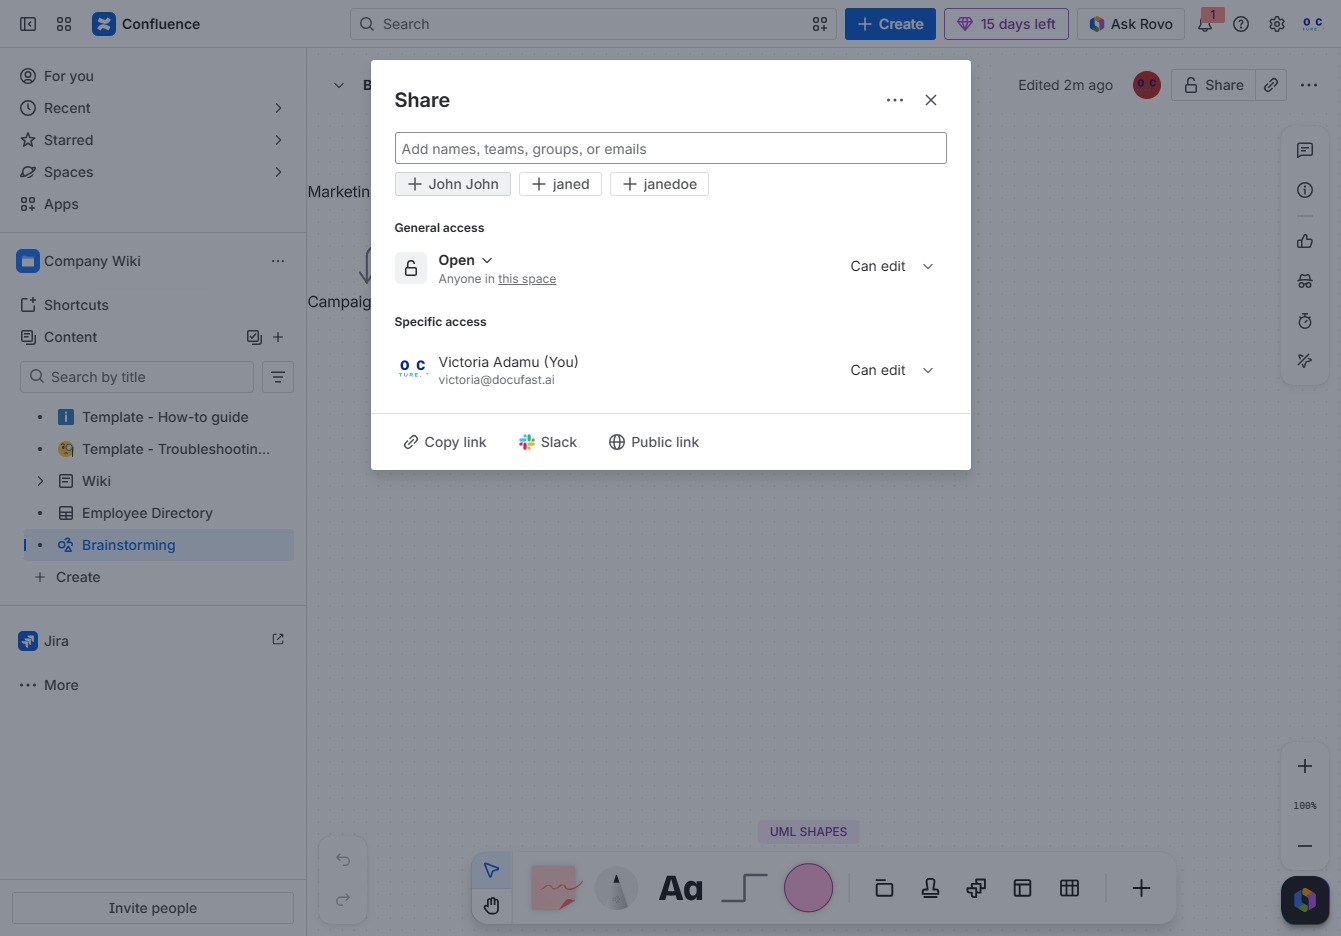
This action allows you to select or add a user to share the document with. After clicking, you can type additional names or select from suggested users to share access.

This action will allow you to enter or modify the name in the share settings. Ensure the correct recipient is selected before proceeding.
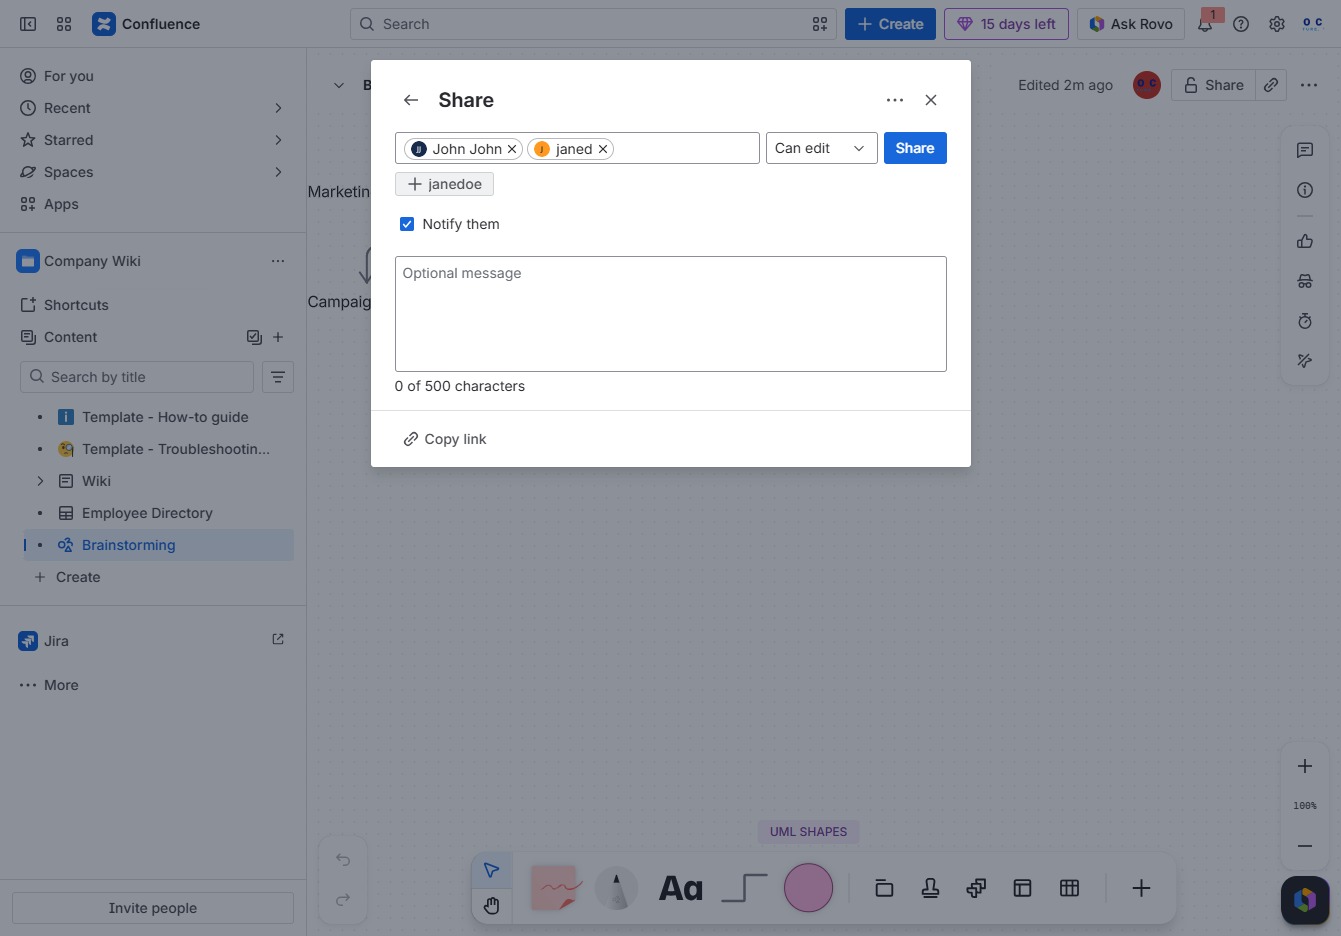
This action will initiate the sharing process, allowing you to invite users to collaborate on the document. You can specify their access permissions and add a message to notify them.
