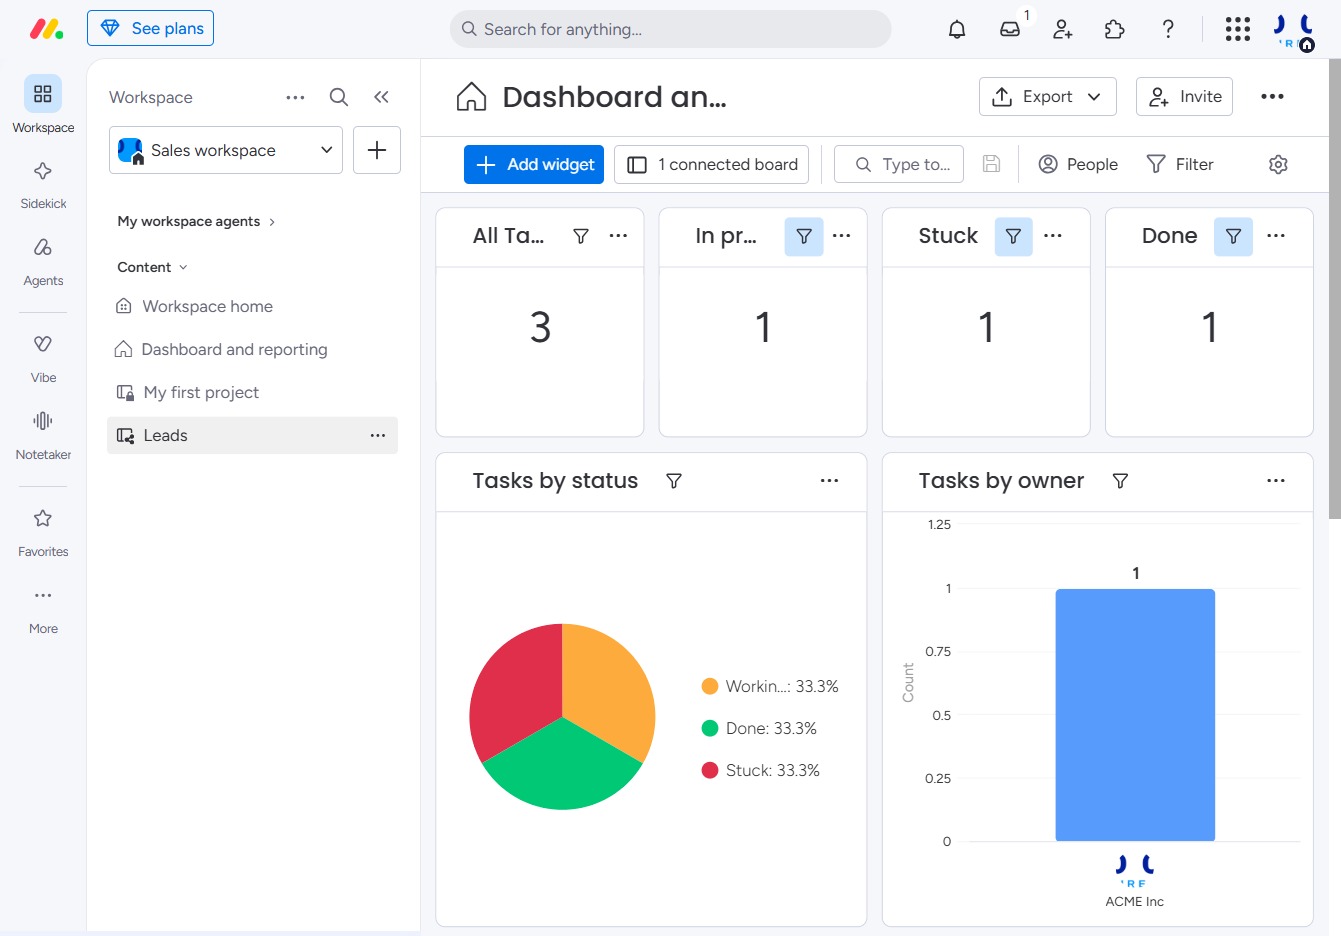
Click the Leads section
Clicking the Leads section will display a list of your current leads, allowing you to manage and track interactions with potential clients.
Loading screenshot…
100%
This how-to guide provides step-by-step instructions on selecting and customizing a leads board, enabling you to effectively manage interactions with potential clients.
 viktoria
This how-to guide provides step-by-step instructions on selecting and customizing a leads board, enabling you to effectively manage interactions with potential clients. Learn how to navigate the settings, adjust preferences, and convert the board for team-wide accessibility.
Clicking the Leads section will display a list of your current leads, allowing you to manage and track interactions with potential clients.
Clicking the Options icon opens a menu with additional settings and actions related to your Leads. This allows you to customize how you manage leads and access extra features.

This will open the Settings menu where you can adjust various preferences for your Leads board, including notifications and permissions.

Selecting this option will set the current view to the main board, allowing you to access all primary leads and associated data.

This action will convert the board from shareable to main, making its content accessible to all team members. Note that this change will remove any guest access associated with the board.
