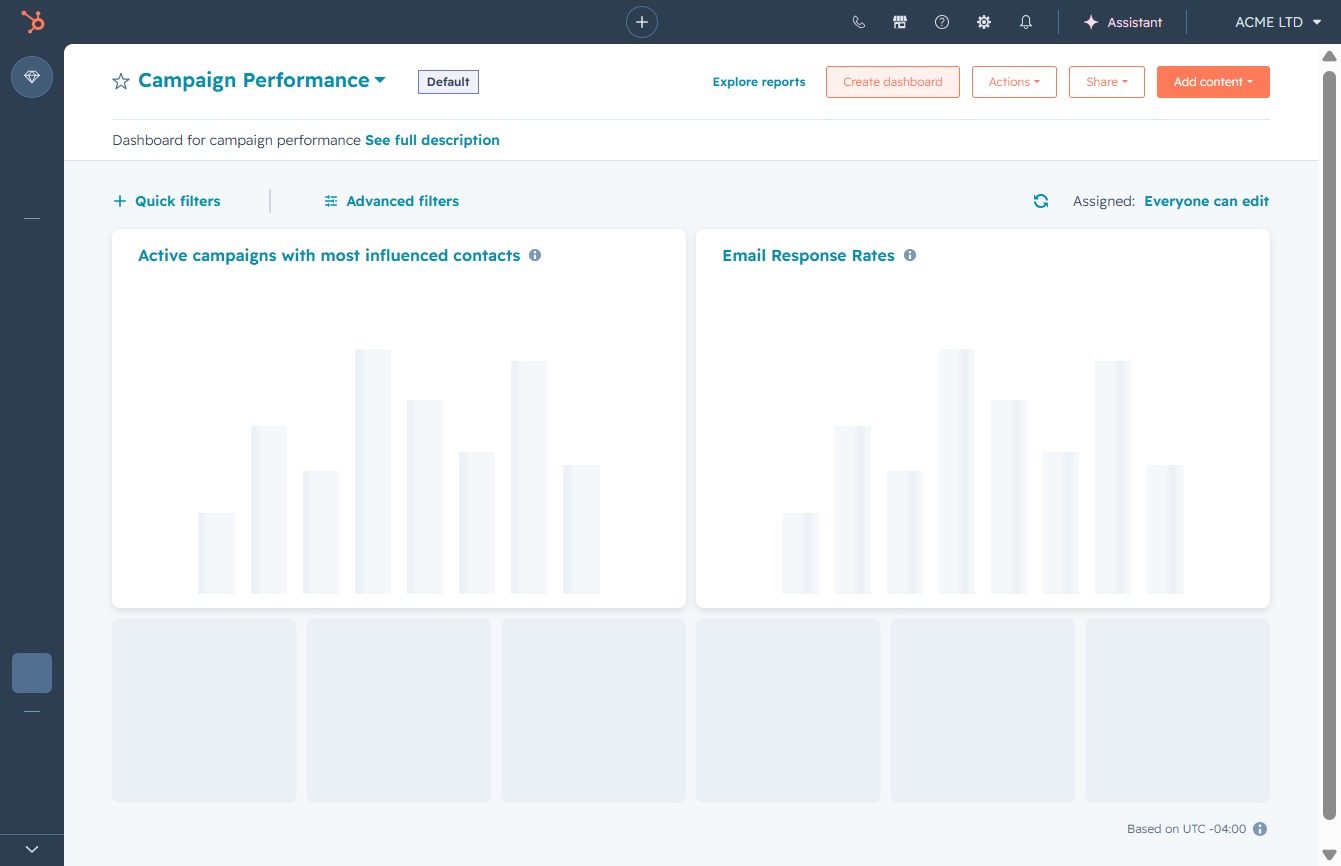
Click the Dashboards option
By clicking 'Dashboards', you will be directed to the Dashboards section where you can view and analyze various reports related to your performance metrics.

Loading screenshot…
100%
Create a Sales Opportunity Review dashboard in HubSpot to track your monthly sales performance and customize data visualizations using dynamic filters for specific date ranges.
 viktoria
Create a Sales Opportunity Review dashboard in HubSpot to track your monthly sales performance and customize data visualizations using dynamic filters for specific date ranges.
By clicking 'Dashboards', you will be directed to the Dashboards section where you can view and analyze various reports related to your performance metrics.
This action opens a new interface where you can design and customize your dashboard for viewing campaign performance metrics.
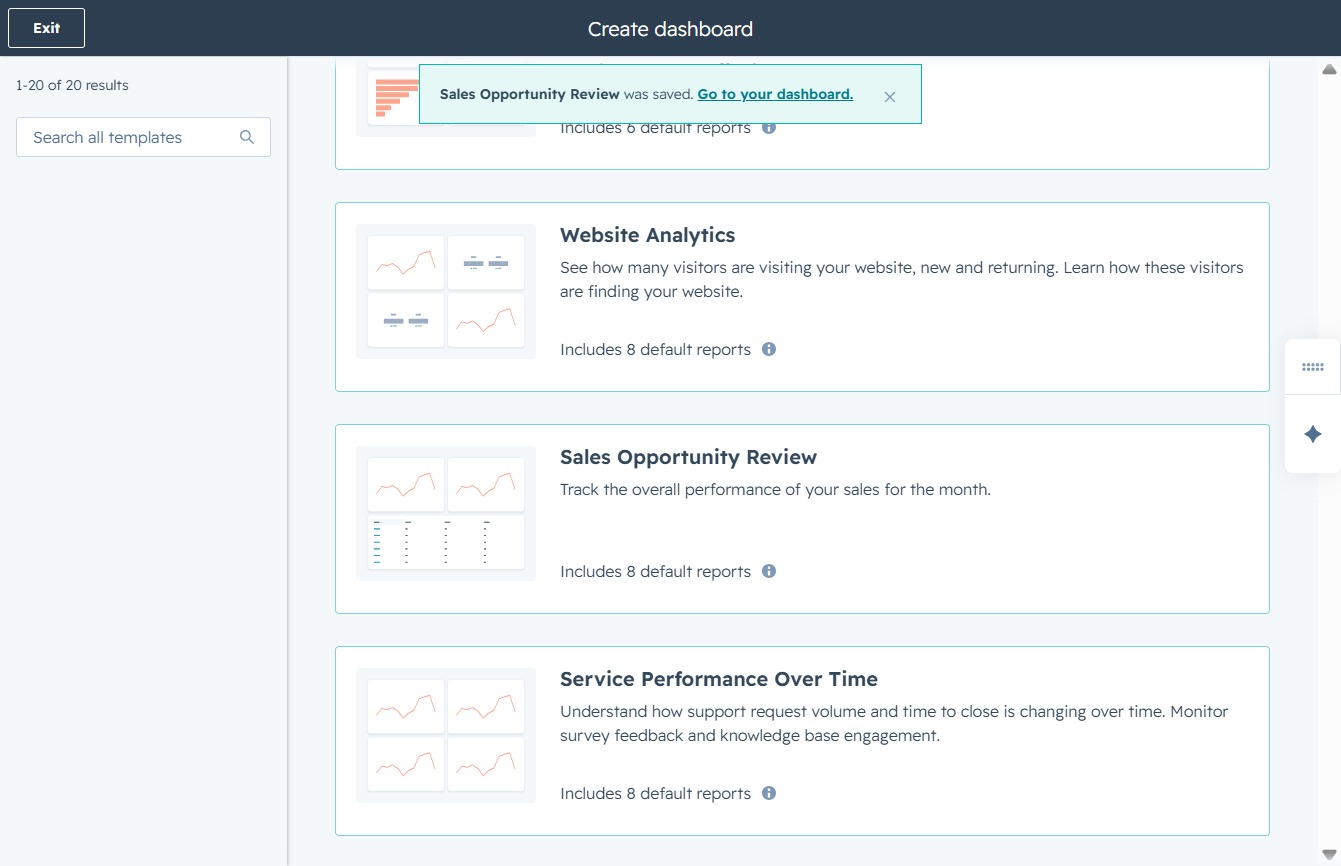
This will open the Sales Opportunity Review section, allowing you to track the overall performance of your sales for the month and access eight default reports.

Clicking this button will proceed to the next step in the dashboard creation process, allowing you to configure the details of your Sales Opportunity Review.

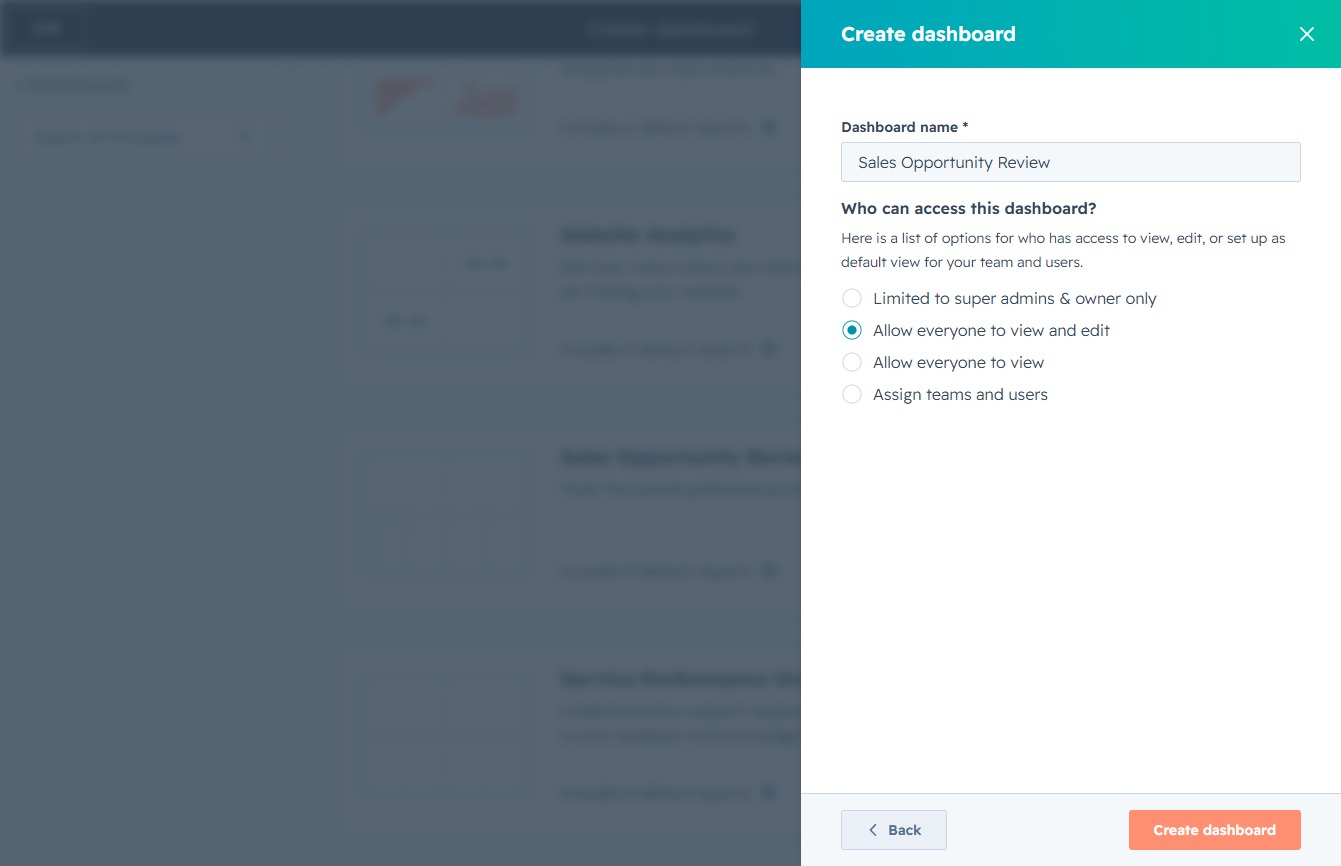
This action will finalize the creation of your new dashboard, labeled 'Sales Opportunity Review', and will prompt you to set access permissions for your team.
This action takes you to your main dashboard where you can access various reporting sections, including Sales Opportunity Review, Website Analytics, and Service Performance Over Time.
Selecting the 'Quick Filters' option allows you to quickly apply standard filters to your sales opportunity data, helping you analyze performance metrics efficiently.
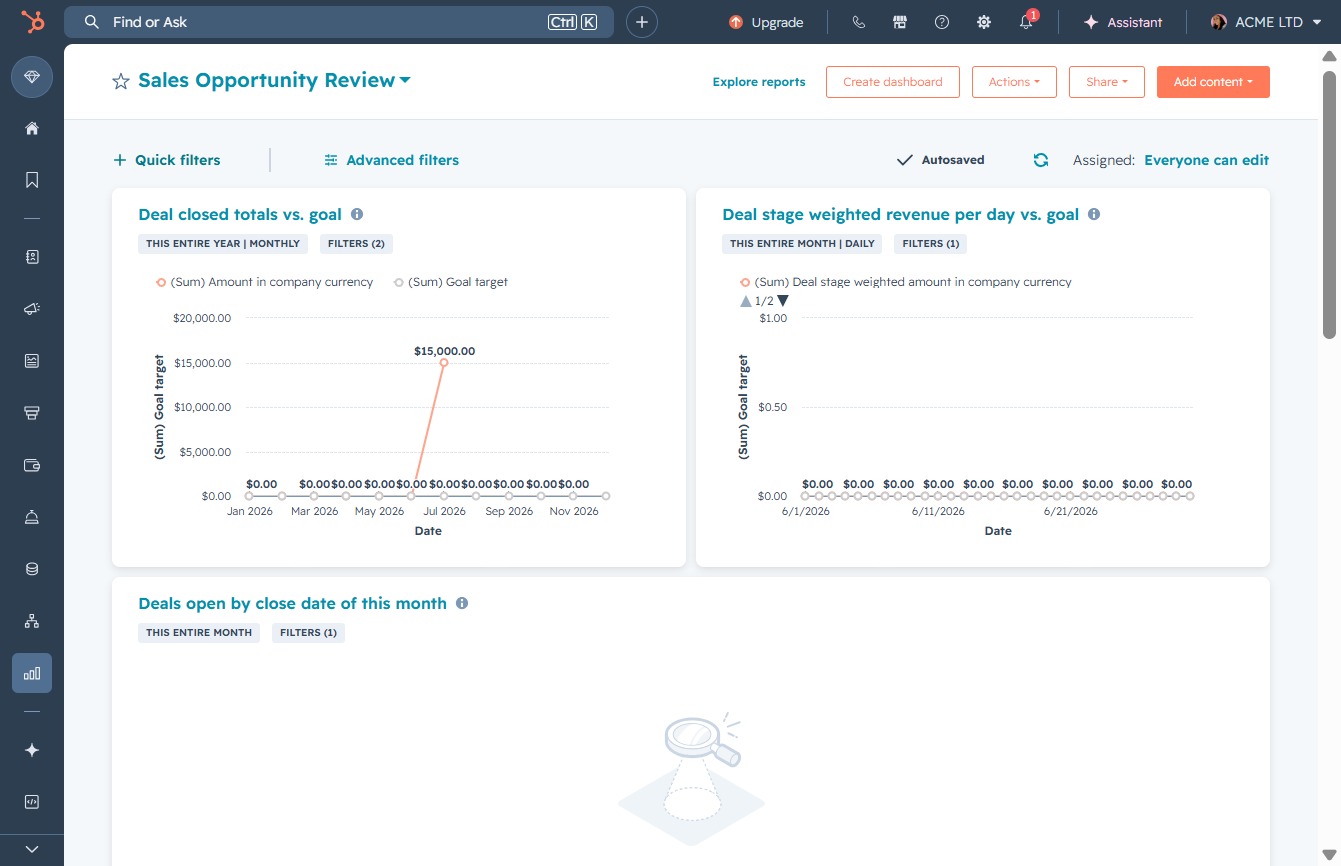
Clicking this option will open a menu allowing you to apply various dynamic quick filters to customize your Sales Opportunity Review dashboard.
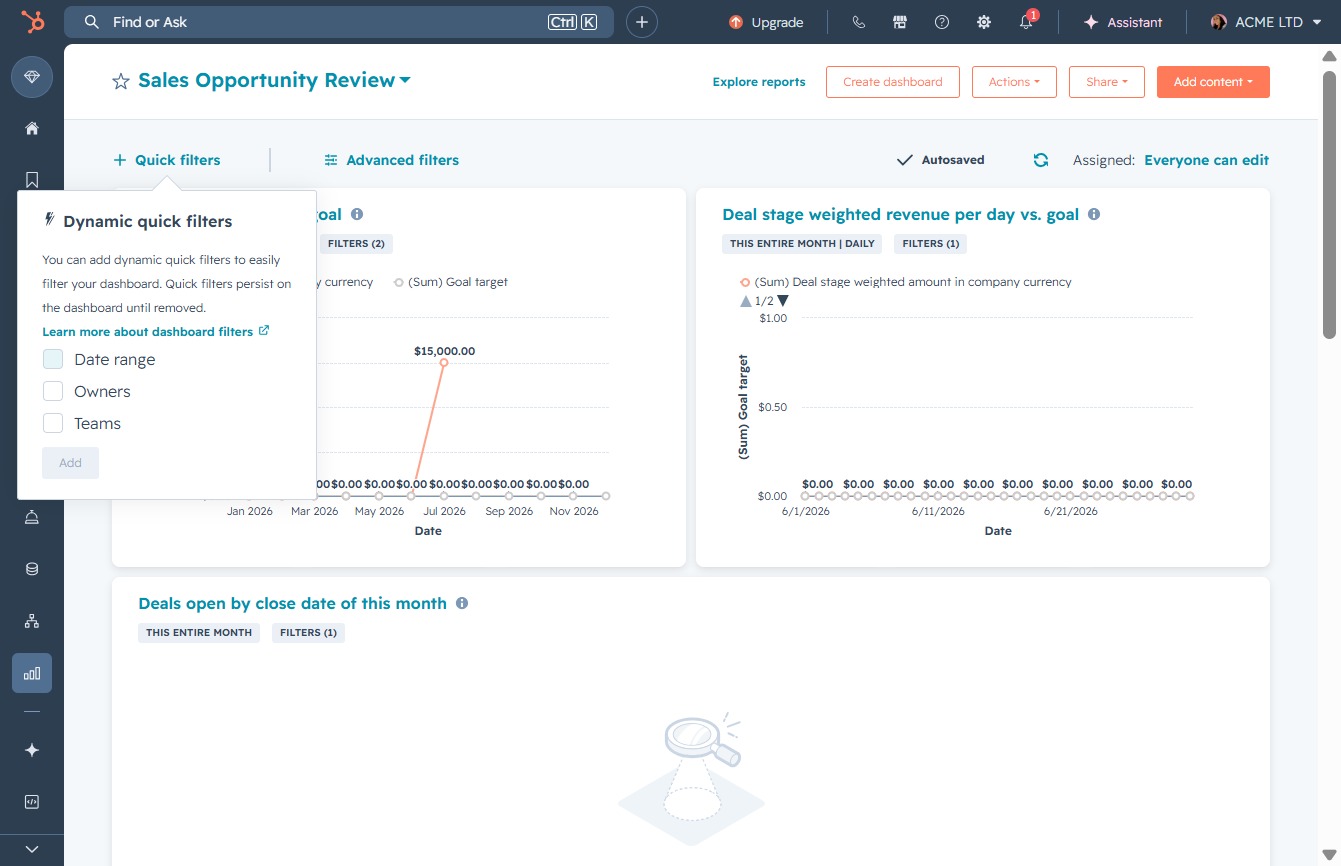
By clicking the 'Add' button, you can incorporate new dynamic quick filters to customize your Sales Opportunity Review dashboard.

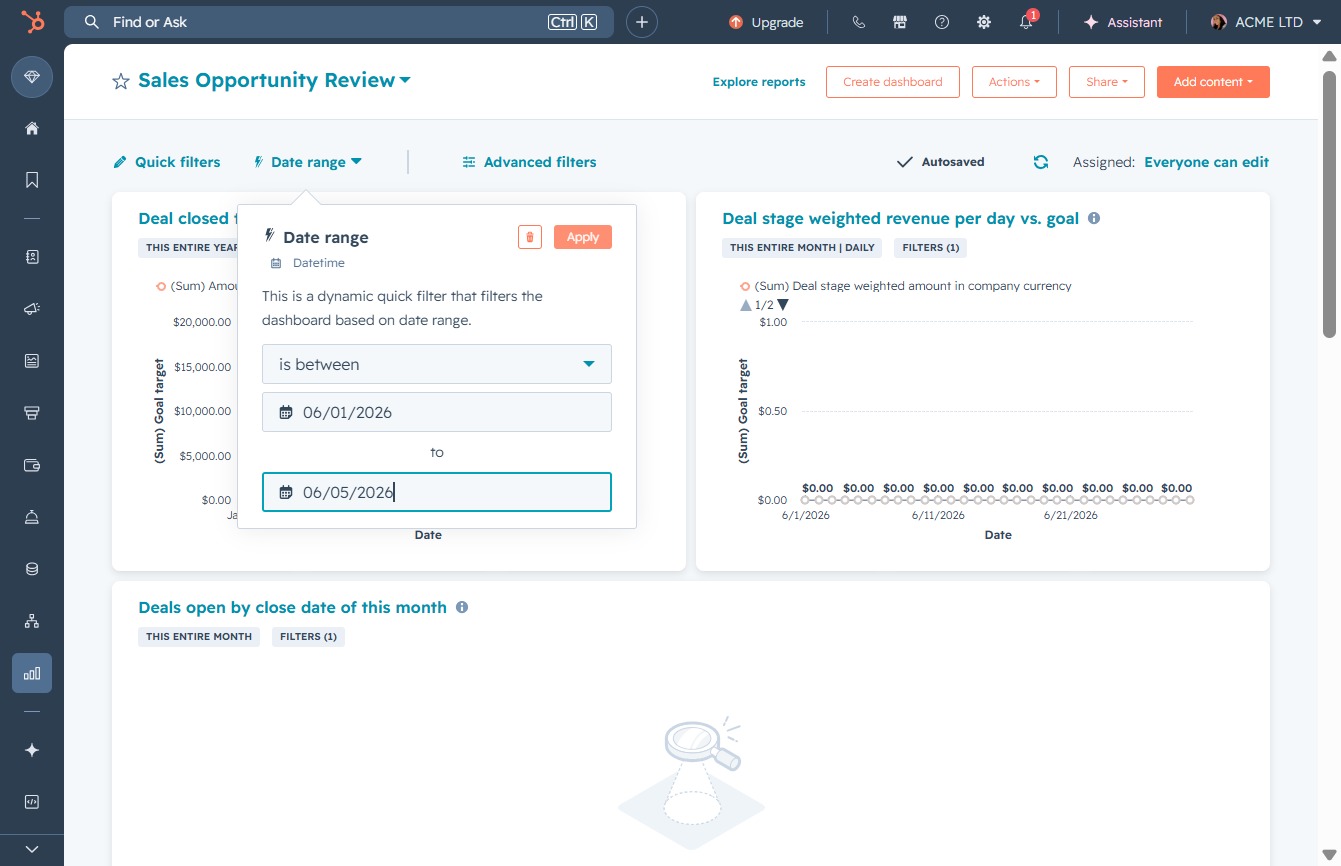
Select the 'Date range' option to adjust the time period for which the sales opportunity data is displayed, allowing you to filter results based on specific dates.

Choose an operator from the dropdown menu to filter the data range based on specific criteria. This will help refine the displayed metrics in the Sales Opportunity Review.
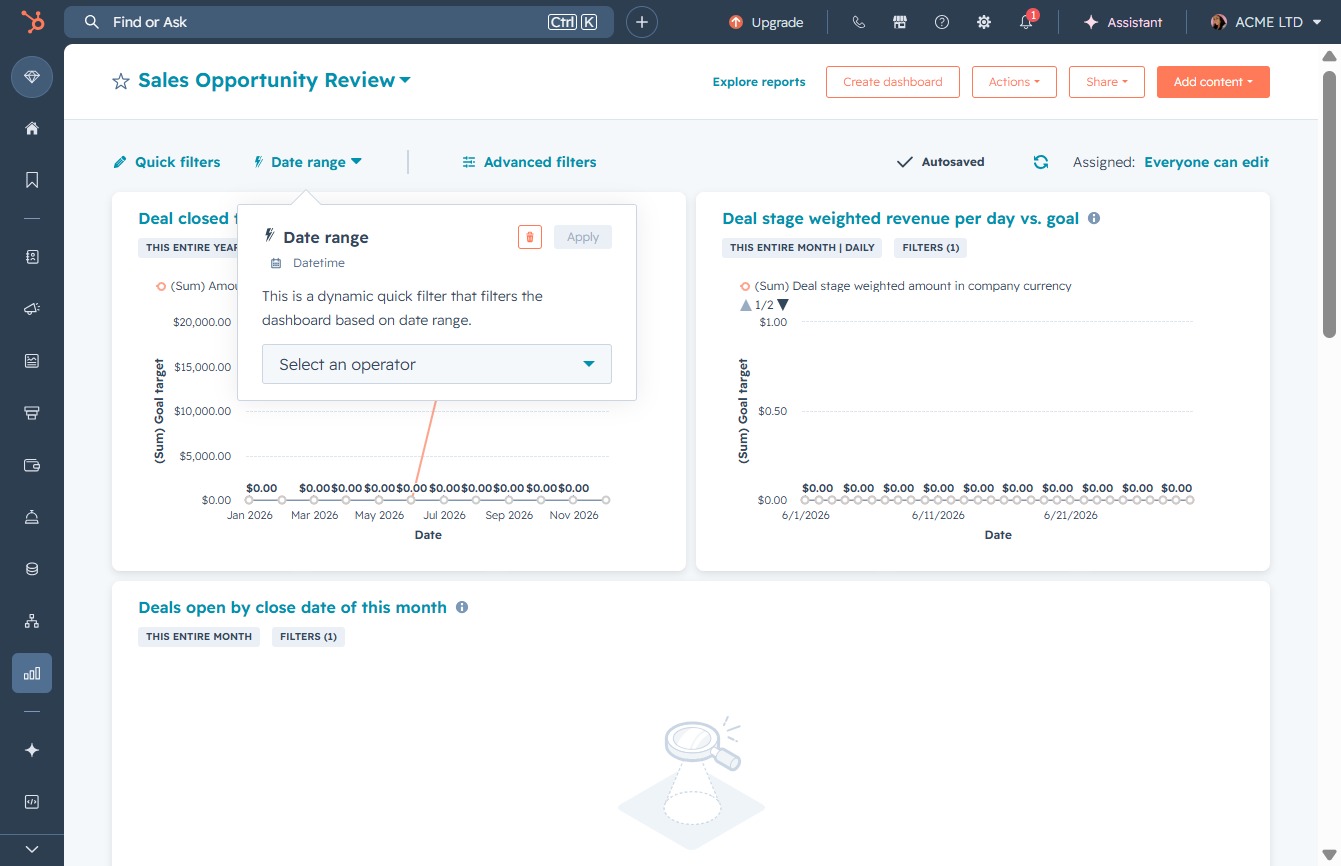
Select this filter to refine your data range by specifying a start and end date, allowing for a more targeted analysis of sales opportunities.

Selecting this link will activate the input field to filter your sales data by a specific date range, allowing for a more precise analysis of your sales opportunities.
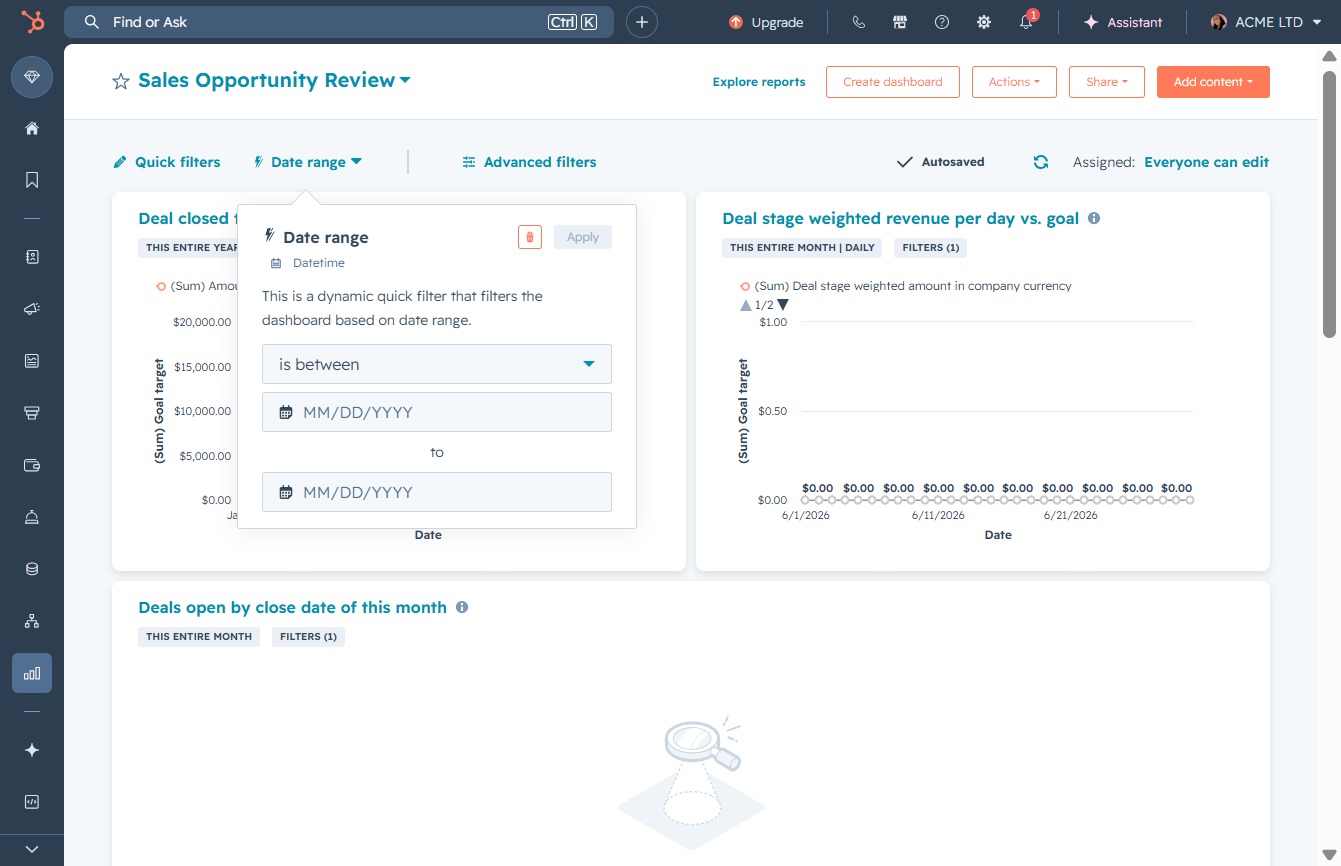
This action allows you to specify the date range for filtering your deals in the Sales Opportunity Review section. Once clicked, a calendar will appear for selecting the desired start and end dates.
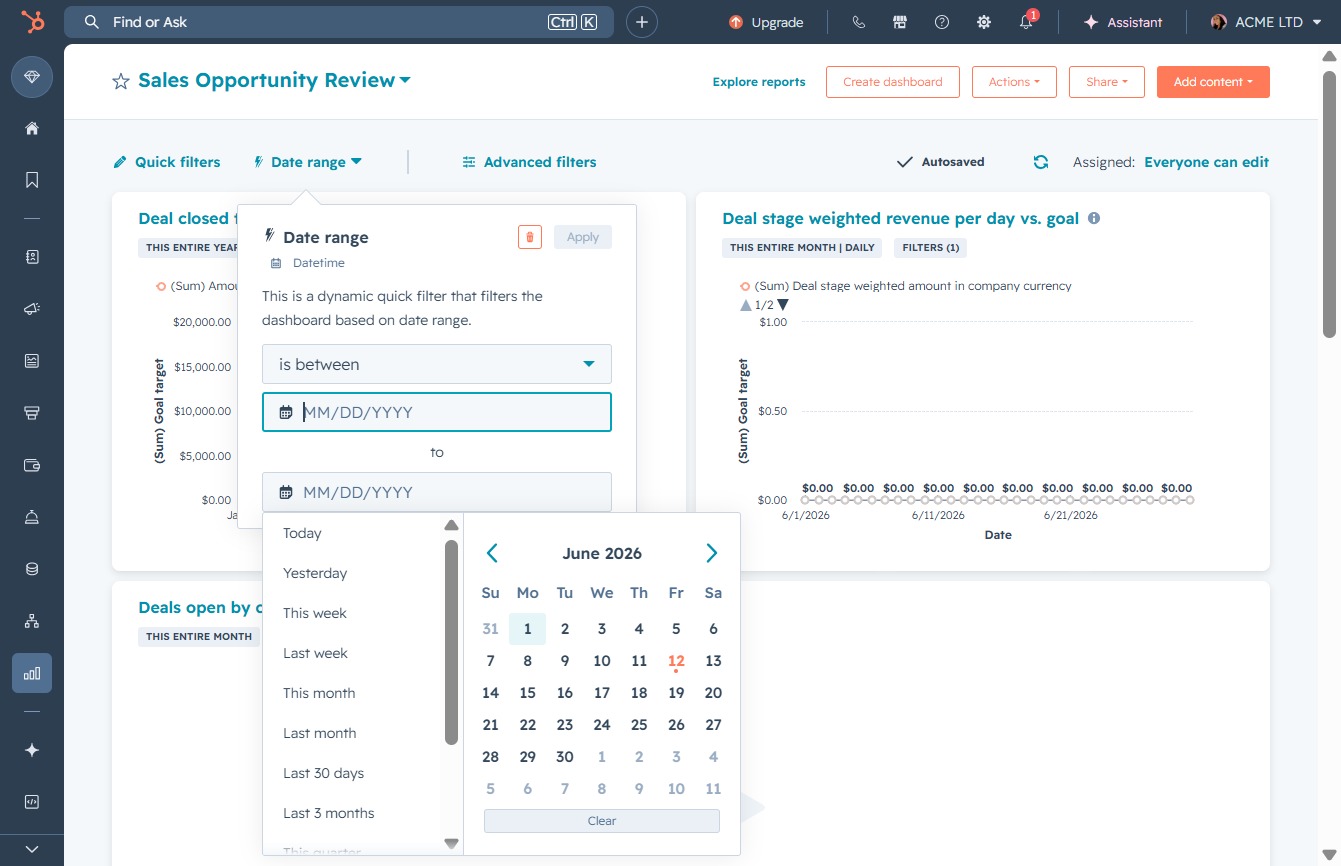
This action allows you to specify the time frame for filtering the sales opportunities displayed on the dashboard. Once clicked, a calendar will appear for you to select your desired start and end dates.

Clicking the Apply button will filter the displayed deals based on the selected date range, allowing you to view only the relevant opportunities during that timeframe.