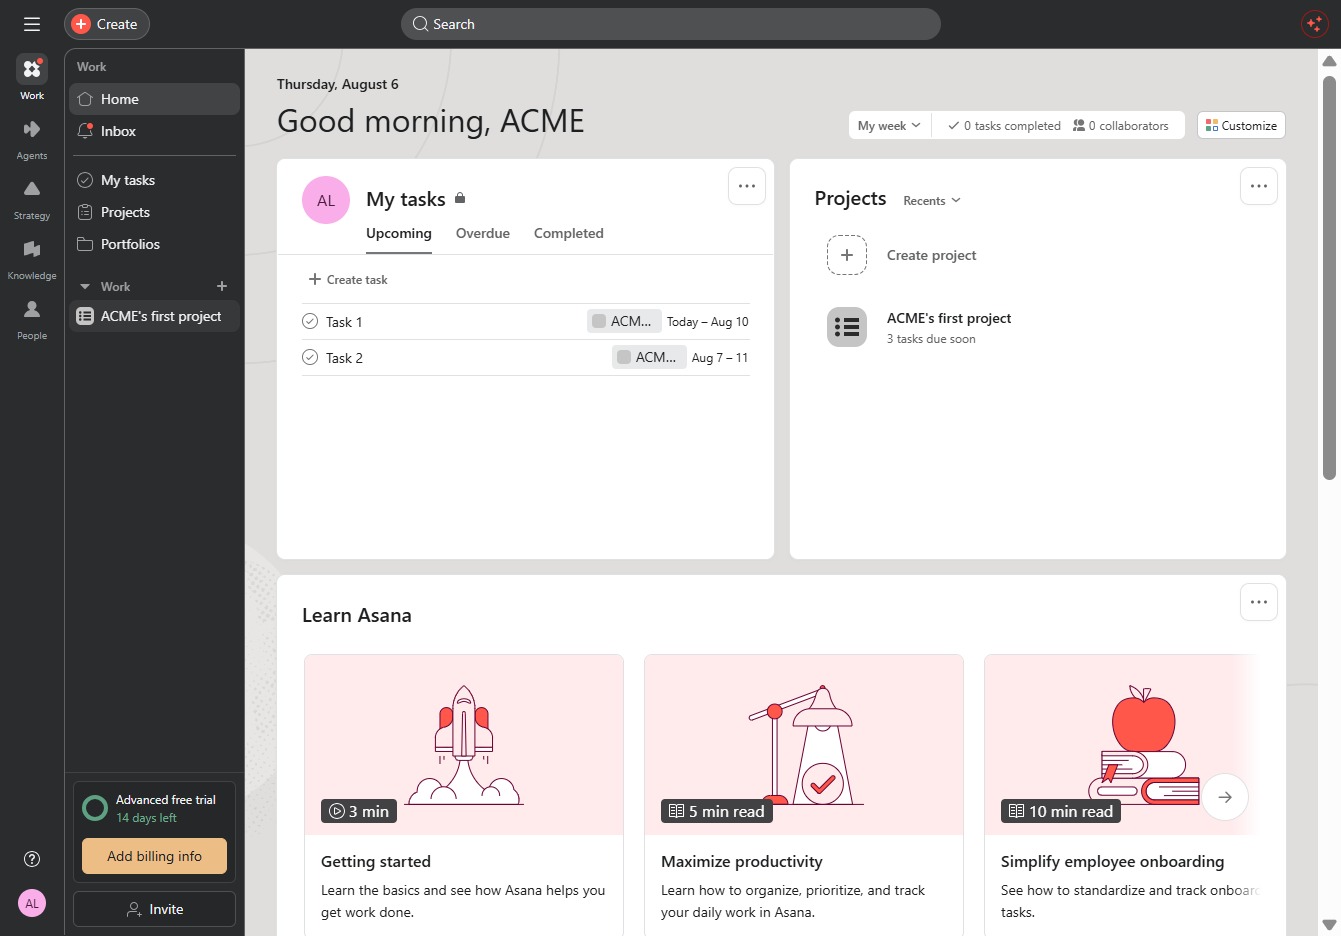
Click ACME's first project
This action opens the details for ACME's first project, allowing you to view tasks, deadlines, and team assignments associated with the project.
Loading screenshot…
100%
In this how-to guide, learn to automate task creation within ACME's project management system.
 viktoria
In this how-to guide, learn to automate task creation within ACME's project management system. Follow the steps to customize project views, set automation rules based on task priority changes, and efficiently create new tasks, ensuring streamlined workflow and improved task management.
This action opens the details for ACME's first project, allowing you to view tasks, deadlines, and team assignments associated with the project.
Selecting the Customize option allows you to modify the display settings and preferences for your project view, enhancing your task management experience.
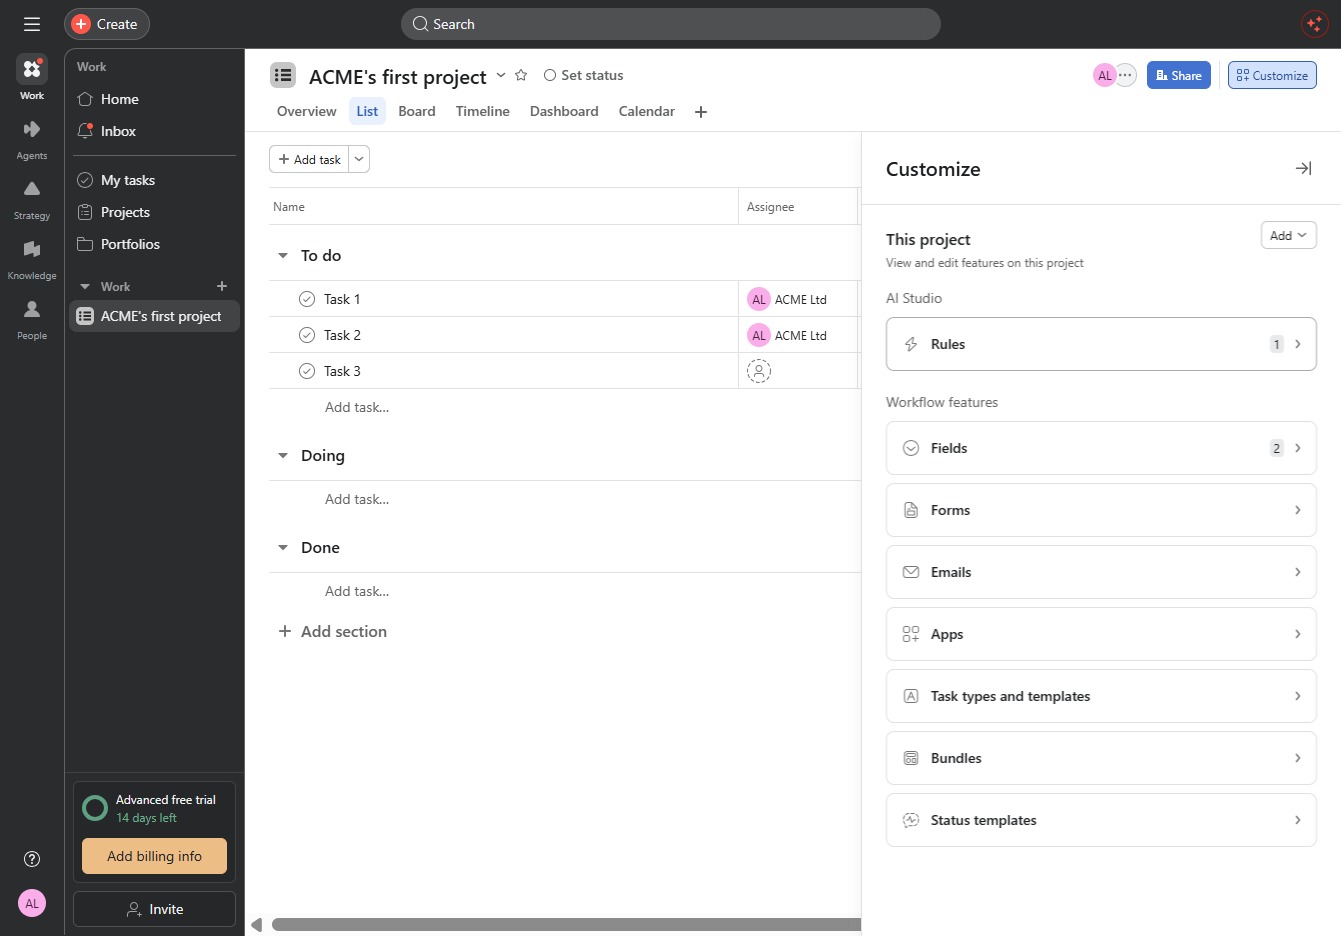
Clicking on the Rules1 section will allow you to access and manage the specific rules associated with the current project. You can configure or modify rules to better suit your workflow requirements.
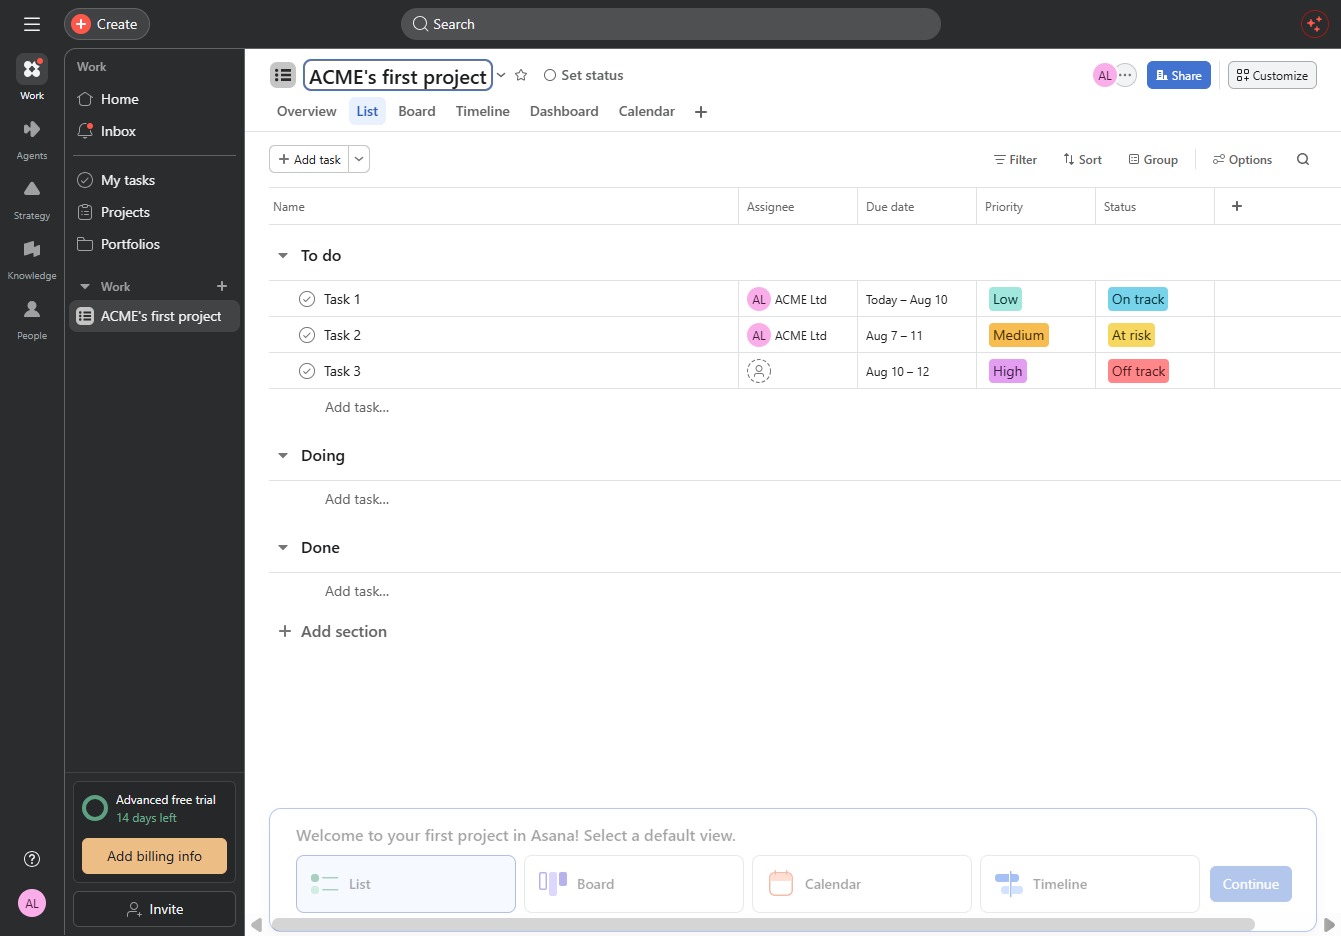
This action will prompt you to create a new task within the project. You can then enter details to include in the task list.
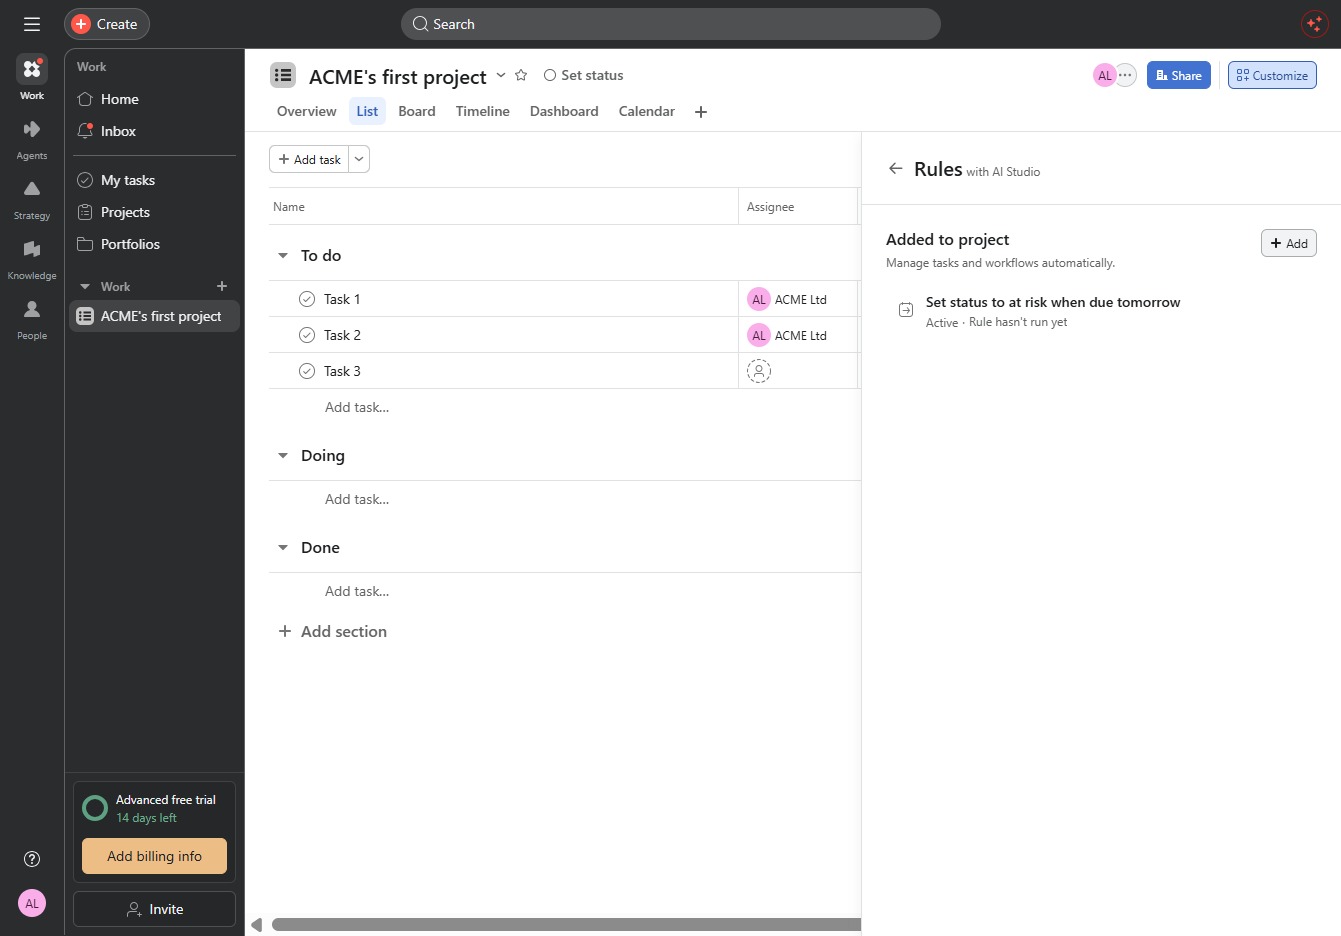
Clicking this button allows you to begin creating a new automation rule from a blank slate, providing full customization options for your automation process.
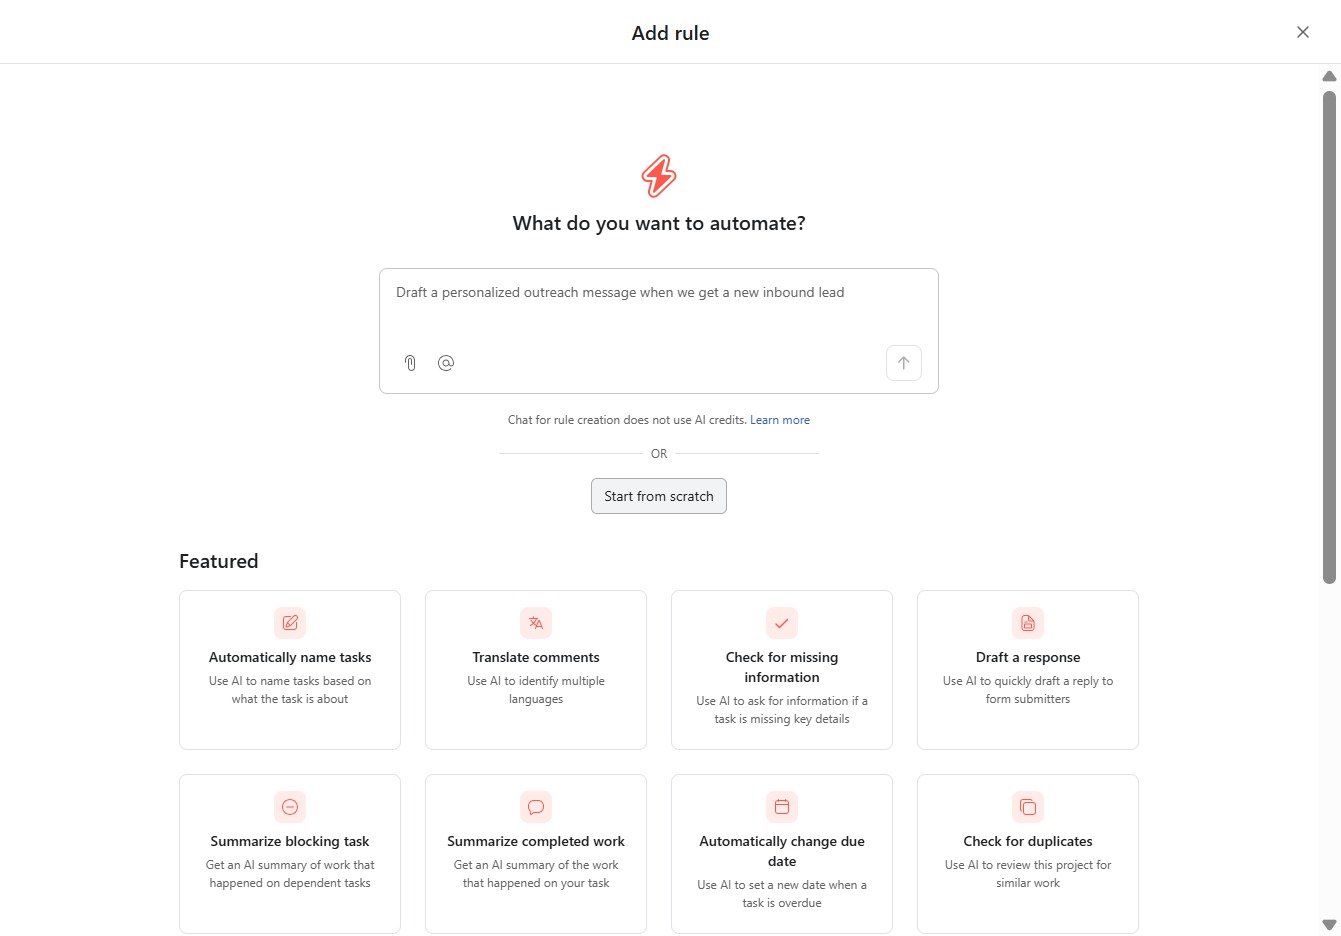
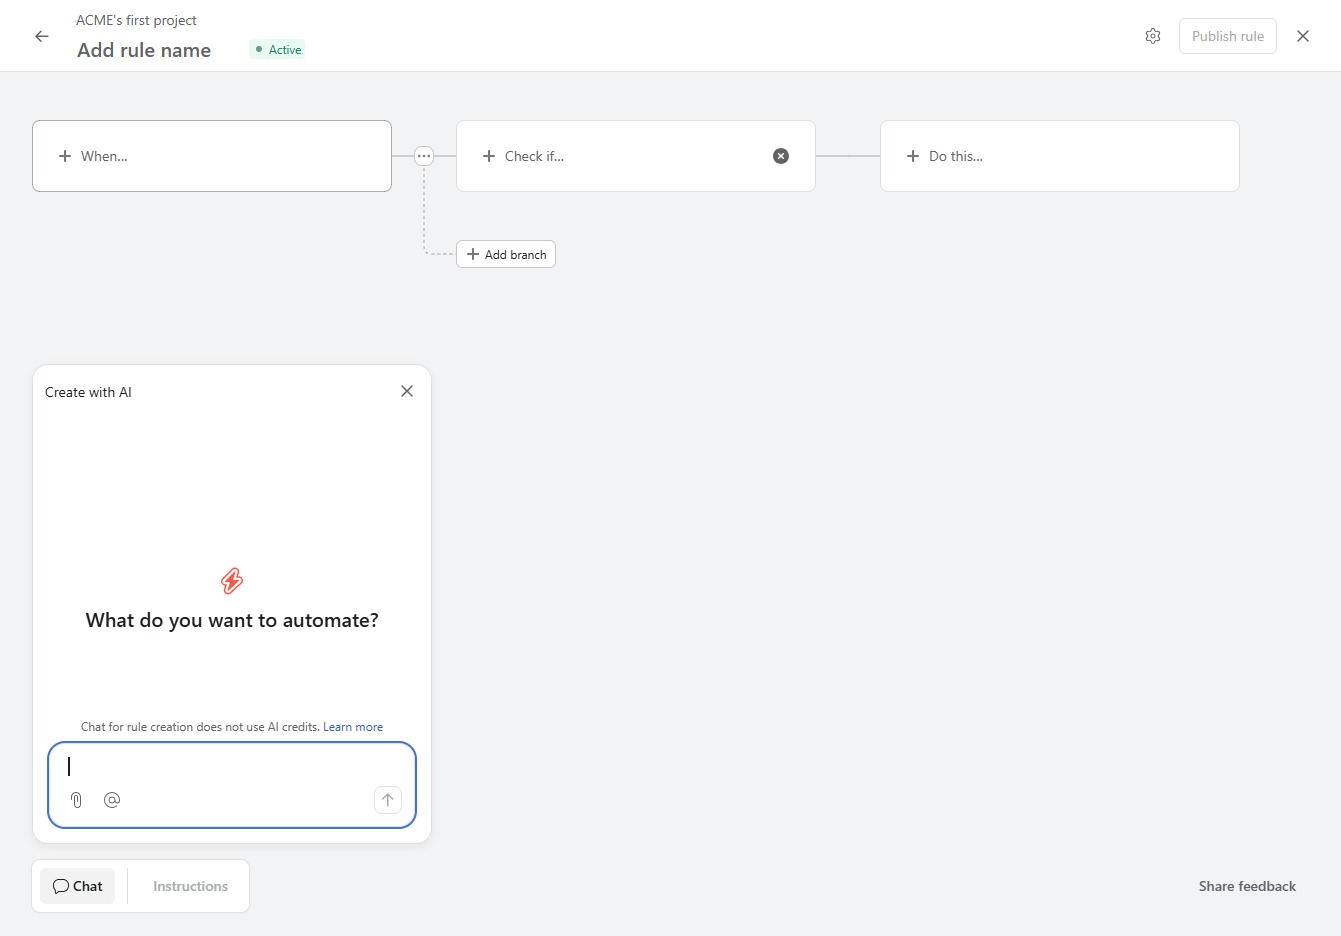
Clicking the 'When...' label allows you to set the triggering conditions for your automation rule. This is essential for defining when the rule should be activated based on specified criteria.
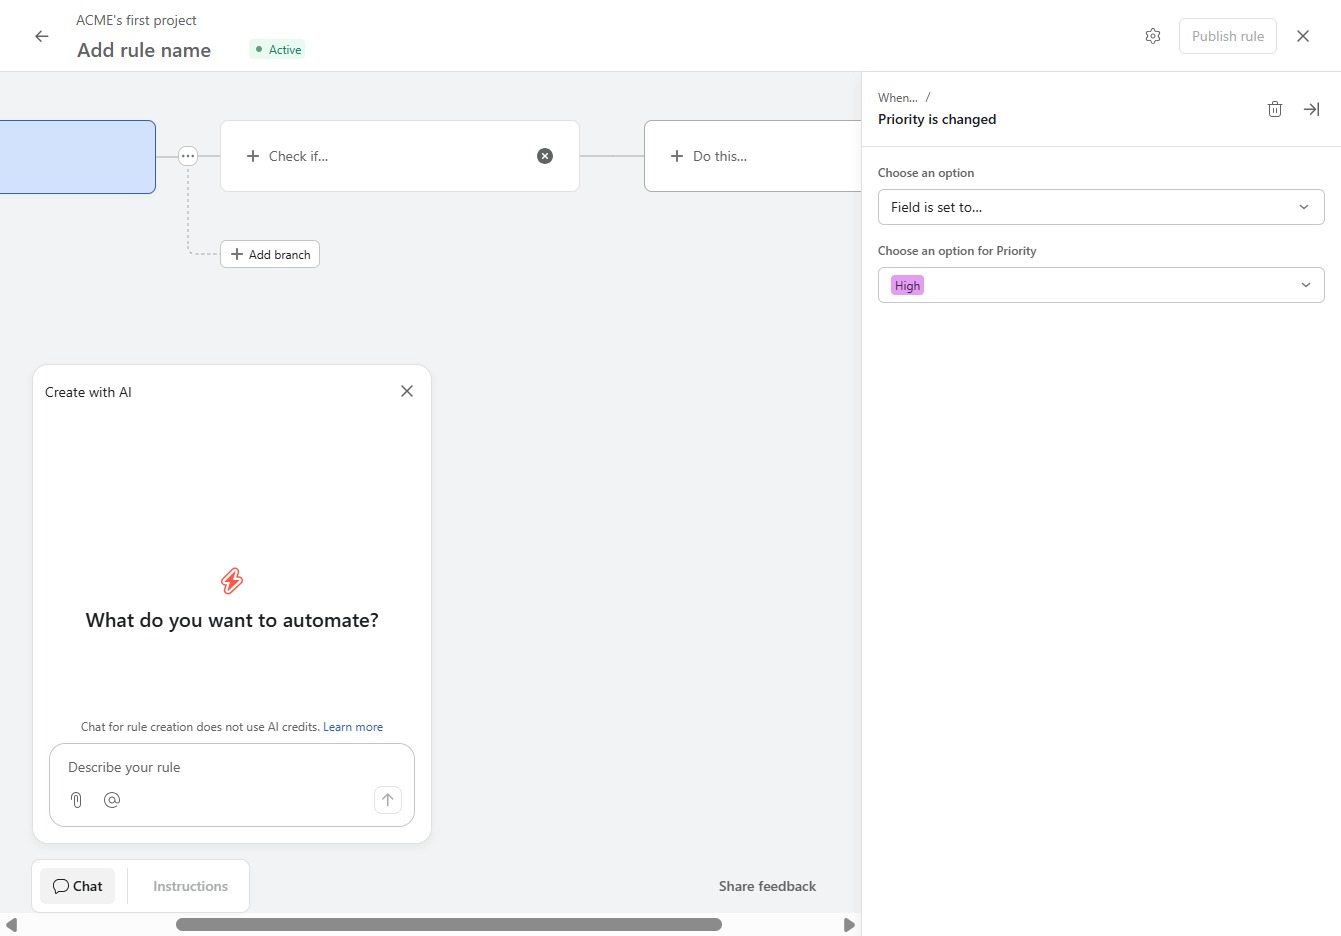
Selecting 'Priority is changed' sets it as a trigger for the automation rule. This allows the rule to activate whenever a task's priority changes, ensuring timely notifications or actions.
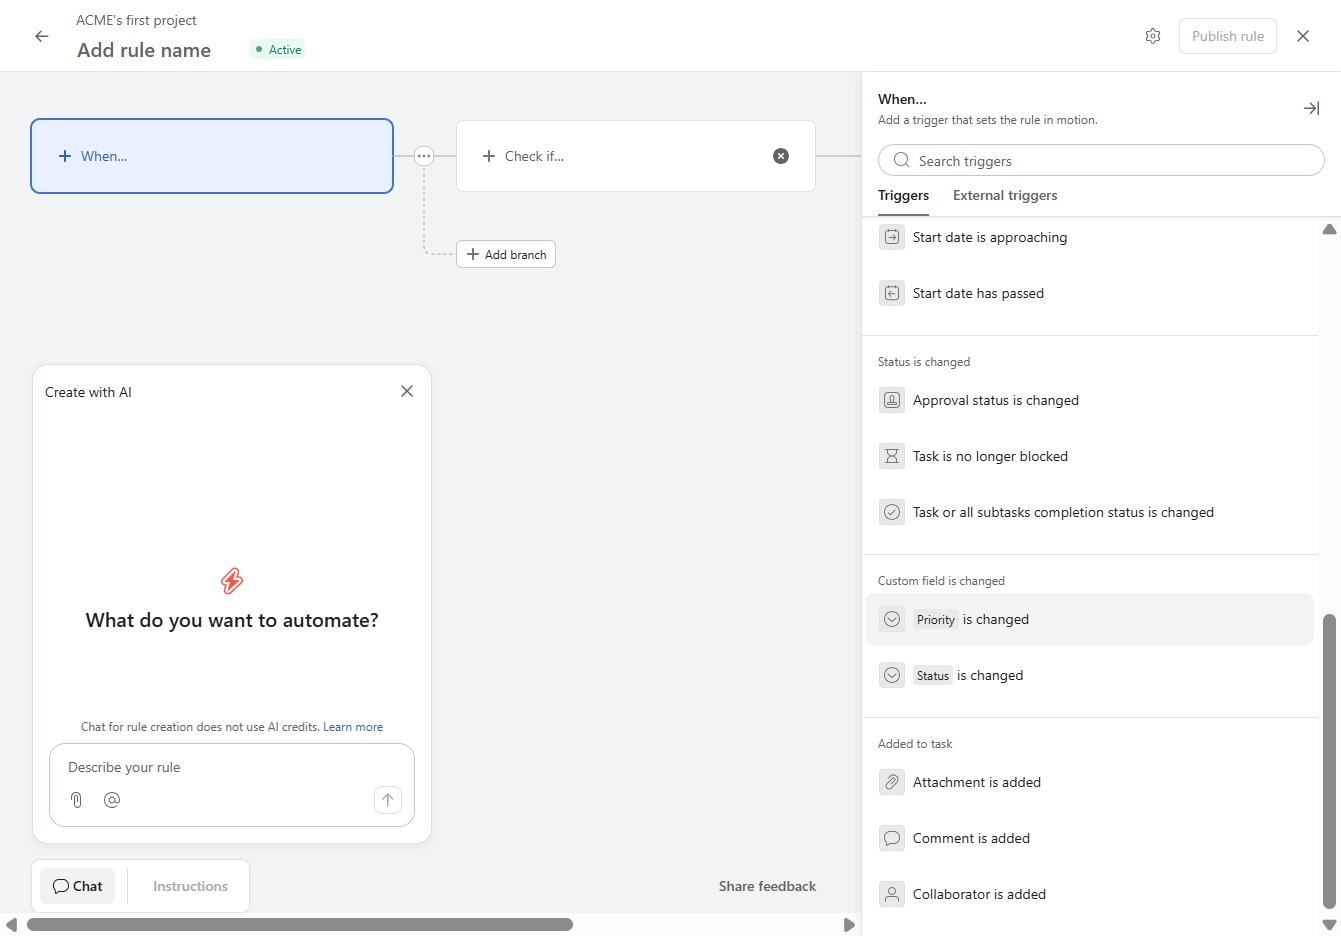
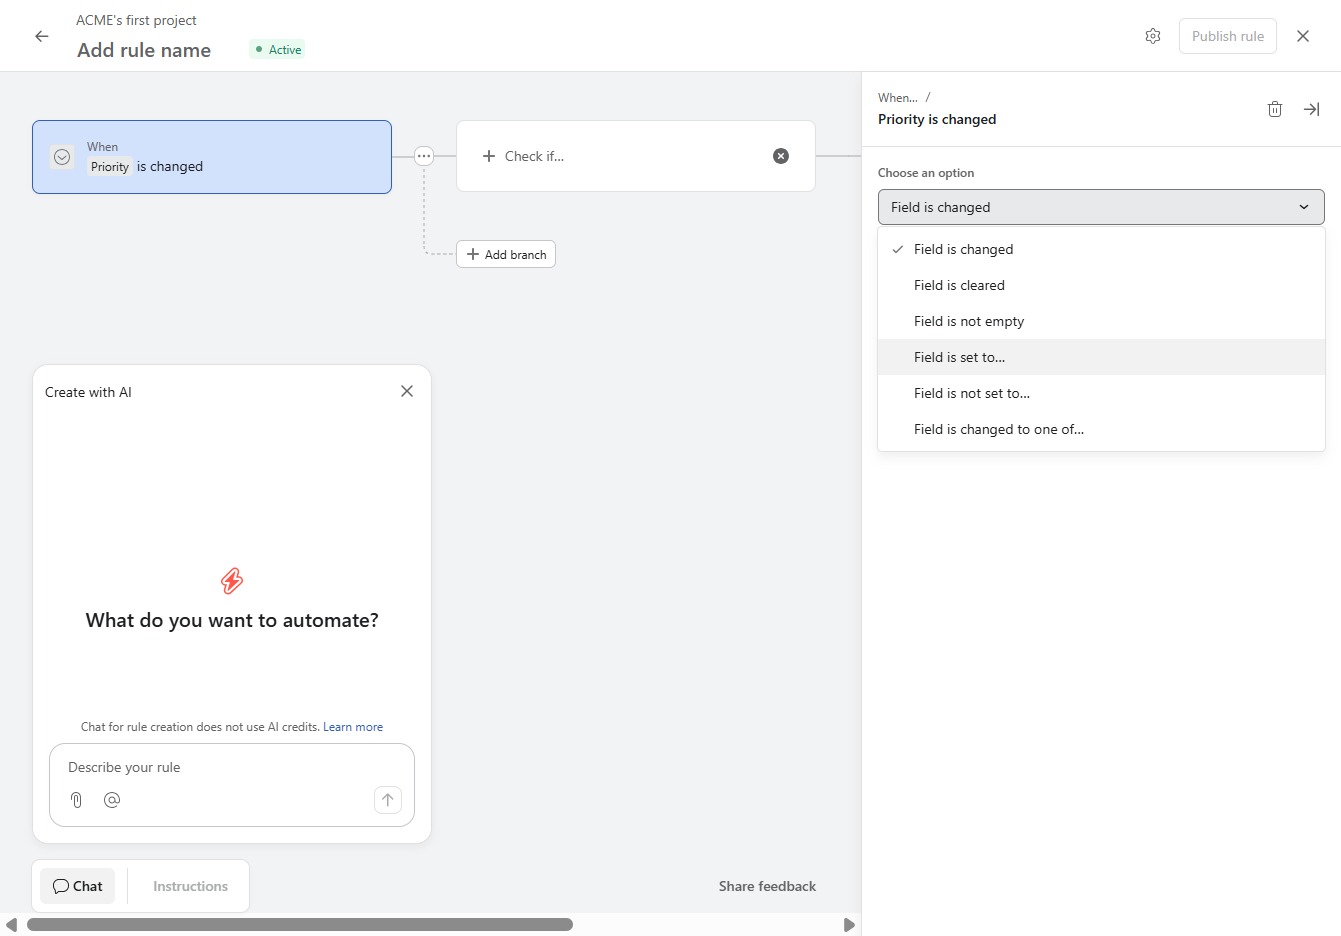
Selecting this option will set a condition for your automation rule, triggering the action when the specified field is altered.
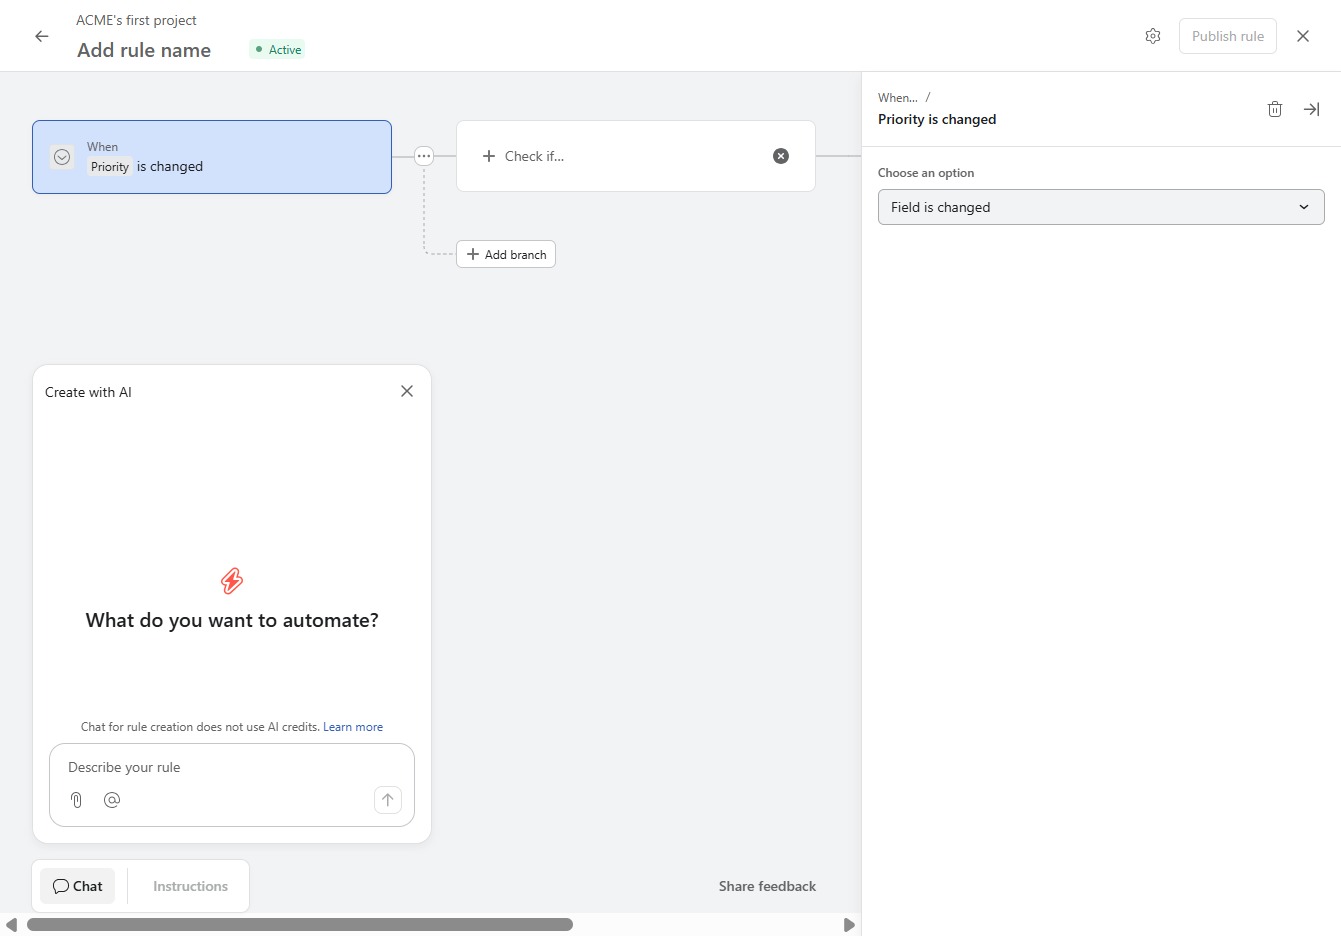
Selecting this option allows you to set a condition based on changes to the priority field in your automation rule.
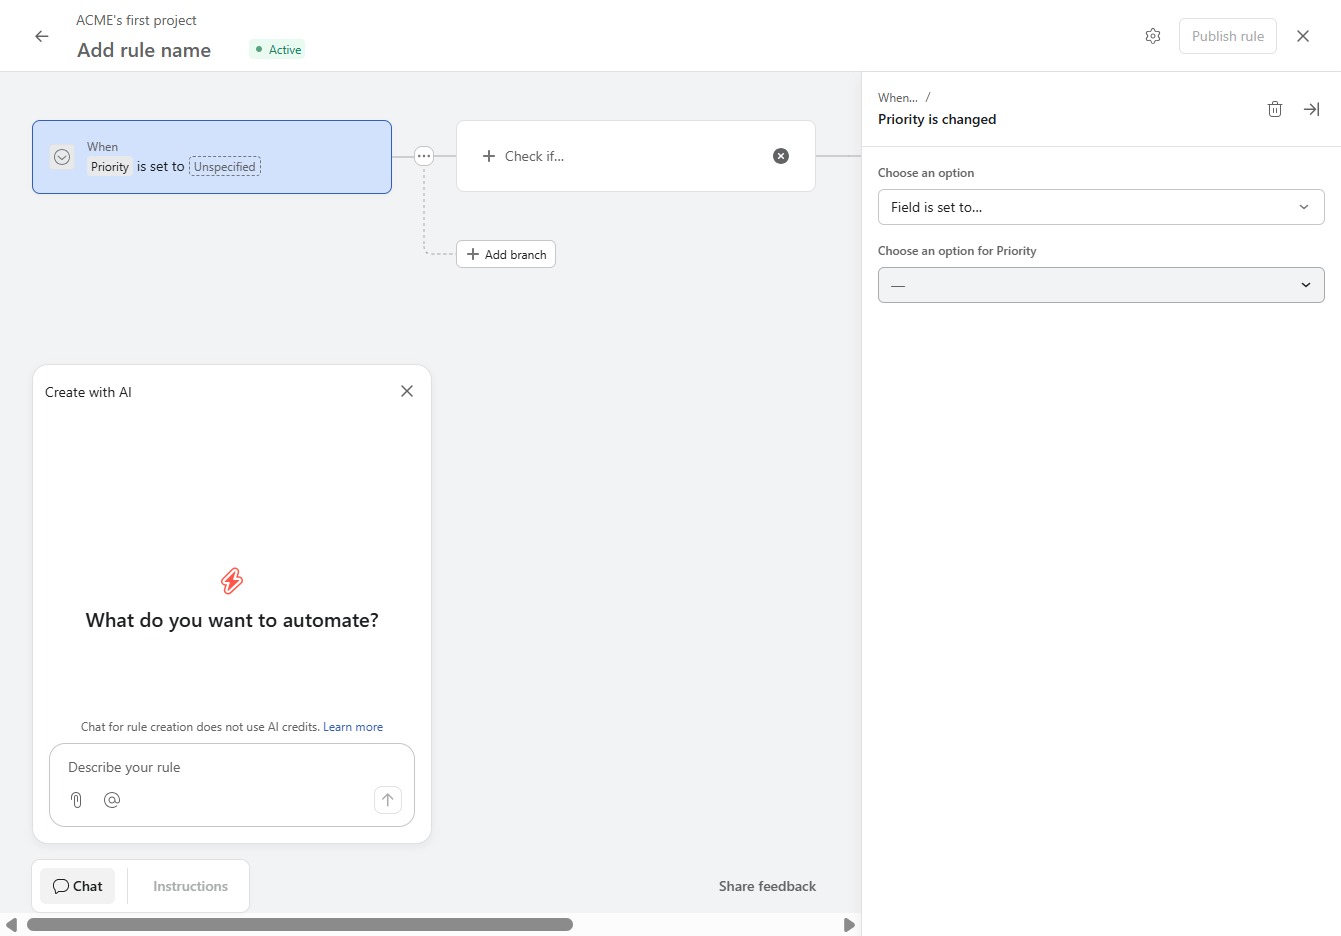
Select your desired priority level from the dropdown menu to determine how tasks will be prioritized in your automation rule.
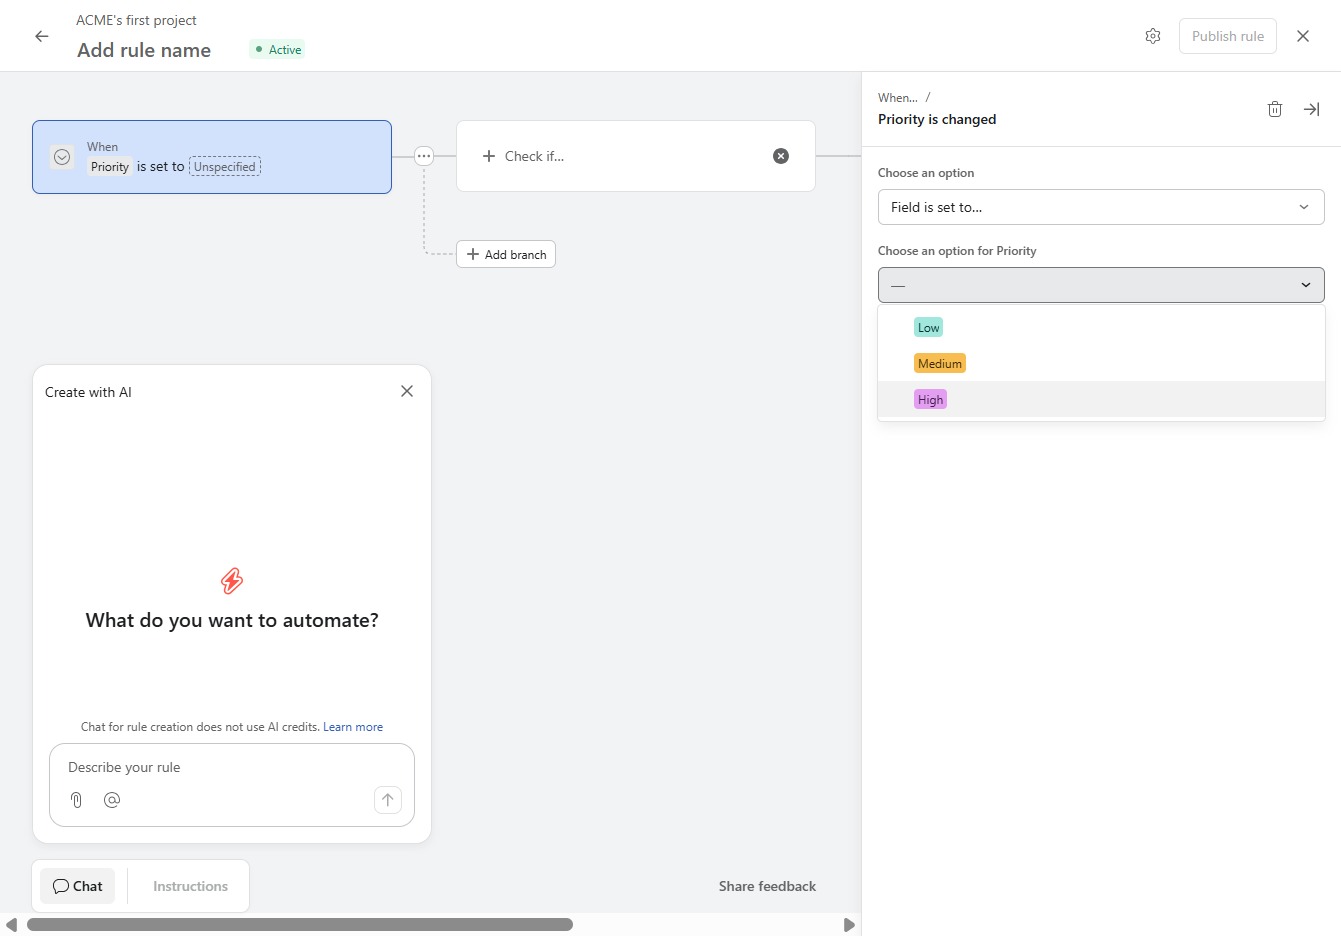
This action selects 'High' as the priority level for the rule being created, impacting how the rule will be processed in the automation.
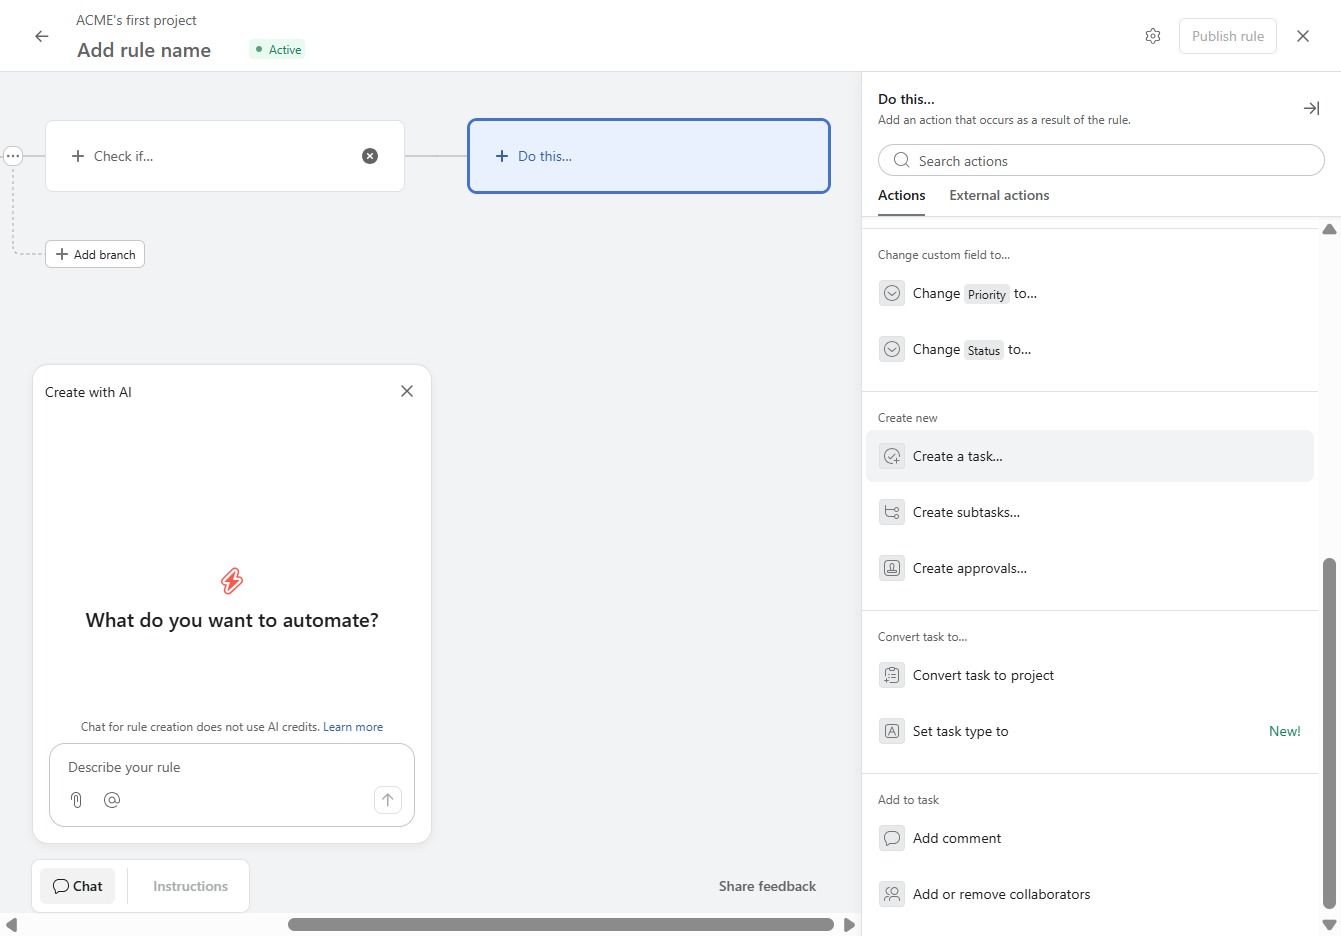
Select the 'Do this…' option to specify the action that should occur when the defined trigger condition is met in your automation rule.
Clicking this button opens a dialog where you can set up a new task for your project, allowing you to define details such as task name, due date, and assignees.
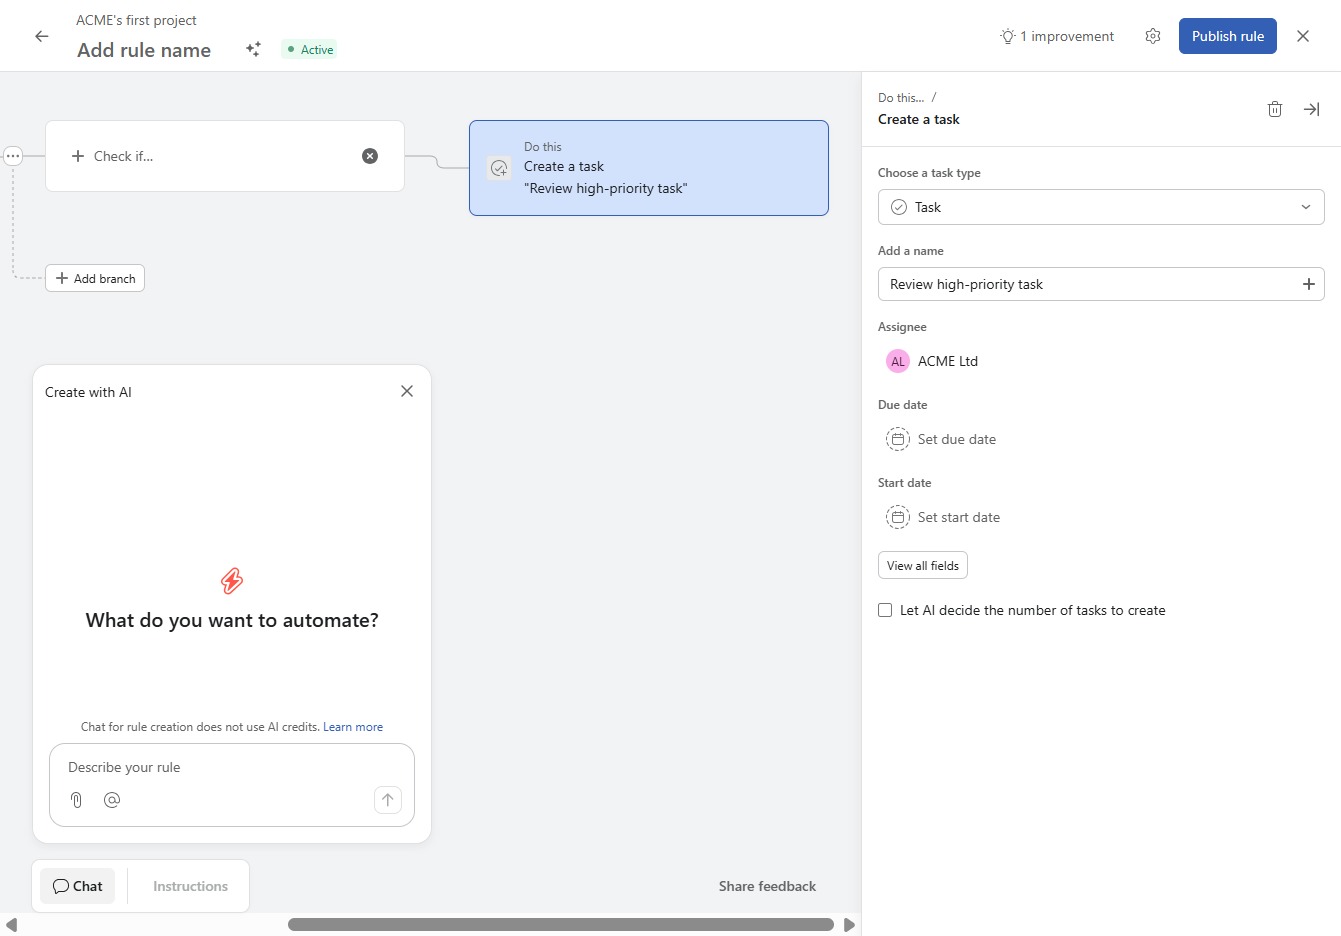
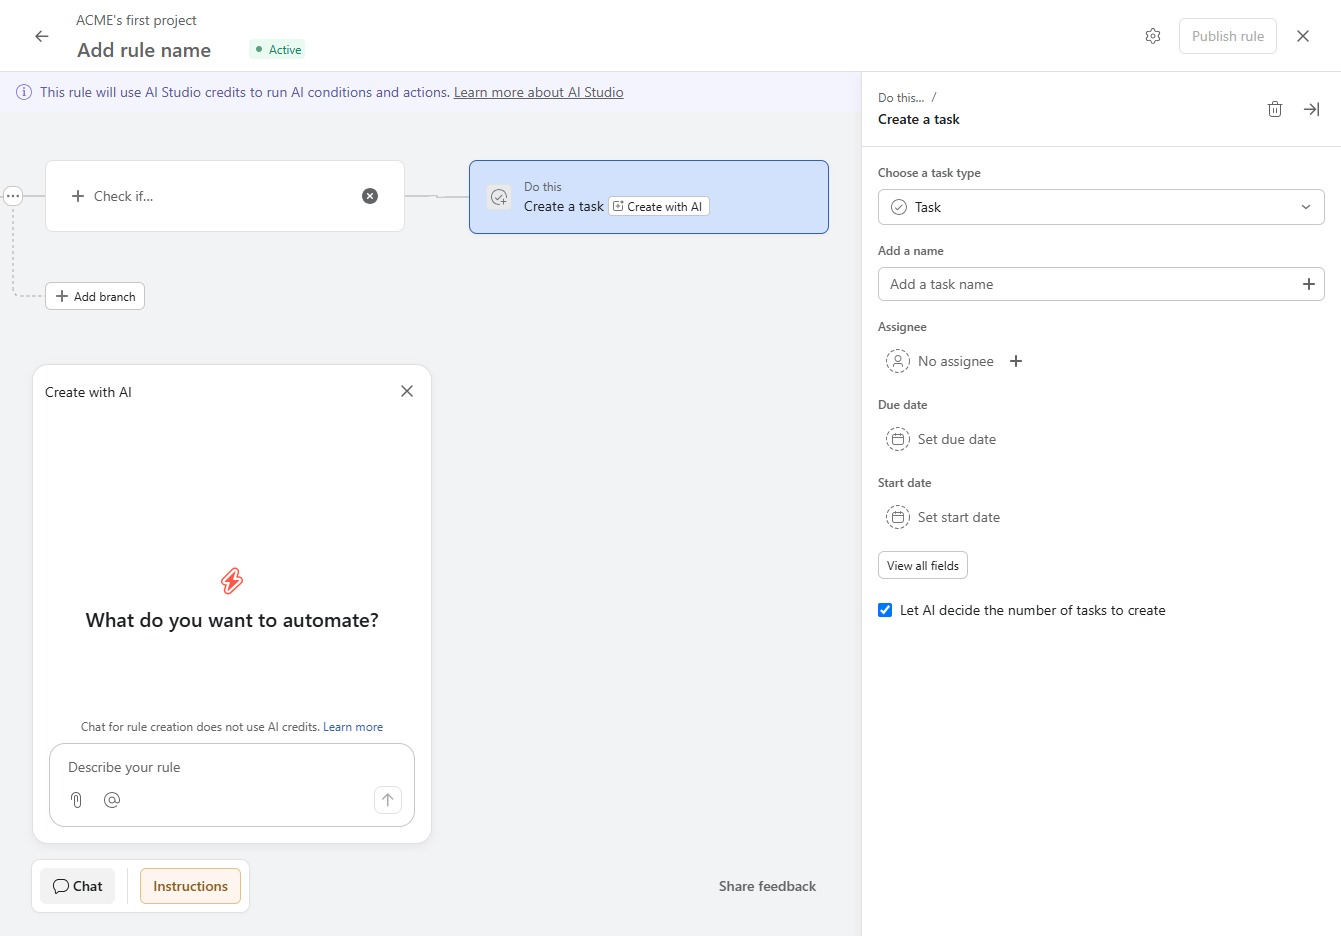
This will allow you to enter the name of the new task you are creating. Ensure that the task name accurately reflects the task's purpose for better organization.
Enter 'Review high-priority task' in the Task Name field to specify the title of your new task. This will help you easily identify the task's priority level when managing your projects.
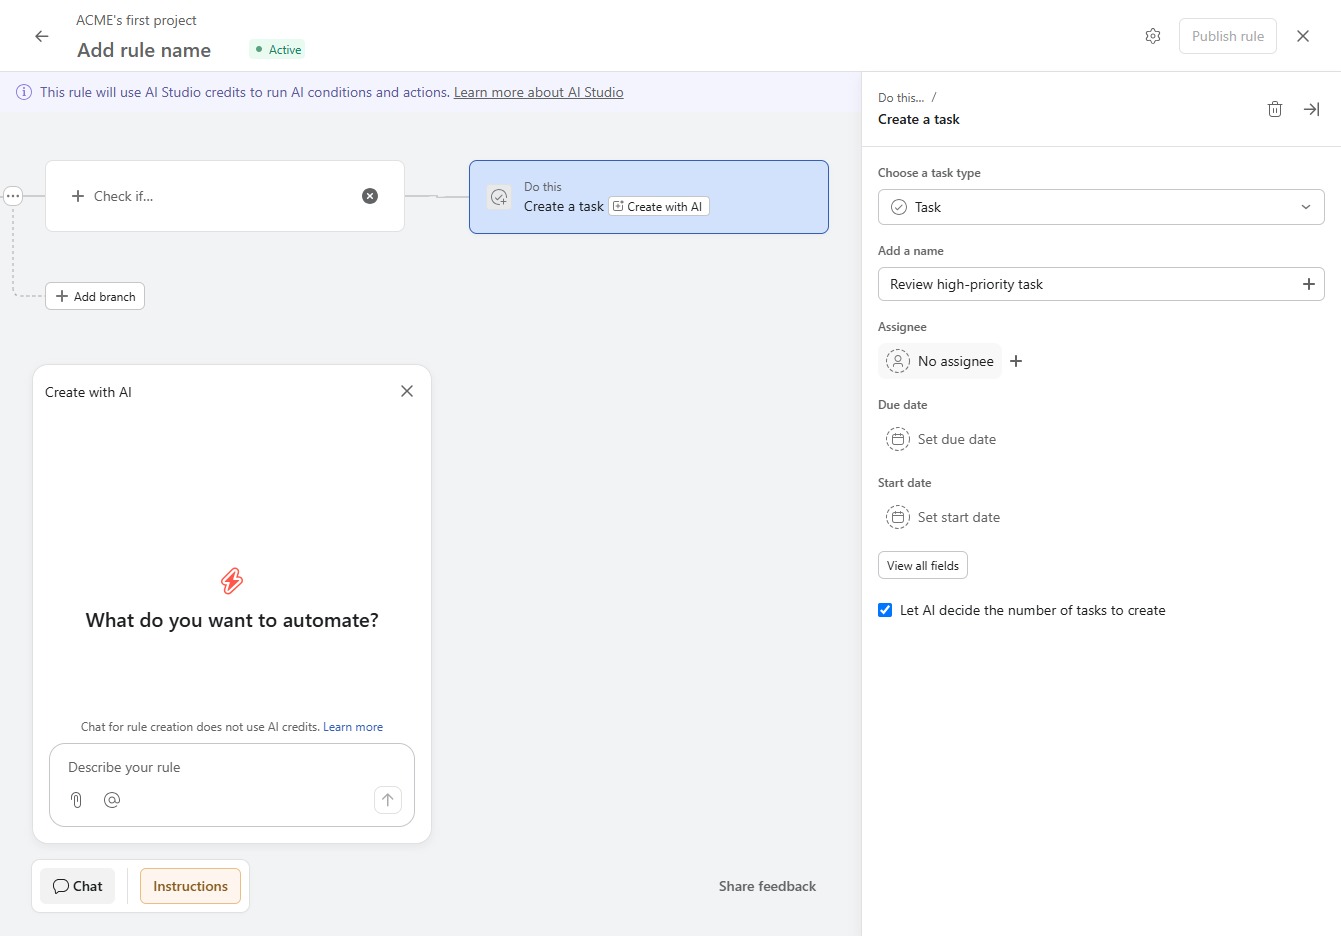
Selecting the 'No Assignee' option allows you to specify or change the assignee for the task you are creating. This will help in assigning the task to the appropriate team member for accountability.
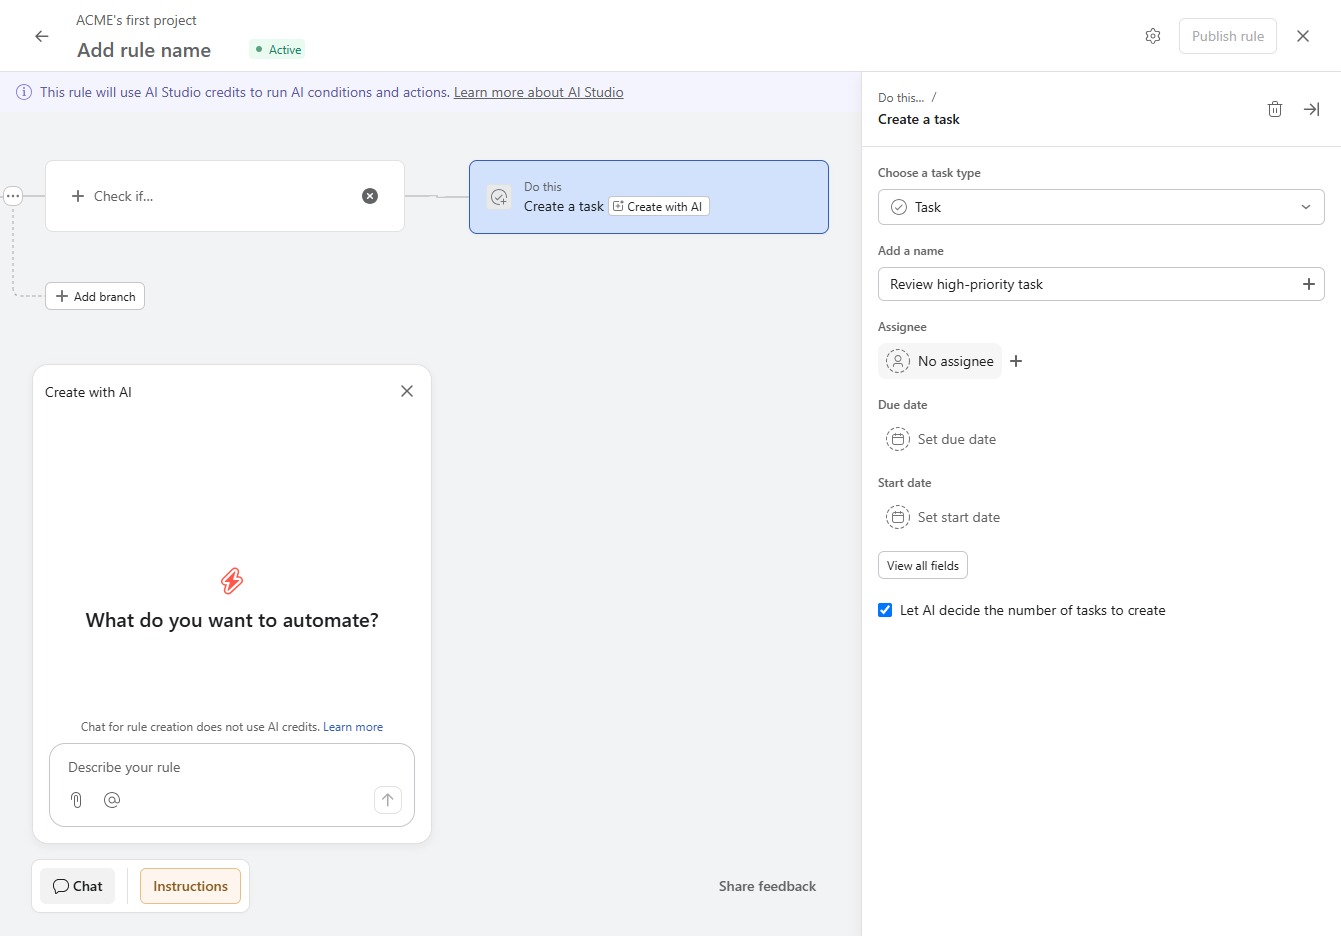
This action will allow you to edit or select the email address for the assignee in the task creation process.
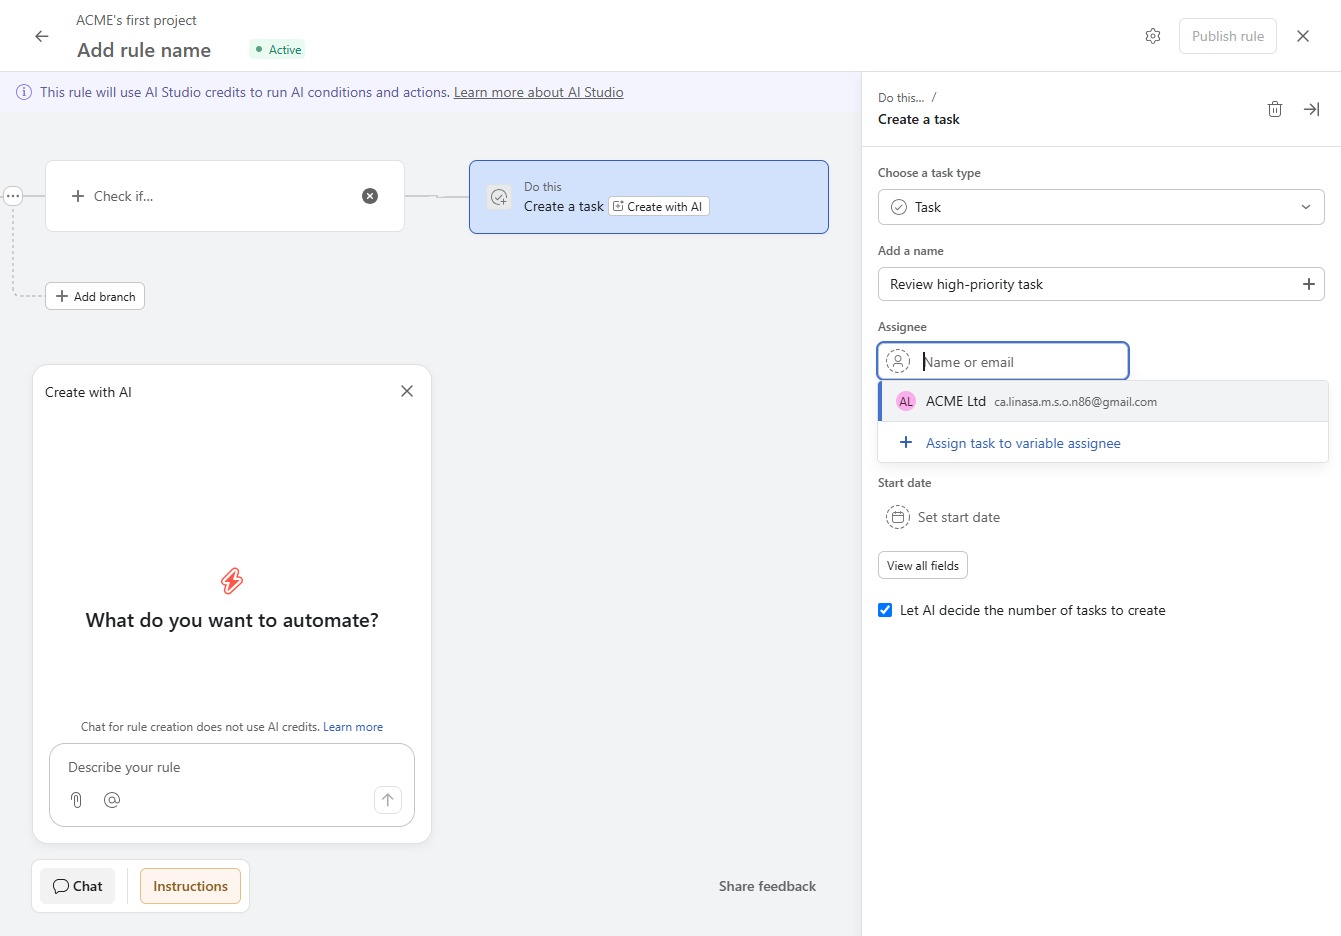
This action allows you to enter a description of the task you want to automate using AI. Provide relevant details to enhance the AI's understanding and improve task automation.
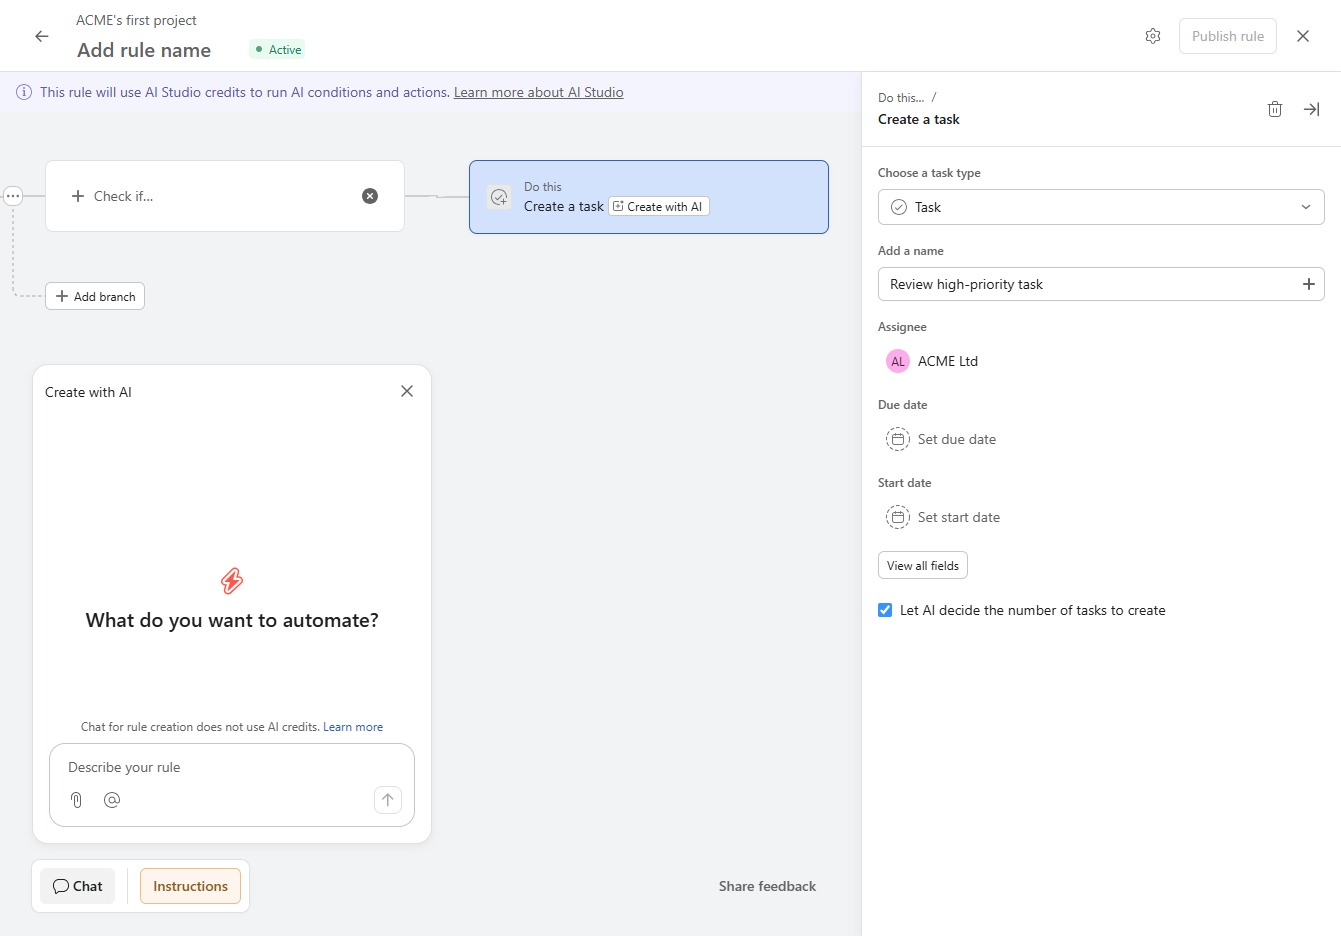
This action will finalize and activate the automation rule you have set up, allowing it to start functioning according to the defined parameters.