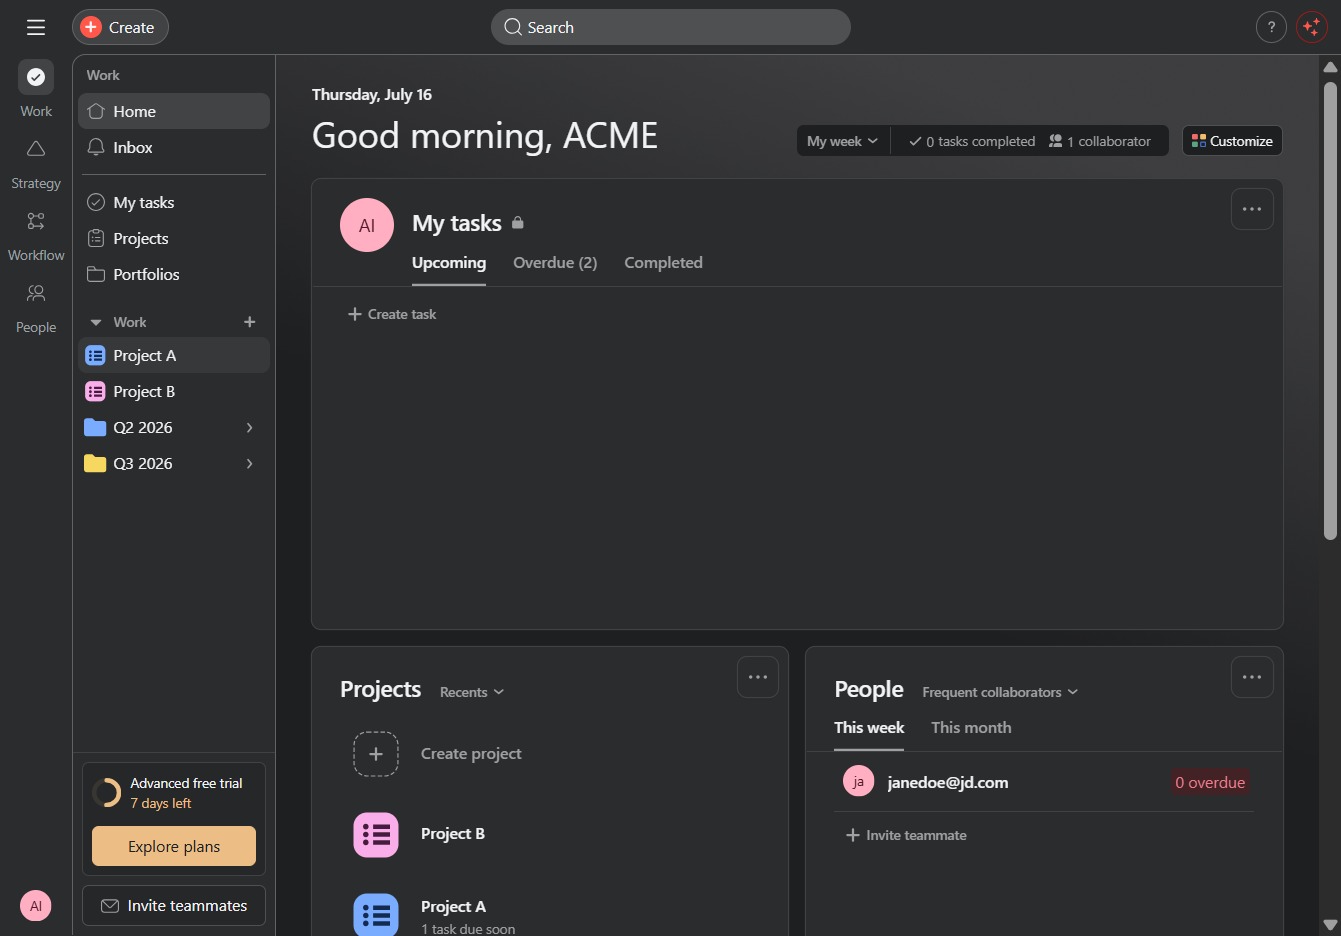
Click Project A to view details
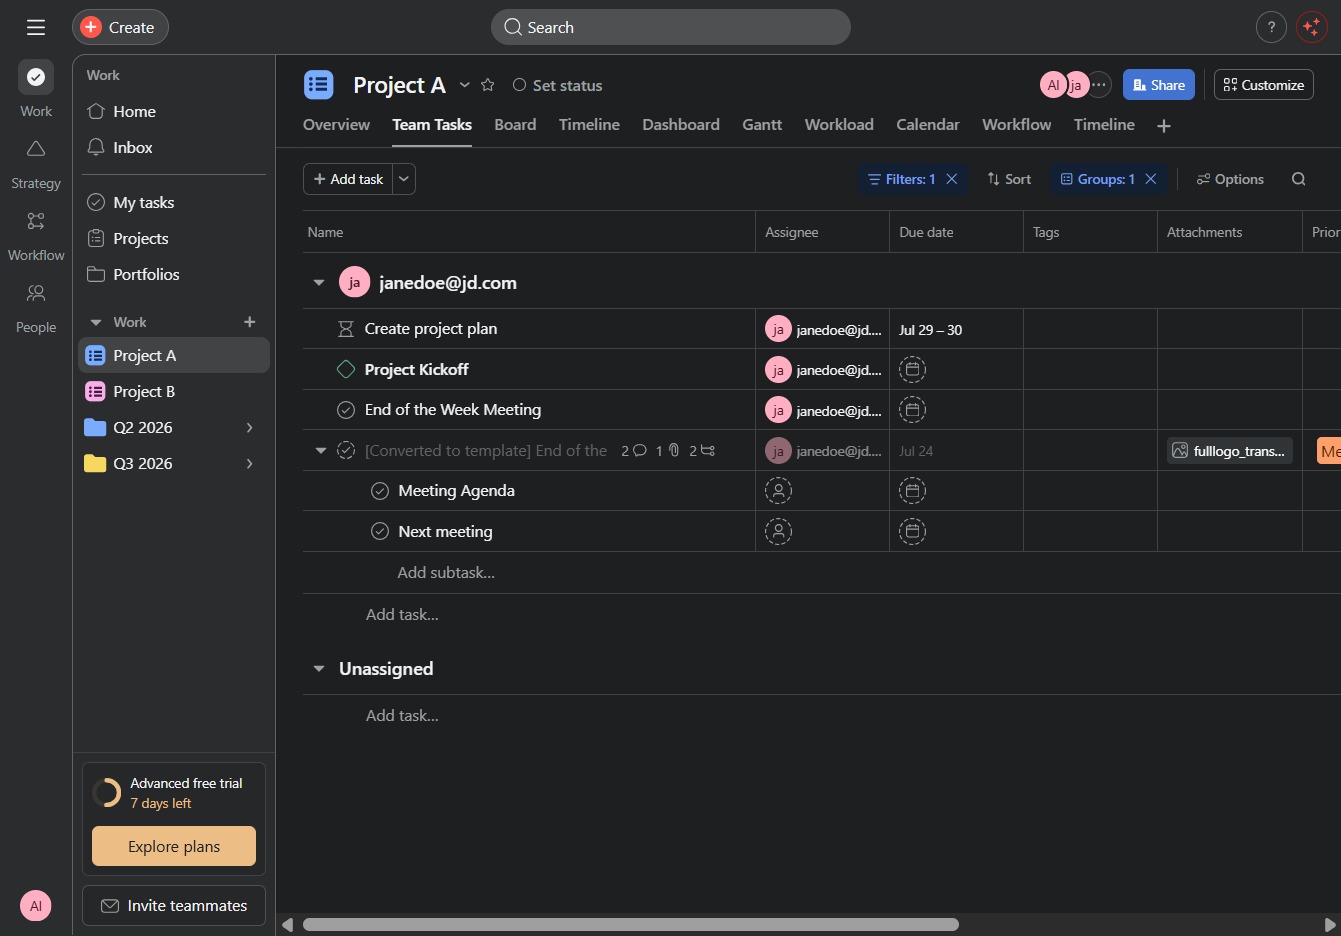
By clicking on 'Project A', you will access the project overview where you can manage tasks and collaborate with team members.
Loading screenshot…
100%
In this how-to guide, you'll learn how to automate task assignments within your project management system, from setting up triggers and conditions to defining actions and…
 viktoria
In this how-to guide, you'll learn how to automate task assignments within your project management system, from setting up triggers and conditions to defining actions and assigning tasks. By following the step-by-step instructions, you will streamline your workflows and improve collaboration among team members.
By clicking on 'Project A', you will access the project overview where you can manage tasks and collaborate with team members.
Clicking the Customize button allows you to adjust various settings and preferences for your project view and task management.
This will open the Rules3 settings, allowing you to manage automated rules specific to your project. You can configure conditions and actions that will streamline your project workflows.

This action allows you to add new collaborators or tasks to the project. You can manage various project elements as required after the addition.
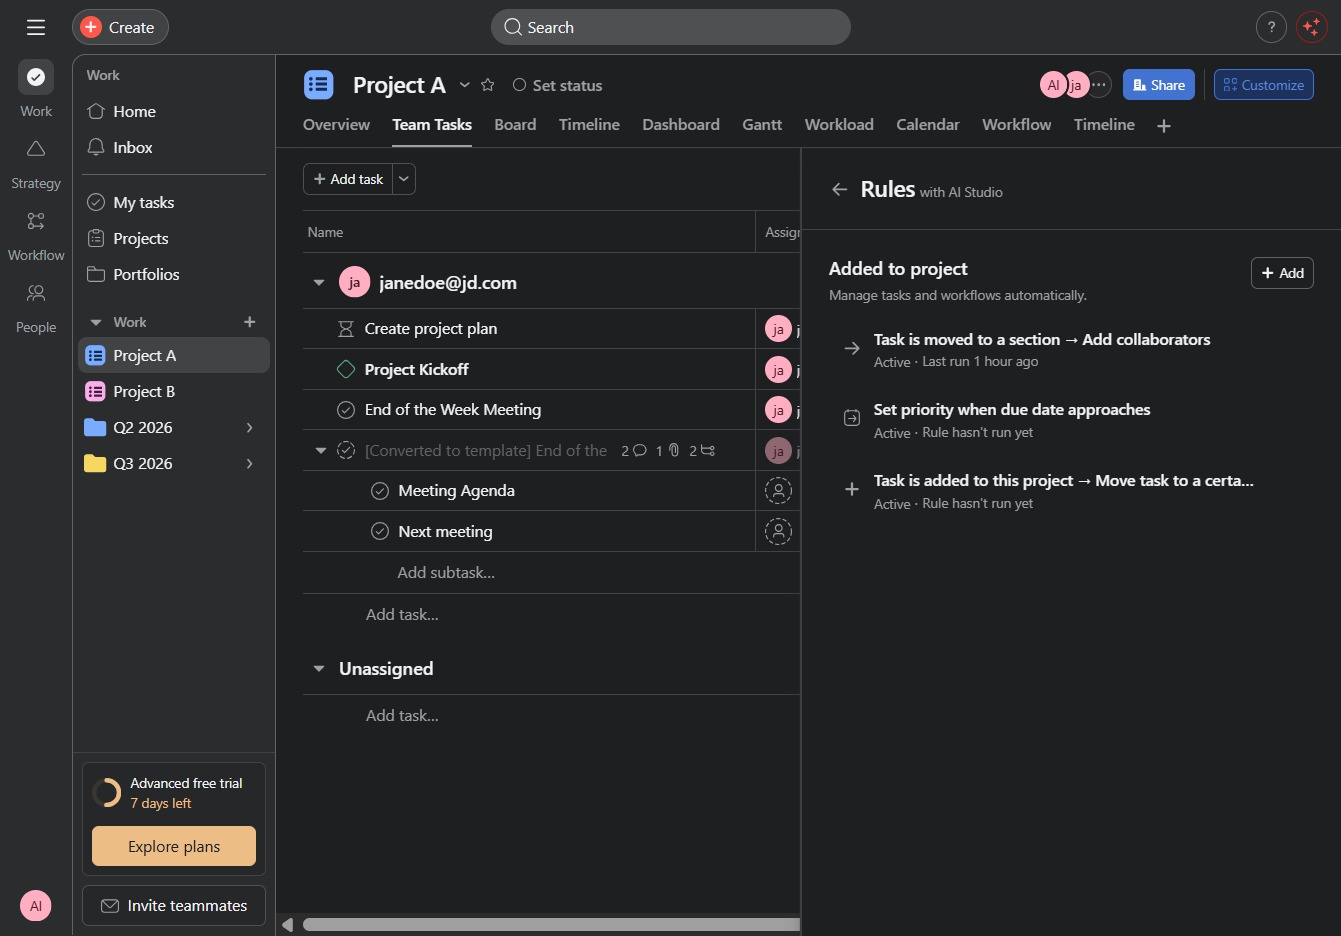
This initiates a new automation setup, allowing you to create a rule without using a template. You will be guided through the steps to define your automation from the beginning.

Clicking this link opens a prompt where you can describe the automation rule you want to create. This allows you to enter details for the action you wish to automate in your project.
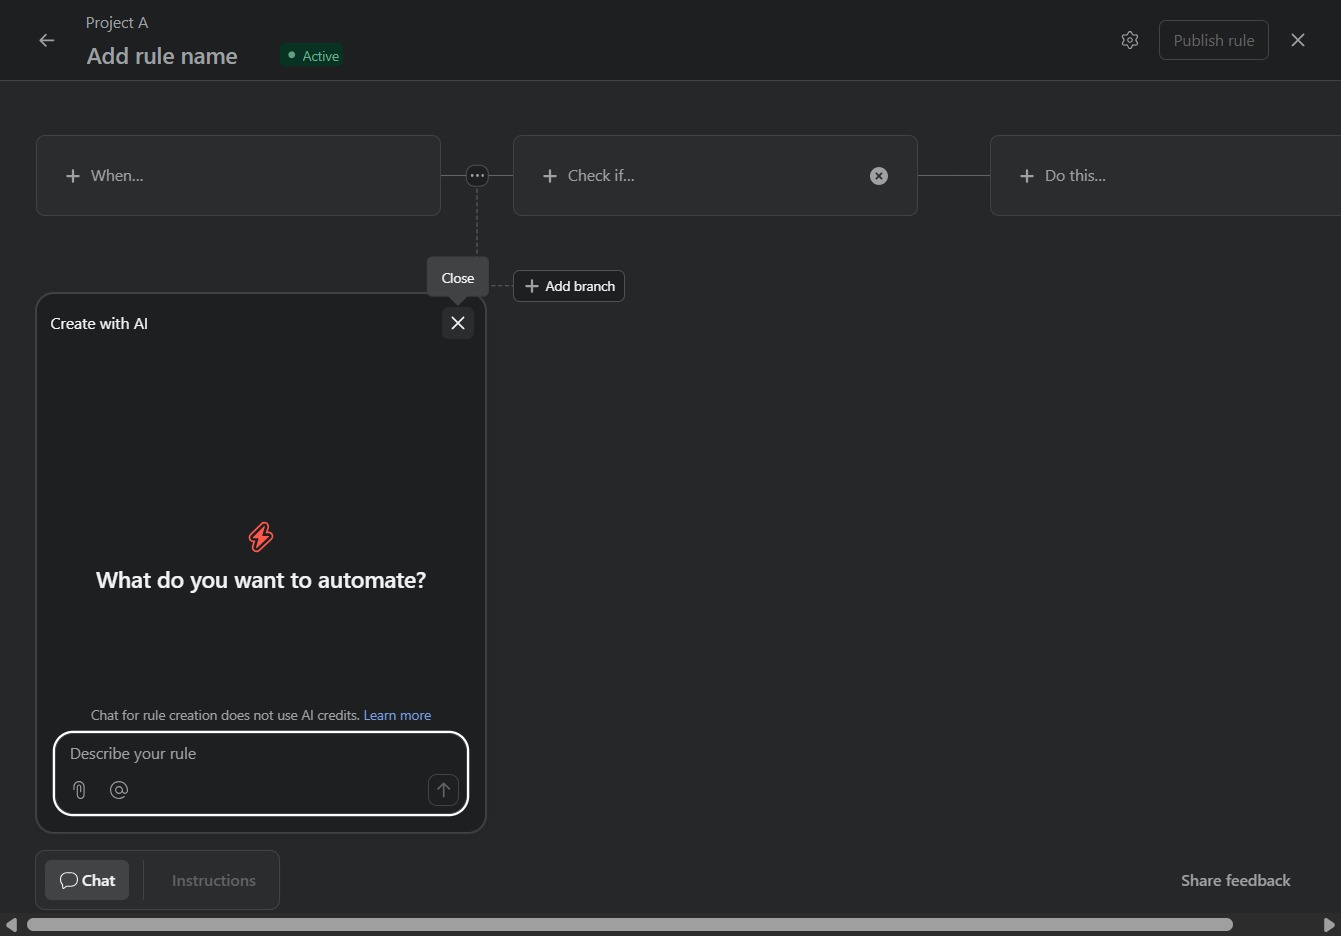
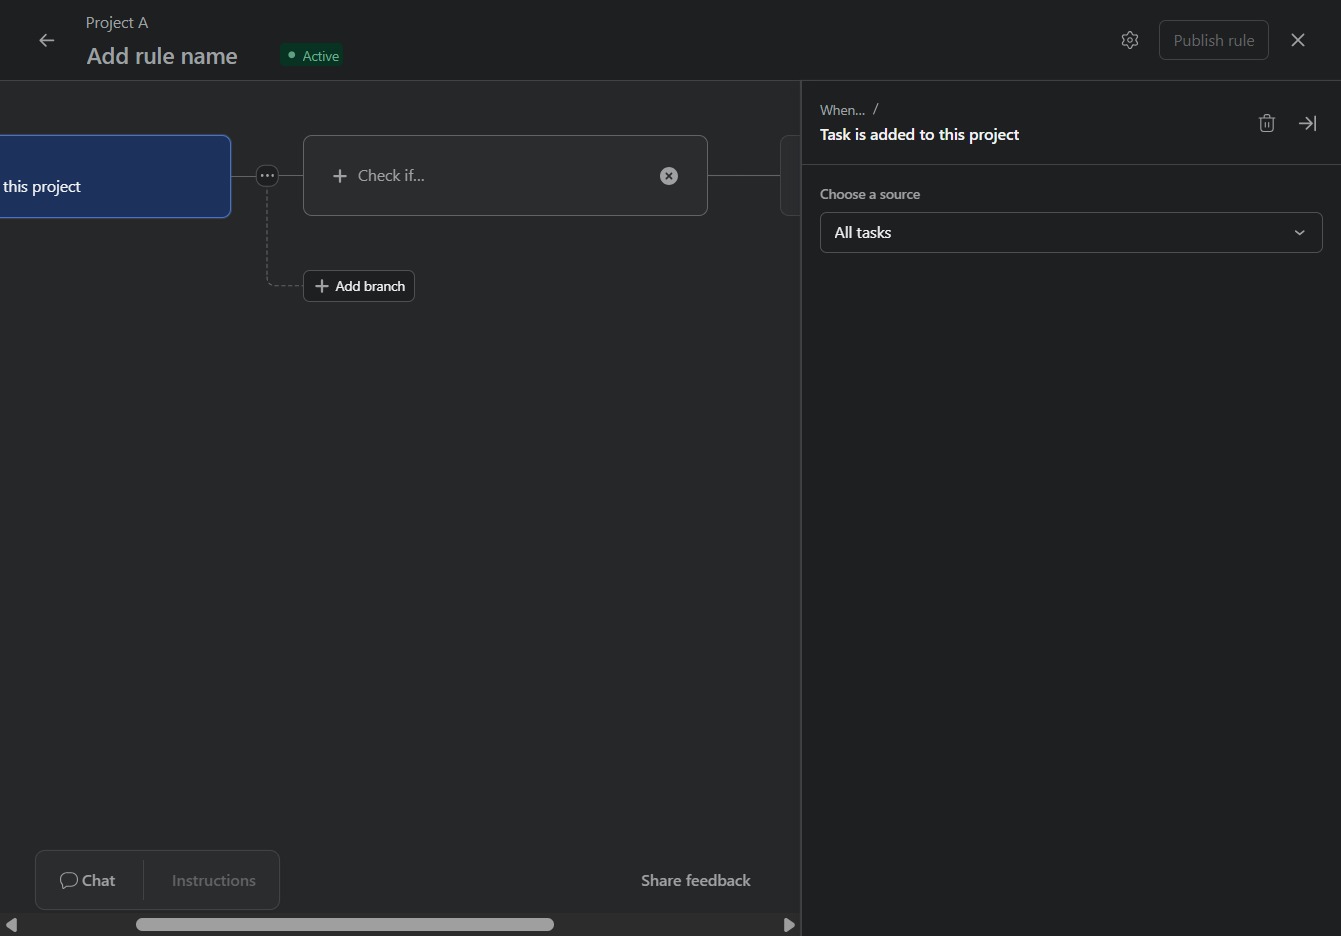
Clicking the 'When...' span allows you to define the trigger condition for your rule, setting the stage for subsequent actions in the automation workflow.

By clicking this option, the selected task will be officially added to the current project, allowing you to proceed with further actions related to project management.

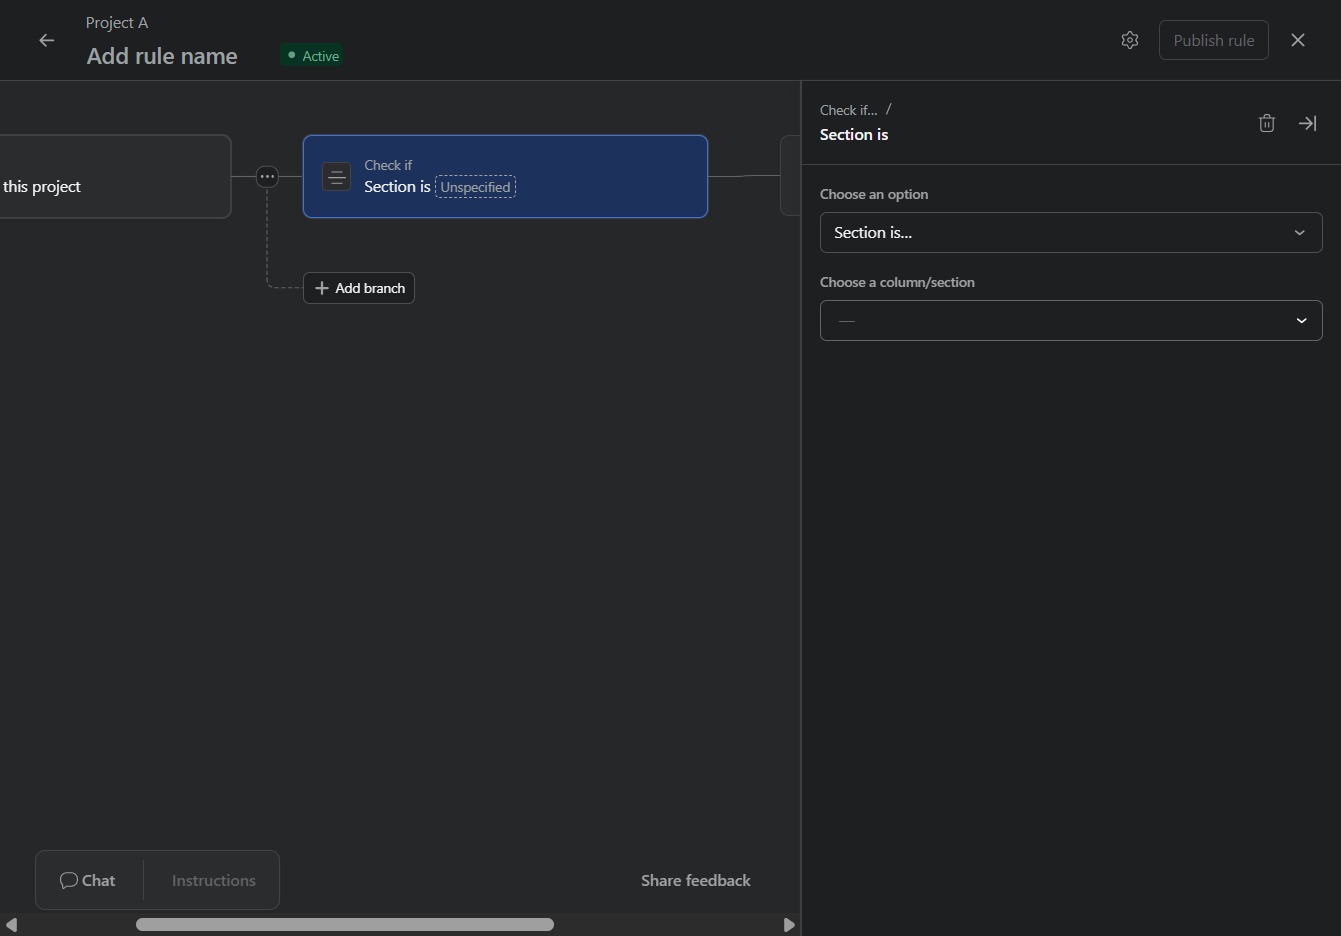
This action allows you to specify conditions for the rule, ensuring that tasks meet certain criteria before proceeding in the project workflow.
This action allows you to select a specific section to define the conditions for your task rule. Once selected, the options will populate based on the sections available in your project.

This action allows you to create a new branch in your rule, enabling you to expand and refine the conditions of your project.
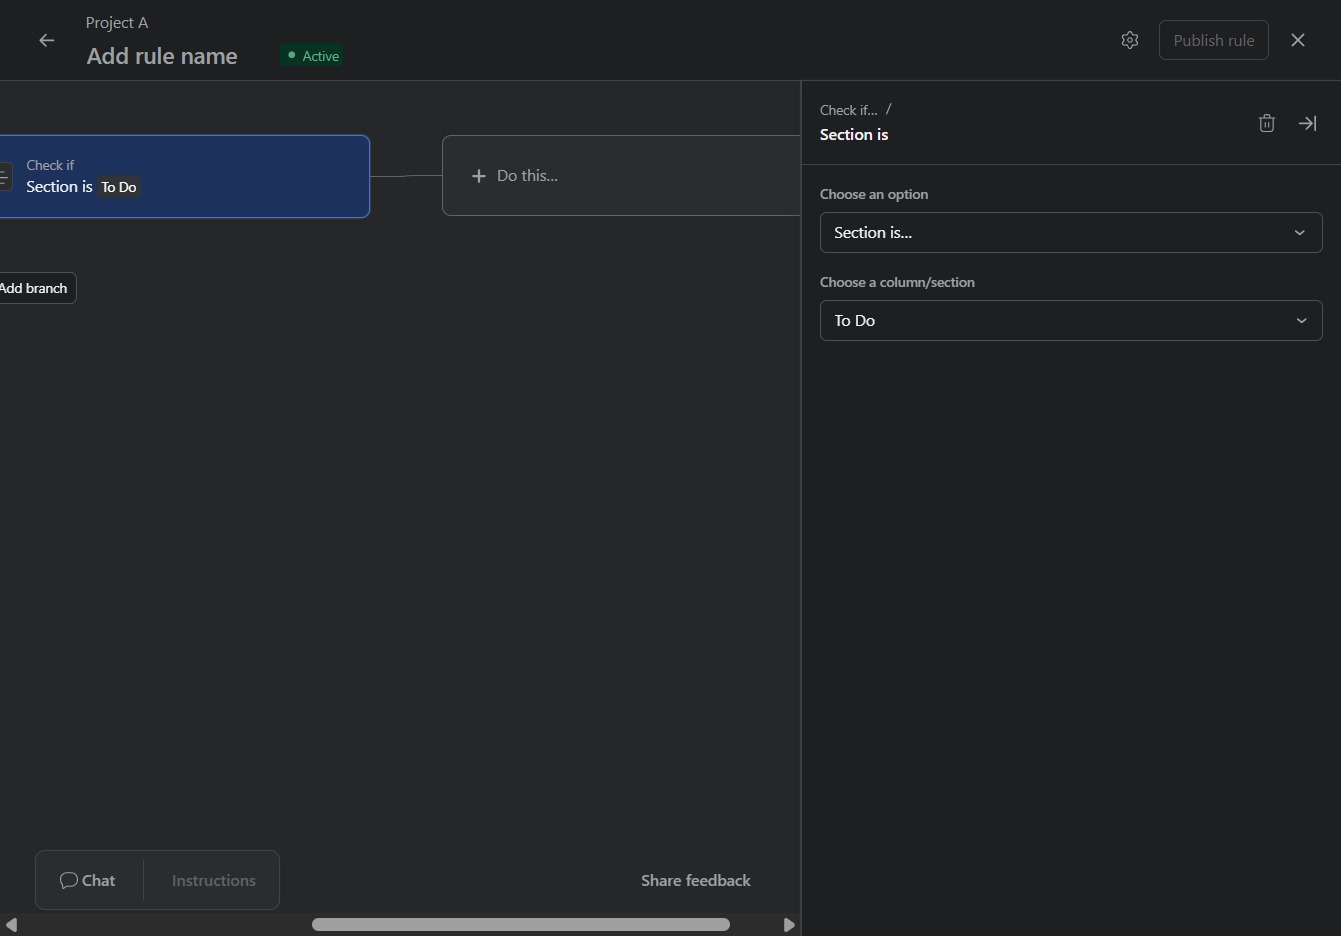
This action selects the 'To Do' column in your project setup, allowing you to manage tasks or items that need to be completed.

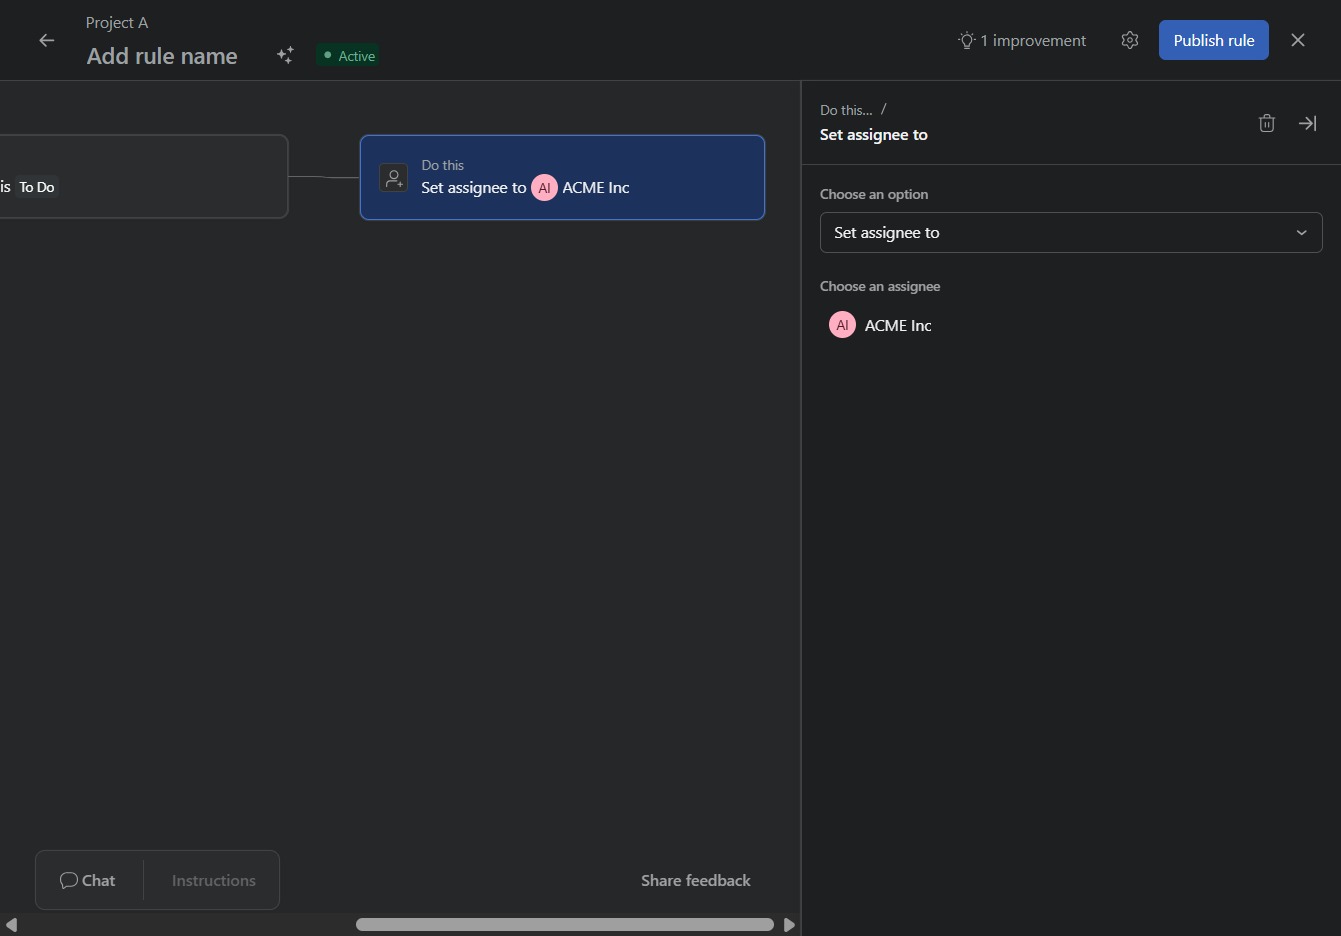
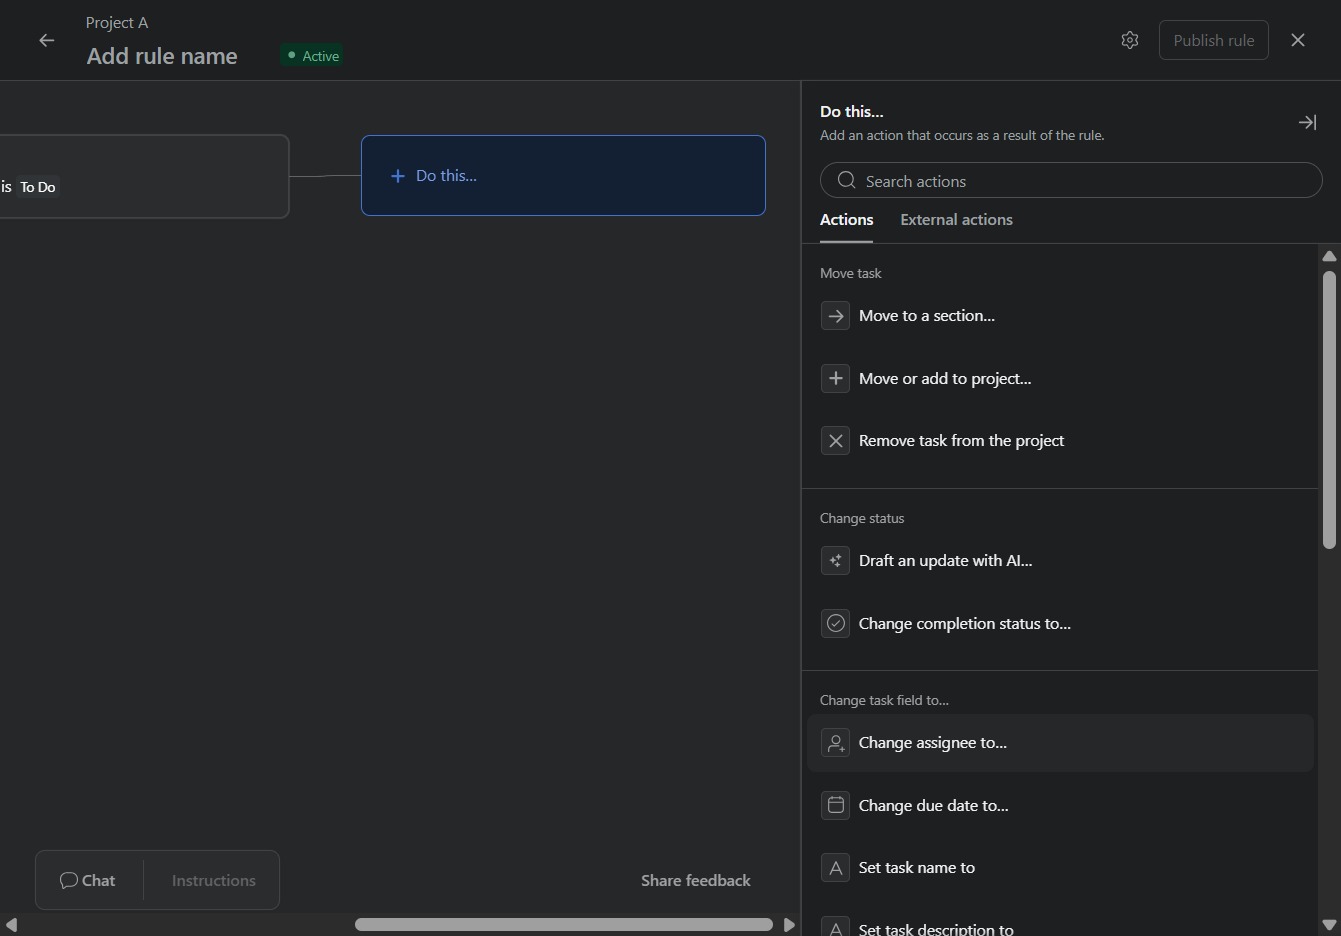
Selecting the 'Do this...' option allows you to specify an action that will be executed based on the defined conditions of the rule. This step is crucial for setting up automated processes within your project.
This action allows you to assign the selected task to a different team member, facilitating better task management within the project.
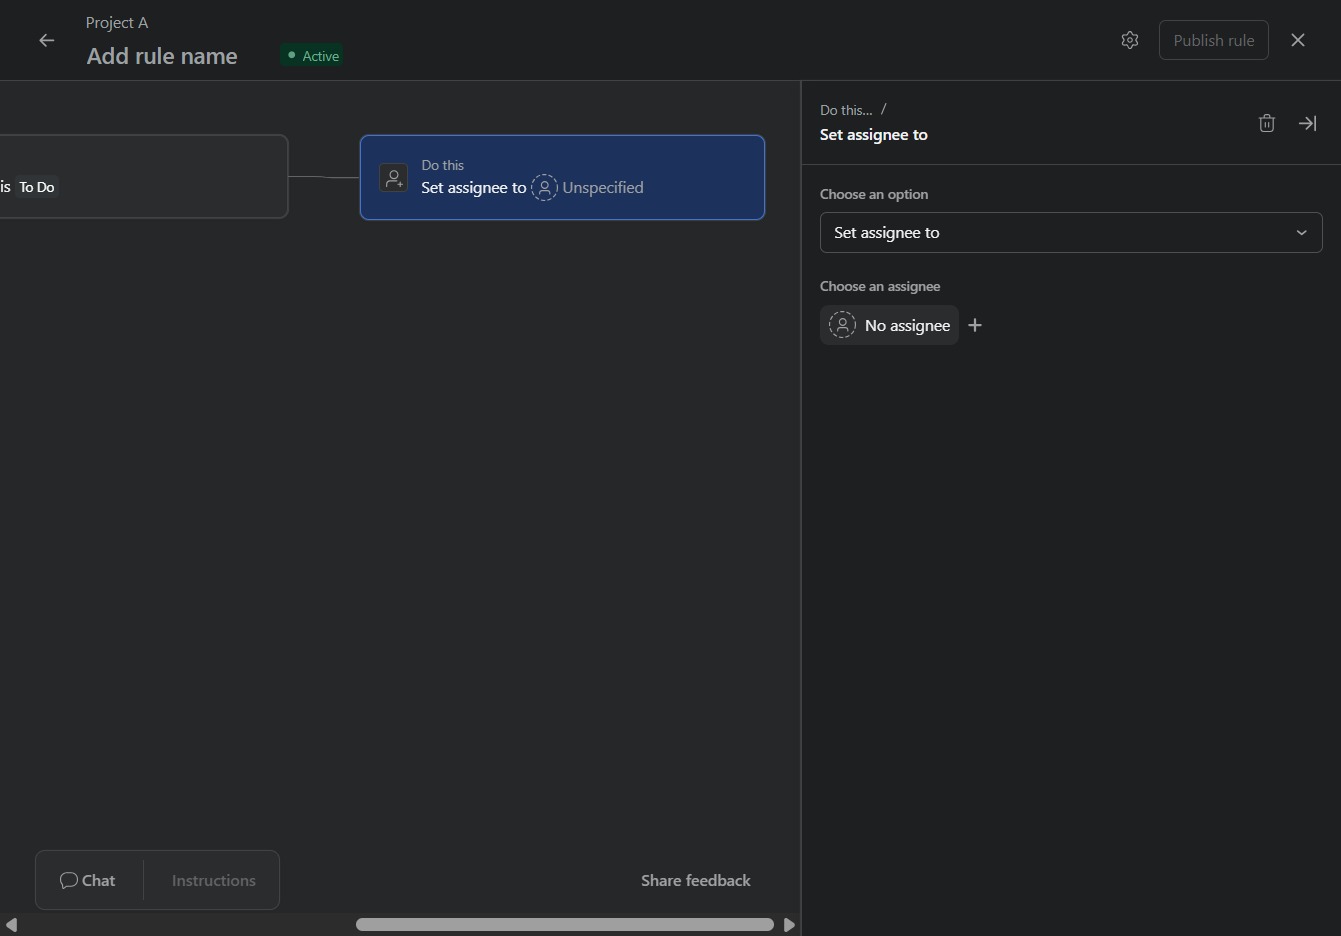
Select 'No assignee' to indicate that no user is currently designated for this task. This action updates the assignee status in the task configuration.
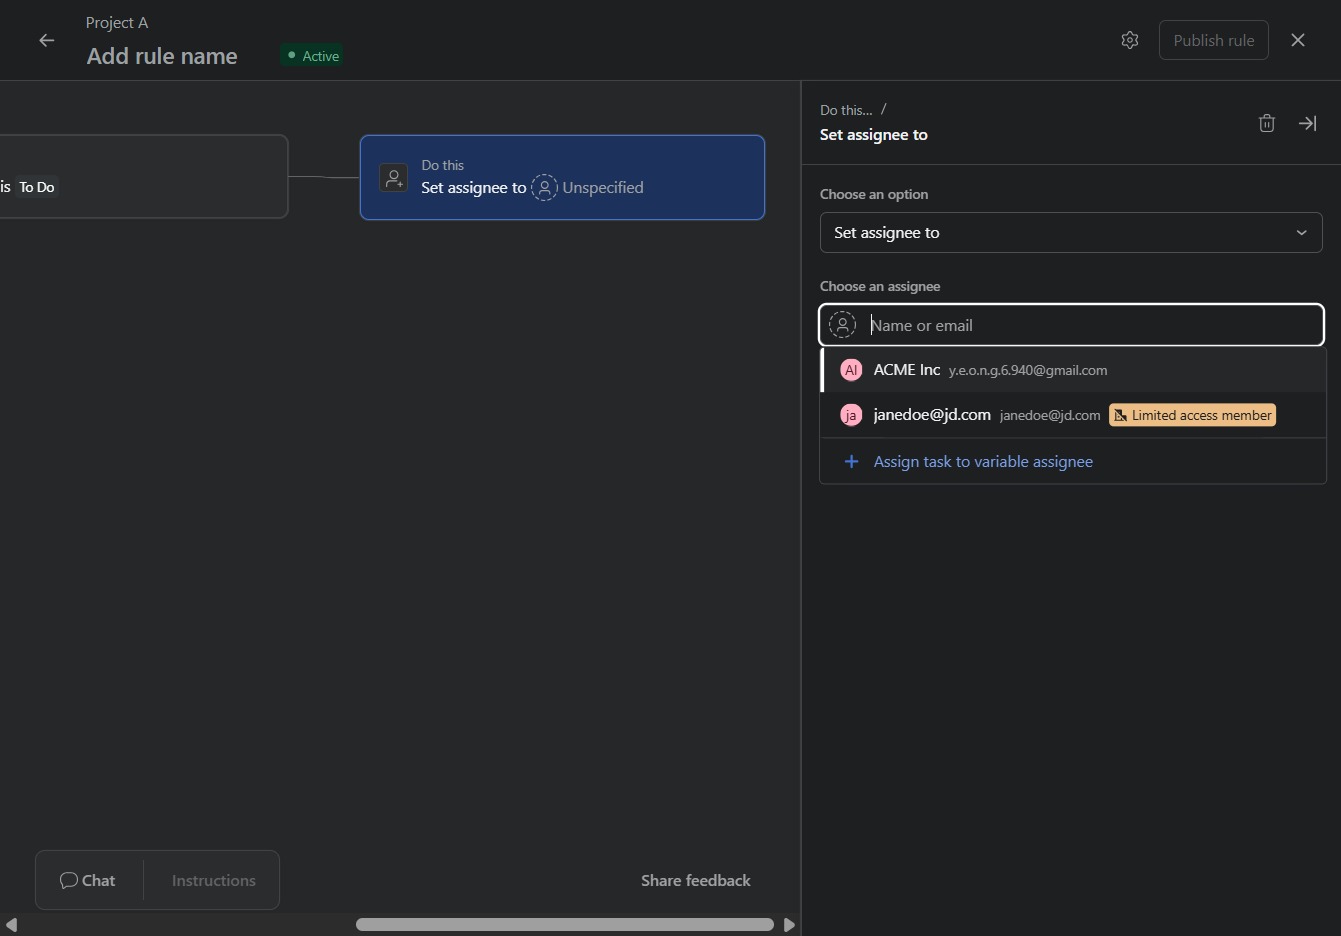
Click on the email address field to enable text entry for assigning a task. This allows you to input or modify the assignee's email for the task assignment process.
This action will finalize and activate the rule you have configured in your project, making it ready for use.