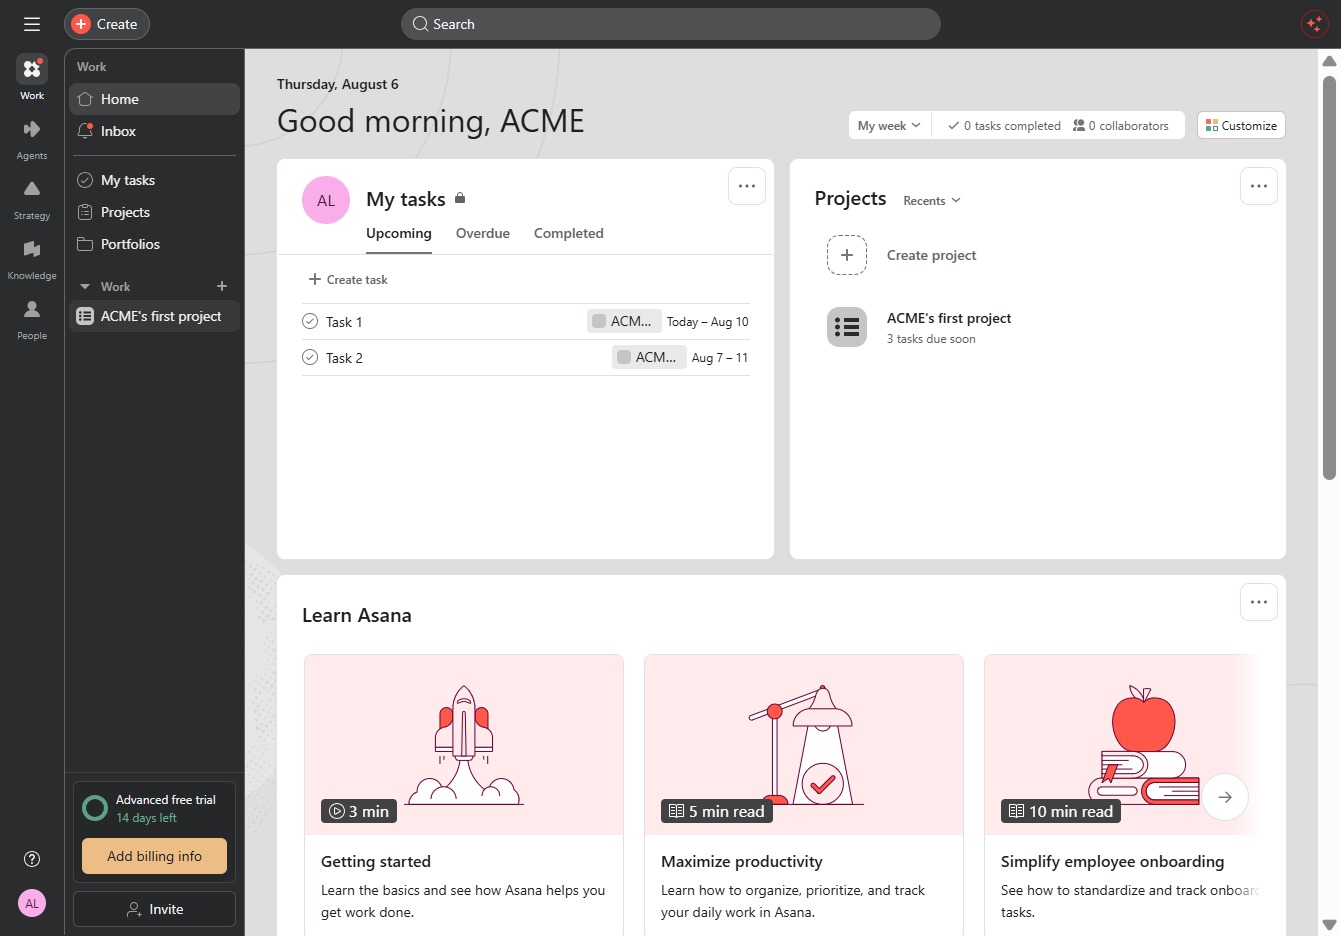
Click ACME's first project
This action opens the detailed view of the project titled 'ACME's first project', allowing you to manage tasks and track progress associated with it.
Loading screenshot…
100%
This how-to guide teaches you how to automate status changes in Asana by setting up project rules based on task deadlines.
 viktoria
This how-to guide teaches you how to automate status changes in Asana by setting up project rules based on task deadlines. Follow the steps to create efficient reminders and track your projects more effectively, ensuring timely updates and better task management.
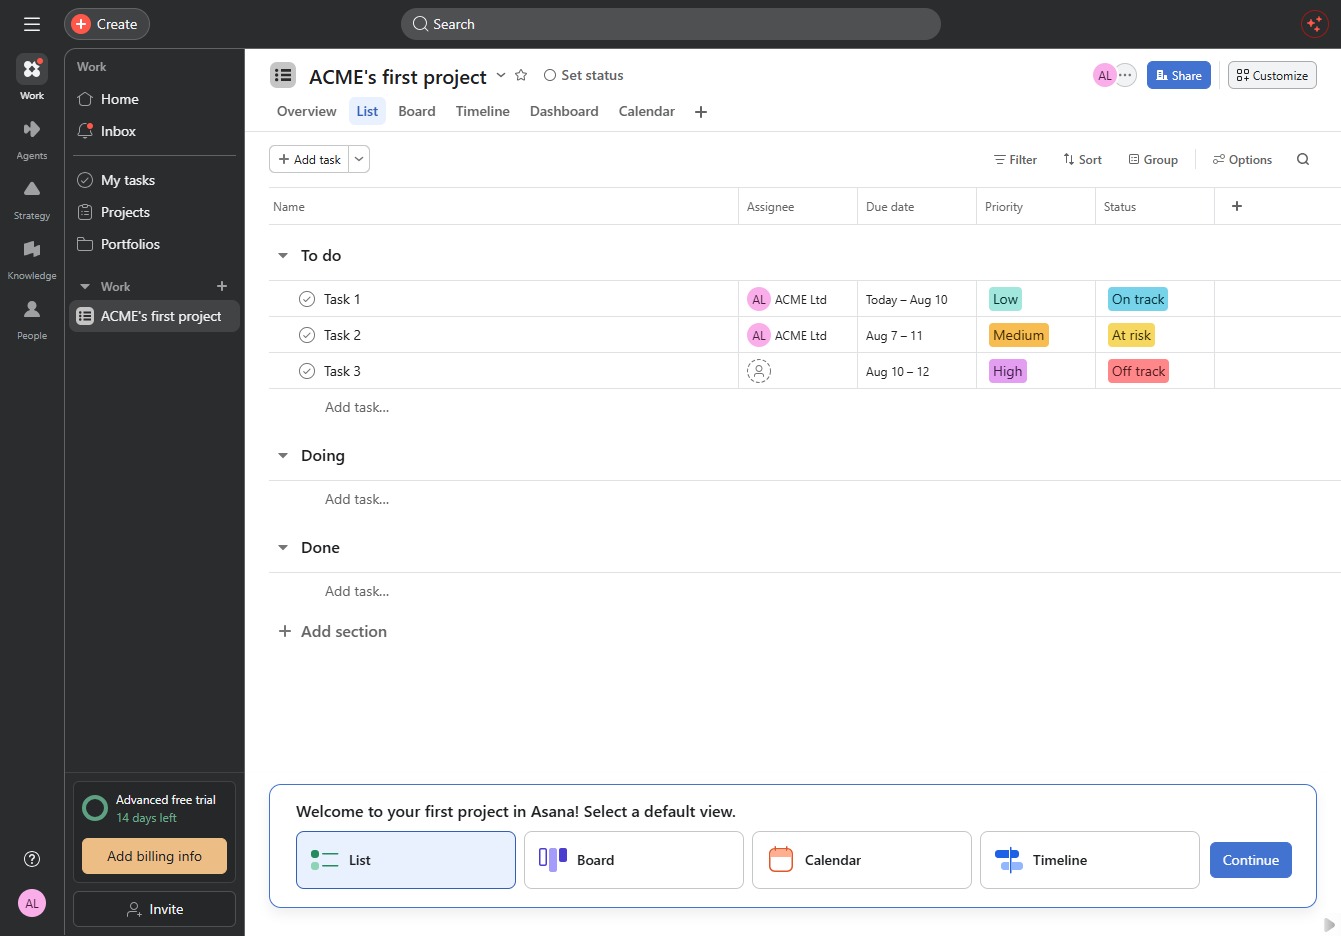
This action opens the detailed view of the project titled 'ACME's first project', allowing you to manage tasks and track progress associated with it.
Clicking 'Customize' allows you to adjust your project settings and views in Asana. This includes modifying task display options and organizing your project layout.
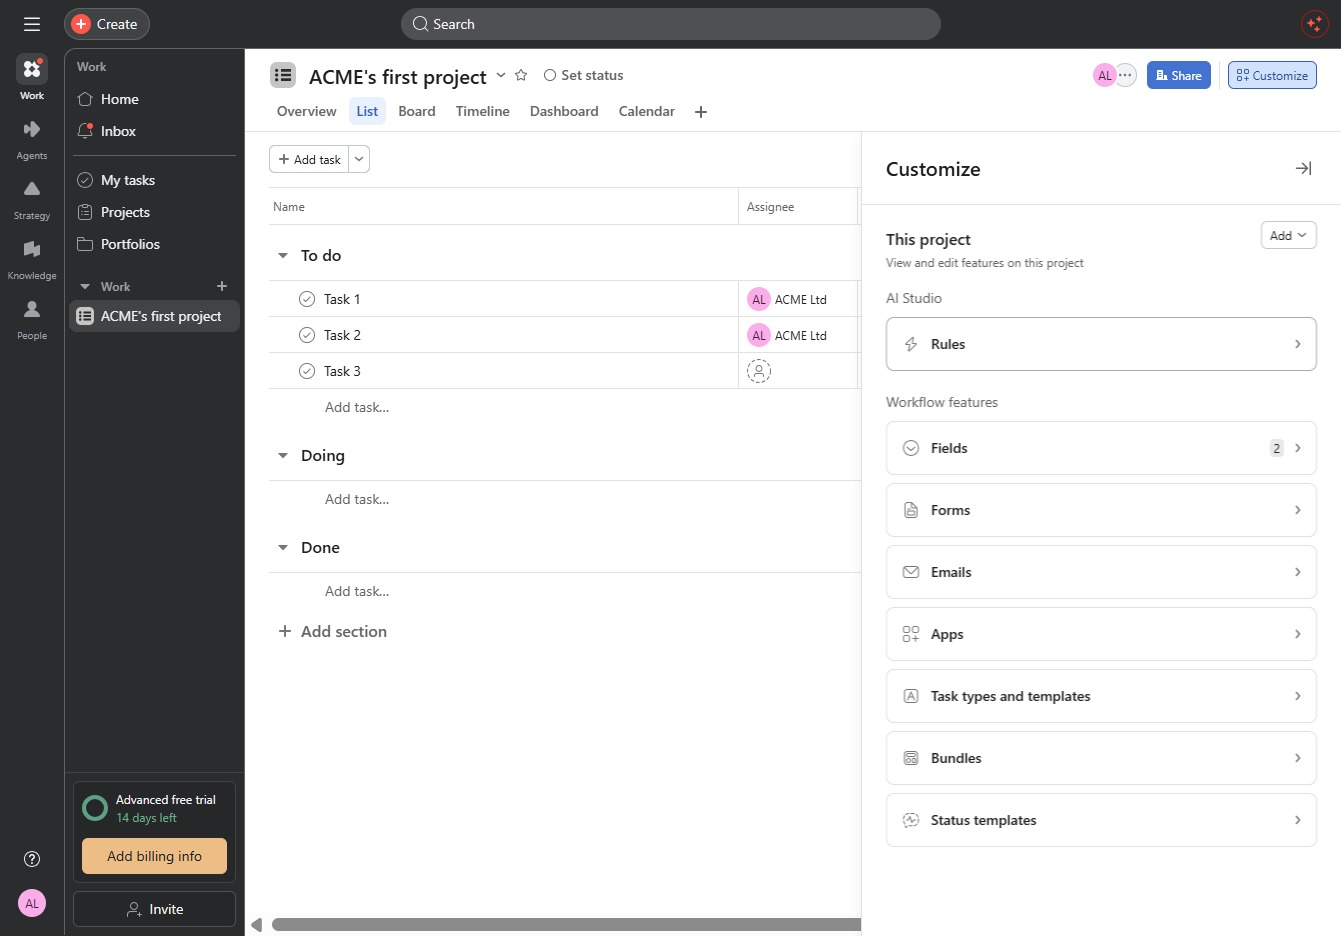
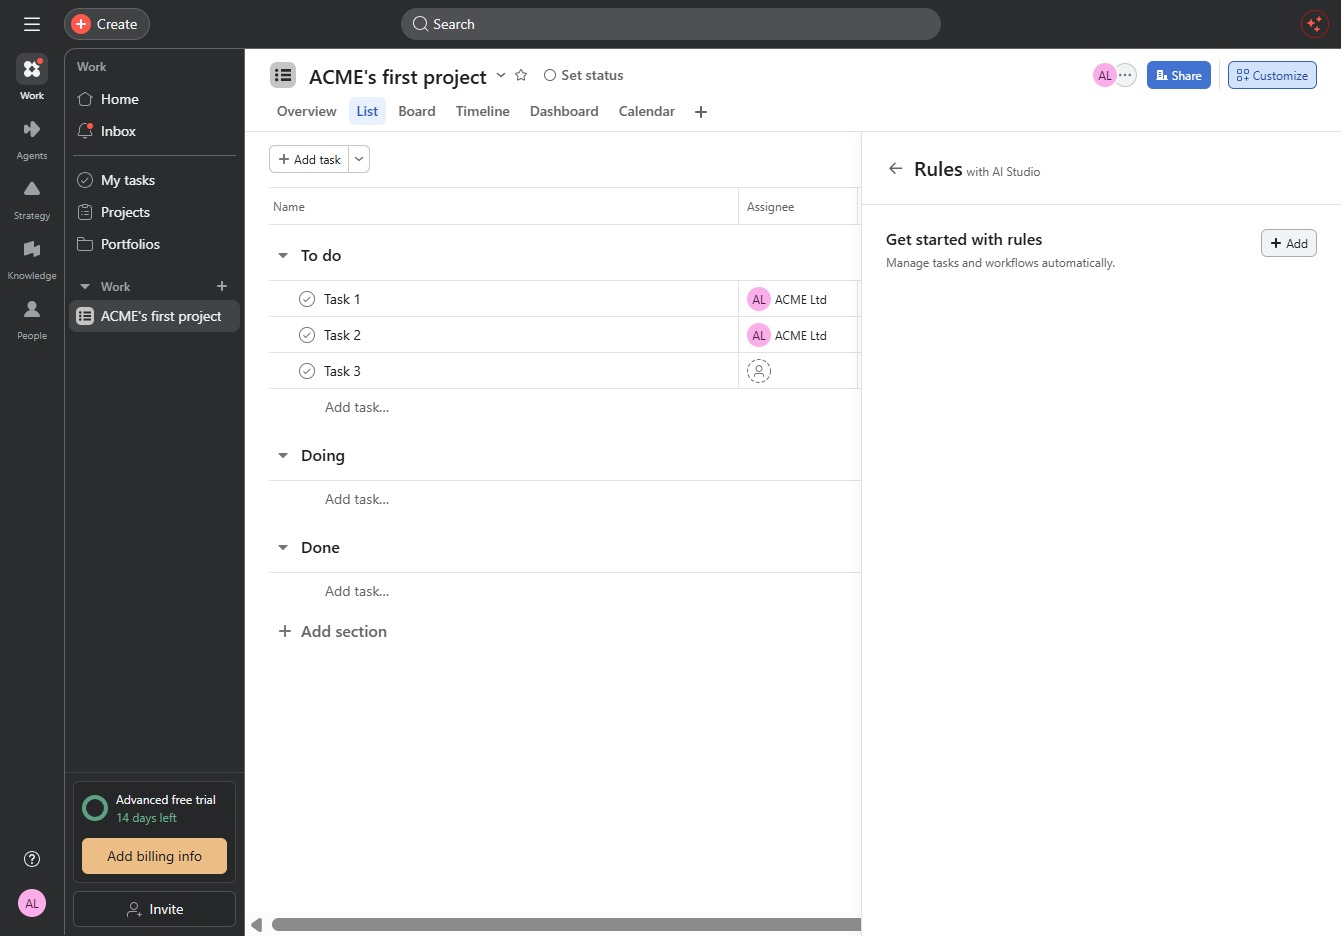
This will open the Rules settings where you can manage project automation and conditional actions.
Clicking the 'Add' button will allow you to create a new task in your project. This will open a form where you can enter the details of your task.
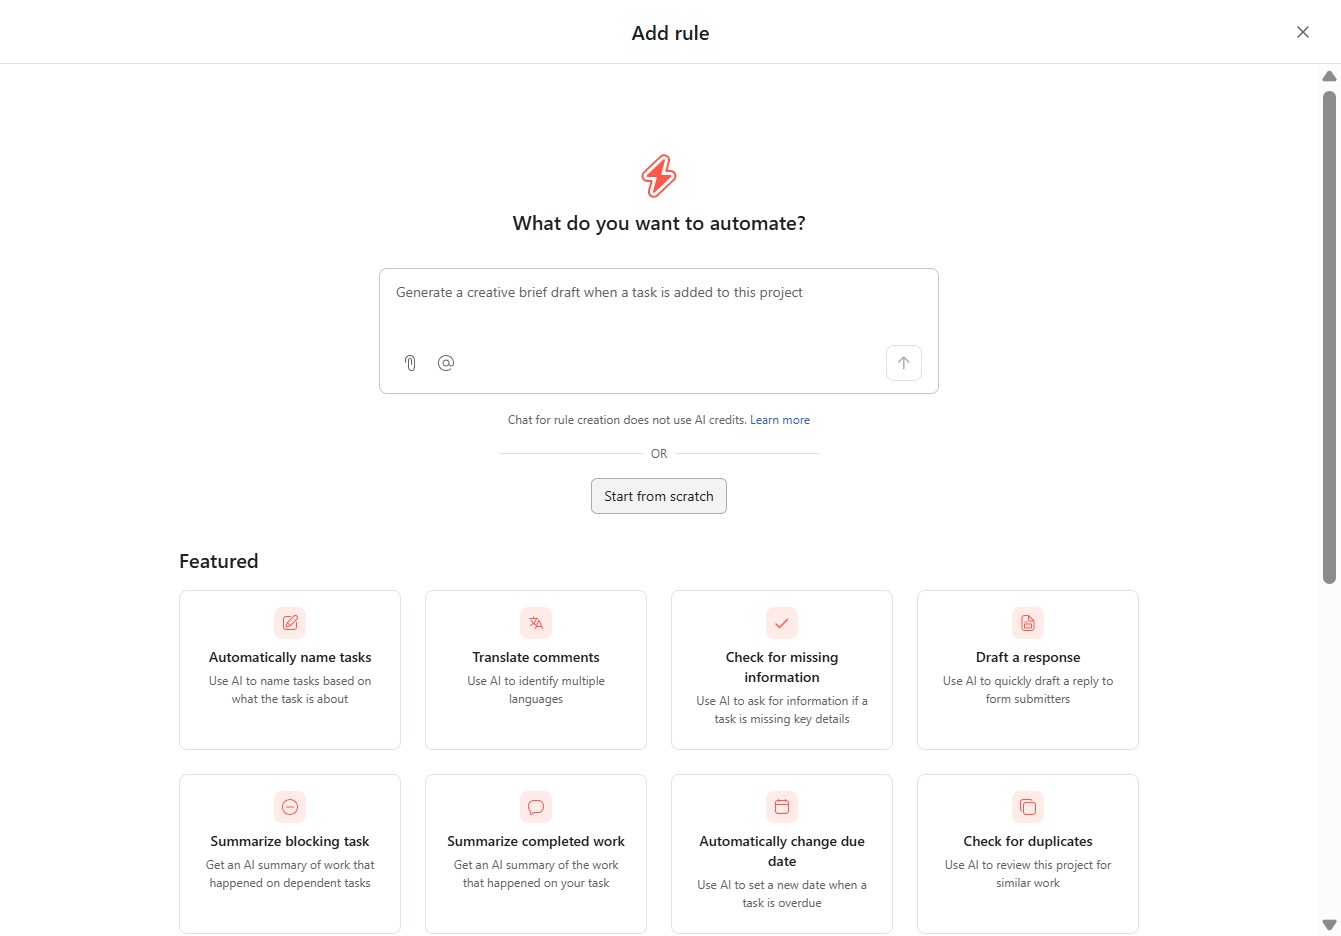
By clicking this button, you will initiate a new automation rule from a blank template, allowing you to customize the setup based on your specific needs.
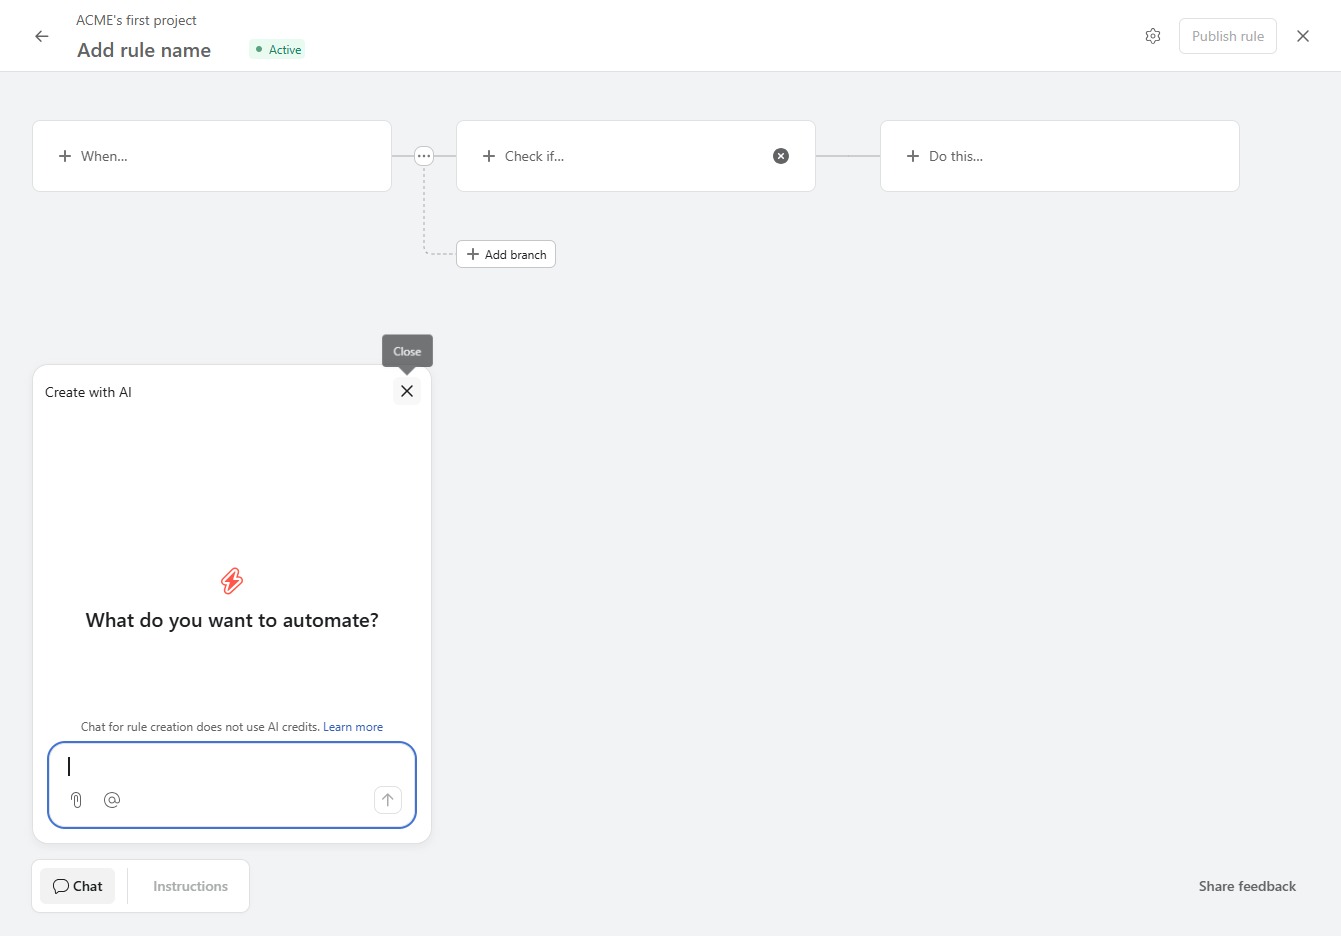
This action will close the AI chat interface, allowing you to return to your project setup without any interruptions.
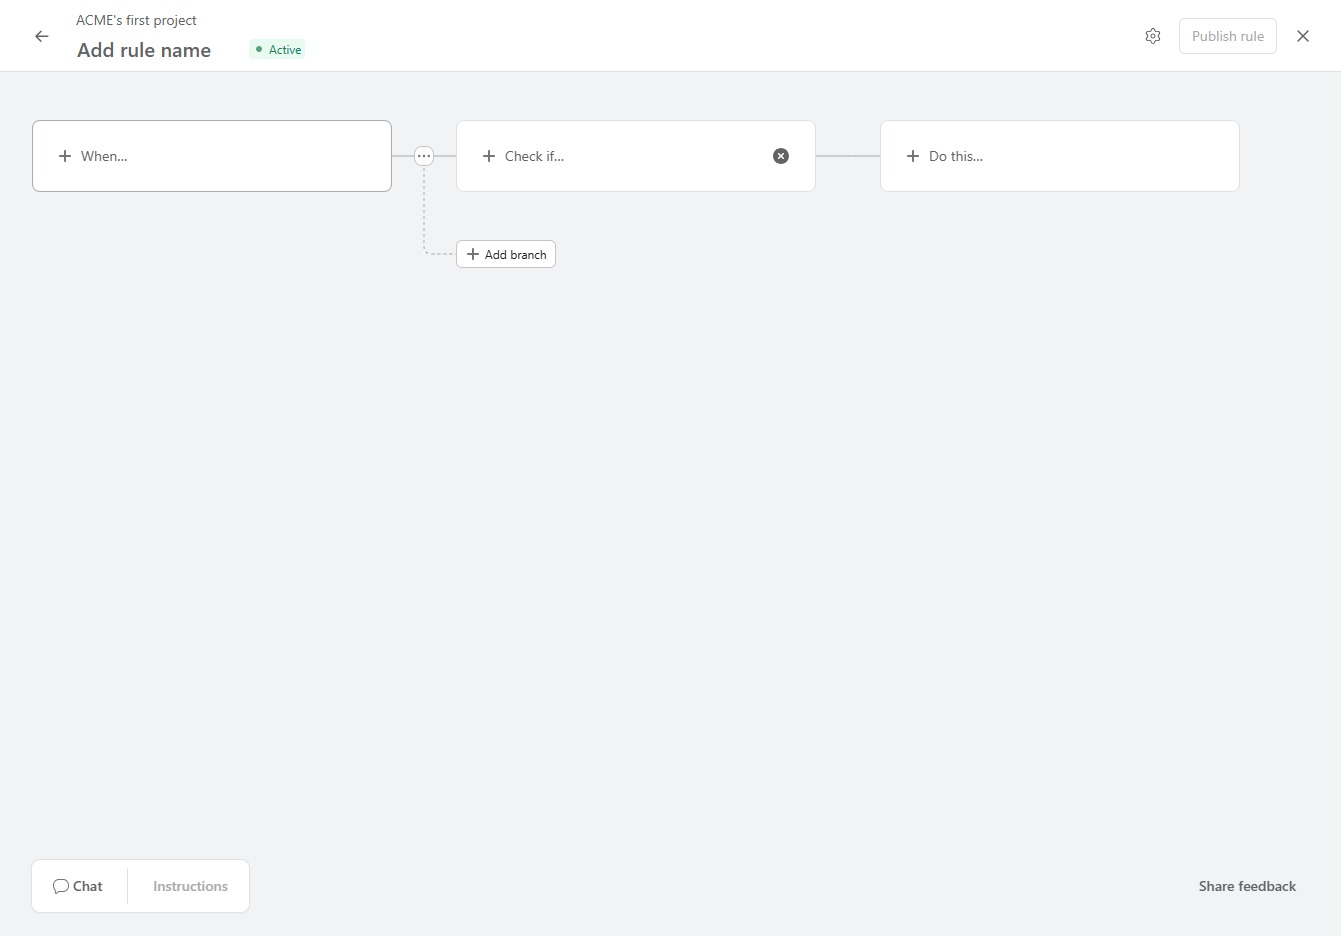
Clicking the 'When...' label allows you to specify the triggering conditions for your automation rule within the project. This is the first step in defining when the rule should activate.
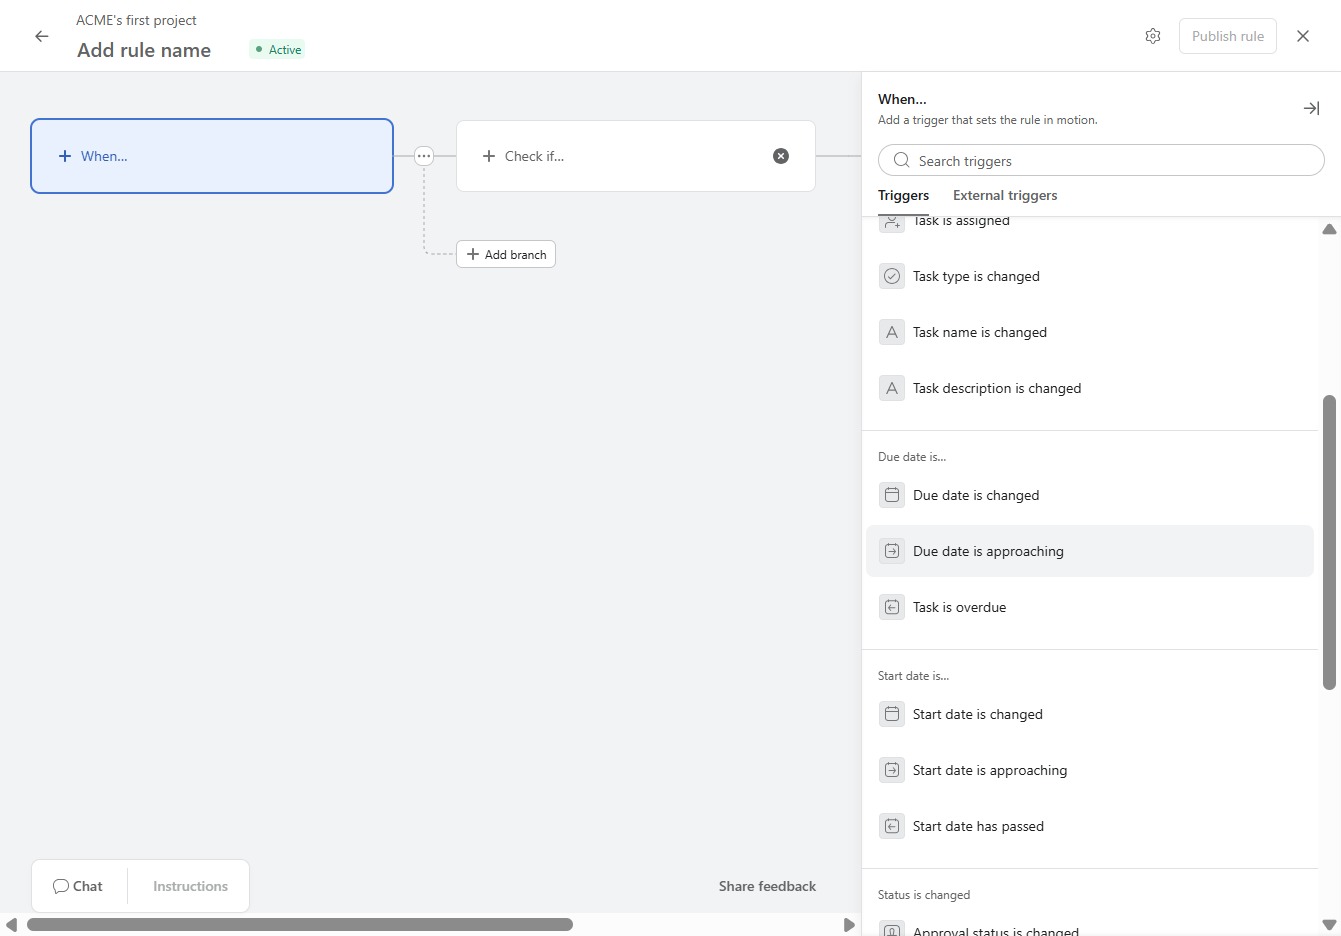
Select this trigger to set up notifications when a task's due date is nearing. This allows you to create rules that activate reminders or actions based on upcoming deadlines.
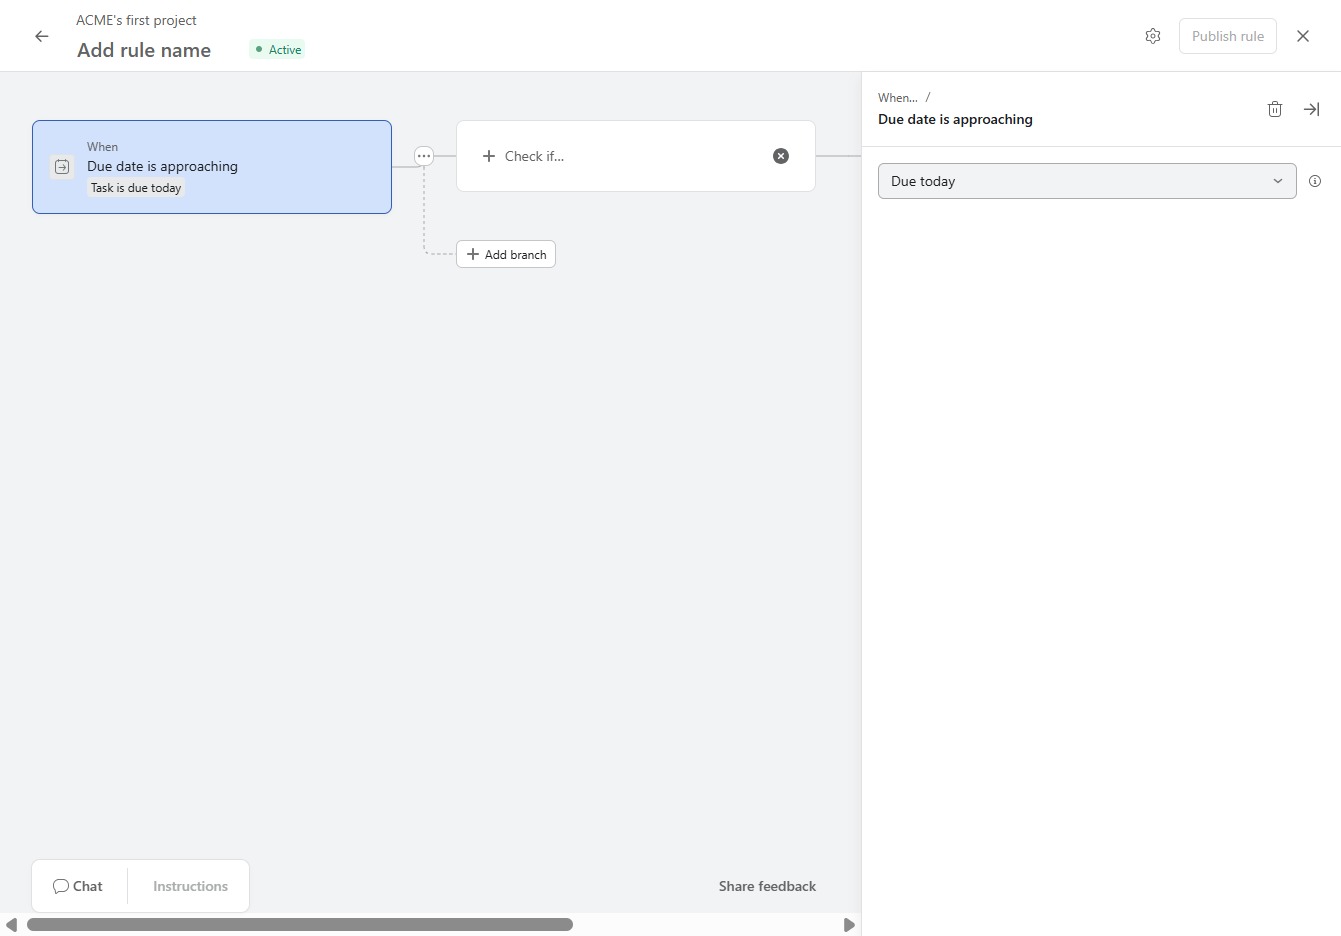
Selecting the 'Due today' option specifies the criteria for the rule, ensuring that the tasks marked for today will be included in the workflow.
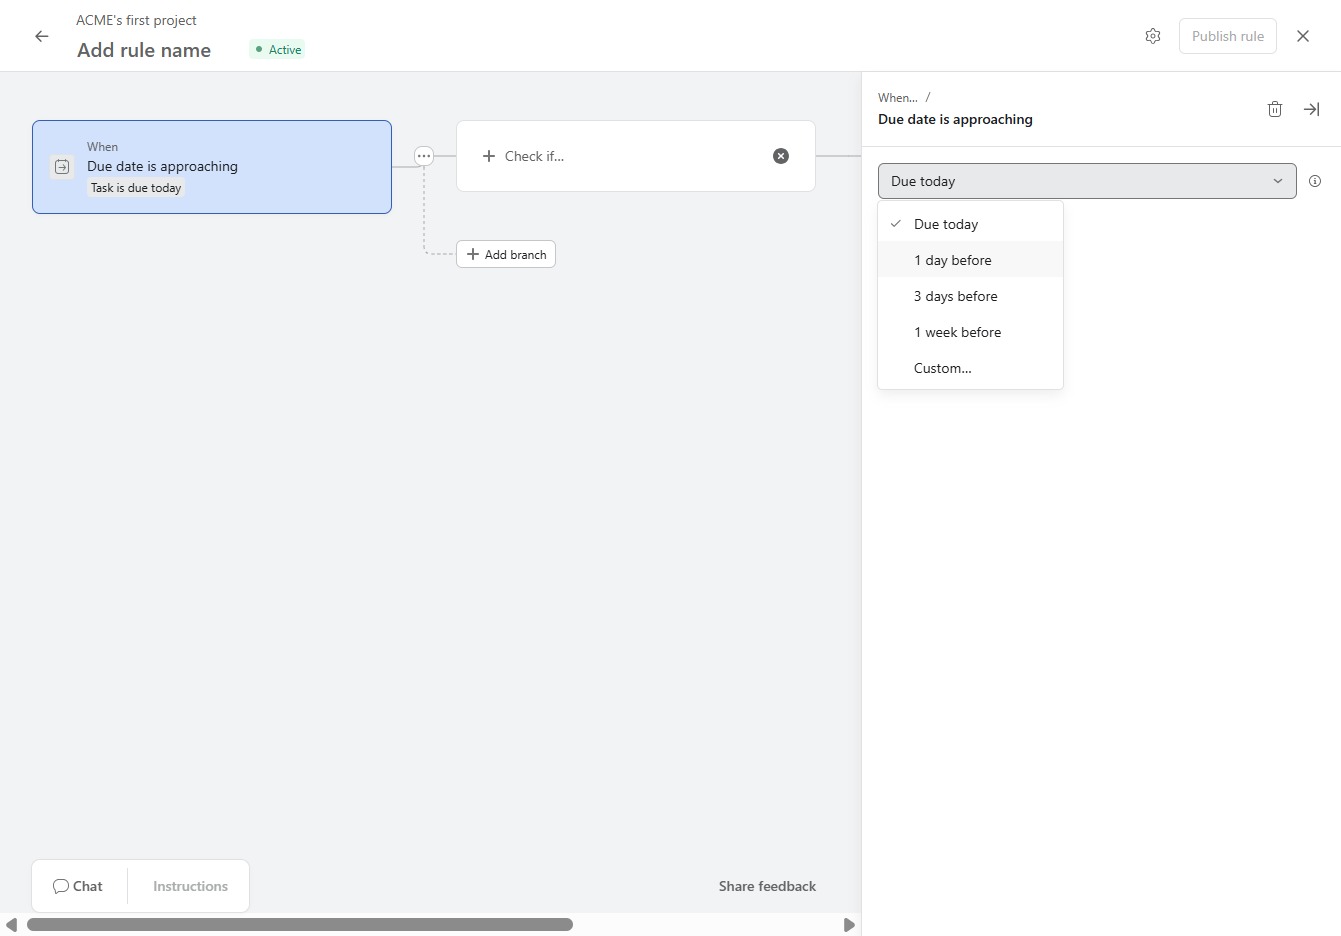
Selecting '1 day before' sets the trigger for notifications regarding tasks due one day in advance, helping you manage your deadlines effectively.
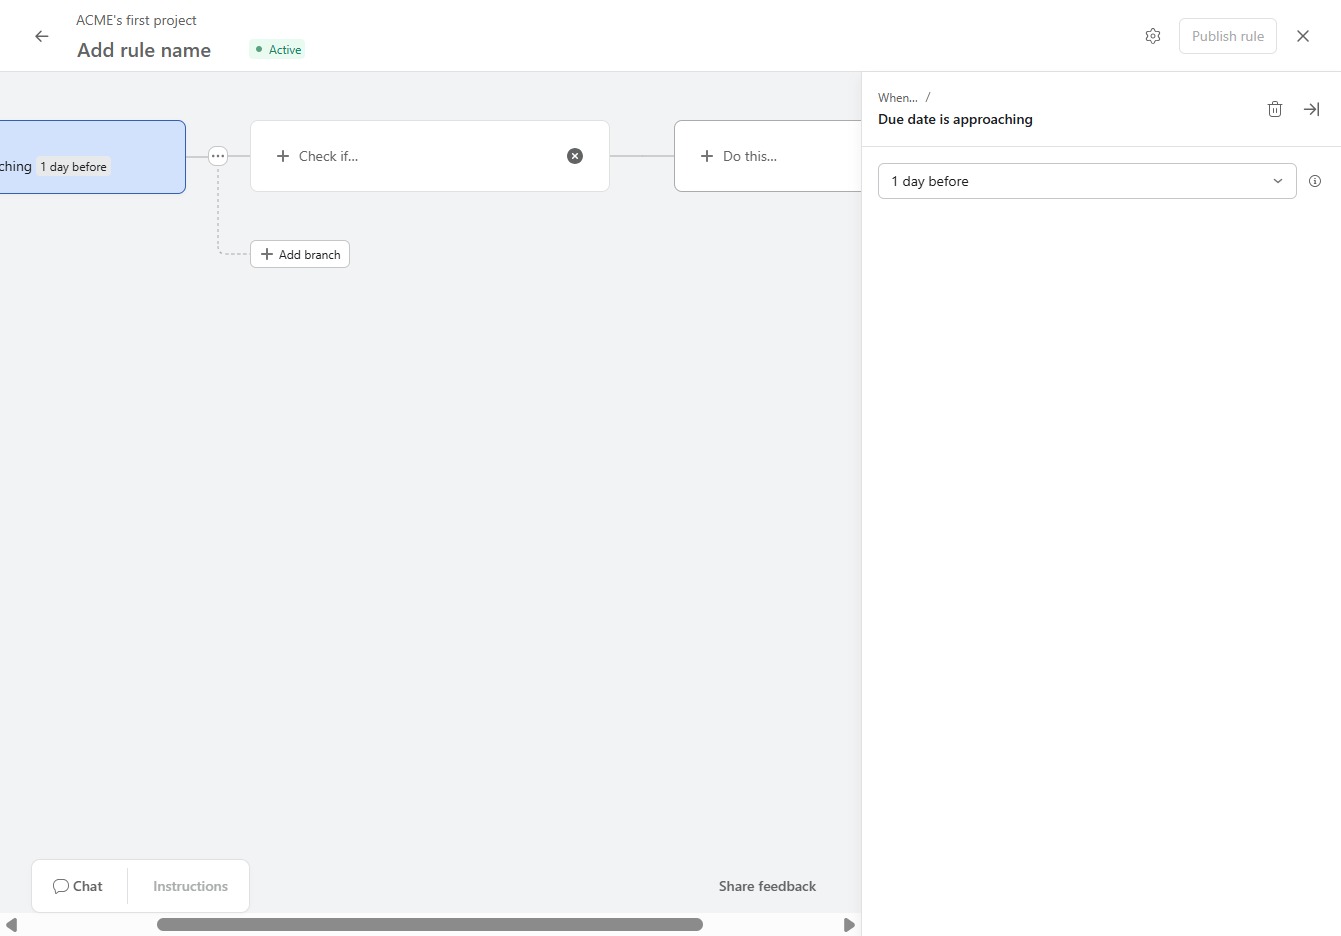
This action allows you to specify the subsequent steps or actions that should be triggered as part of the rule you are creating.
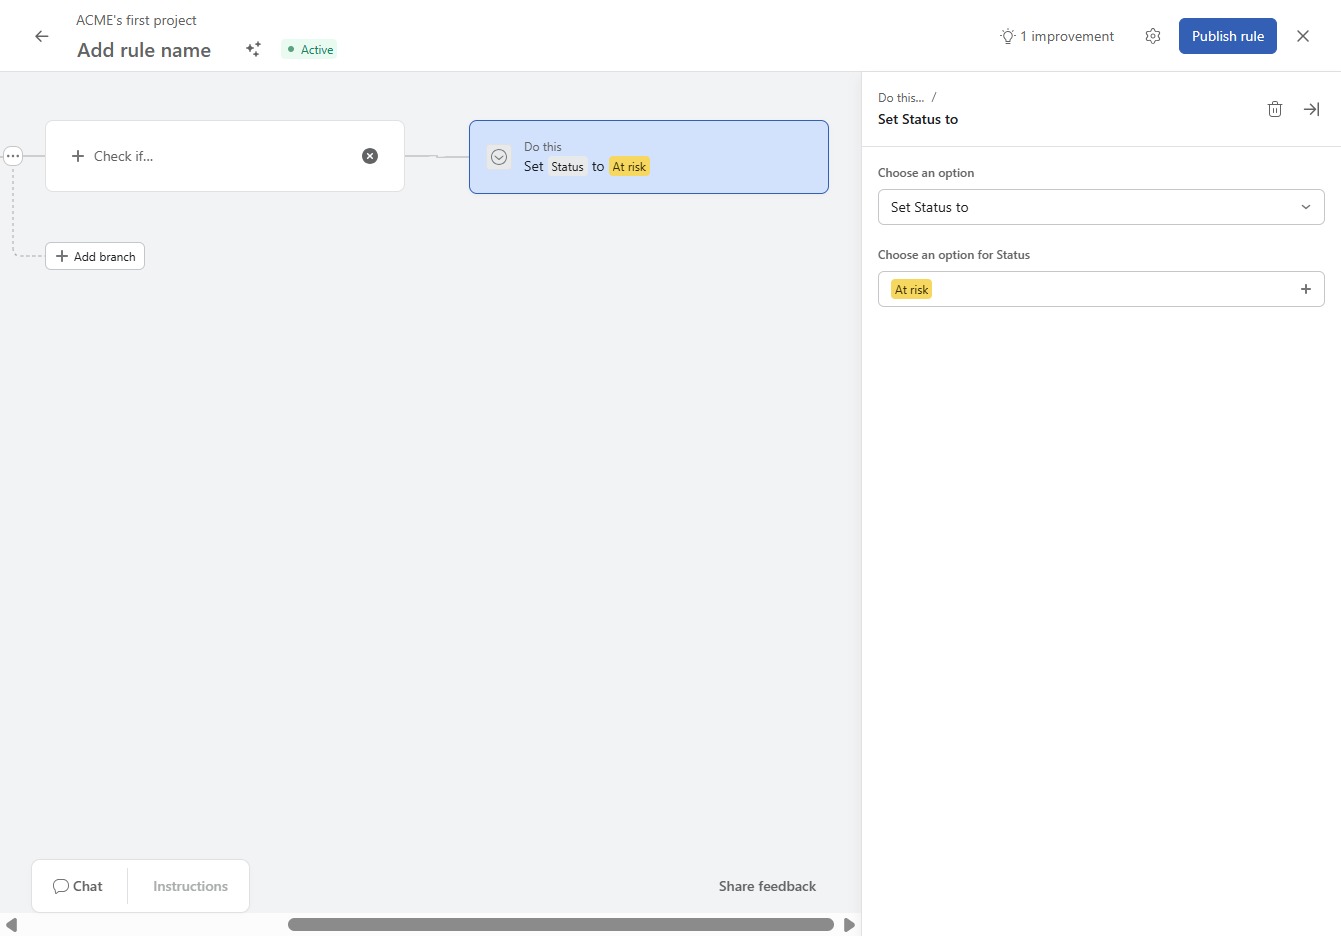
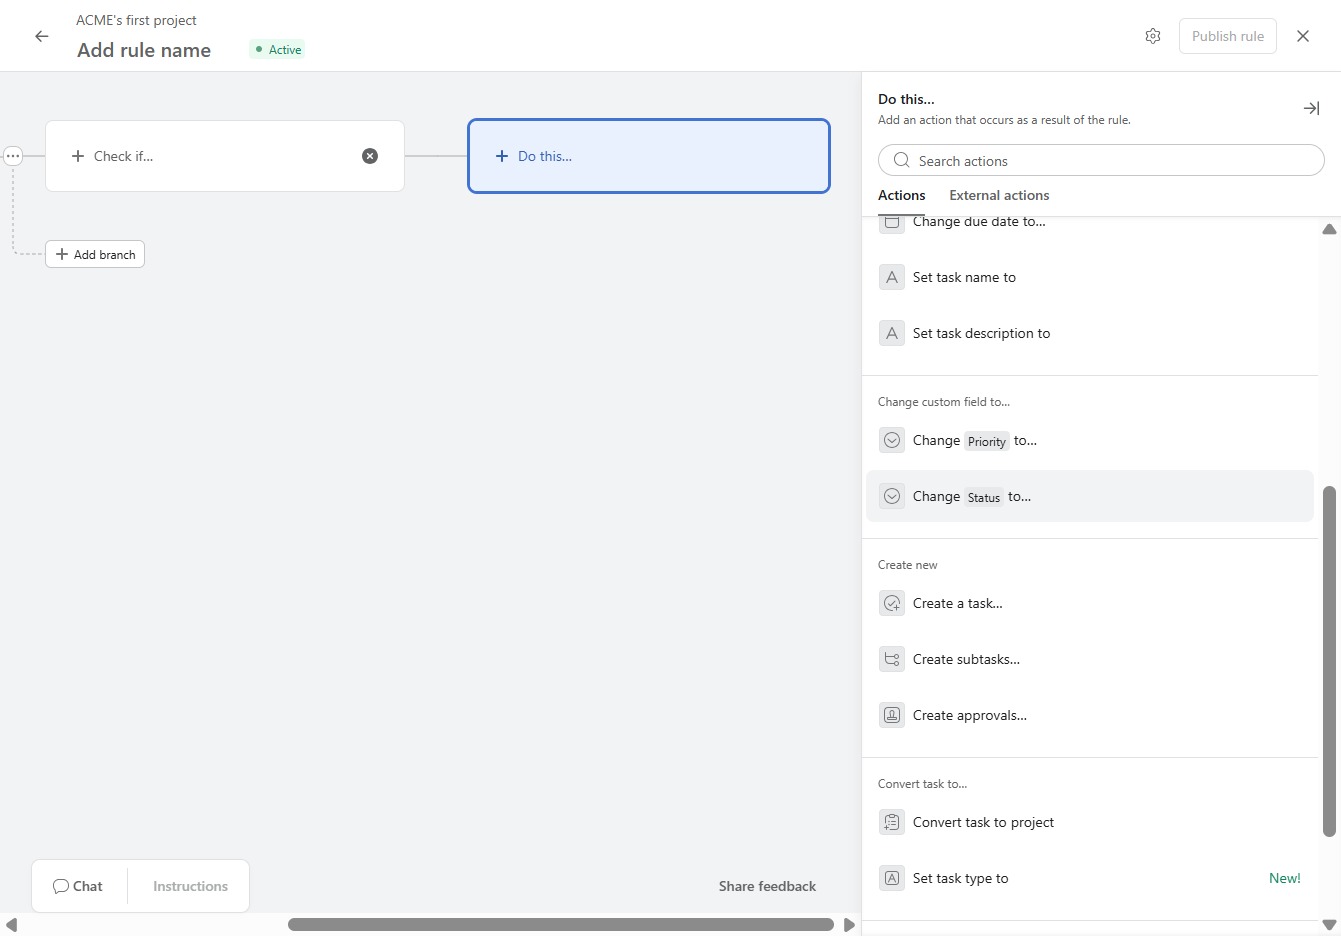
Selecting this option allows you to modify the current status of the task, enabling better tracking and management within your project.
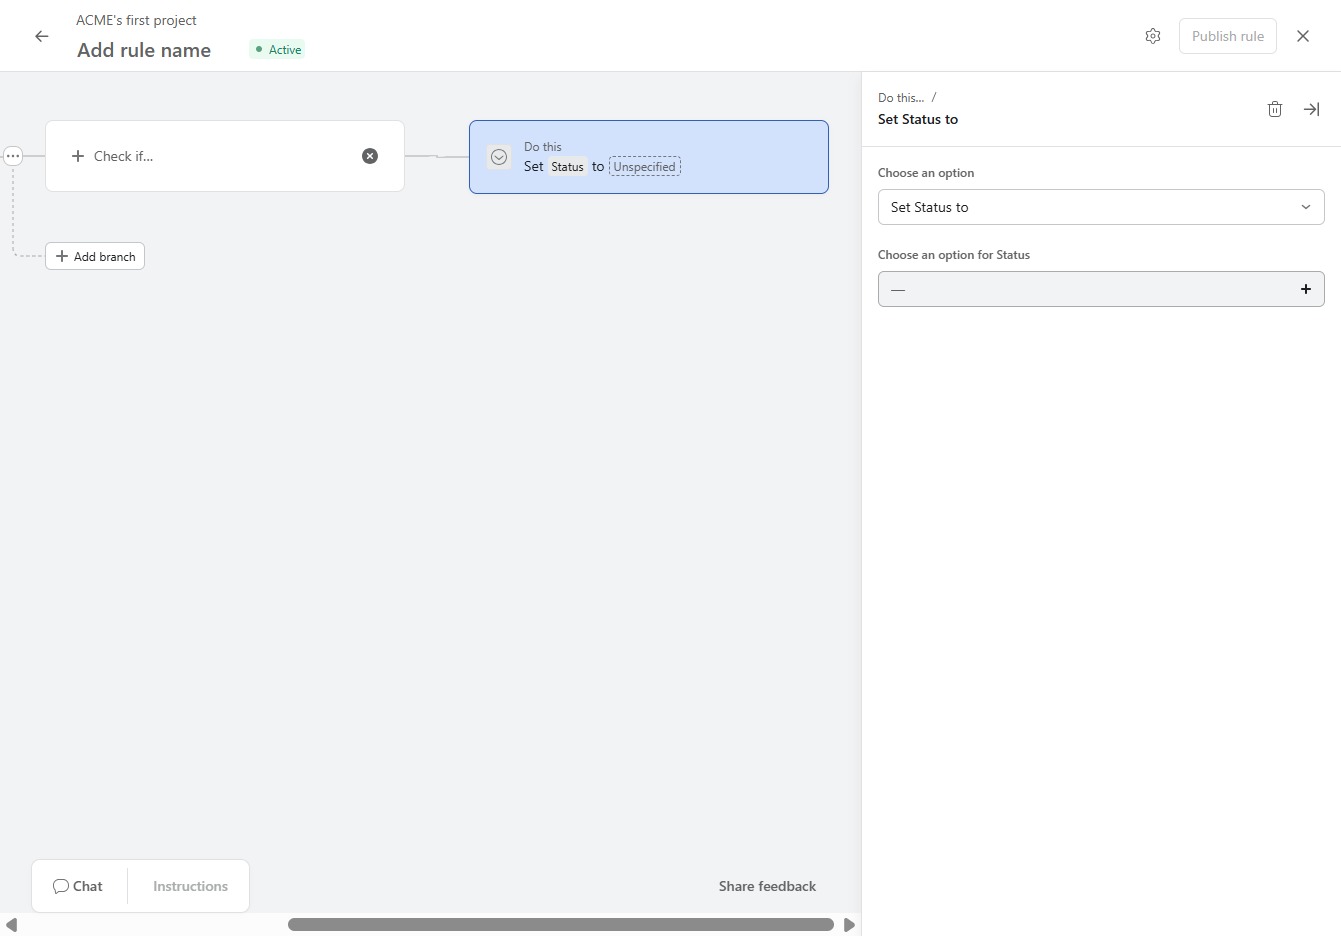
This action opens a list of available status options you can assign to the rule.
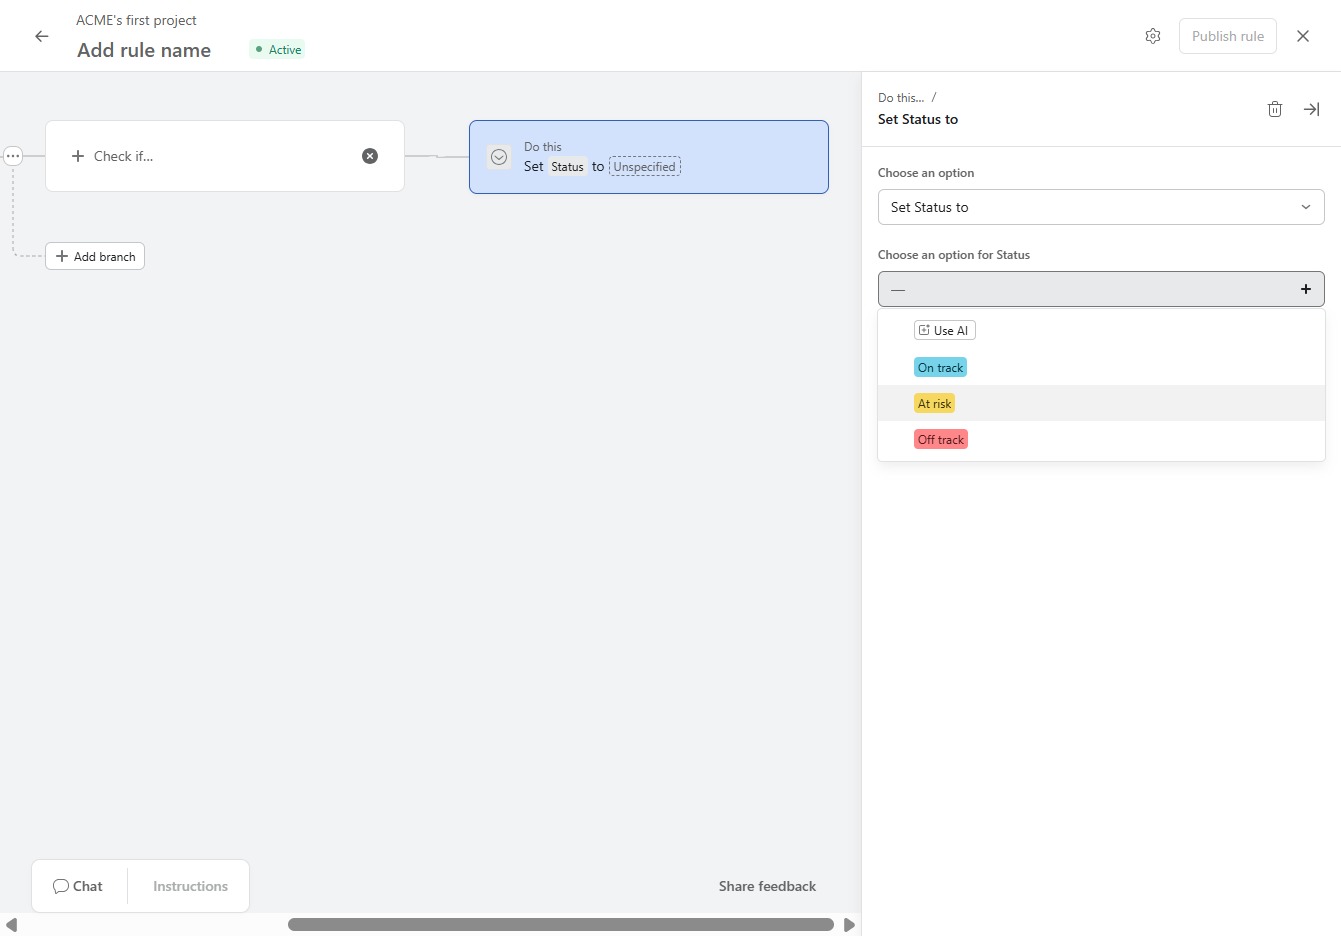
Selecting the 'At Risk' status will categorize your project accordingly, allowing you to track its progress more effectively.
This action saves and activates the rule you have configured, making it operational within your project. Ensure all required settings are finalized before publishing.