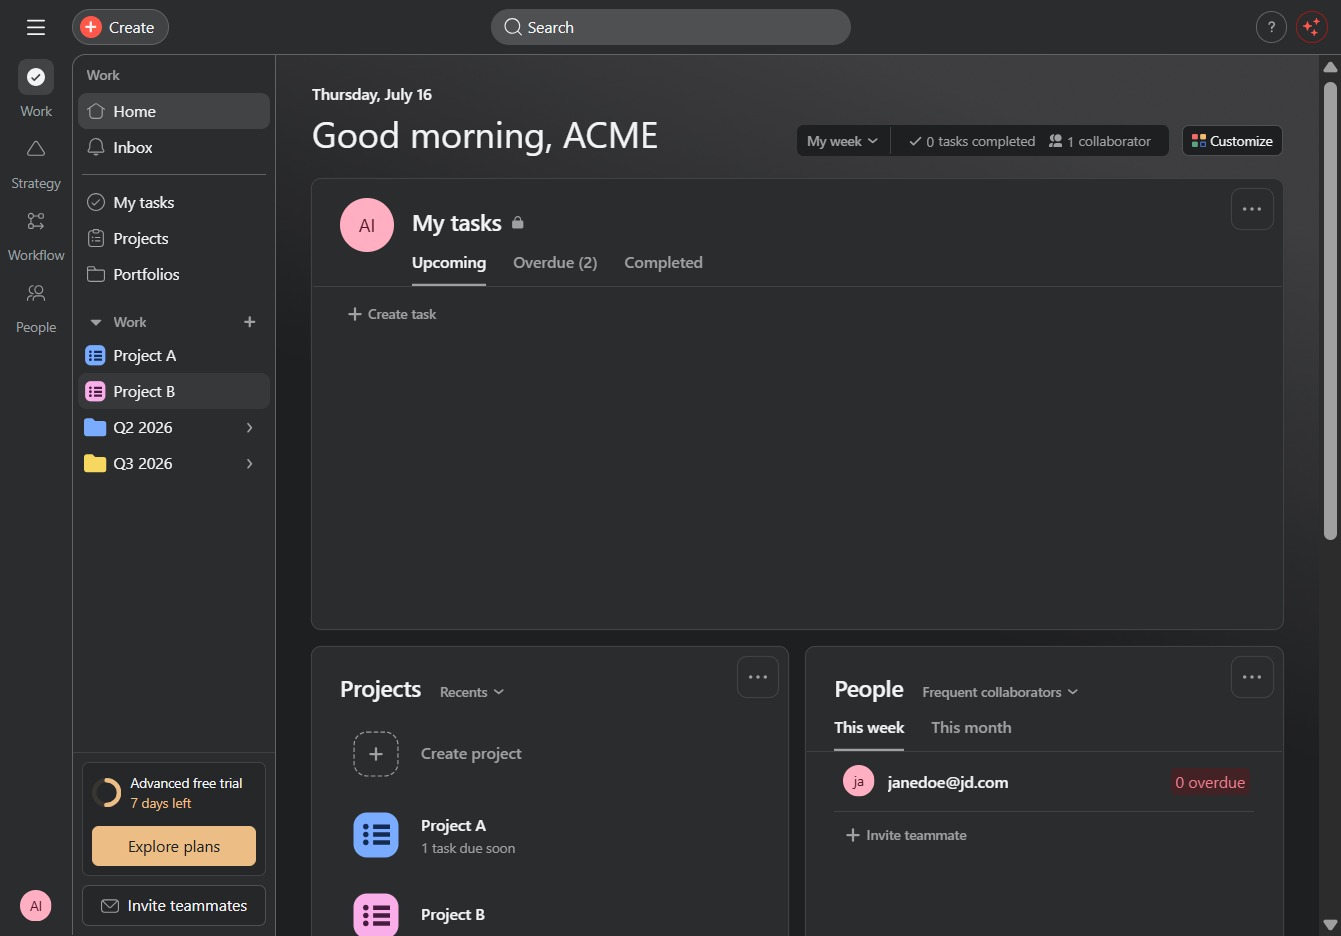
Click the Project B link
Clicking on the 'Project B' link will take you to the detailed view of Project B, where you can manage tasks, settings, and collaborate with team members.
Loading screenshot…
100%
In this how-to guide, you'll learn to automate due date updates for your projects by setting up rules and triggers that notify team members and streamline task management.
 viktoria
In this how-to guide, you'll learn to automate due date updates for your projects by setting up rules and triggers that notify team members and streamline task management. Follow step-by-step instructions to integrate email notifications and enhance your project's efficiency without manual tracking.
Clicking on the 'Project B' link will take you to the detailed view of Project B, where you can manage tasks, settings, and collaborate with team members.
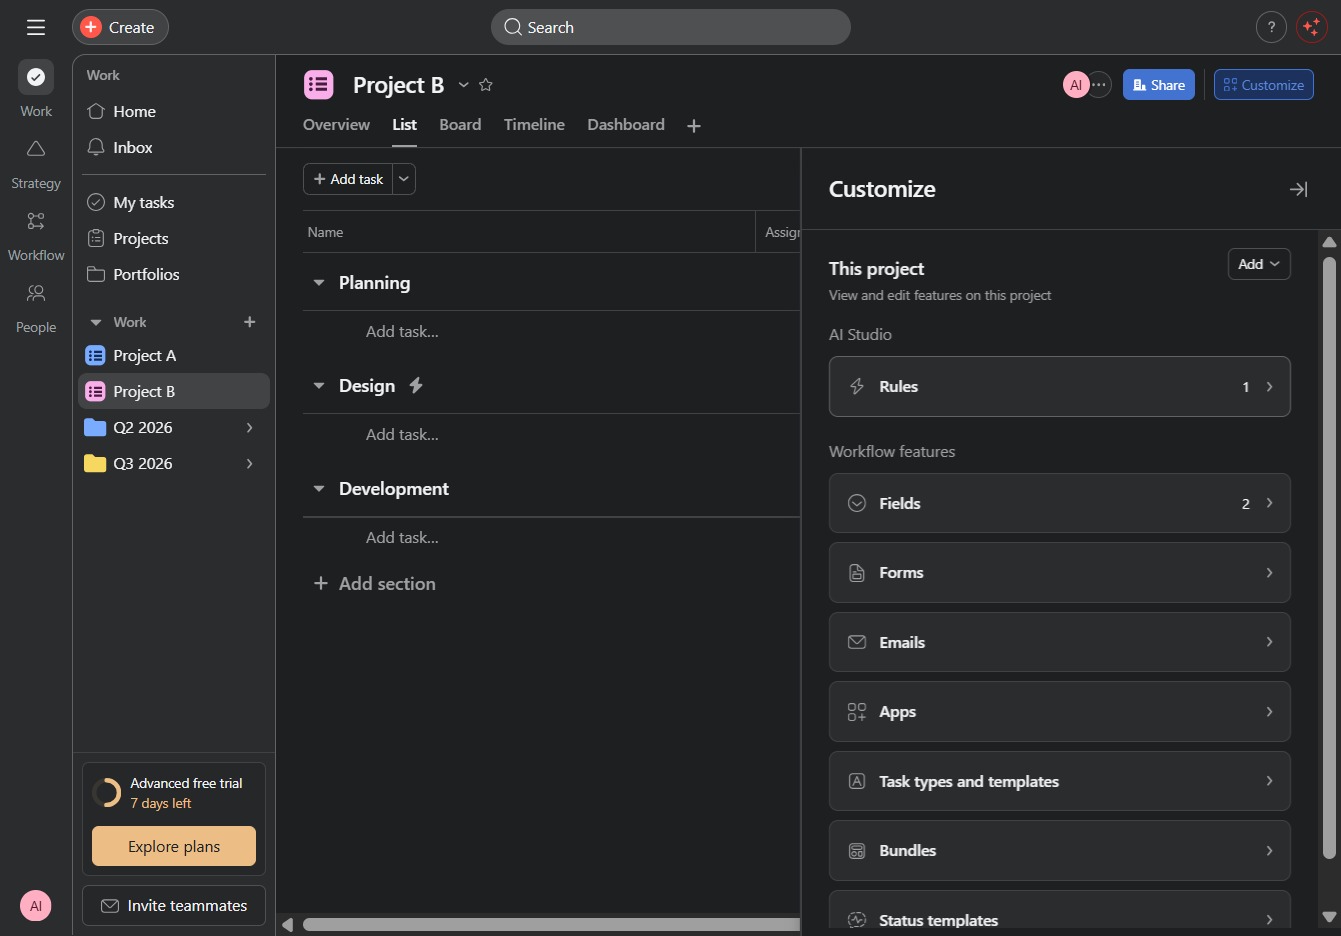
Clicking the Customize button allows you to modify the display settings and preferences for your project layout in Project B.

Selecting the Rules1 option will allow you to customize and manage the rules associated with your project, enabling automated actions and notifications.
This action will allow you to add a new task or element to the current project. Make sure to fill in the necessary details after clicking.
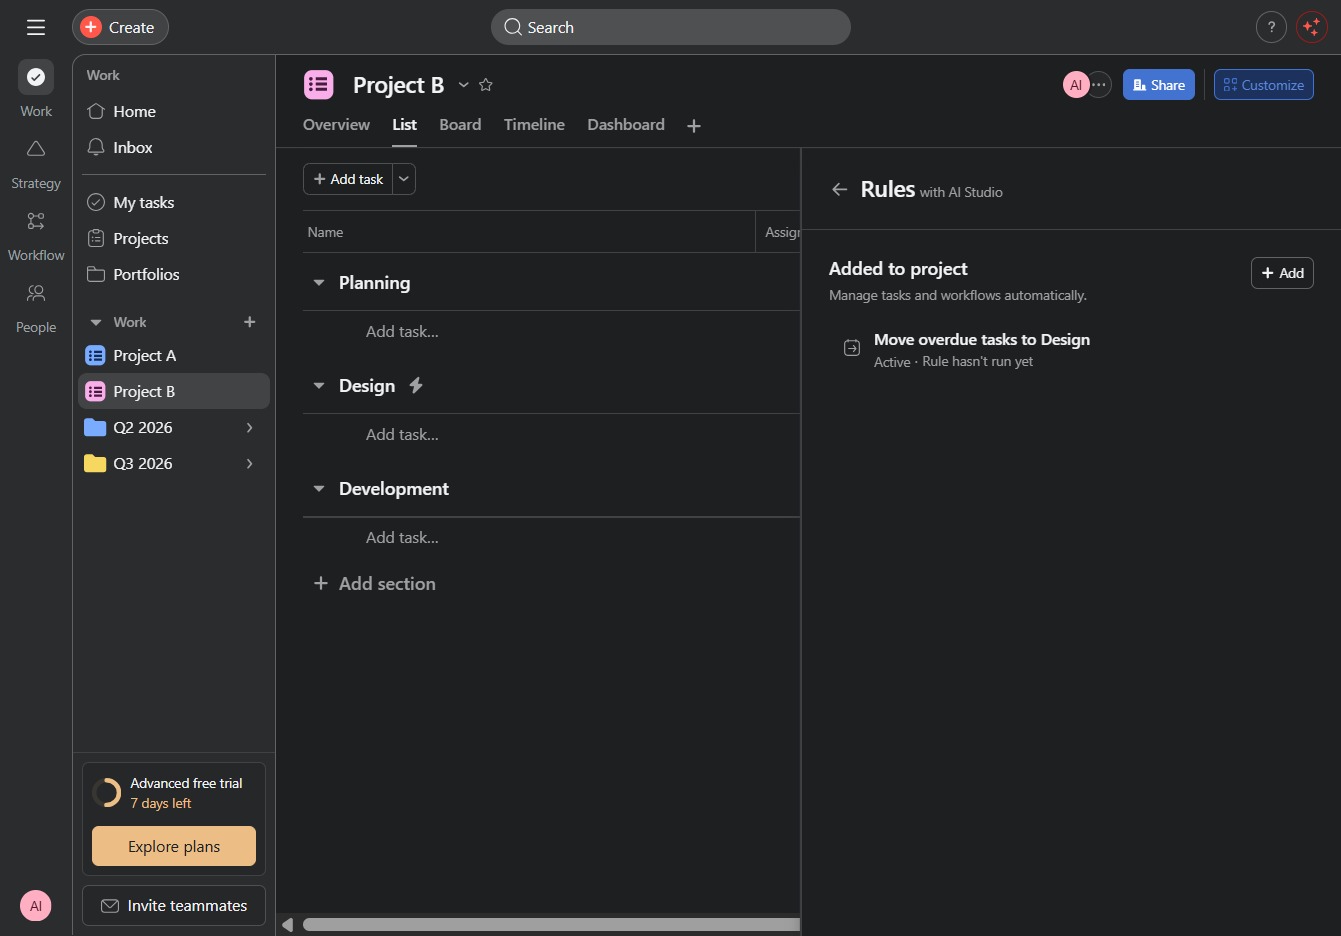
This action will allow you to begin creating a new automation rule without using any predefined templates or settings.
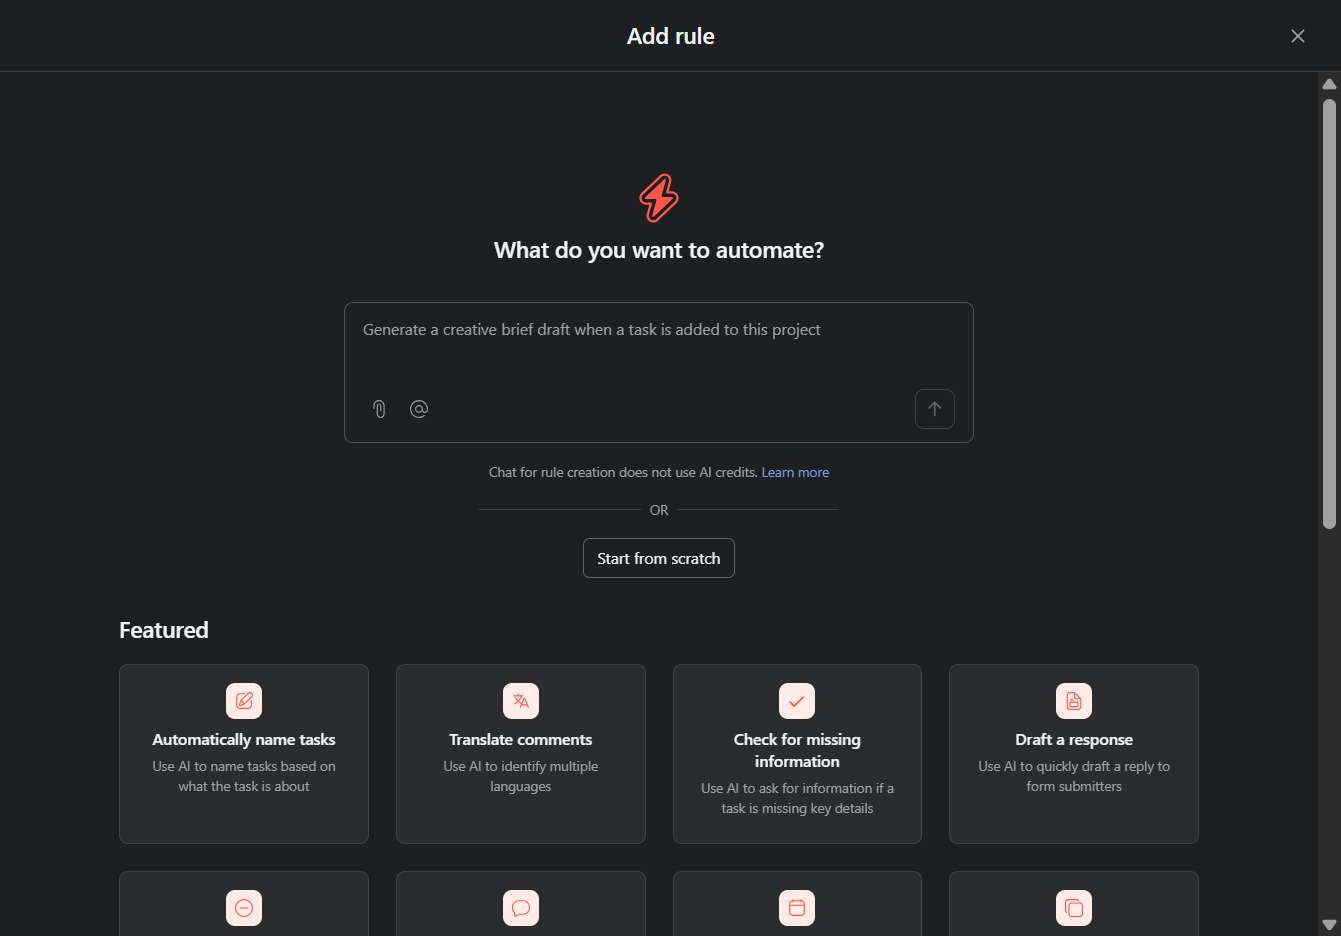
Clicking this link allows you to provide details on what task or process you want to automate within the current project.
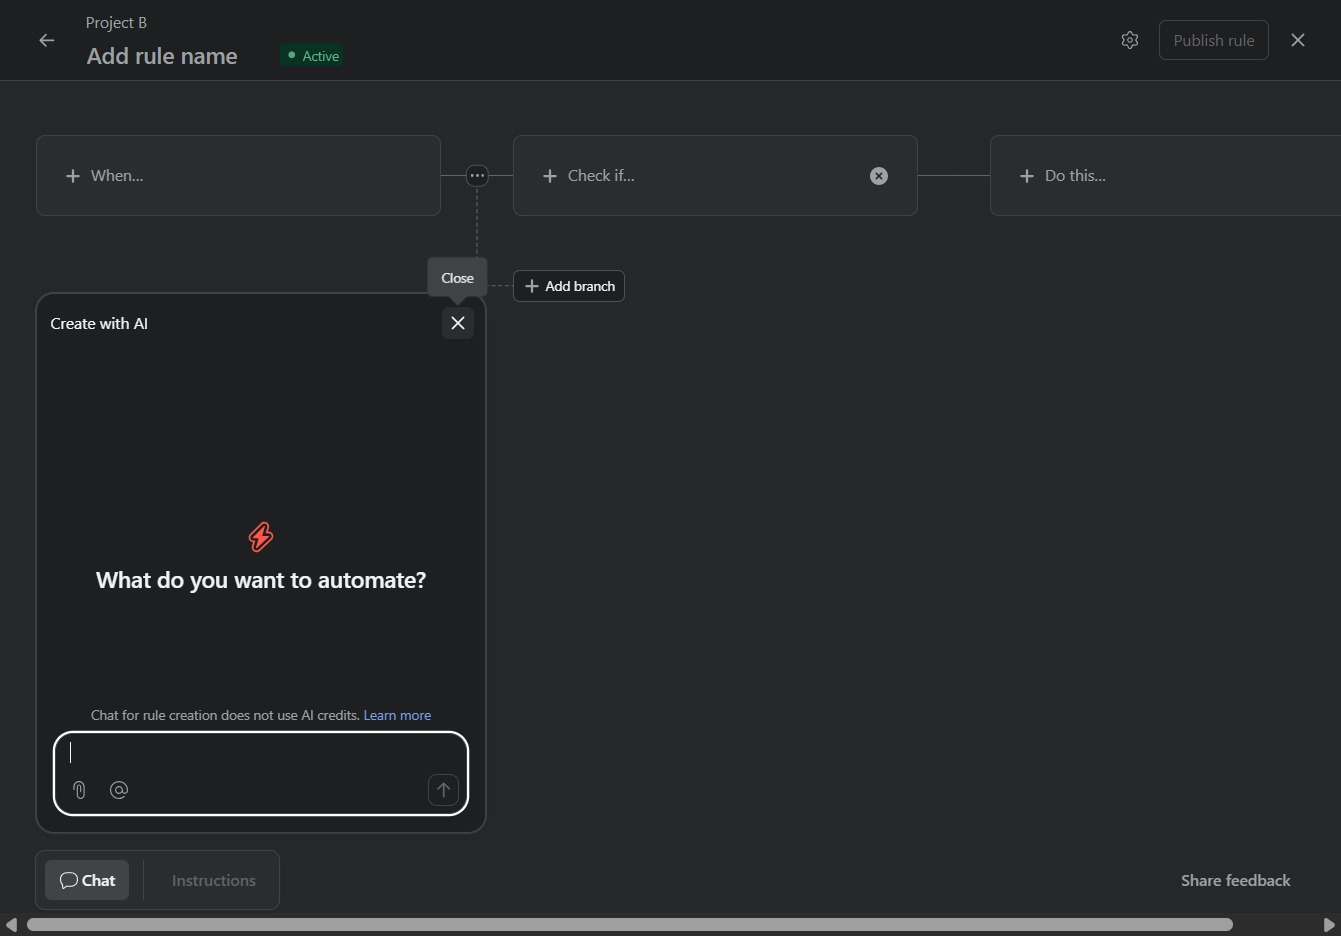
Clicking the 'When...' label allows you to specify the trigger conditions for this rule in the automation workflow. This is where you define what event will initiate the actions defined later.
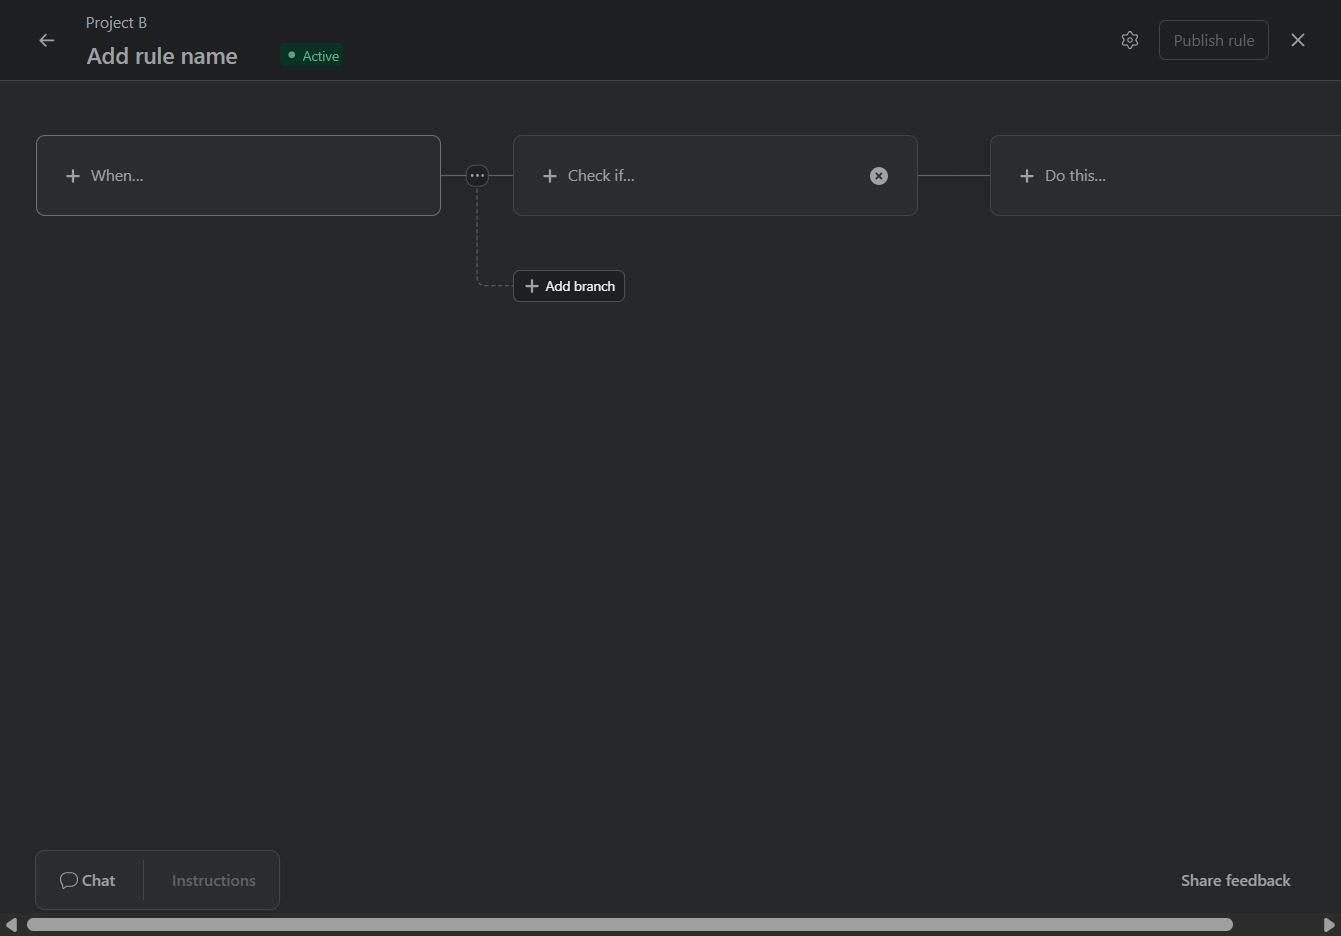
This action selects the trigger for when a task's due date is approaching in the automation rule setup. It allows you to configure how the system responds as the deadline nears.

Clicking the 'Do this...' label will allow you to specify the action that should occur when the defined condition is met in your project rule.
Selecting the 'External actions' option will allow you to choose from various actions that can be performed externally, streamlining task management and integration with other applications.
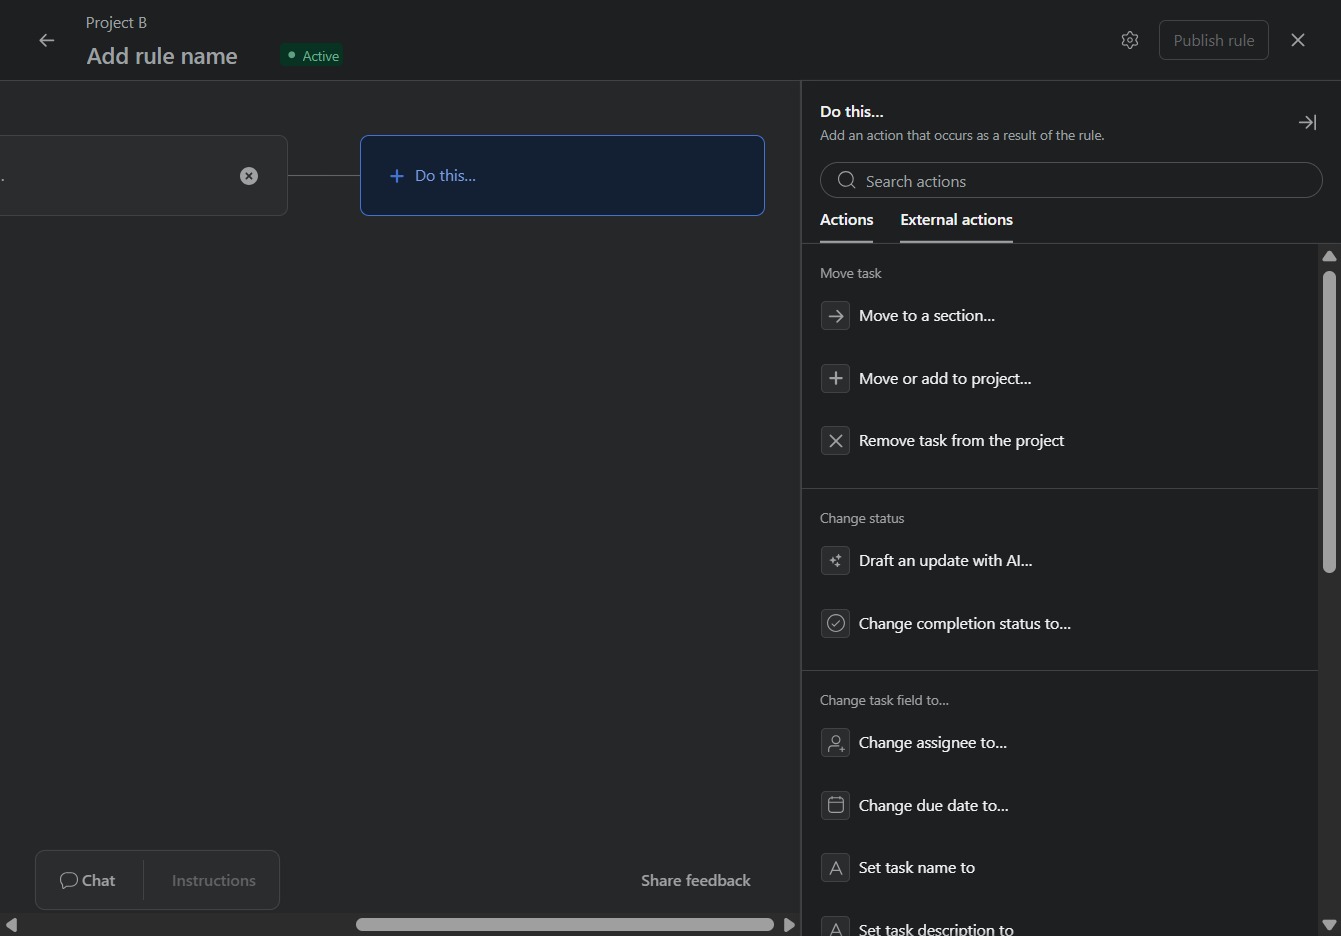
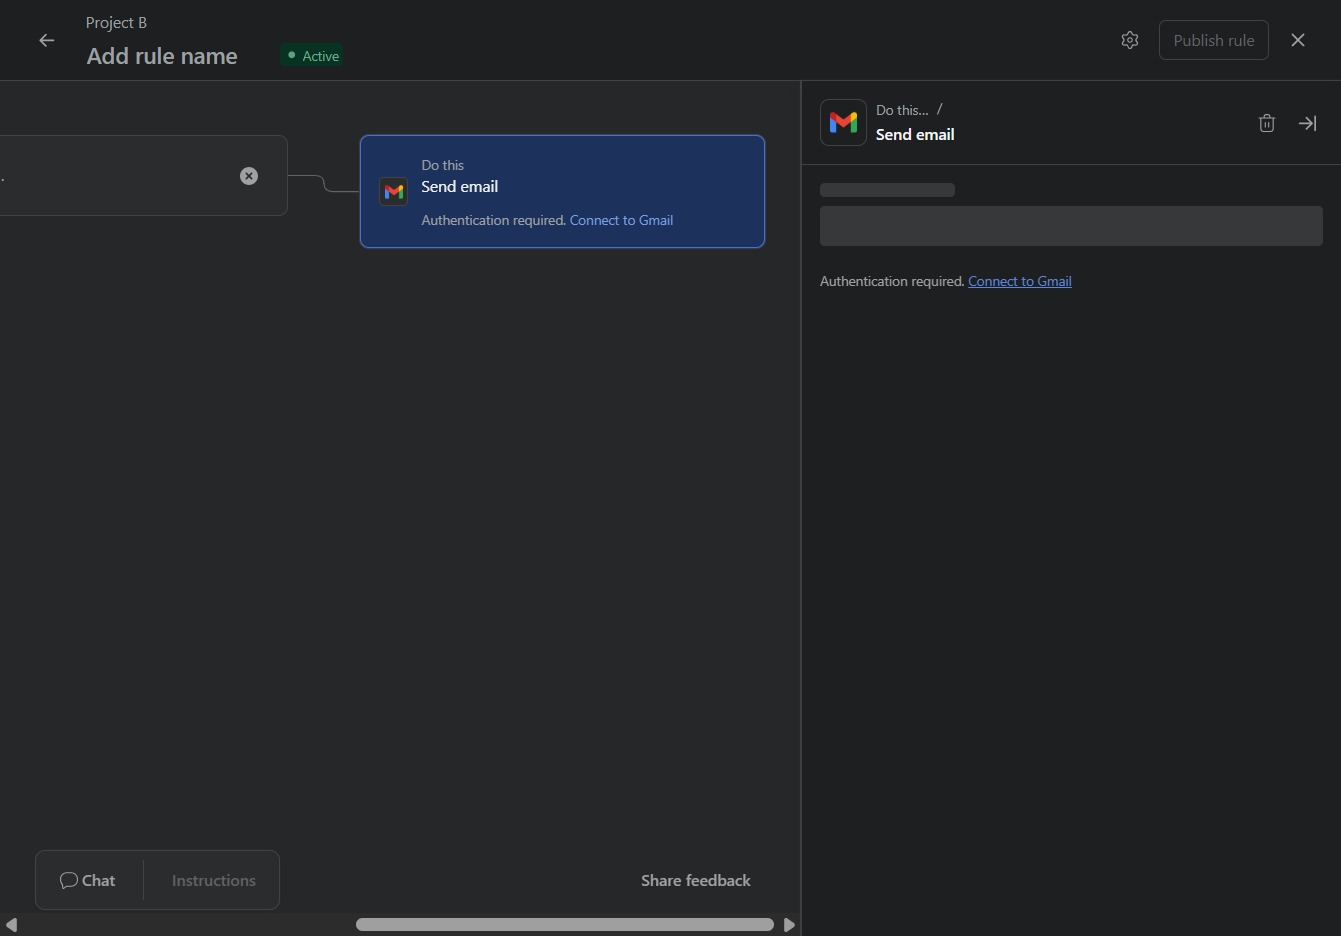
This action will configure the system to send an email as part of the automated rules. Ensure your email settings and recipients are correctly set up before proceeding.

This will prompt you to authenticate your Gmail account, allowing the application to send emails on your behalf.
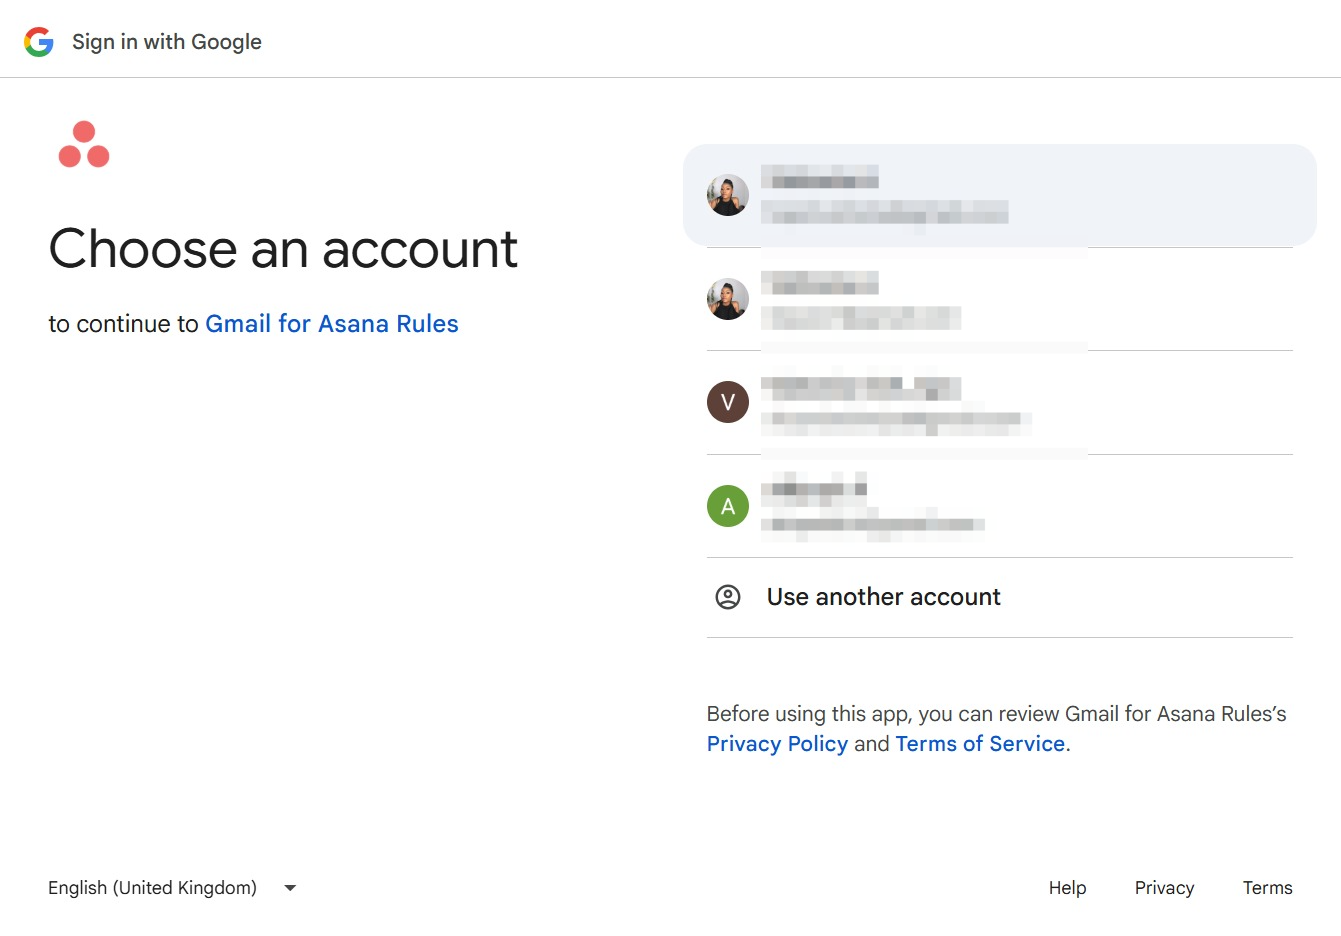
Selecting 'Victoria Ahopmvictoria@gmail.com' will log you into your Google account to access Gmail for Asana Rules.
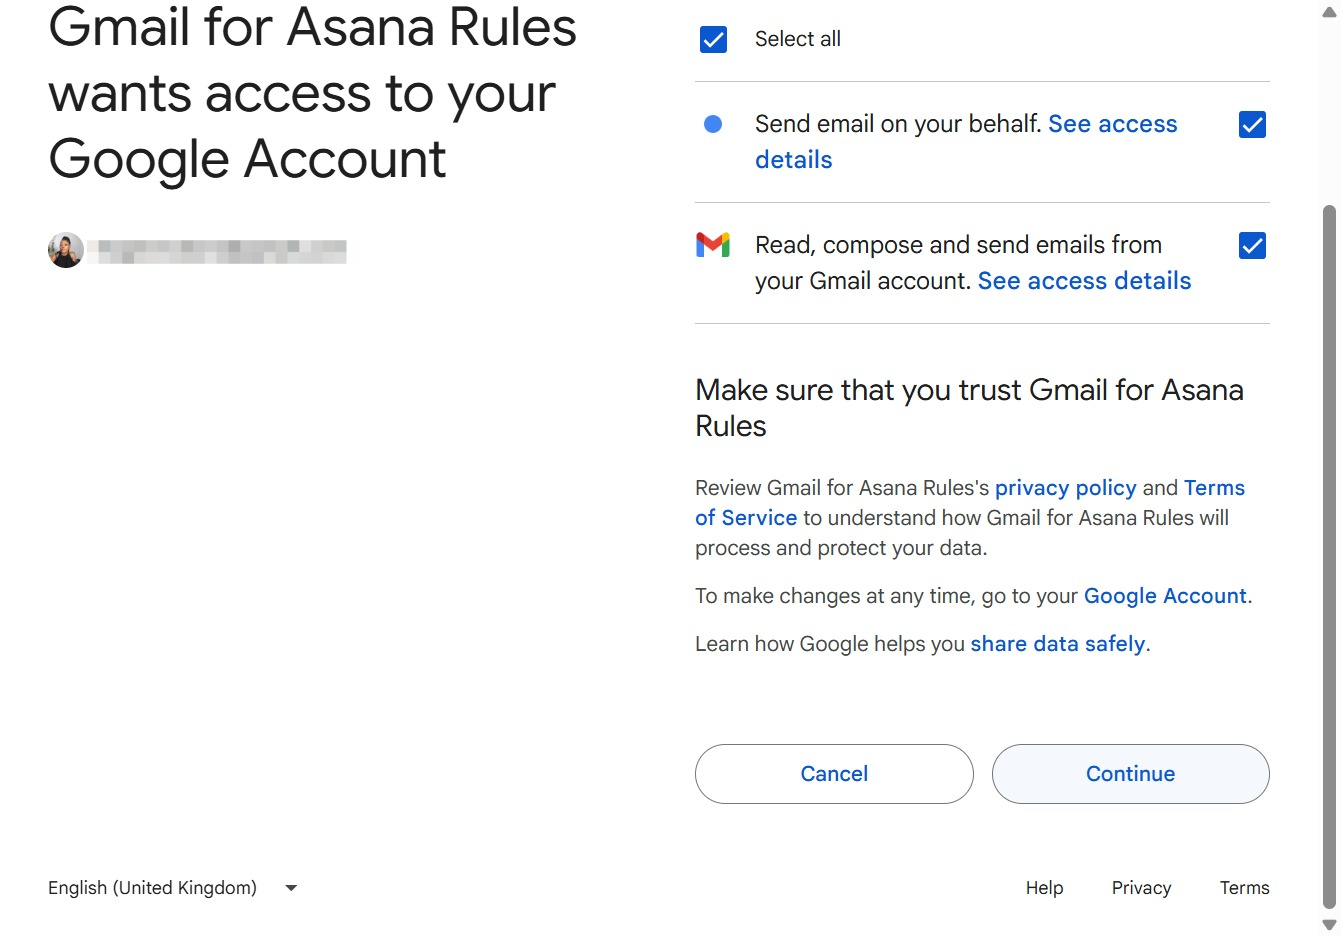
This action will allow Gmail for Asana Rules to access all specified permissions for your Google Account, streamlining the integration process.

By clicking the Continue button, you will grant Gmail for Asana Rules access to your Google Account, allowing it to send emails on your behalf and manage your Gmail inbox.
This action will allow you to configure the email settings for your task automation. You'll set details like the recipient, subject, and body of the email that will be sent.
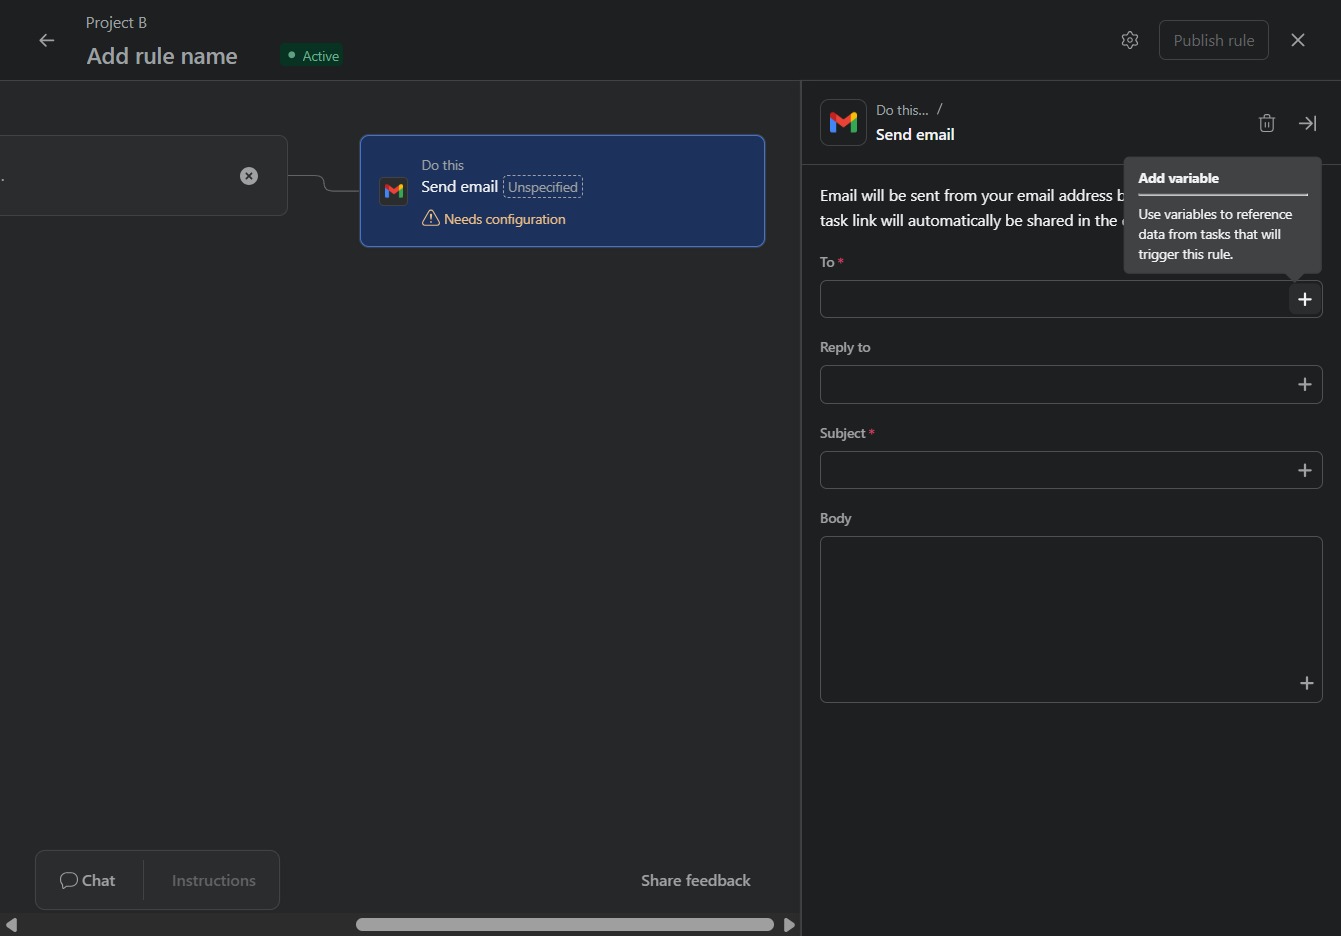
This action allows you to select the relevant contacts to include in the email. Choosing 'People' enables you to define who will receive the task link shared in the message.
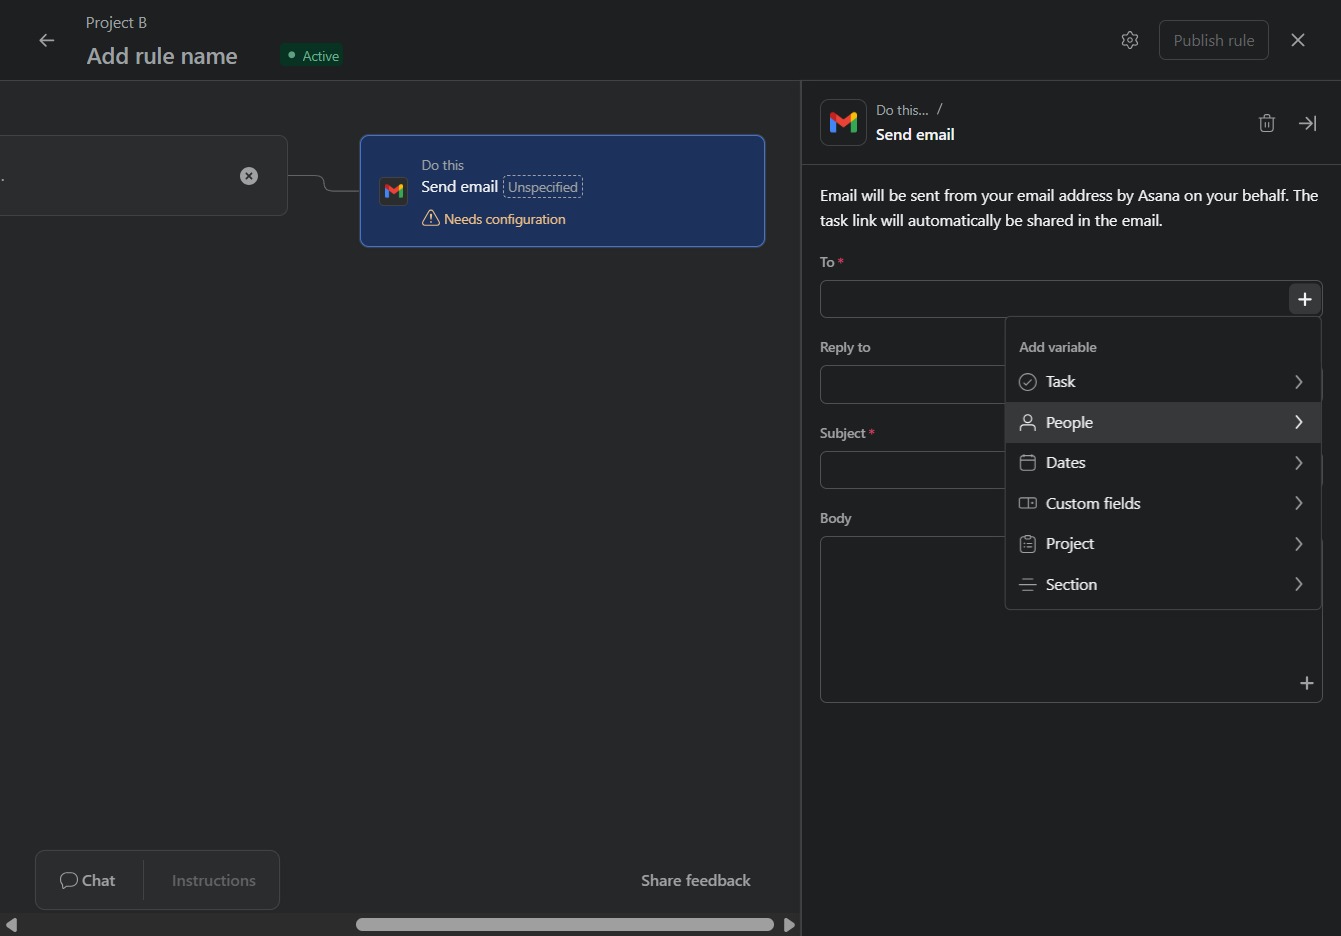
Selecting the Assignee field allows you to specify who will be responsible for the task in the email notification. This entry will automatically populate in the email settings for this automation.
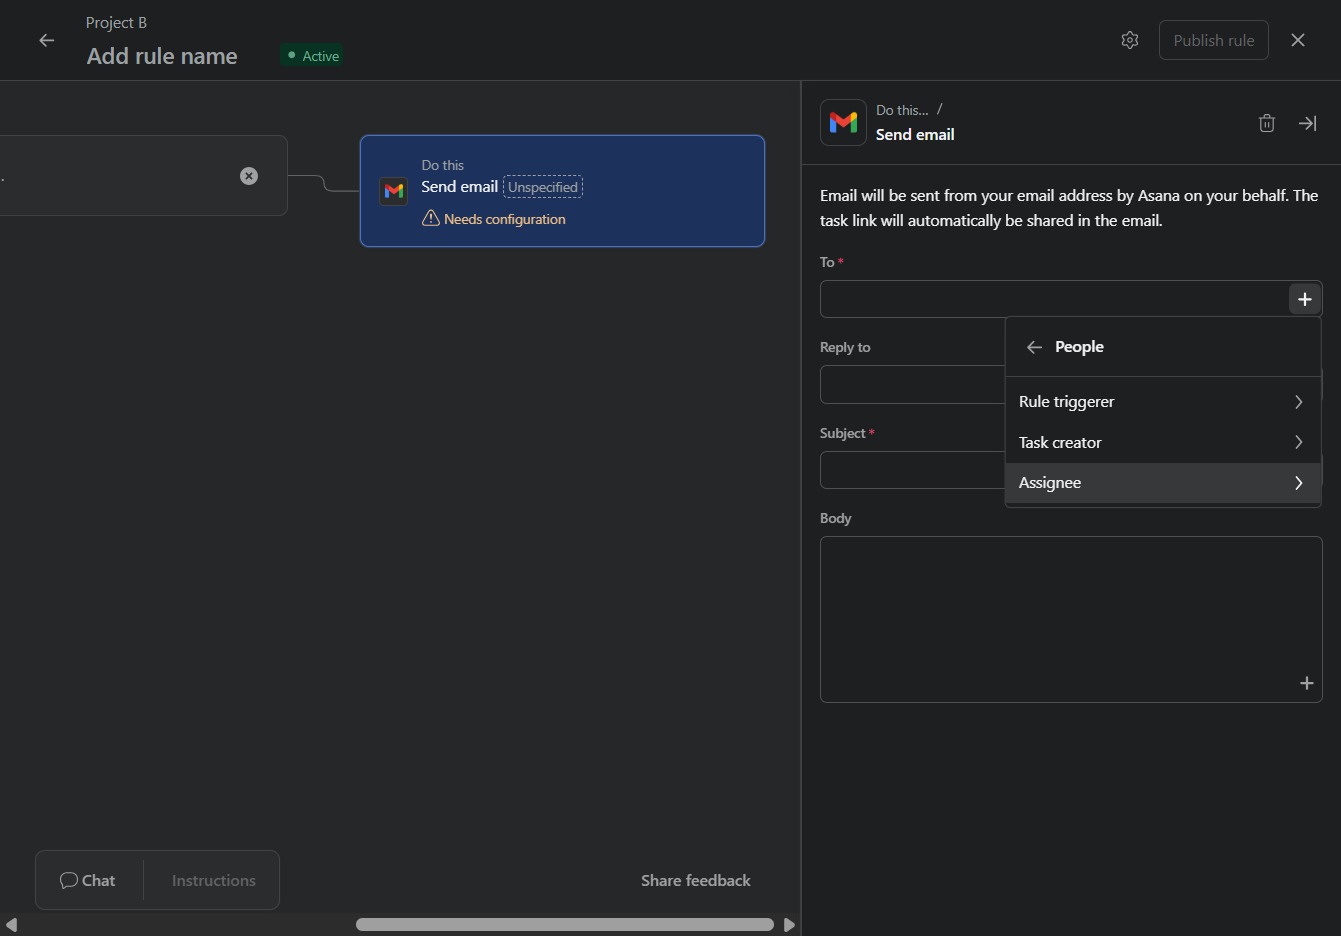
This field allows you to input the name that will be displayed as the sender in the email. Filling this in ensures the recipient recognizes who the email is from.
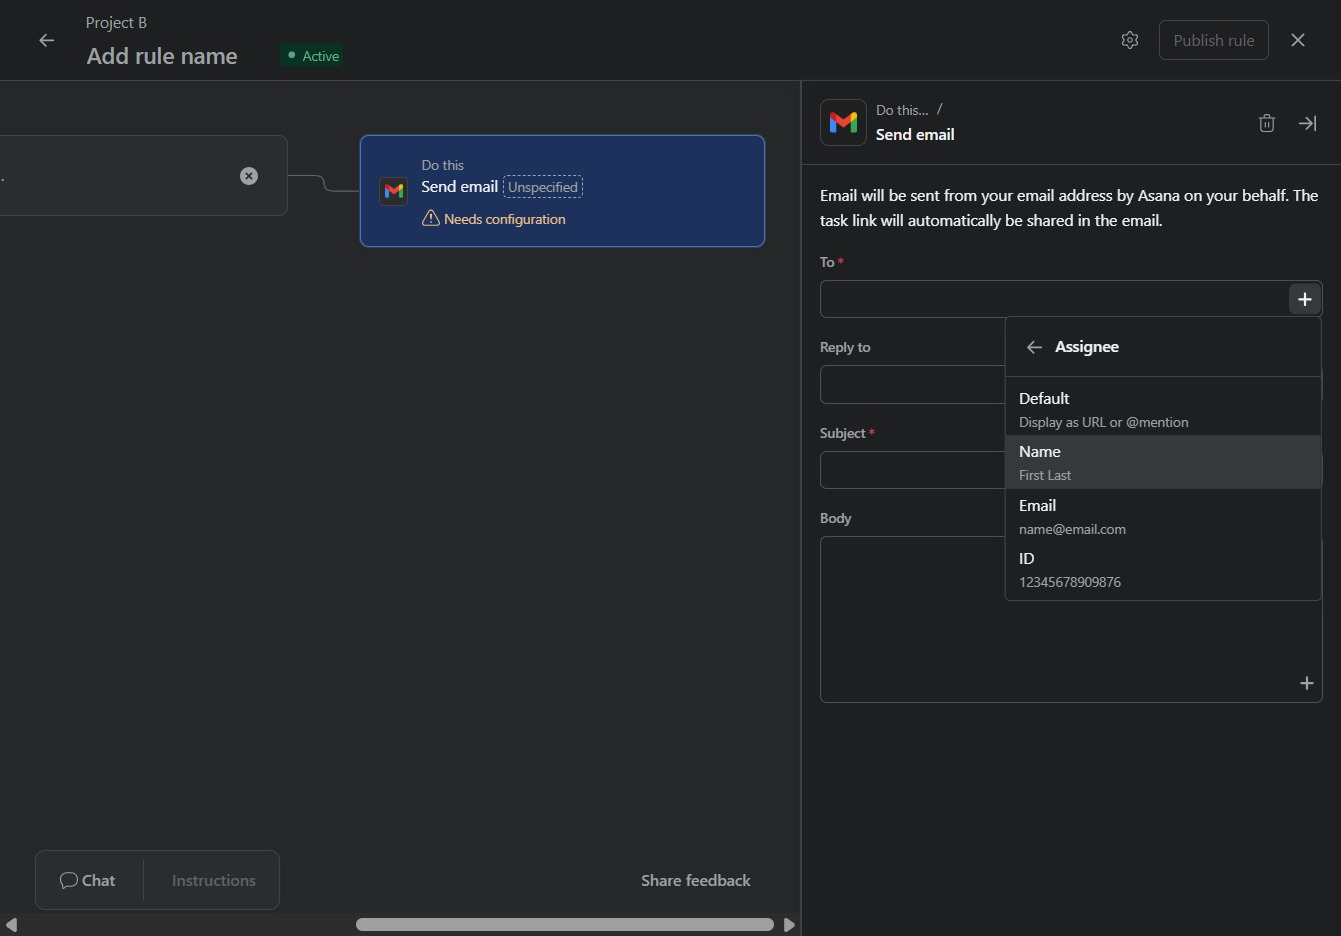
This action will open the configuration options for sending an email through Asana, allowing you to specify recipients and message details.
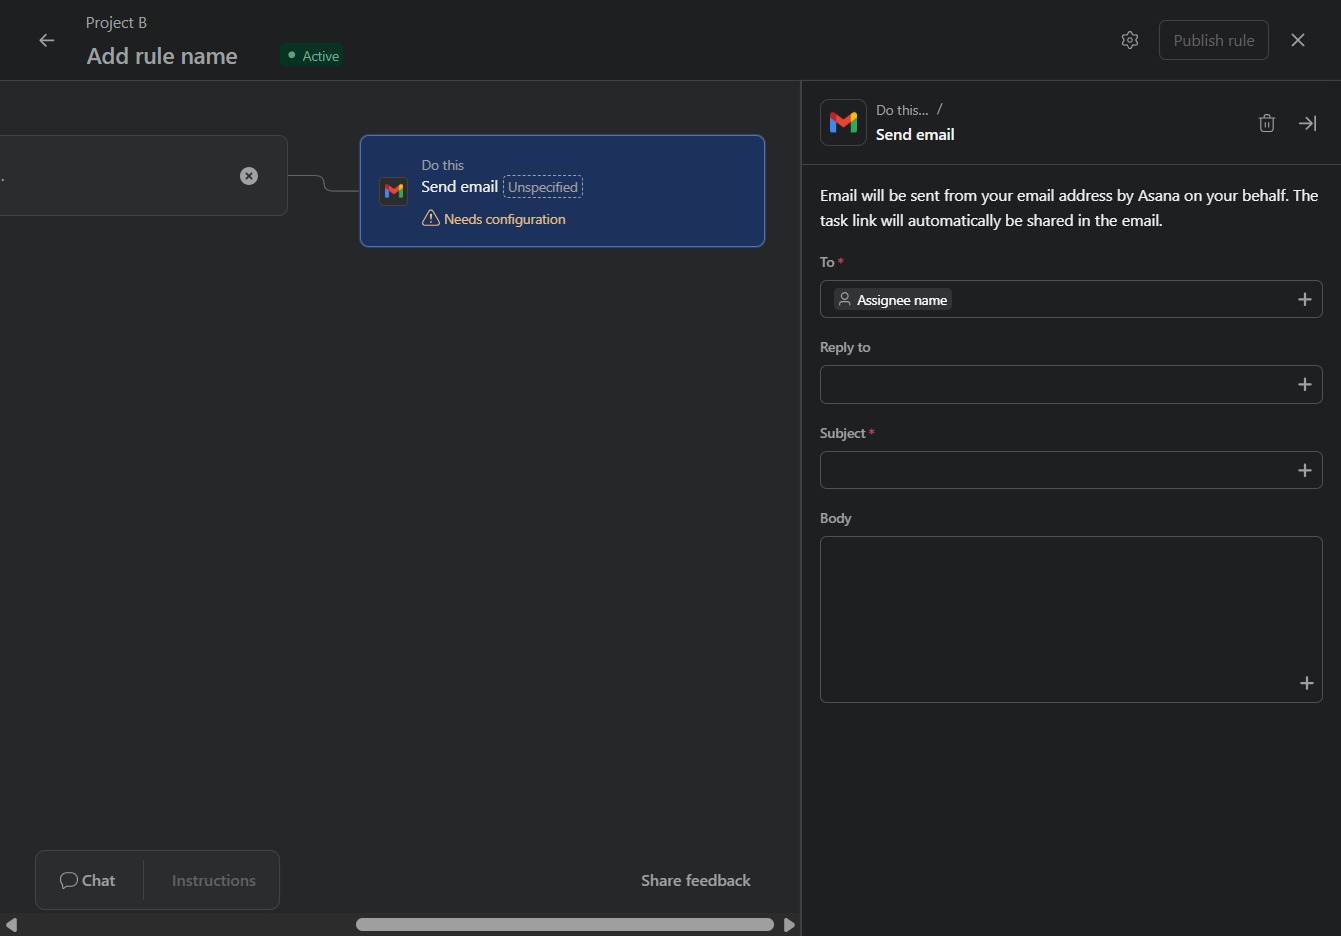
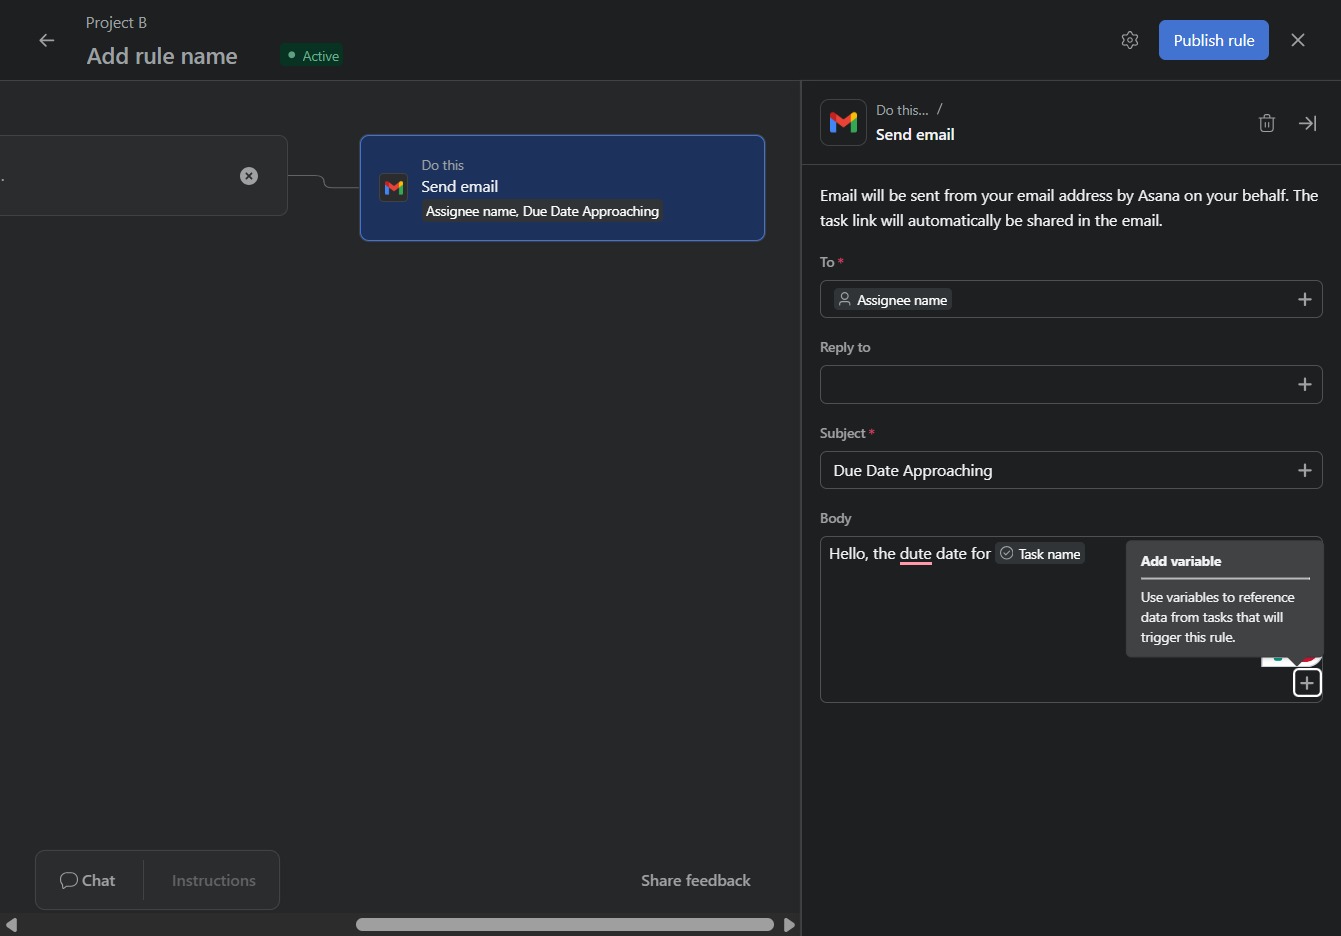
Enter 'Due Date Approaching' in the Subject field to set the email's subject line for the notification. This will ensure recipients know the context of the email regarding impending deadlines.
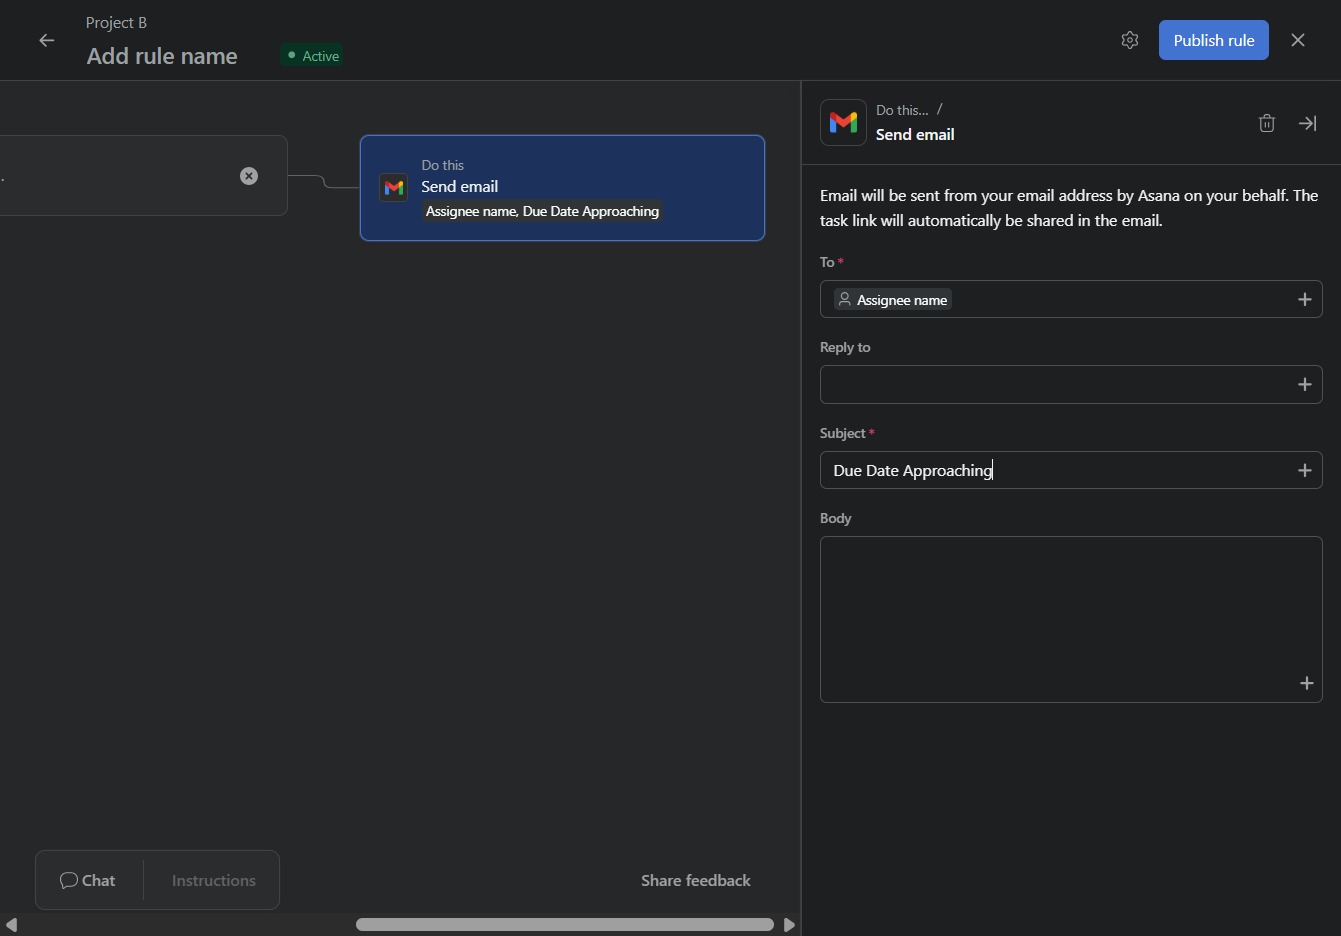
This action will select the 'Send email' task within your rule. You can then customize the email details such as recipient, subject, and message before proceeding to publish your automation.
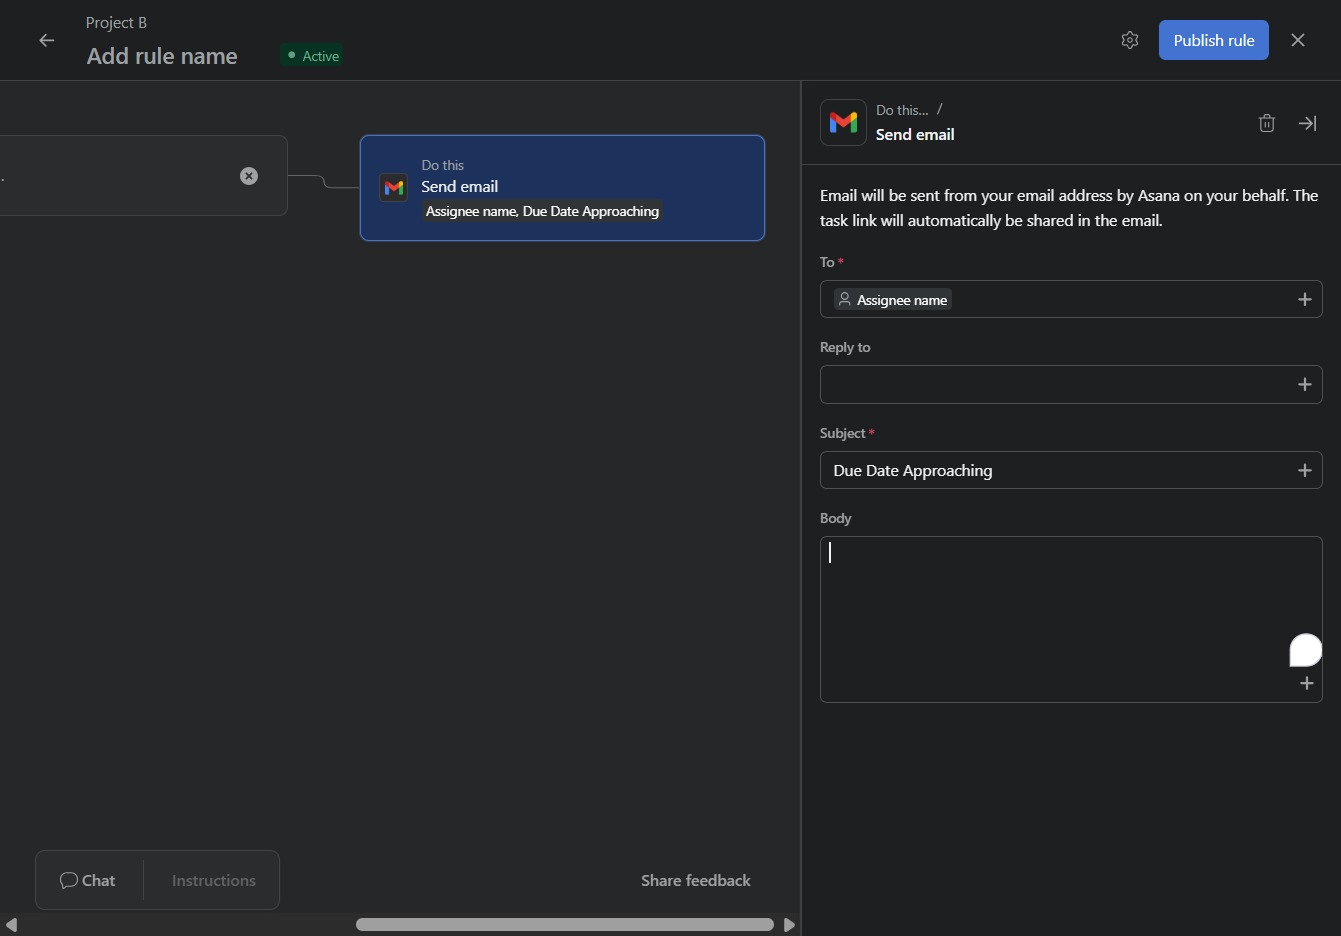
In the reply field, enter the due date that needs to be included in the email sent to the assigned user. This will personalize the message and ensure the recipient has the correct due date information.

Clicking this button allows you to insert dynamic data fields into your email template, enhancing personalization by referencing task-related information.

Selecting 'Task' from the dropdown allows you to set the subject for the email notification regarding the approaching due date.
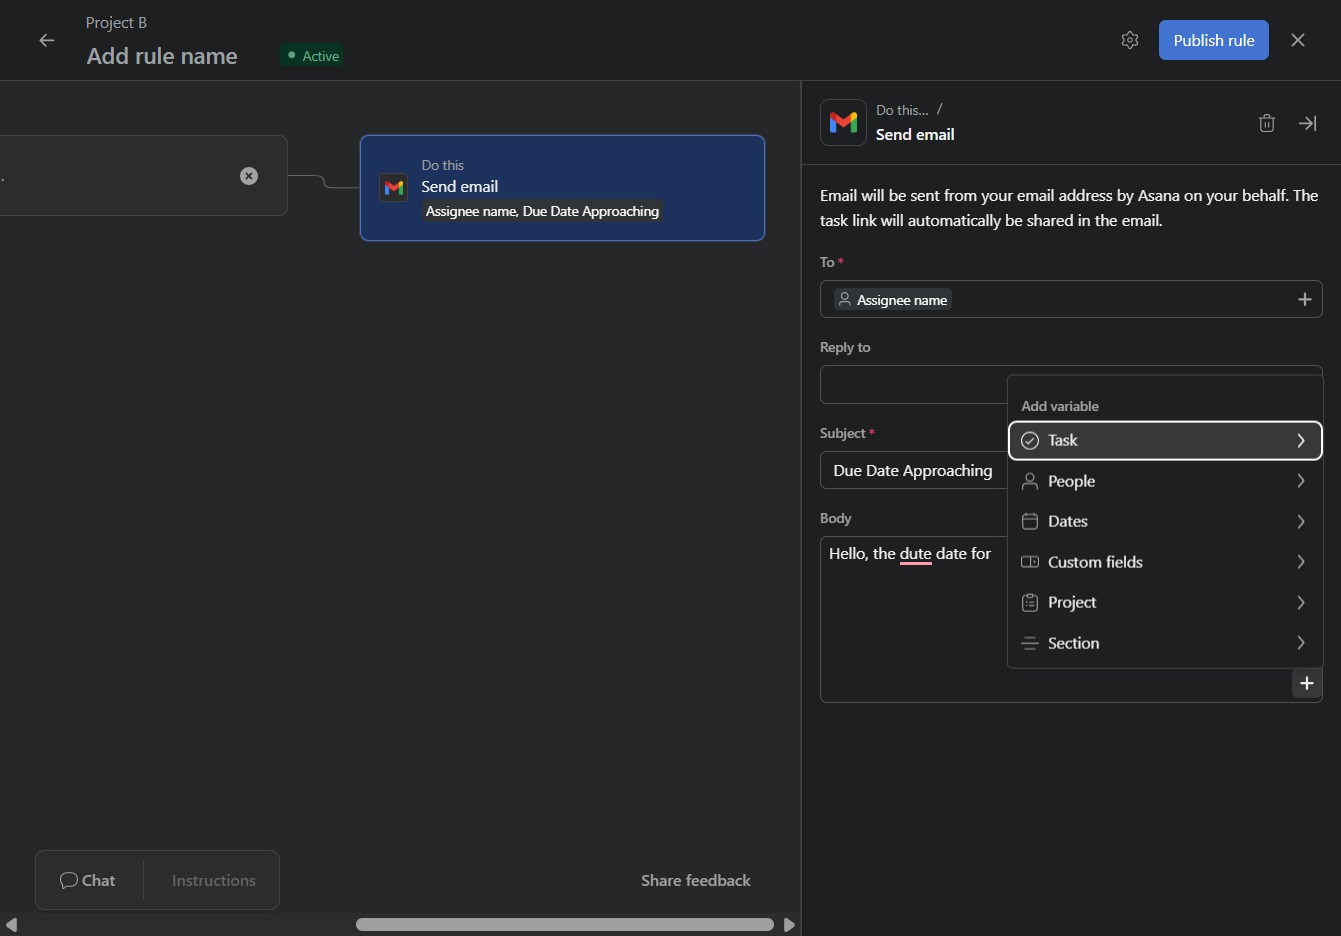
This allows you to specify the name associated with the task in your automation rule. Enter the desired name to clearly identify the rule and its purpose.

This allows you to modify the text displayed in the email, including the due date for the task. You can personalize the message that will be sent when the due date approaches.