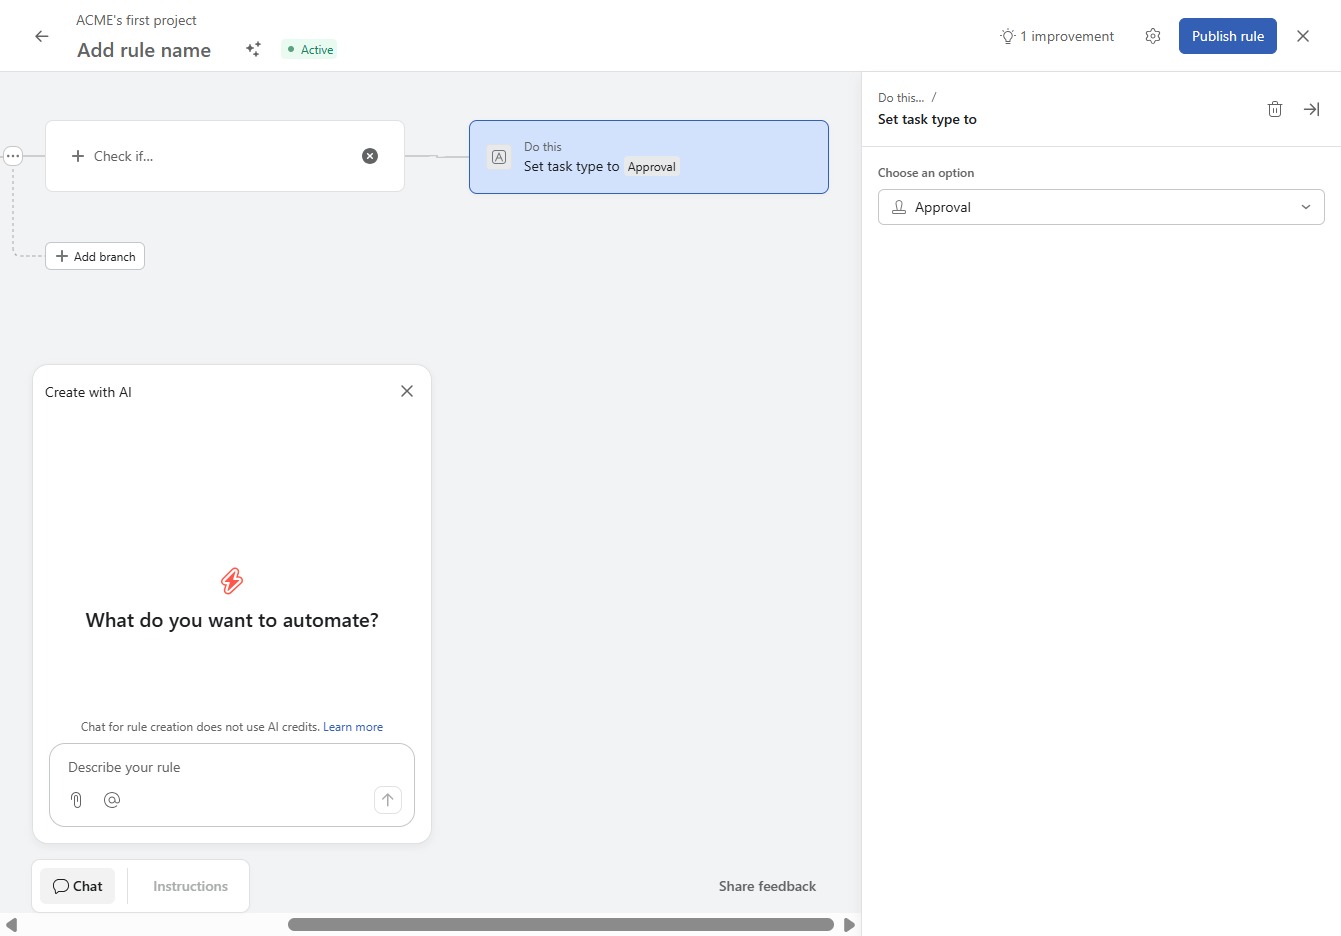
Click ACME's first project
This action opens the details and tasks associated with ACME's first project, allowing you to manage and review project-related activities.
Loading screenshot…
100%
This how-to guide teaches you to automate the approvals process for project management, covering essential steps like customizing project settings, creating and managing…
 viktoria
This how-to guide teaches you to automate the approvals process for project management, covering essential steps like customizing project settings, creating and managing automation rules, and specifying task conditions. By following the outlined steps, you'll streamline your workflow and enhance efficiency in handling project-related tasks.
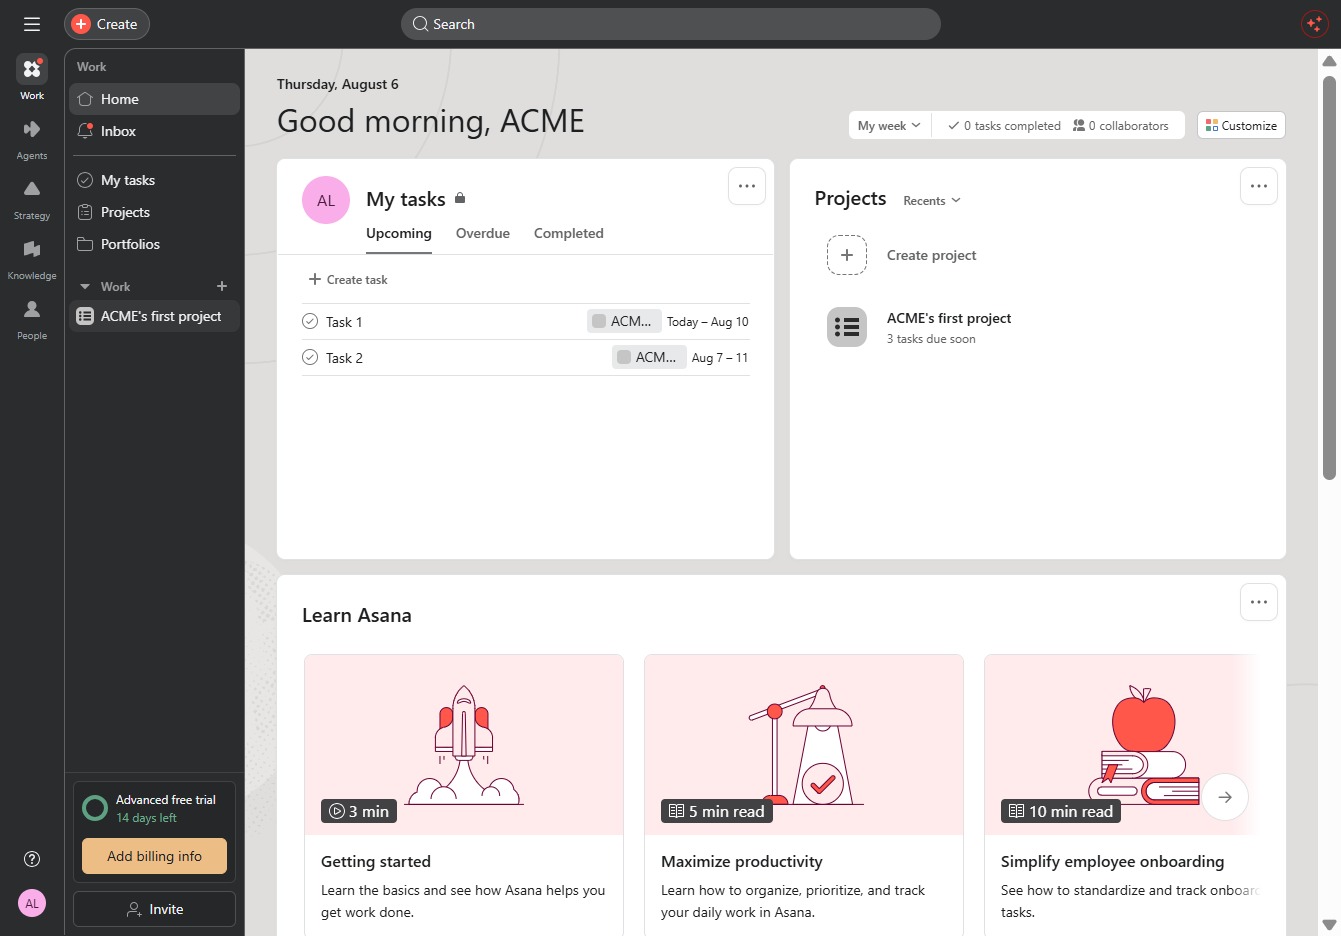
This action opens the details and tasks associated with ACME's first project, allowing you to manage and review project-related activities.
Selecting the Customize option allows you to tailor the view and settings for your project. This may include adjusting the layout, notifications, or other preferences to better suit your workflow.
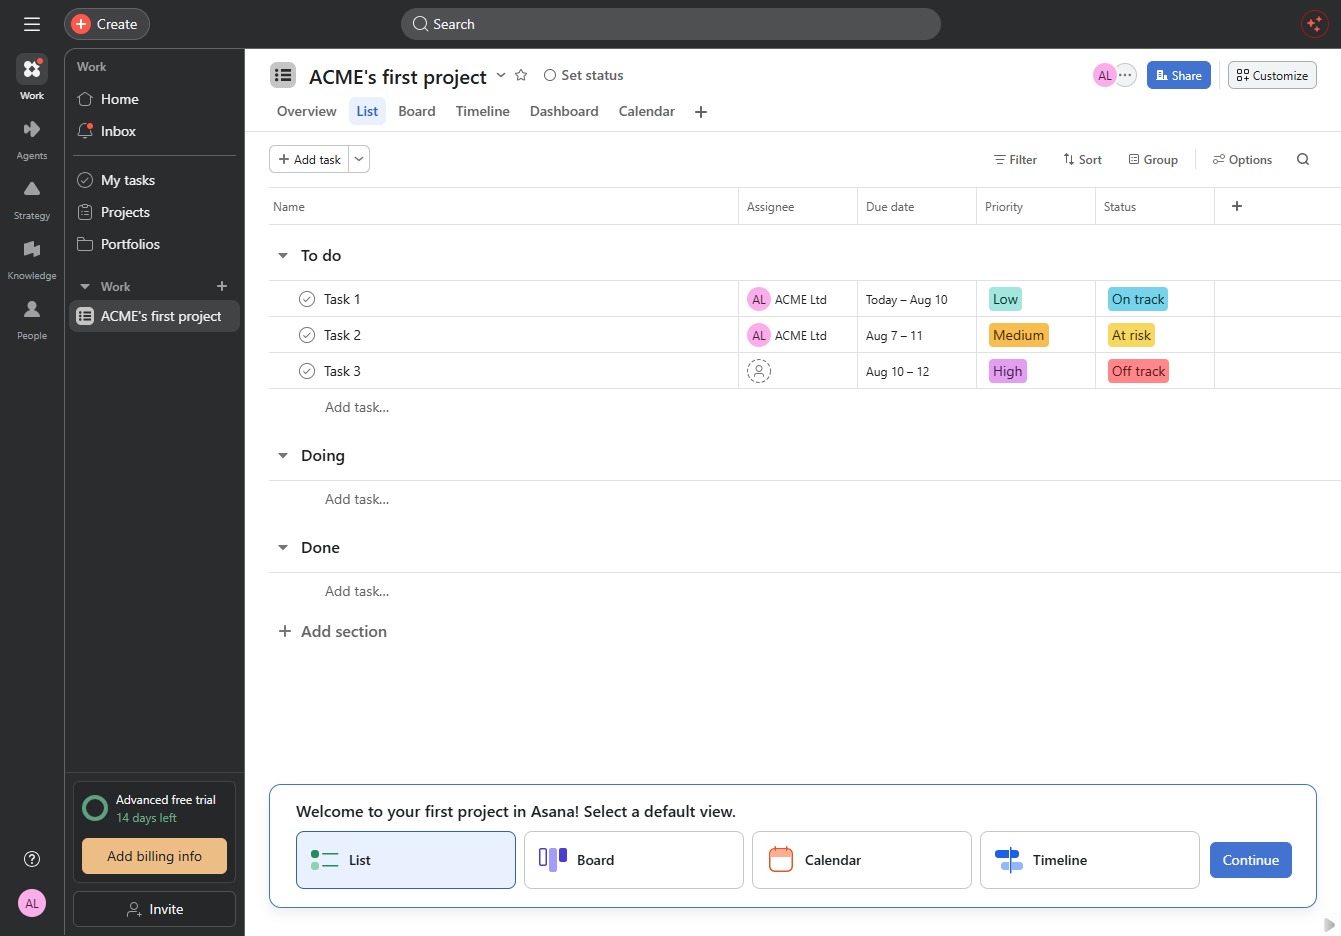
This action will allow you to view and customize the rules applicable to this project. You can edit existing rules or add new ones to tailor the workflow as needed.
This action allows you to add a new task to your project. After clicking, a prompt will typically appear for you to enter the details of the task.
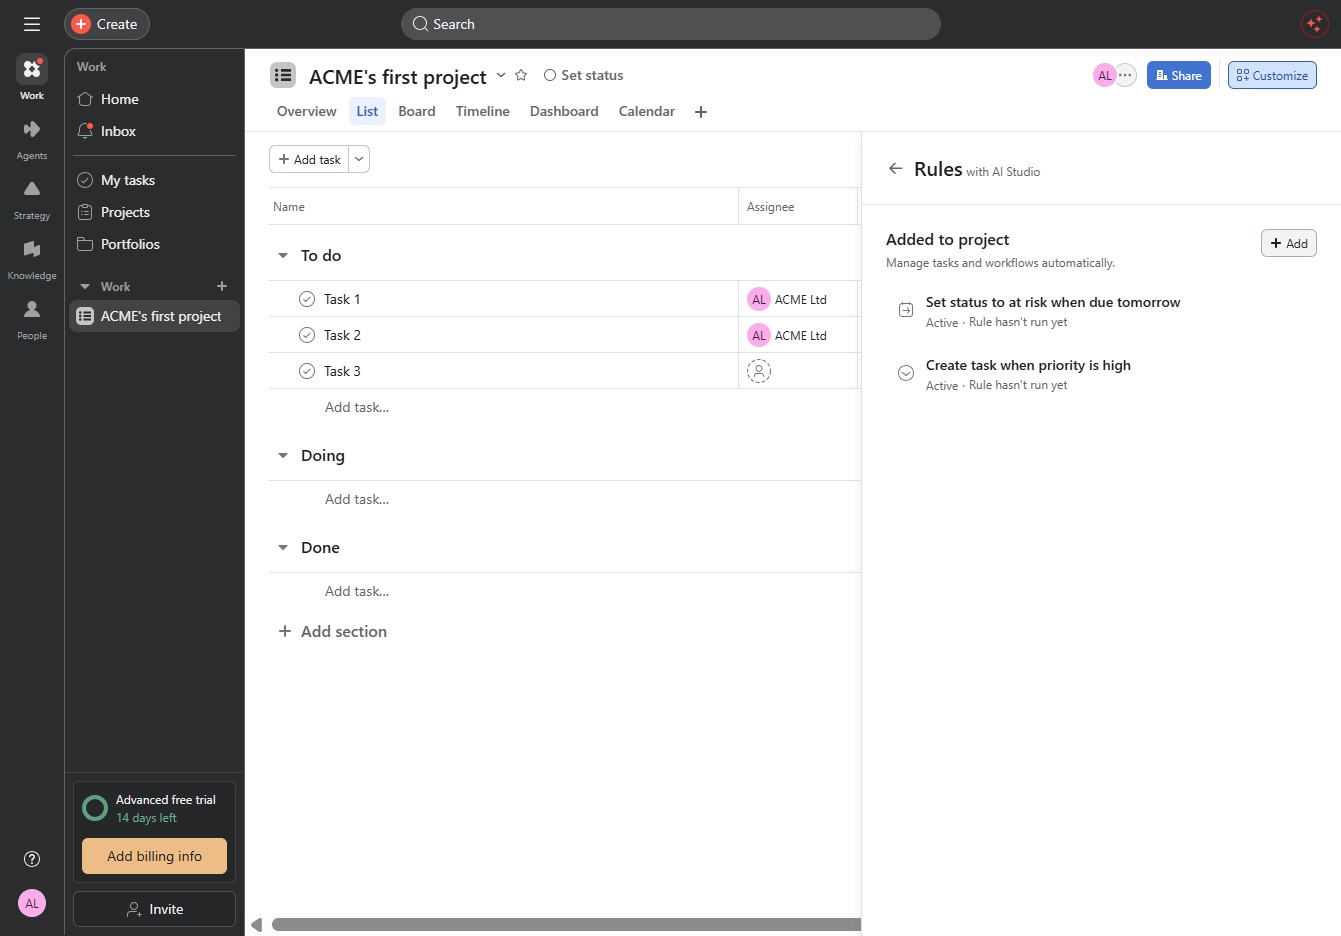
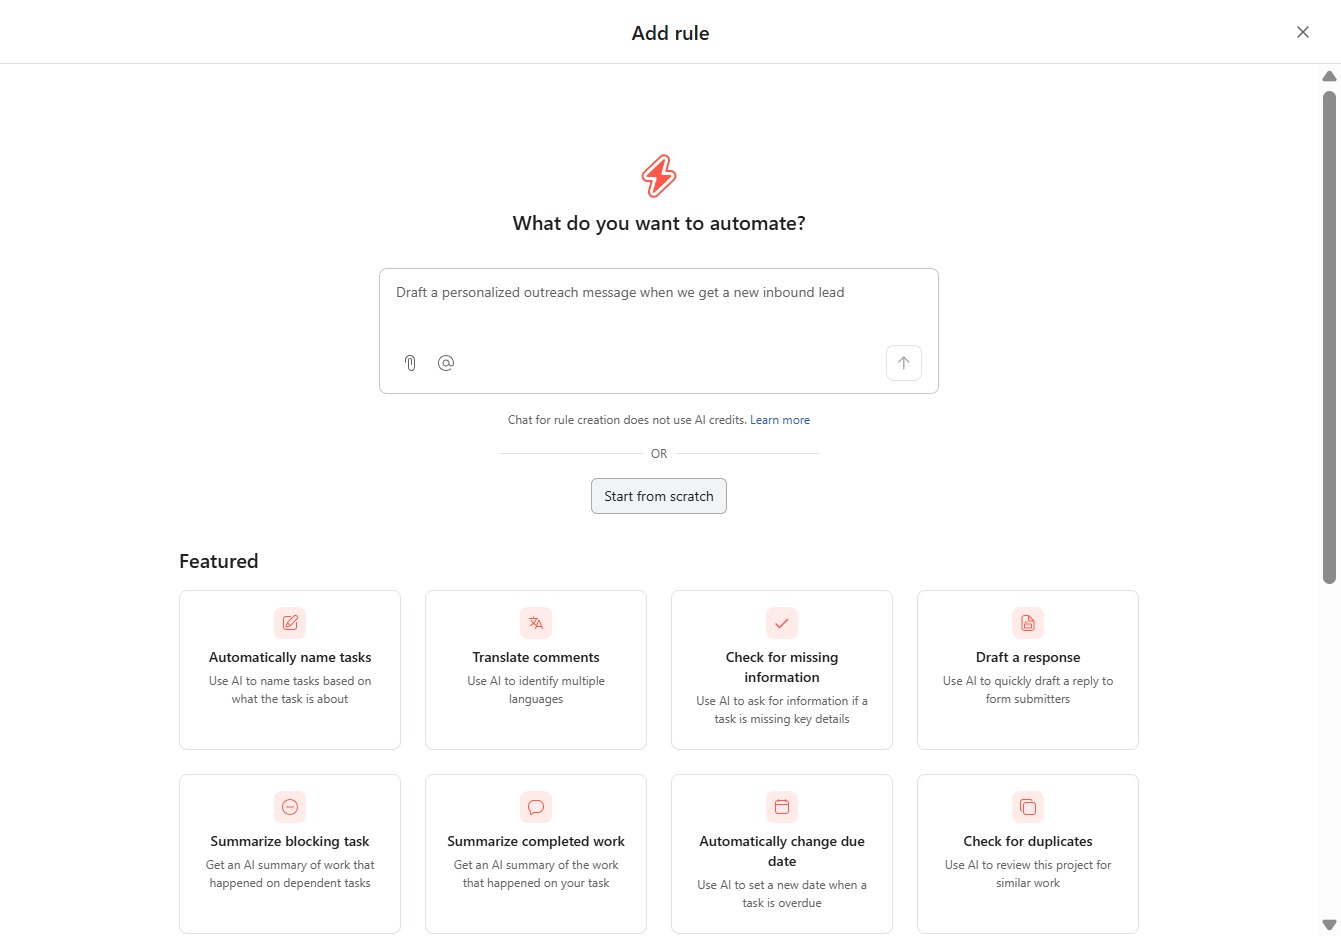
This will take you to a new interface where you can create your automation rules from the beginning without using any predefined templates.
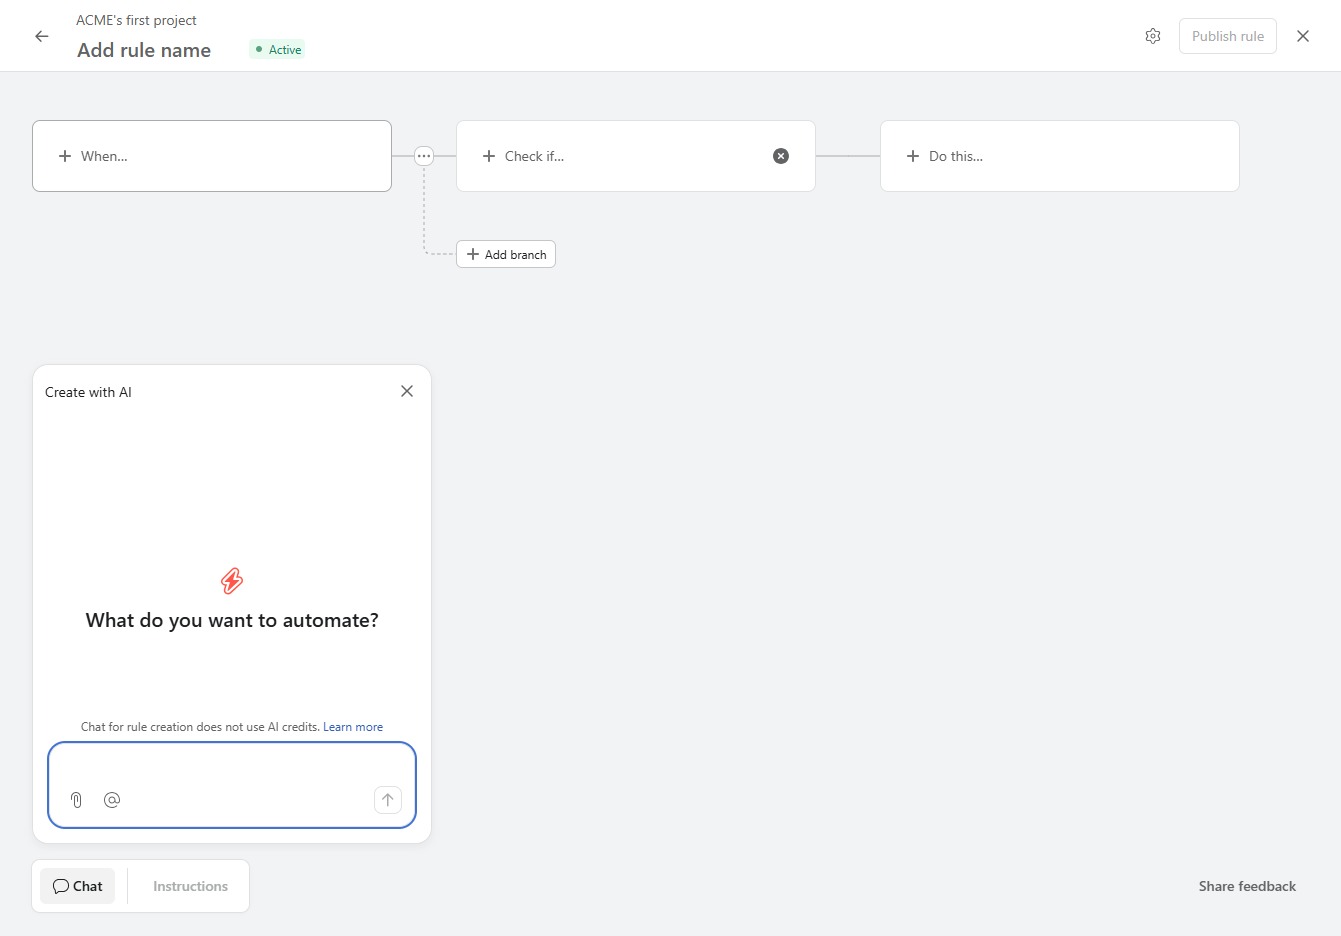
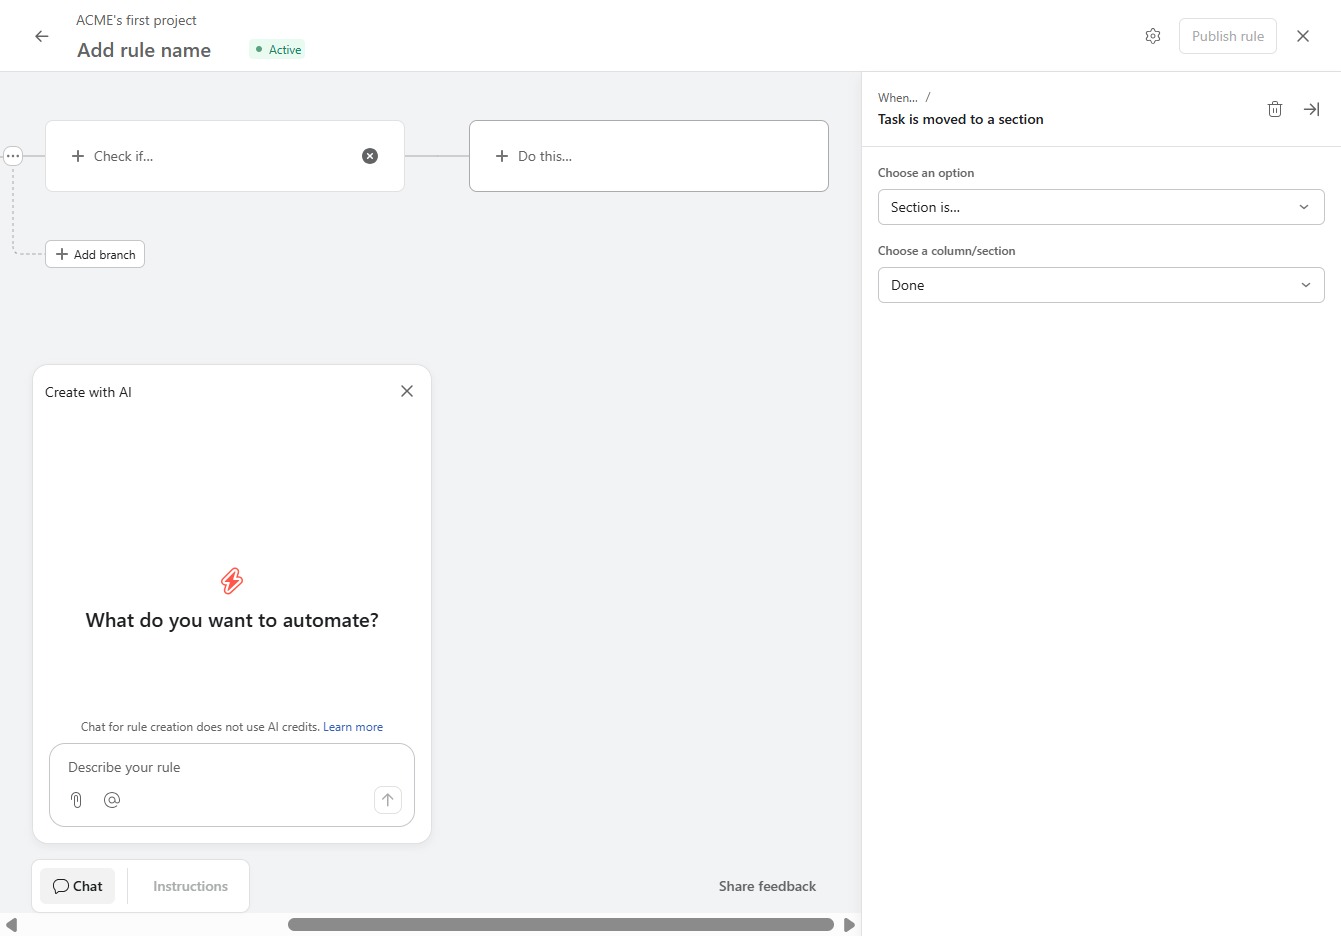
Selecting the 'When...' label allows you to specify the triggering conditions for your automation rule.
This action transfers the selected task to a specified section within your workflow, helping you organize and manage tasks more effectively.
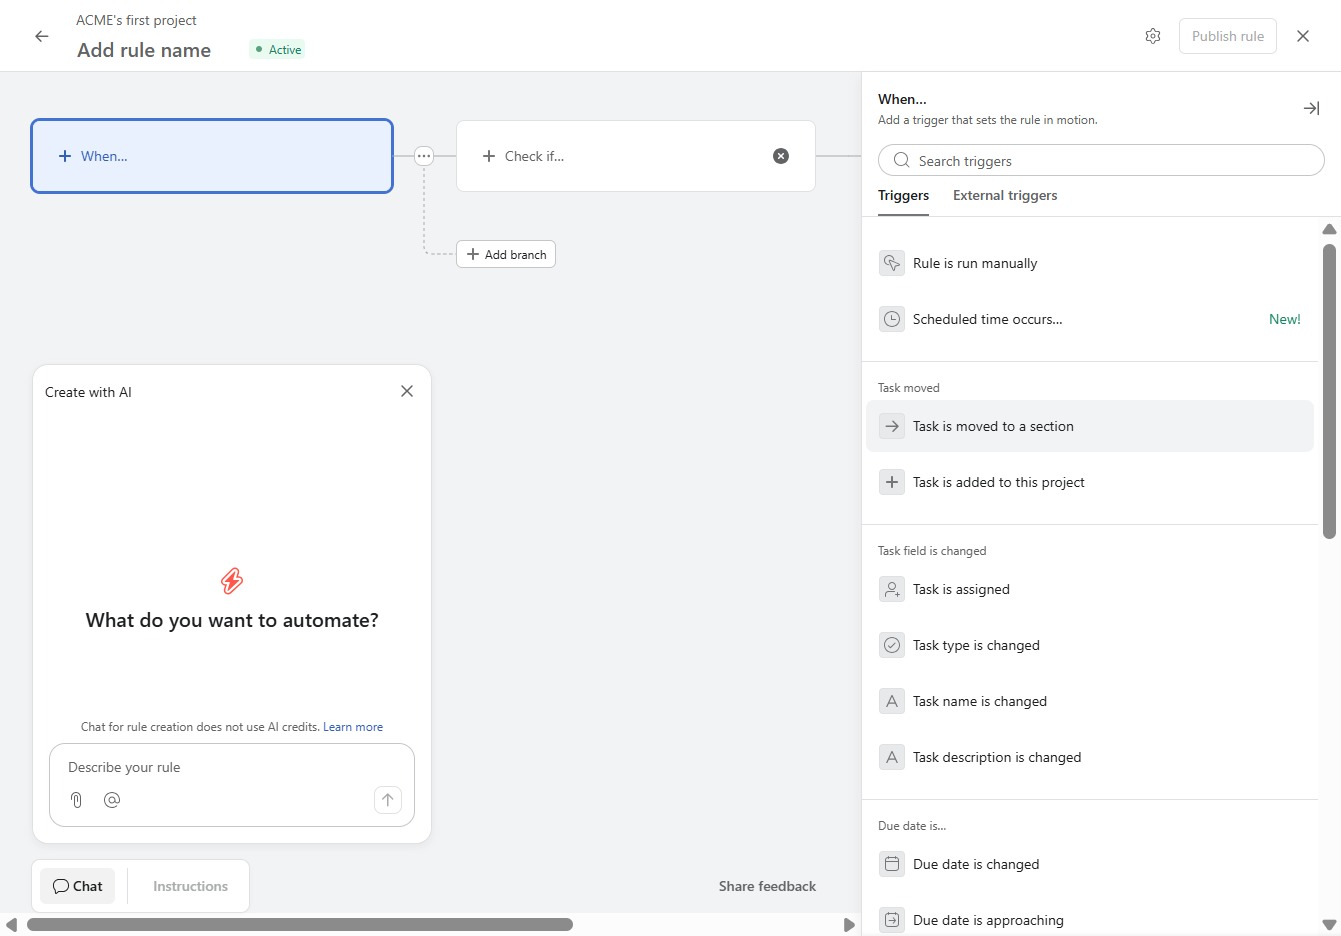
This action modifies the rule to trigger when a task is moved to a different section. You will now be able to set up additional conditions or actions based on this change.
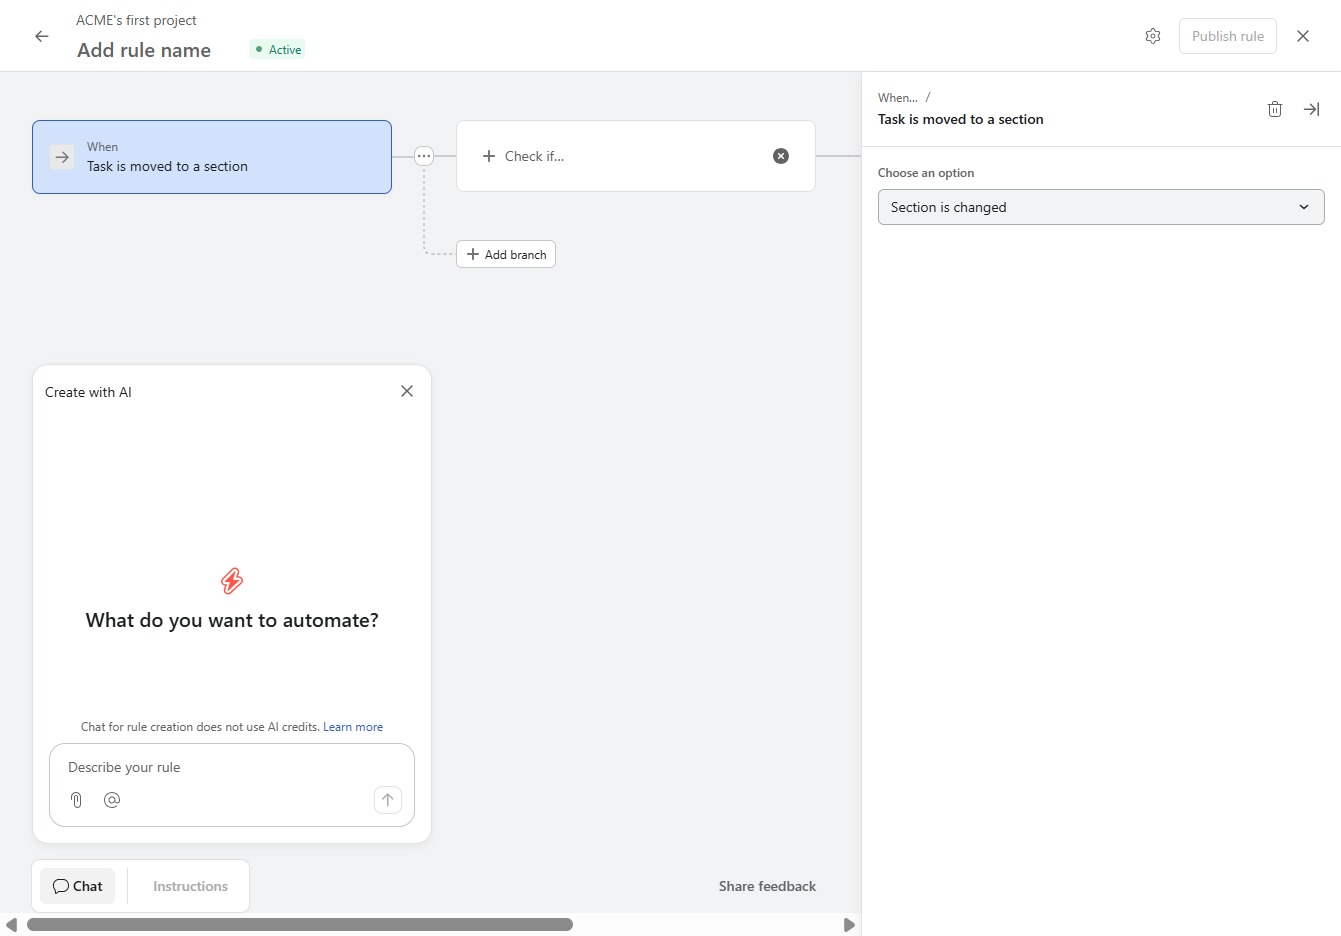
Selecting this option allows you to specify the condition under which a task is moved to a different section. Choose from the available conditions to customize your automation rule.
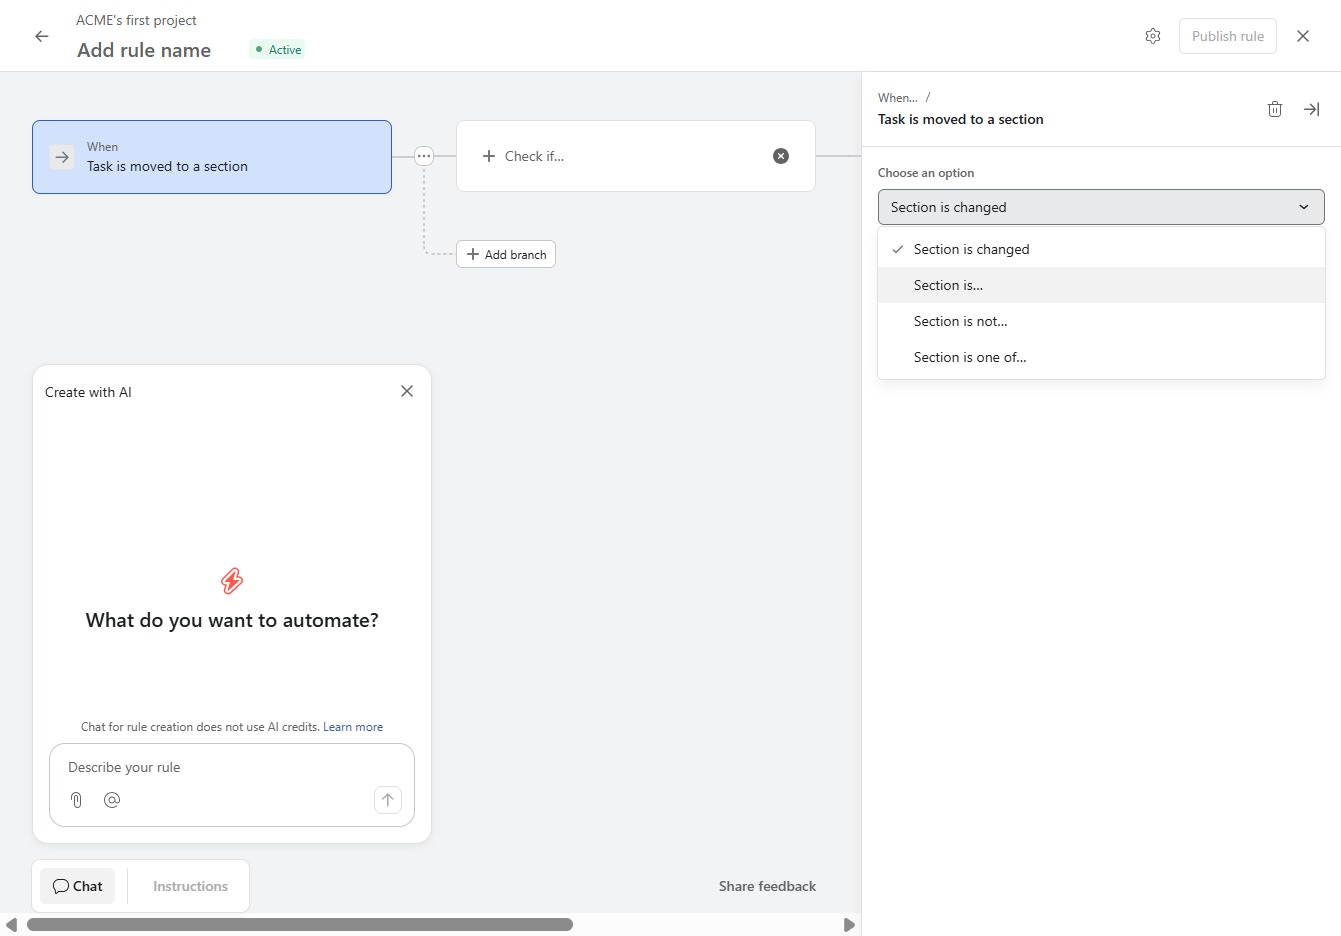
This action verifies the specified conditions for the task and determines if it meets the requirements to proceed in the automation process.
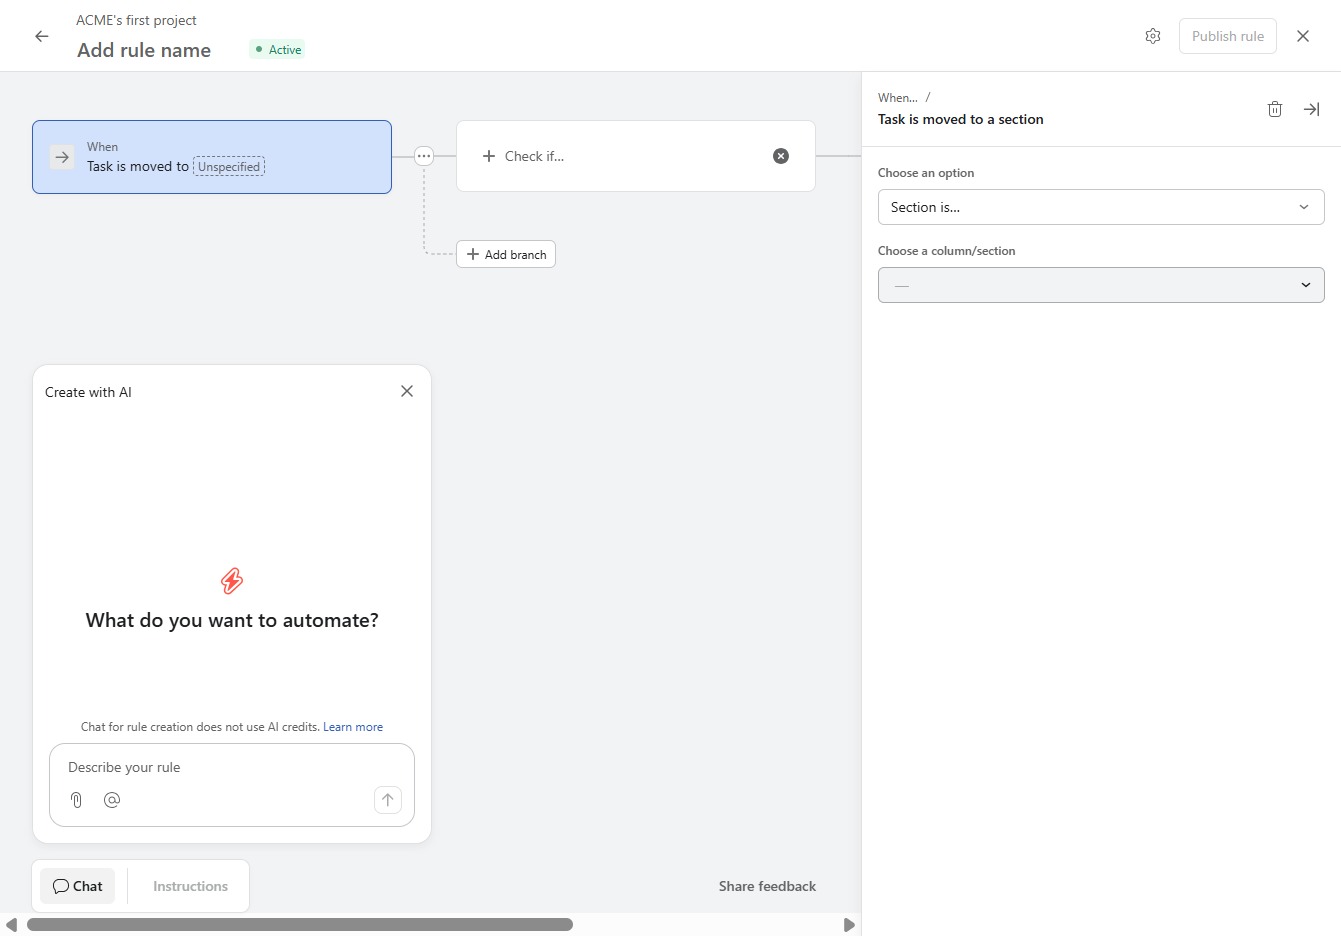
This will confirm and finalize your changes, marking the task as complete in your project settings.
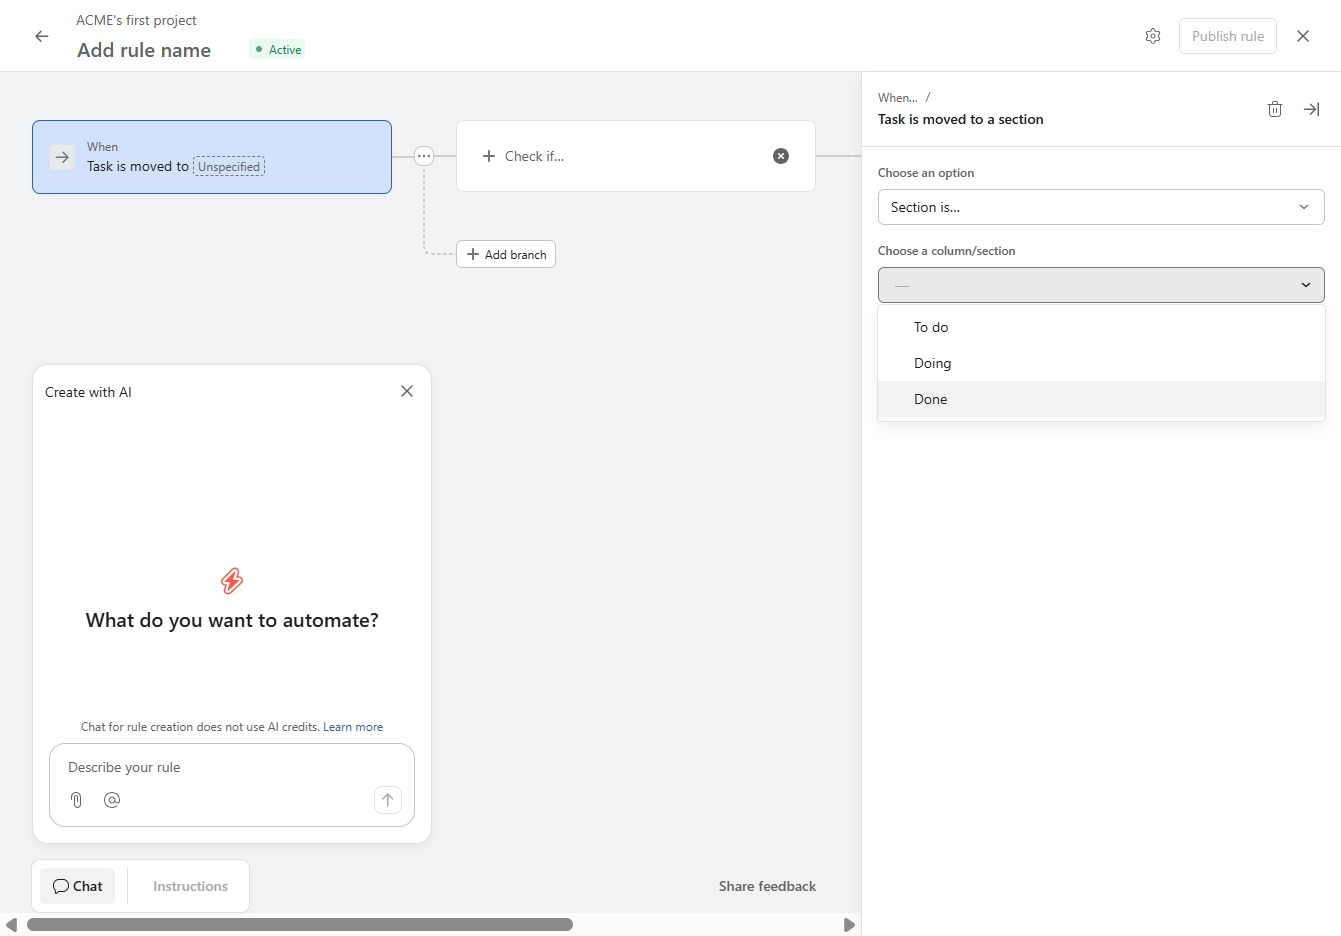
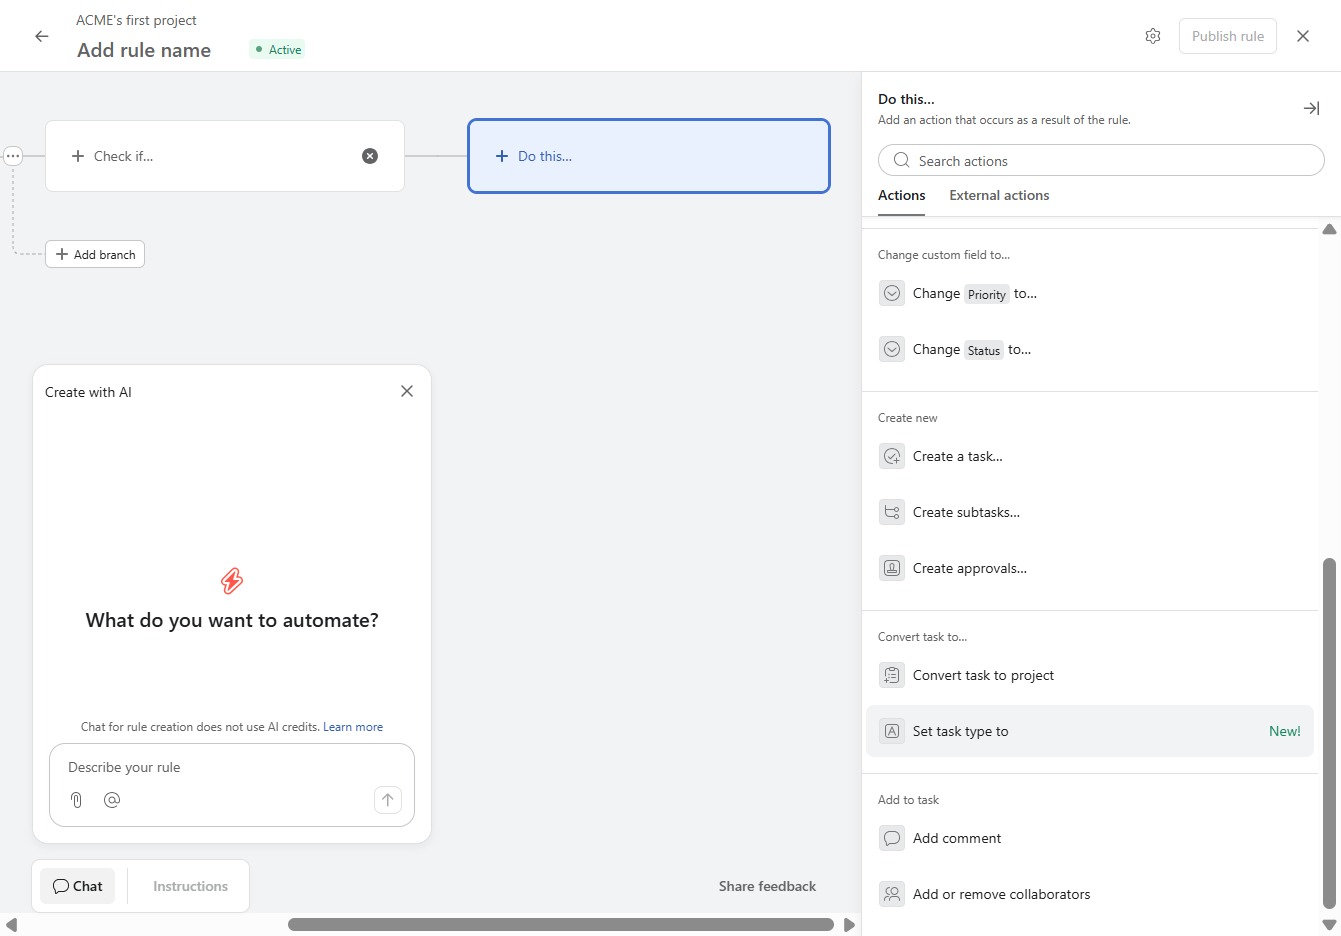
By clicking the 'Do this…' label, you'll access the options for specifying the action that should be taken in the automation rule you are creating.
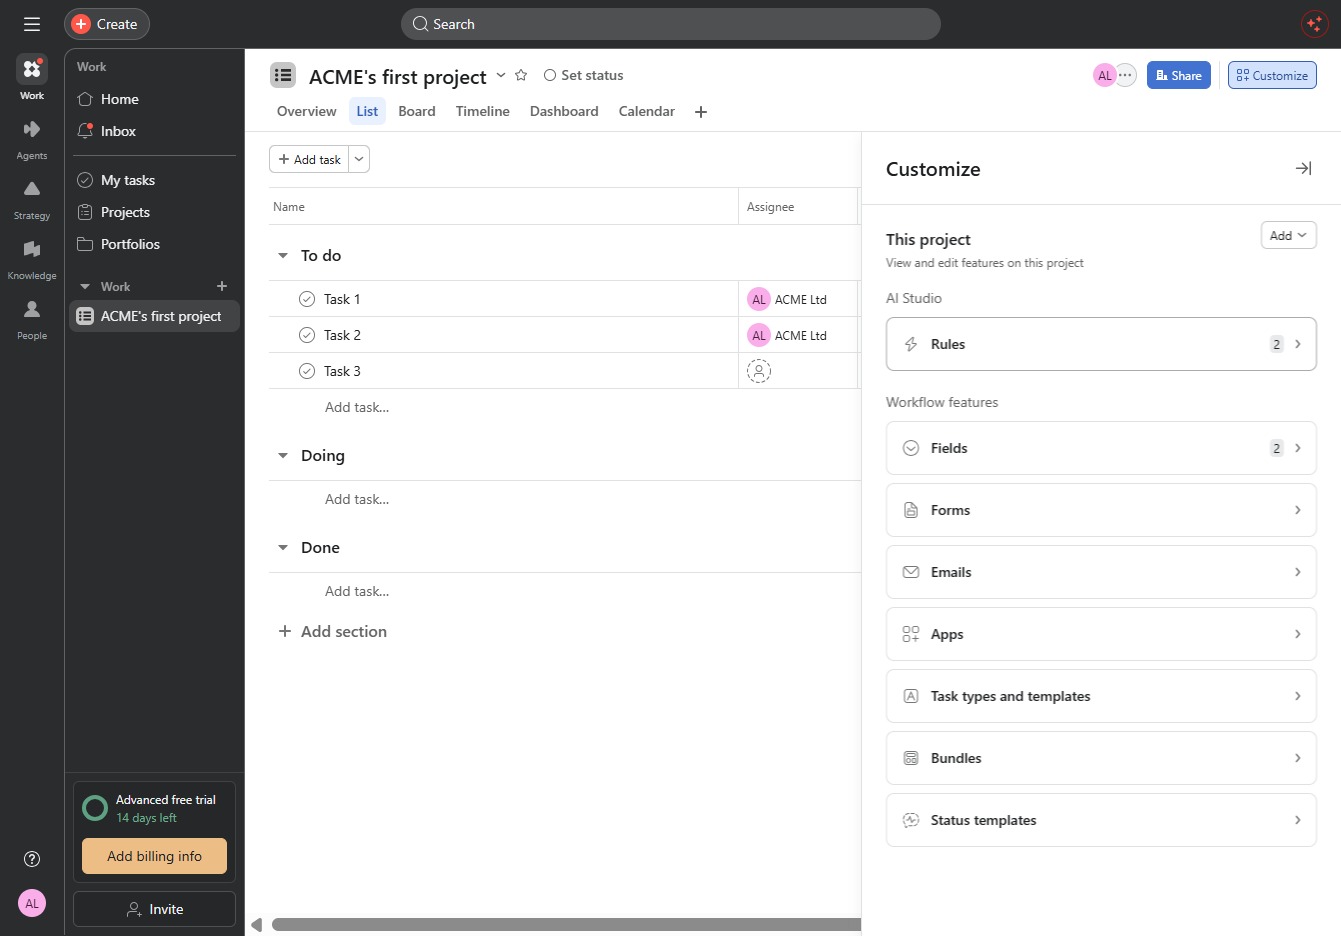
By clicking this option, you will designate the type of task to be created, allowing for better organization and tracking within your project.
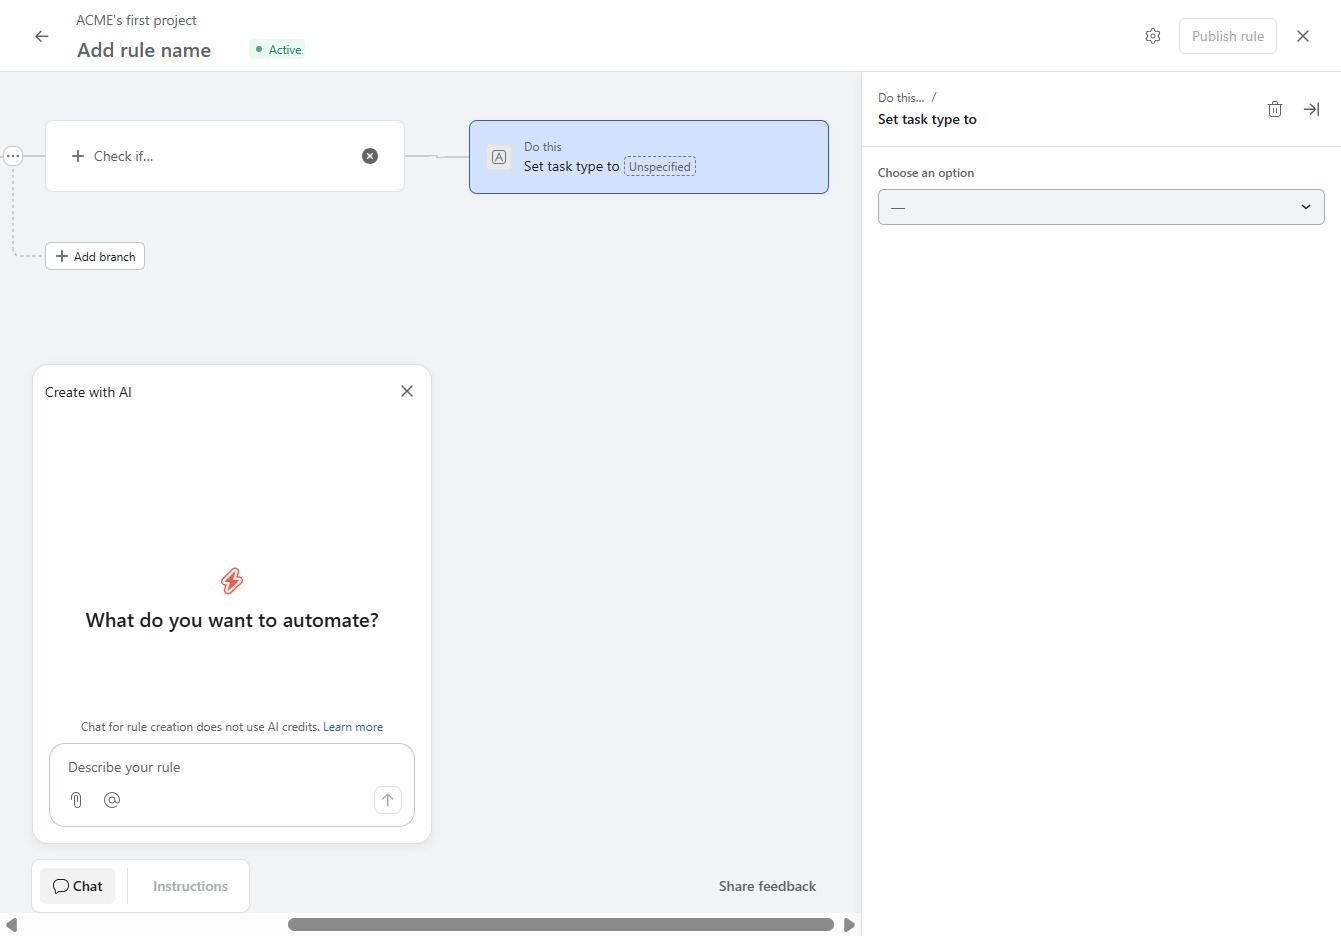
This action allows you to change the task type setting for the automation rule. After clicking, a dropdown menu will appear where you can select the desired task type.
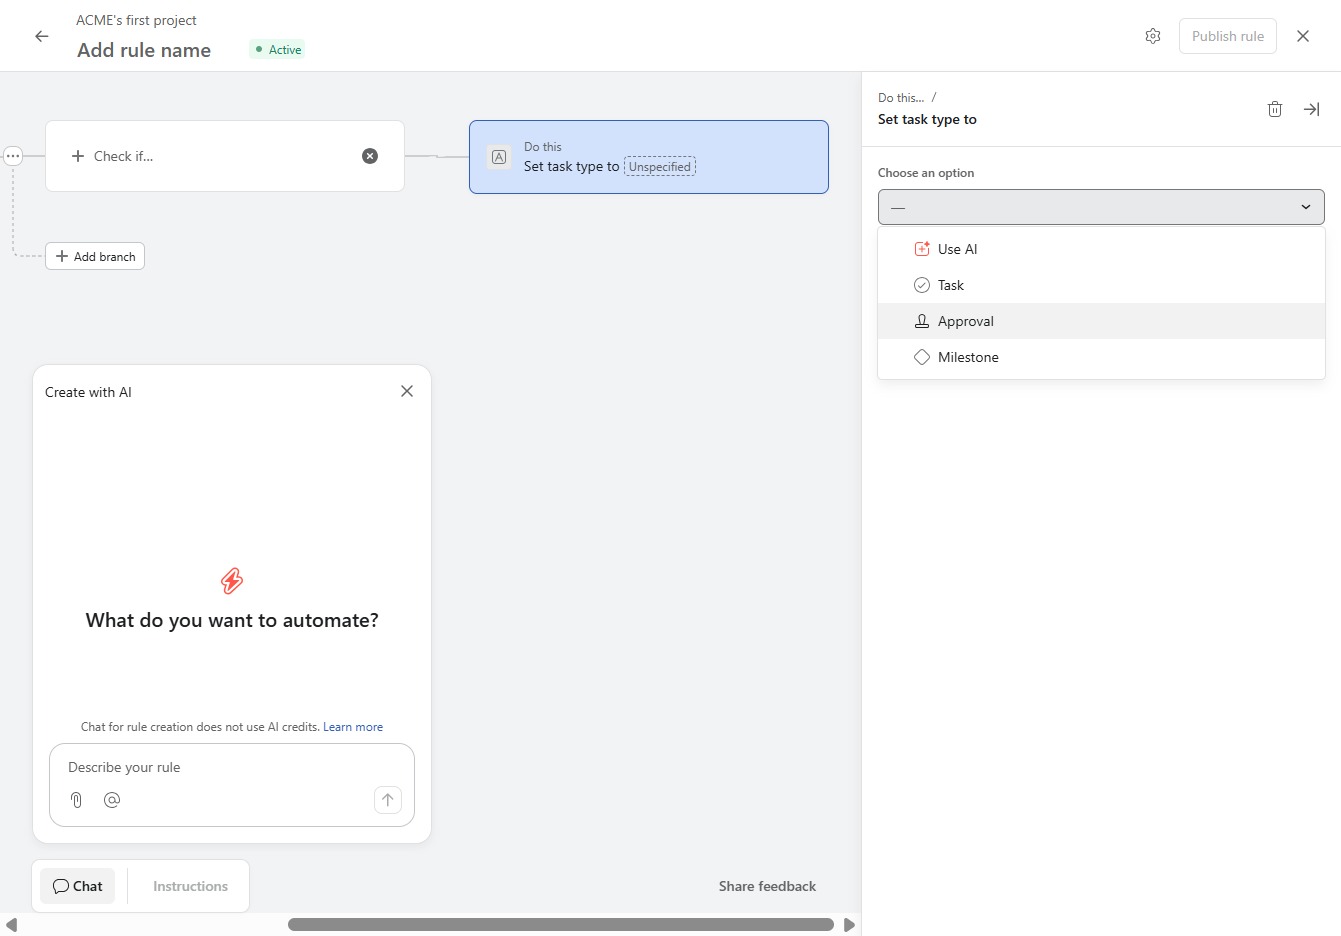
Selecting the 'Approval' option allows you to set a task type related to obtaining approval as part of your automation process.
This action finalizes and saves the created rule, making it active within your automation workflow. Ensure all settings are correctly configured before publishing.