Click the Project A link
Clicking on the Project A link will open the details and tasks associated with this specific project, allowing you to view and manage its components.

Loading screenshot…
100%
In this guide, you'll learn how to efficiently attach files to tasks within Project A.
 viktoria
In this guide, you'll learn how to efficiently attach files to tasks within Project A. Follow the step-by-step instructions to access the attachments panel and upload files, ensuring your tasks have all the necessary context and resources for successful project management.
Clicking on the Project A link will open the details and tasks associated with this specific project, allowing you to view and manage its components.
This action will activate the associated function or navigation related to the link, allowing you to proceed with the relevant task or feature.
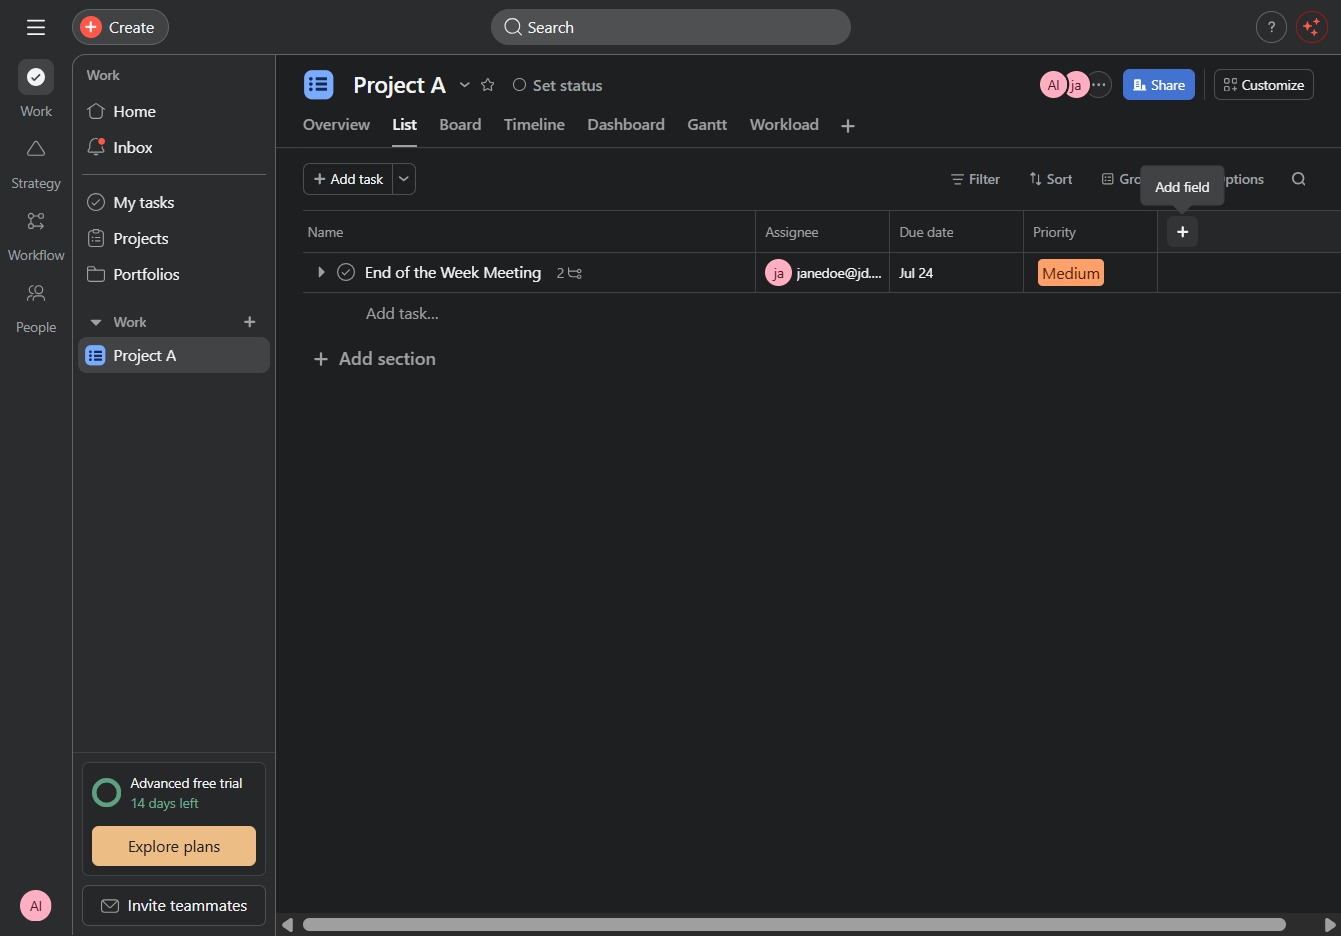
This action allows you to create a new task within Project A. After clicking, a field will appear for entering the task details.

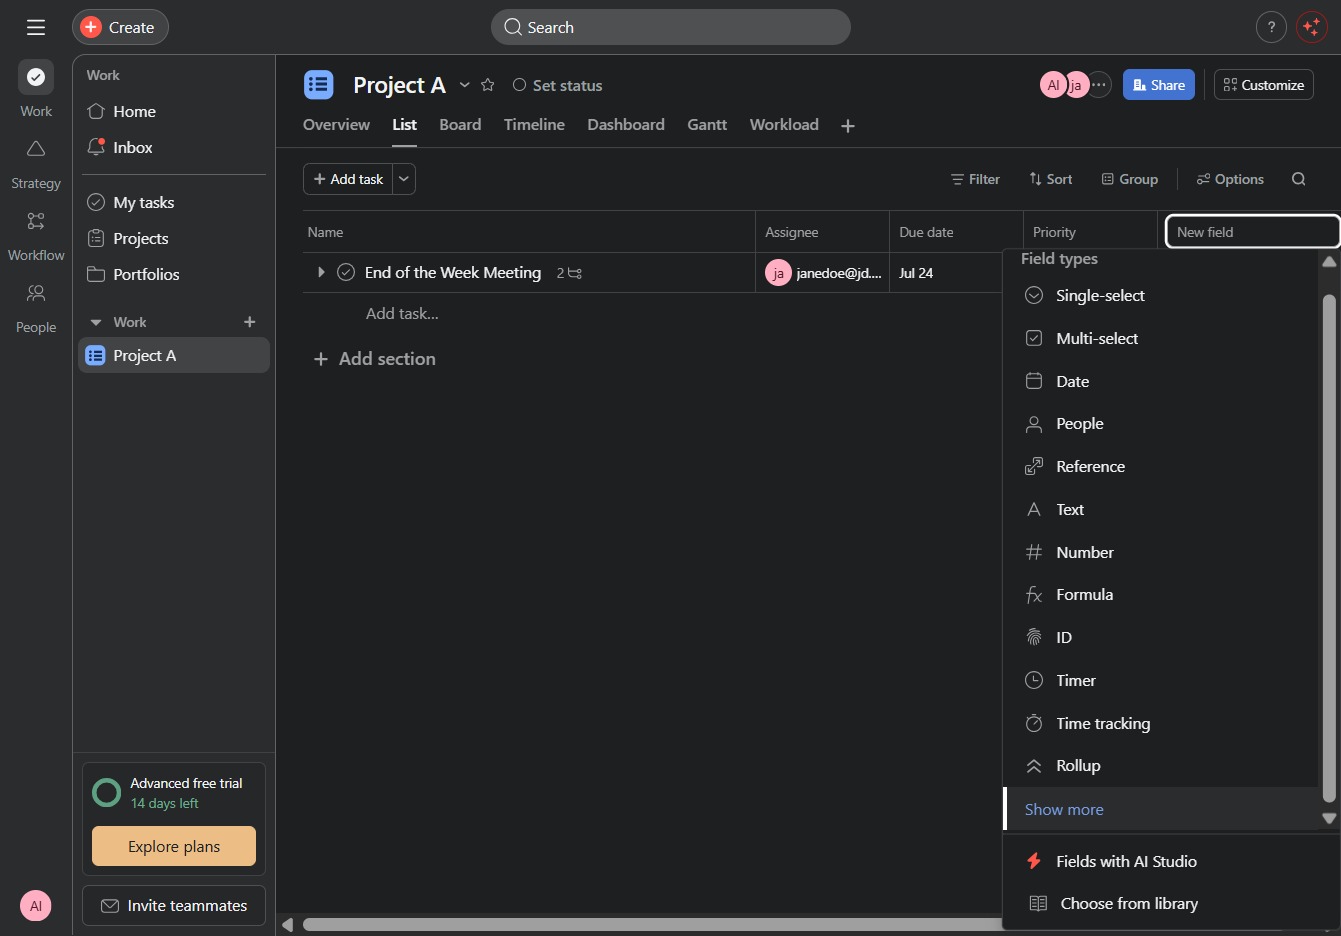
Clicking 'Show more' will expand the list of available field types, allowing you to access additional options for creating tasks in the project.
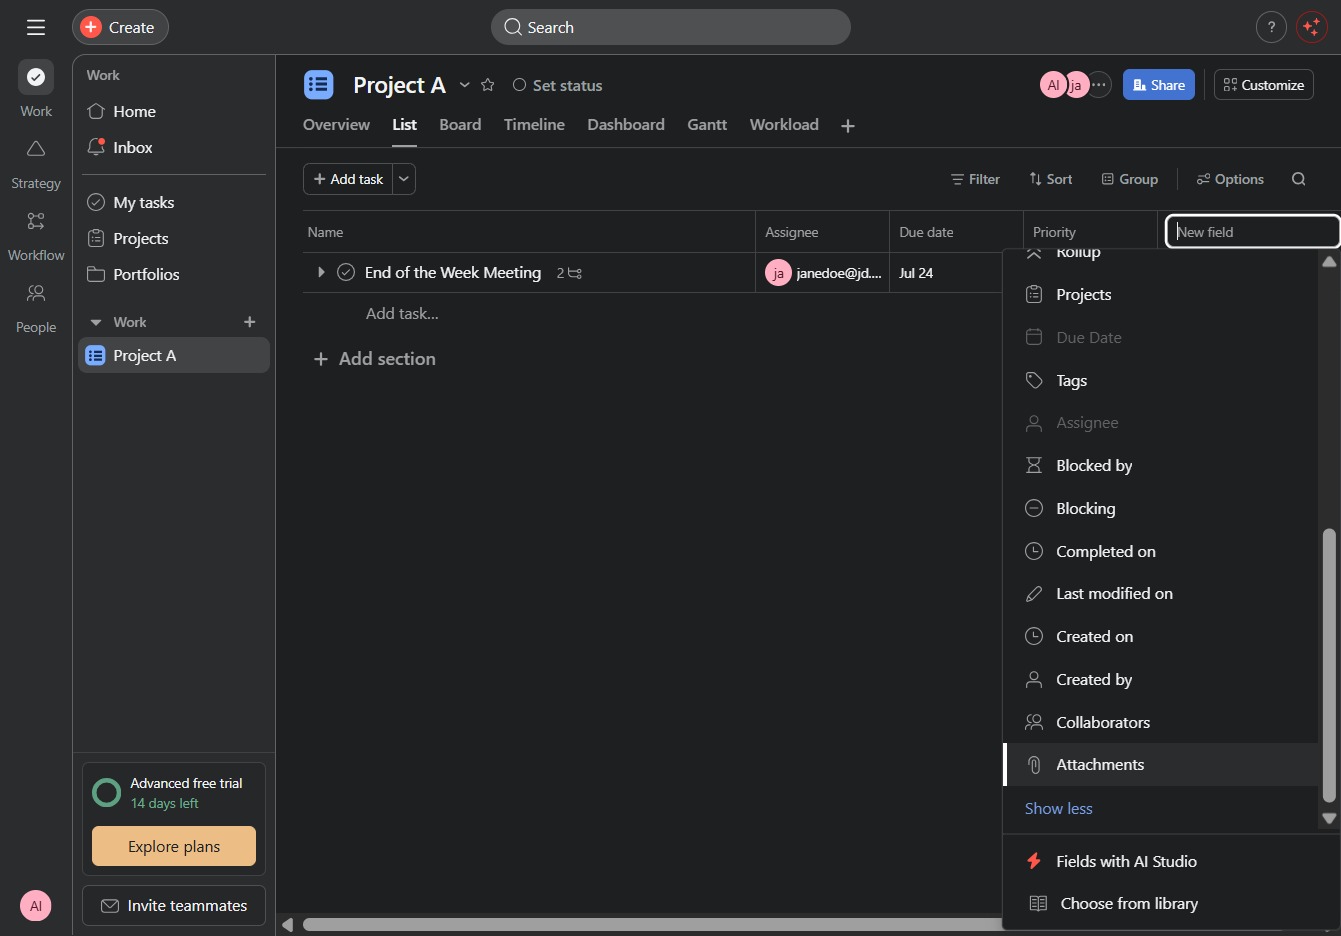
This will open the Attachments panel, allowing you to manage files associated with your tasks in Project A.
This action opens a dialog where you can upload or link files relevant to the task. Attachments will be included with the task to provide additional context or resources.

After clicking, you will be prompted to select a file from your computer to upload for the task.
