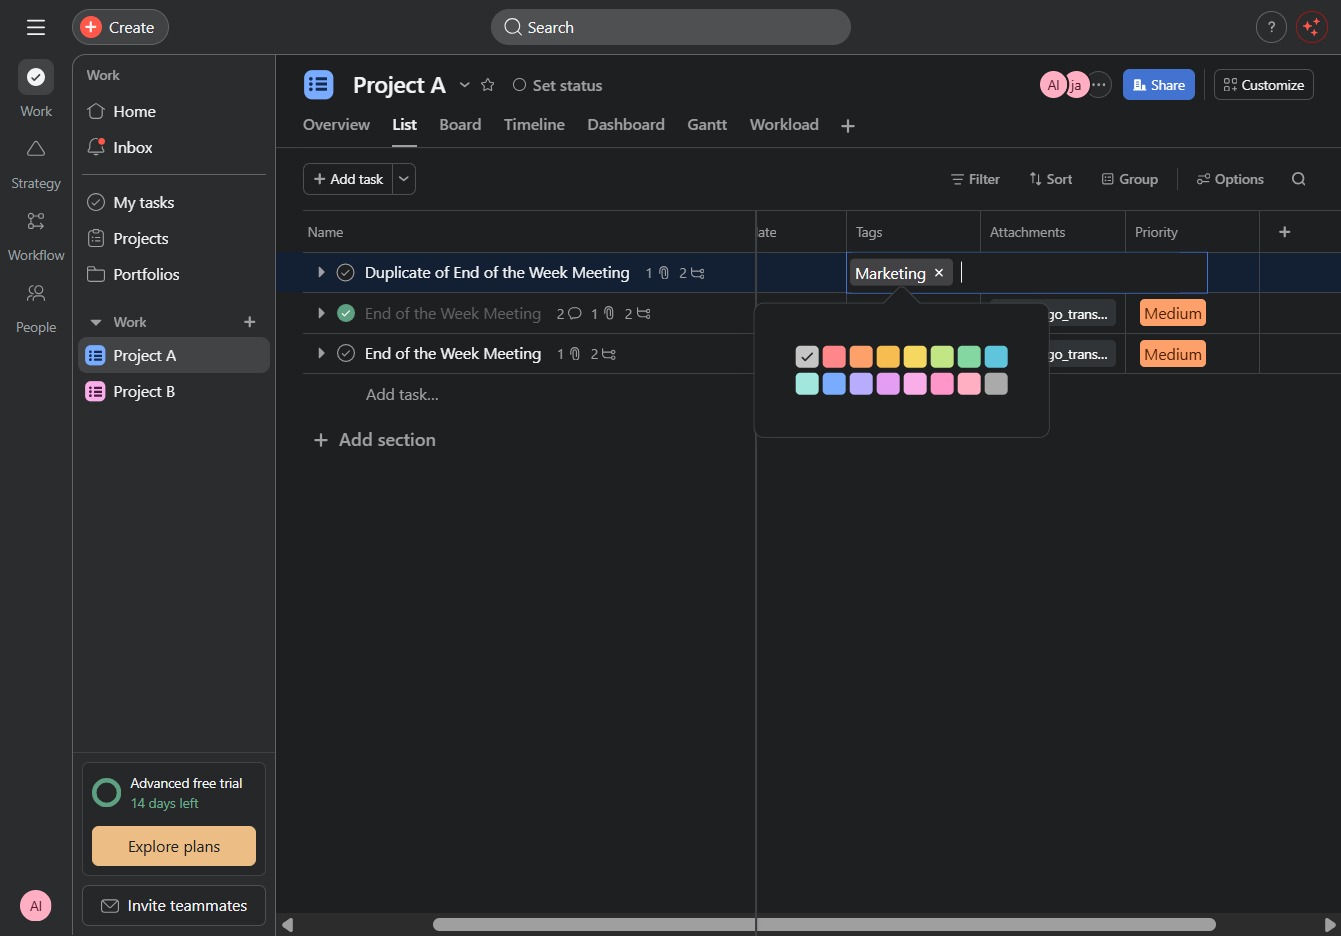
Click the Project A link
By clicking on the Project A link, you'll access the specific dashboard for Project A, where you can manage tasks, view progress, and collaborate with team members.
Loading screenshot…
100%
This how-to guide walks you through the process of adding tags to tasks within Project A, enhancing task organization and filtering.
 viktoria
This how-to guide walks you through the process of adding tags to tasks within Project A, enhancing task organization and filtering. Follow the steps to create custom fields, assign relevant tags, and effectively manage your project activities.
By clicking on the Project A link, you'll access the specific dashboard for Project A, where you can manage tasks, view progress, and collaborate with team members.
Clicking this link will typically navigate you to a related task or resource within the project, allowing you to access more detailed information or perform additional actions.
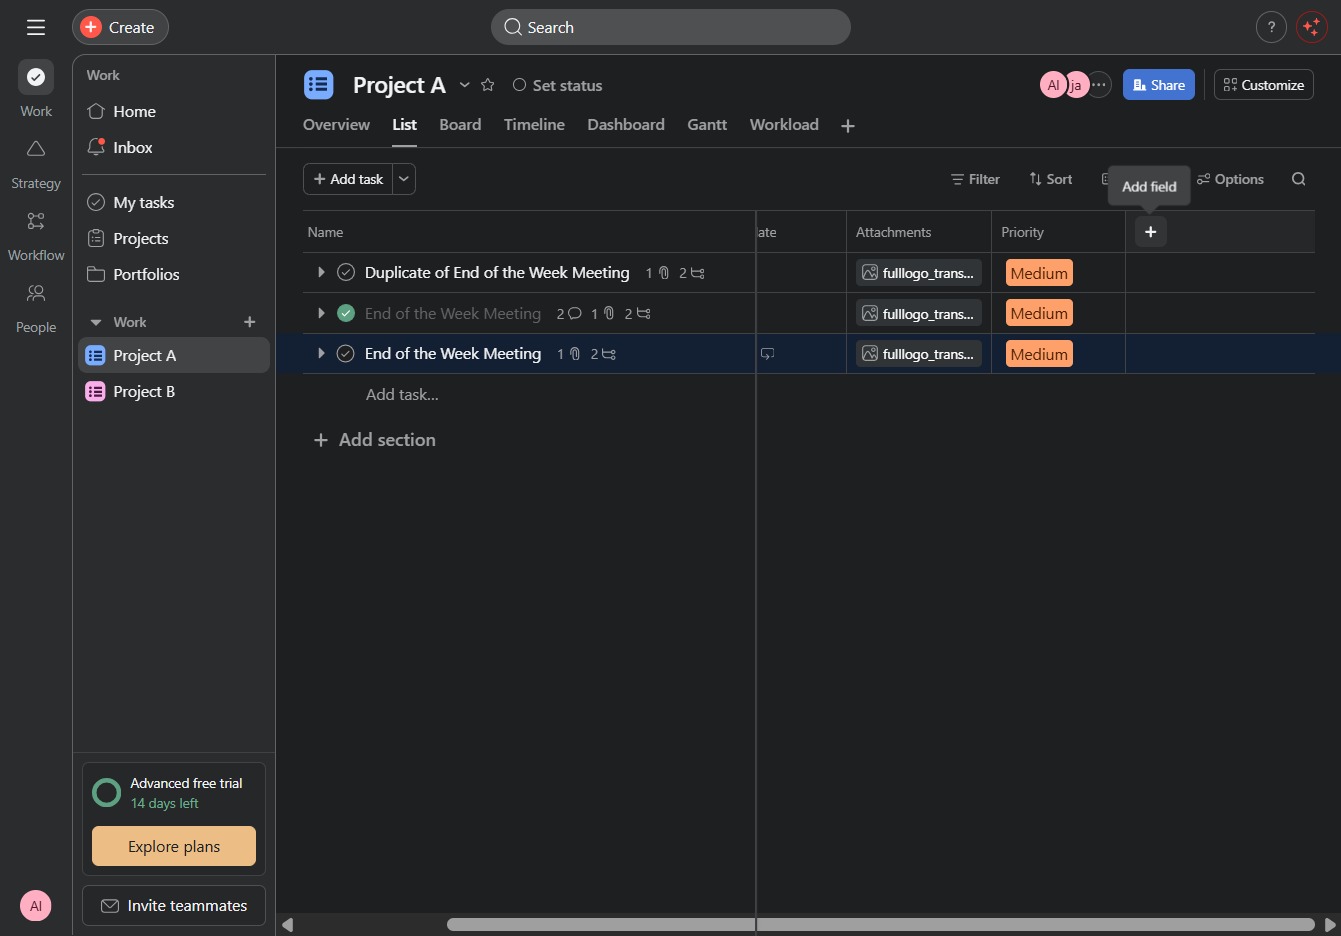
This action will initiate the process of creating a new custom field in your project, allowing you to tailor the project details according to your needs.
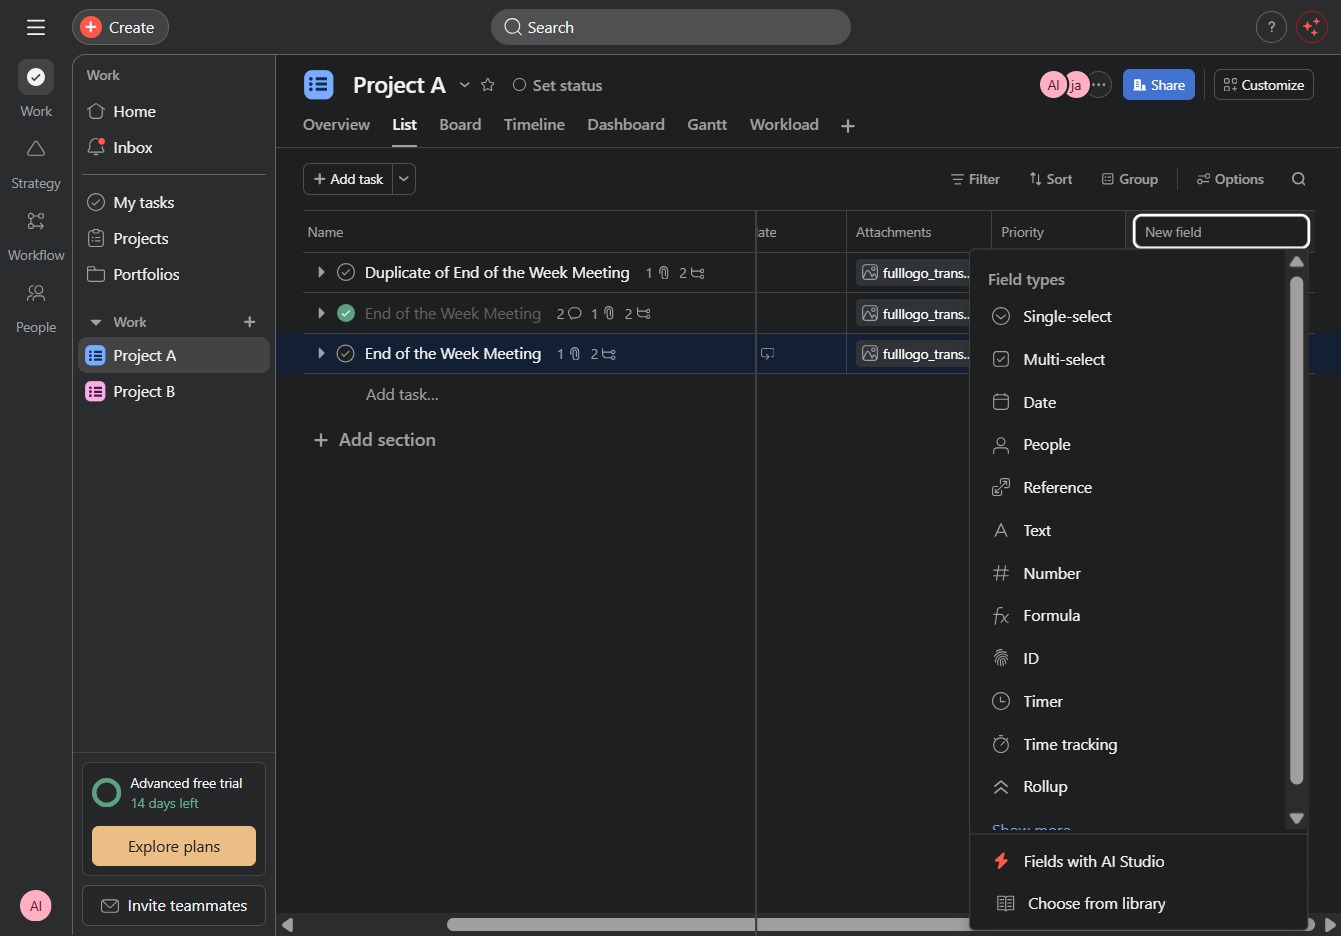
Enter the desired tag in the designated 'New field' to categorize your task. This will help in organizing and filtering tasks within the project.
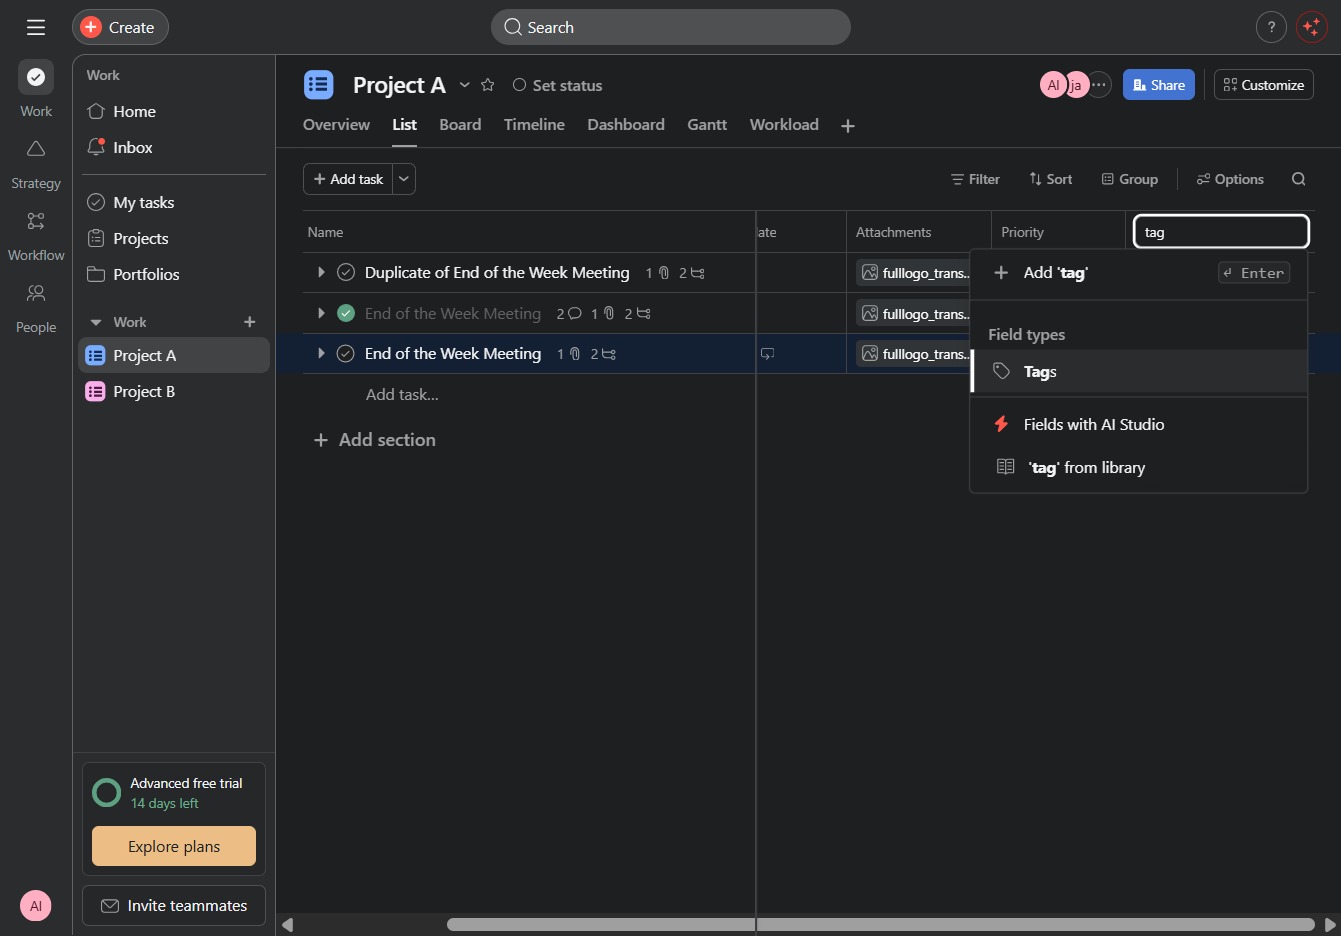
This allows you to assign or search for relevant tags to categorize your tasks effectively. After clicking, a dropdown will enable you to select existing tags or add new ones.
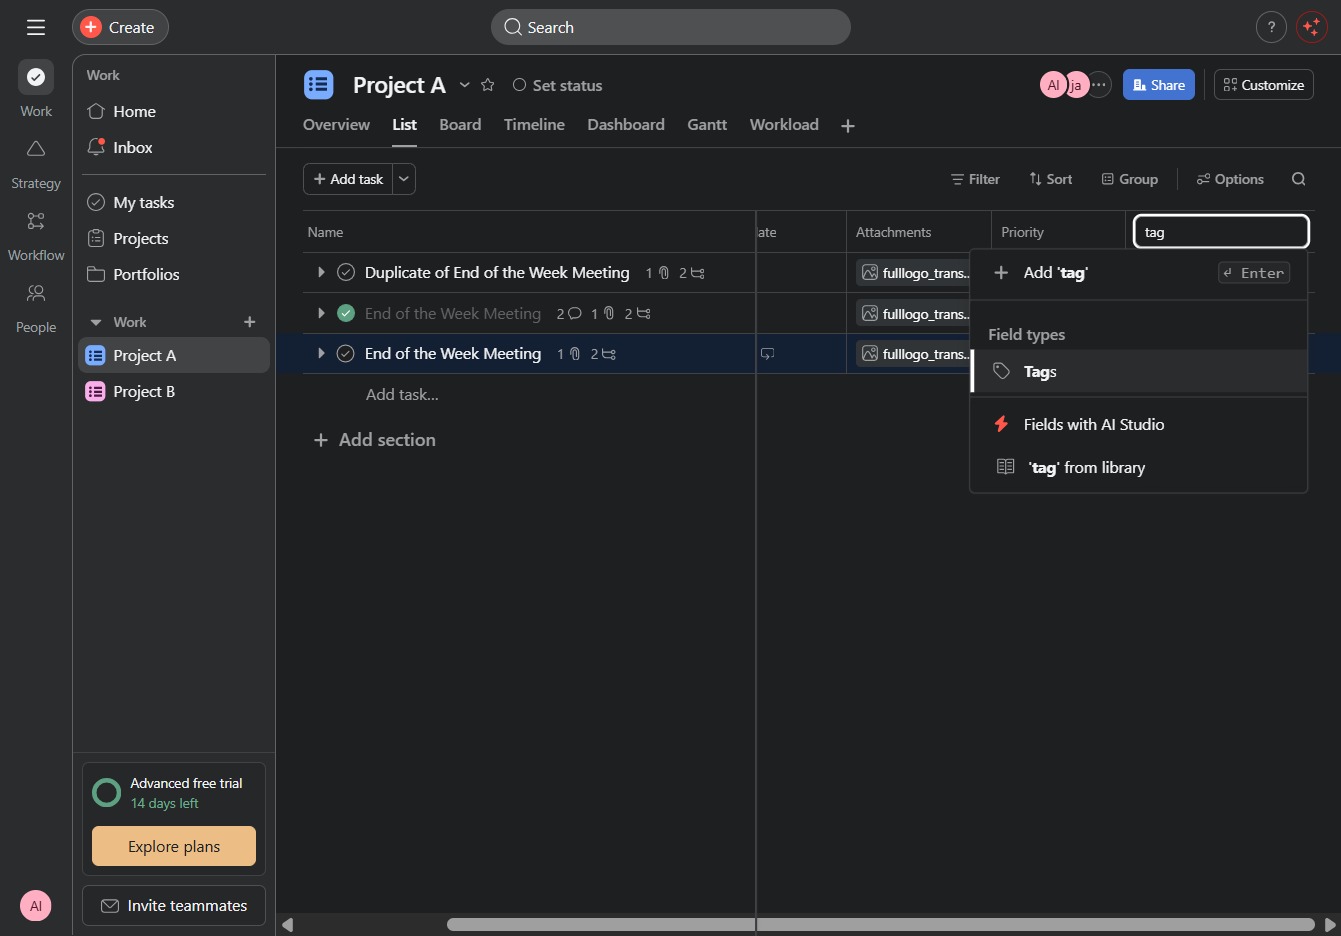
This action opens a prompt for you to enter the details of your new task, allowing you to manage your to-do items within Project A.

Enter 'Marketing' in the 'Add a tag...' input to categorize your task. This tag helps in organizing and filtering tasks related to marketing activities.
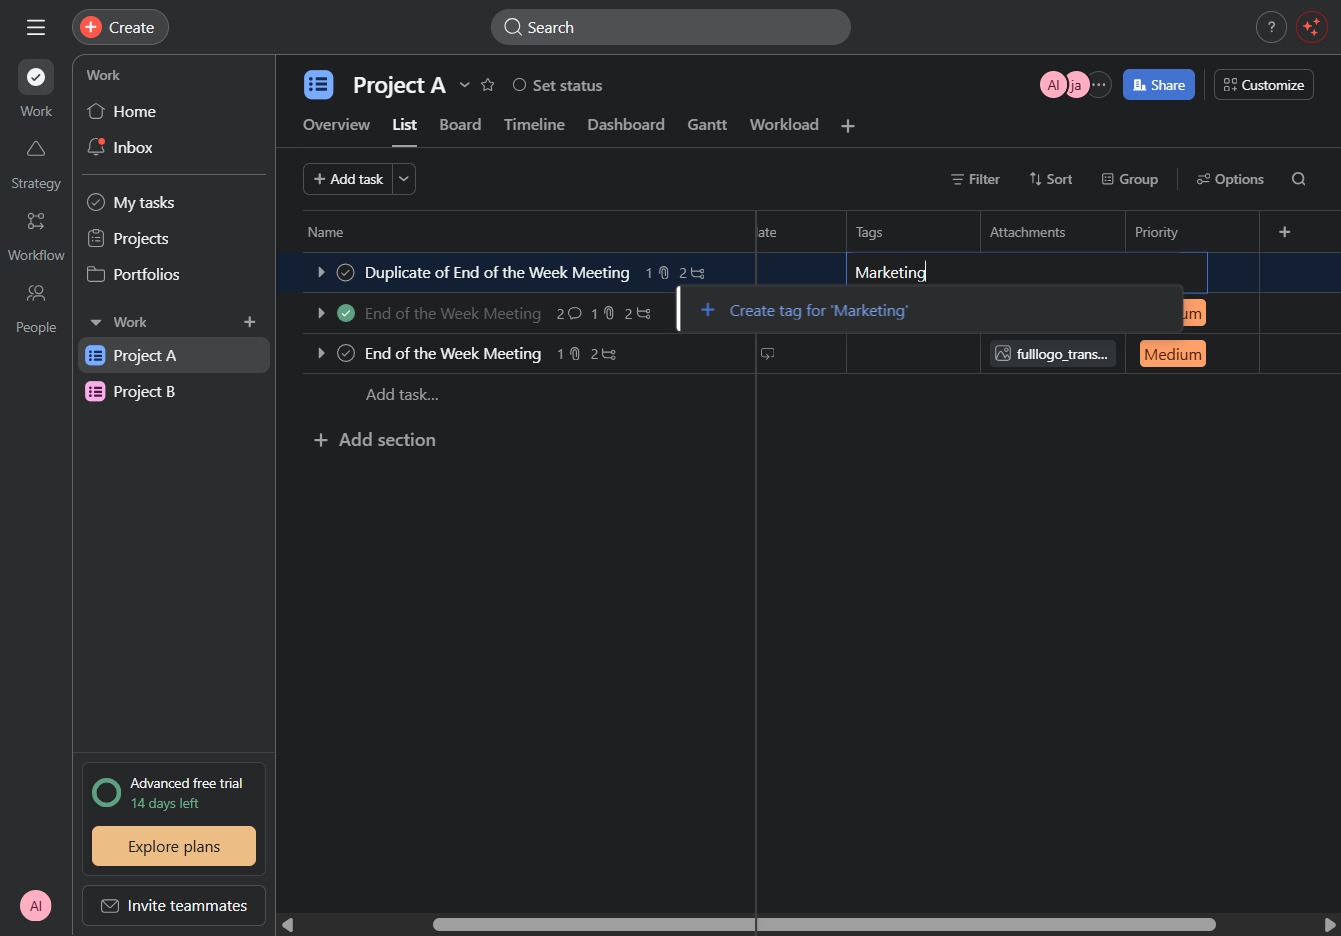
Clicking this option allows you to create a tag specifically for the 'Marketing' category, which can help organize tasks and improve project management.
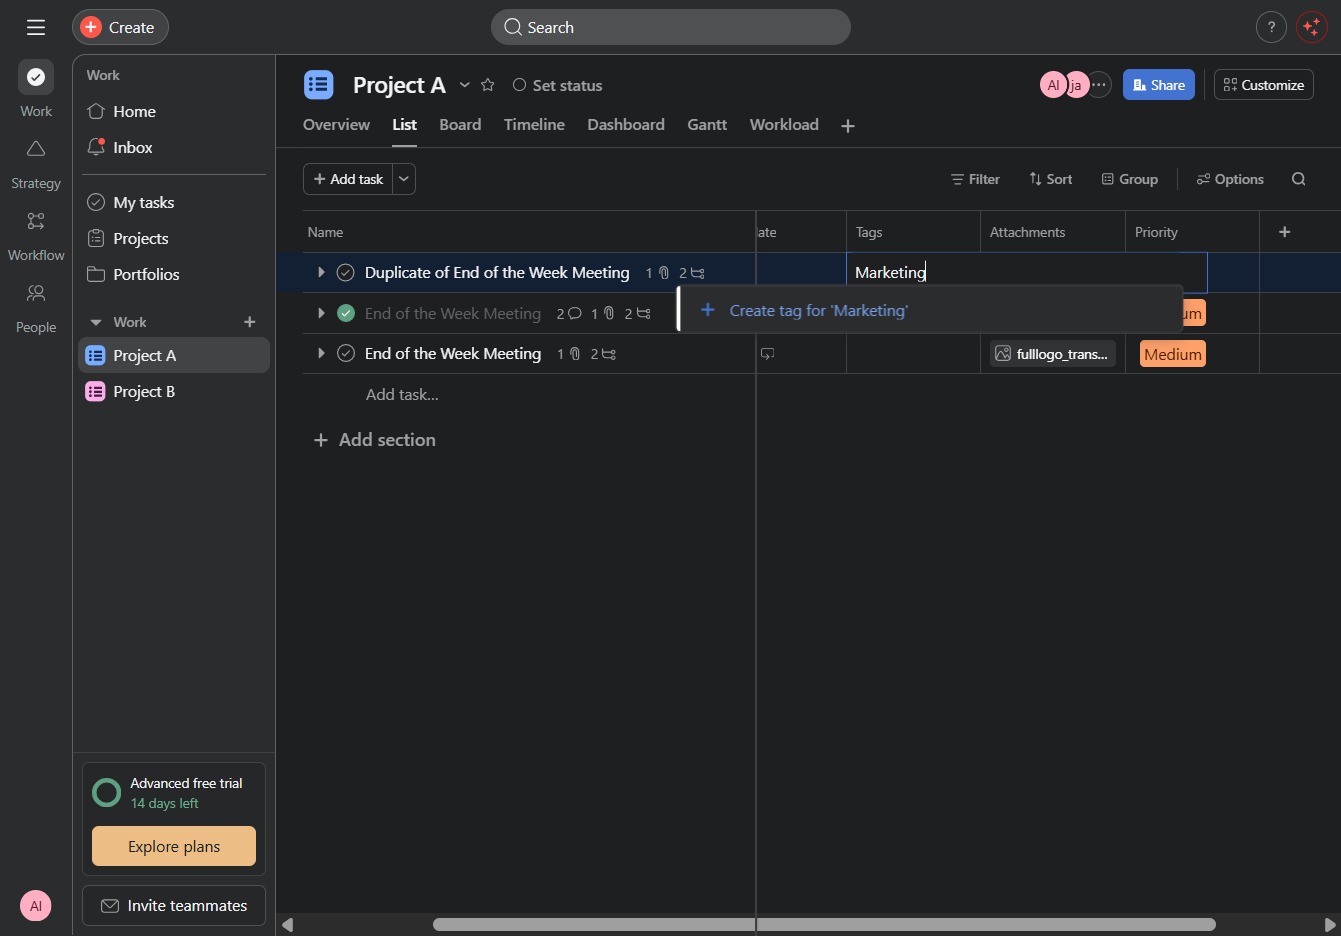
Clicking this button opens a dialog to create a new task within the project. You can enter the task details, assign it to team members, and set a priority.