Click the Company Wiki tab
Selecting the Company Wiki tab will take you to the main page of your company's documentation and resources, allowing you to access important information and updates.

Loading screenshot…
100%
This how-to guide provides step-by-step instructions on adding records to a database, specifically for managing employee information within an Employee Directory.
 viktoria
This how-to guide provides step-by-step instructions on adding records to a database, specifically for managing employee information within an Employee Directory. Learn how to input essential data like names, tags, and dates while ensuring accurate organization and categorization of your records.
Selecting the Company Wiki tab will take you to the main page of your company's documentation and resources, allowing you to access important information and updates.
This action opens the Employee Directory, where you can view and manage employee information and related child content.

This action allows you to input information into the designated text area. You can enter names, descriptions, or other relevant data for the Employee Directory.
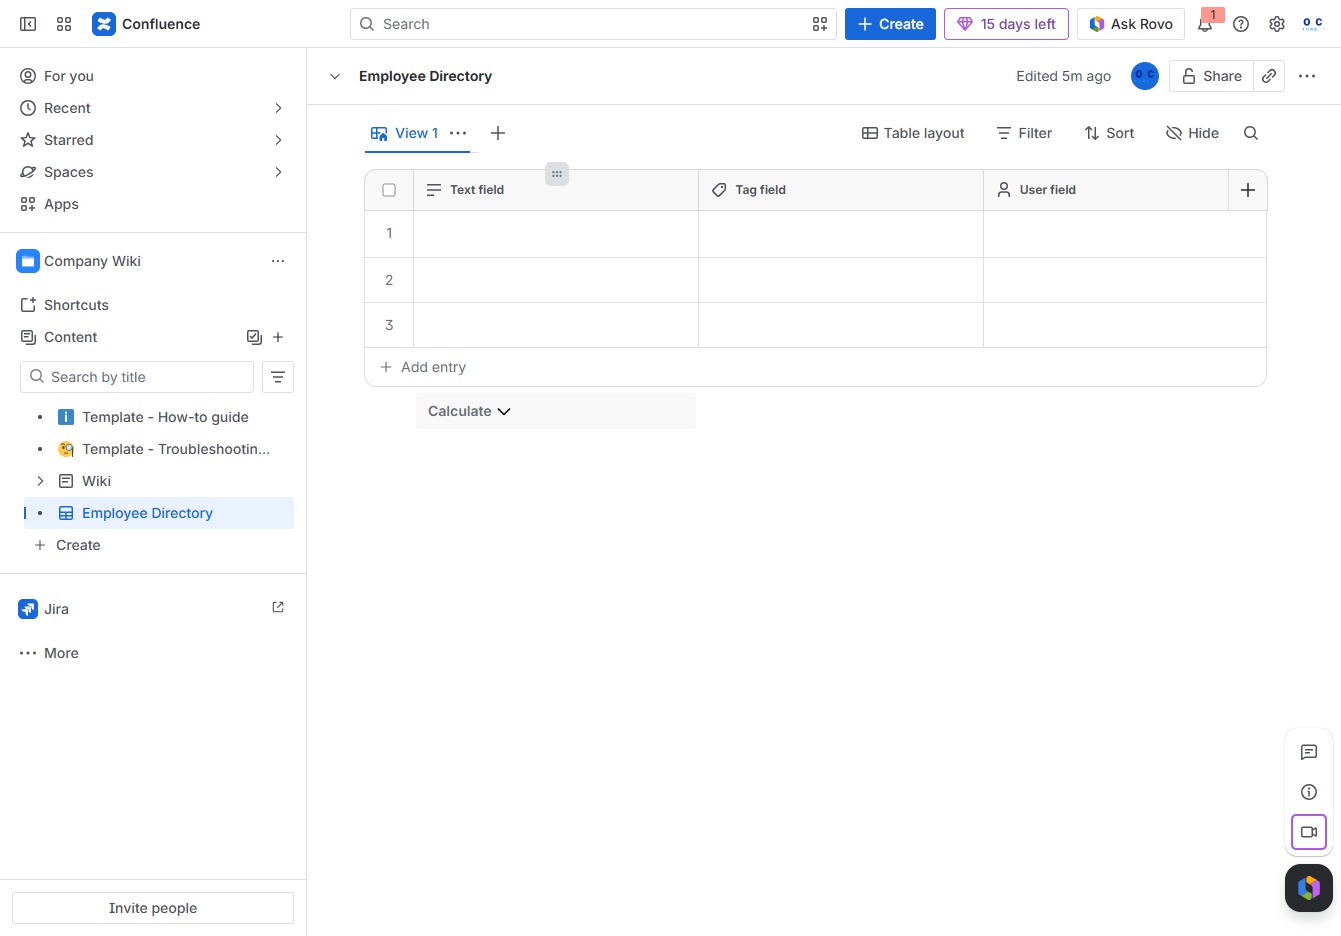
Enter the label 'Name' in the Field Name input to define the header for this column in the Employee Directory. This will allow you to categorize and display employee names effectively.

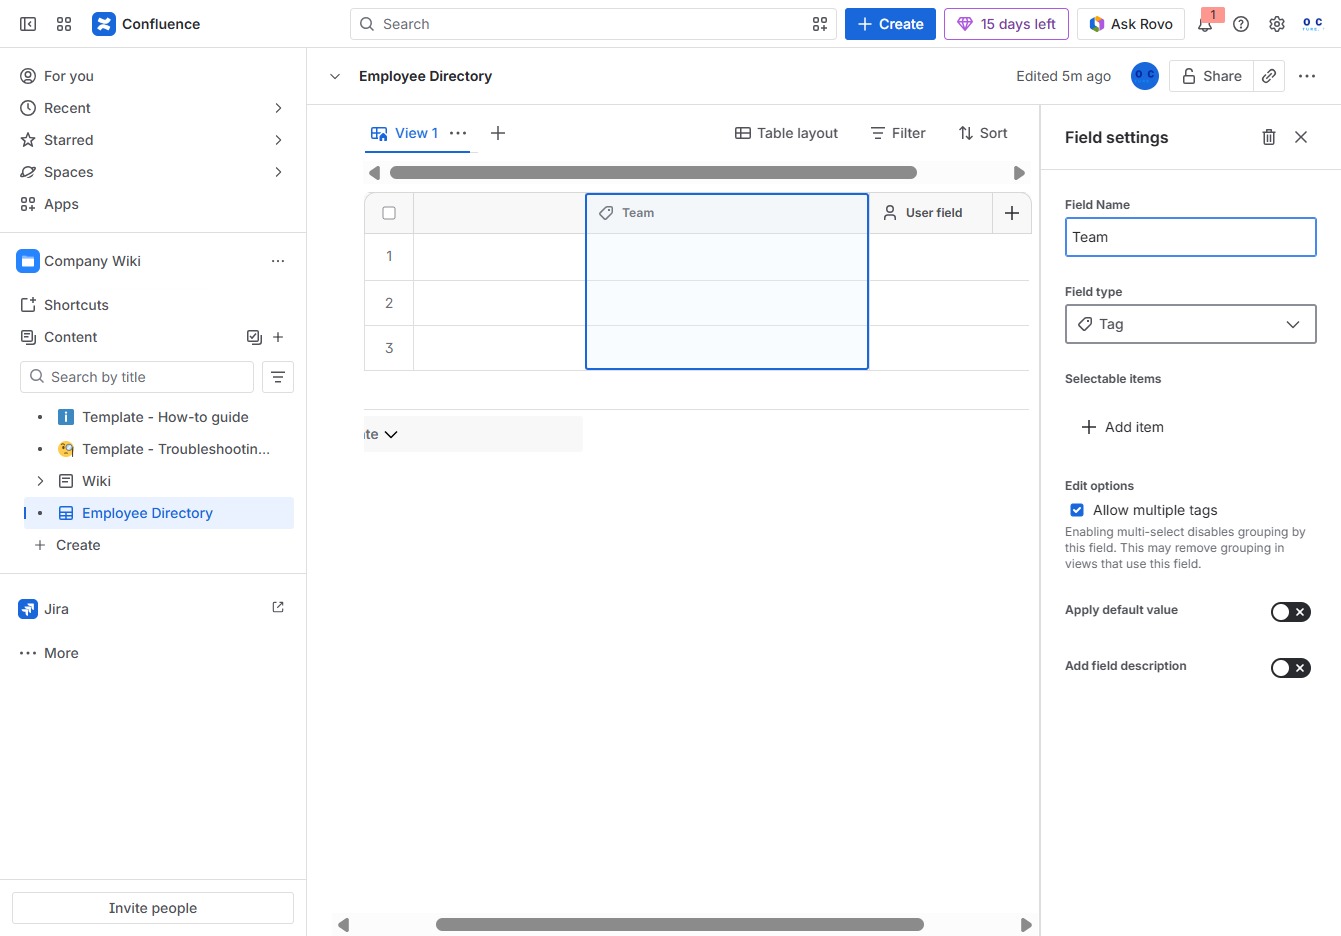
Clicking the Tag field allows you to enter tags relevant to the employee directory entry. This helps in categorizing and searching for records more efficiently.

Input 'Team' in the Field Name to specify the category for your employee entries. This will help in organizing the directory based on team assignments.
This will allow you to create a new field in the Employee Directory for adding specific data, such as teams or user details.

Selecting the Date field allows you to configure date settings for your employee record in the Employee Directory. You can specify date formats and attributes according to your organizational needs.
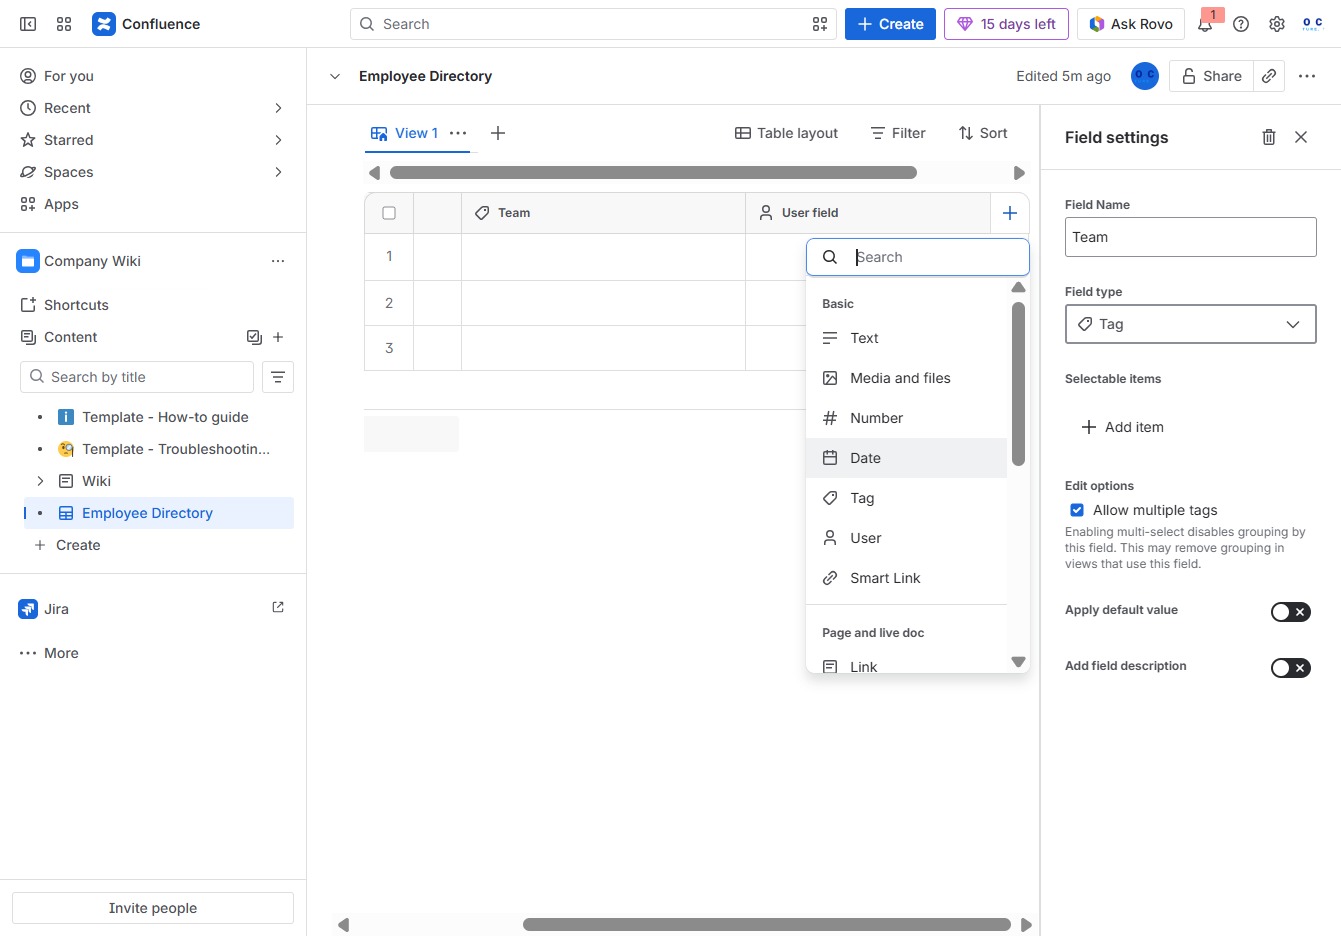
Clicking the Date field allows you to input or select a specific date for this entry in the Employee Directory. This action will bring up a calendar picker to choose the desired date.

Enter 'Start Date' in the Field Name input to define the title of the data field in your Employee Directory. This will help identify the purpose of this field when managing employee records.

This action opens a prompt to enter details for a new entry in the Employee Directory. You can specify required fields such as Name, Team, and other relevant information.
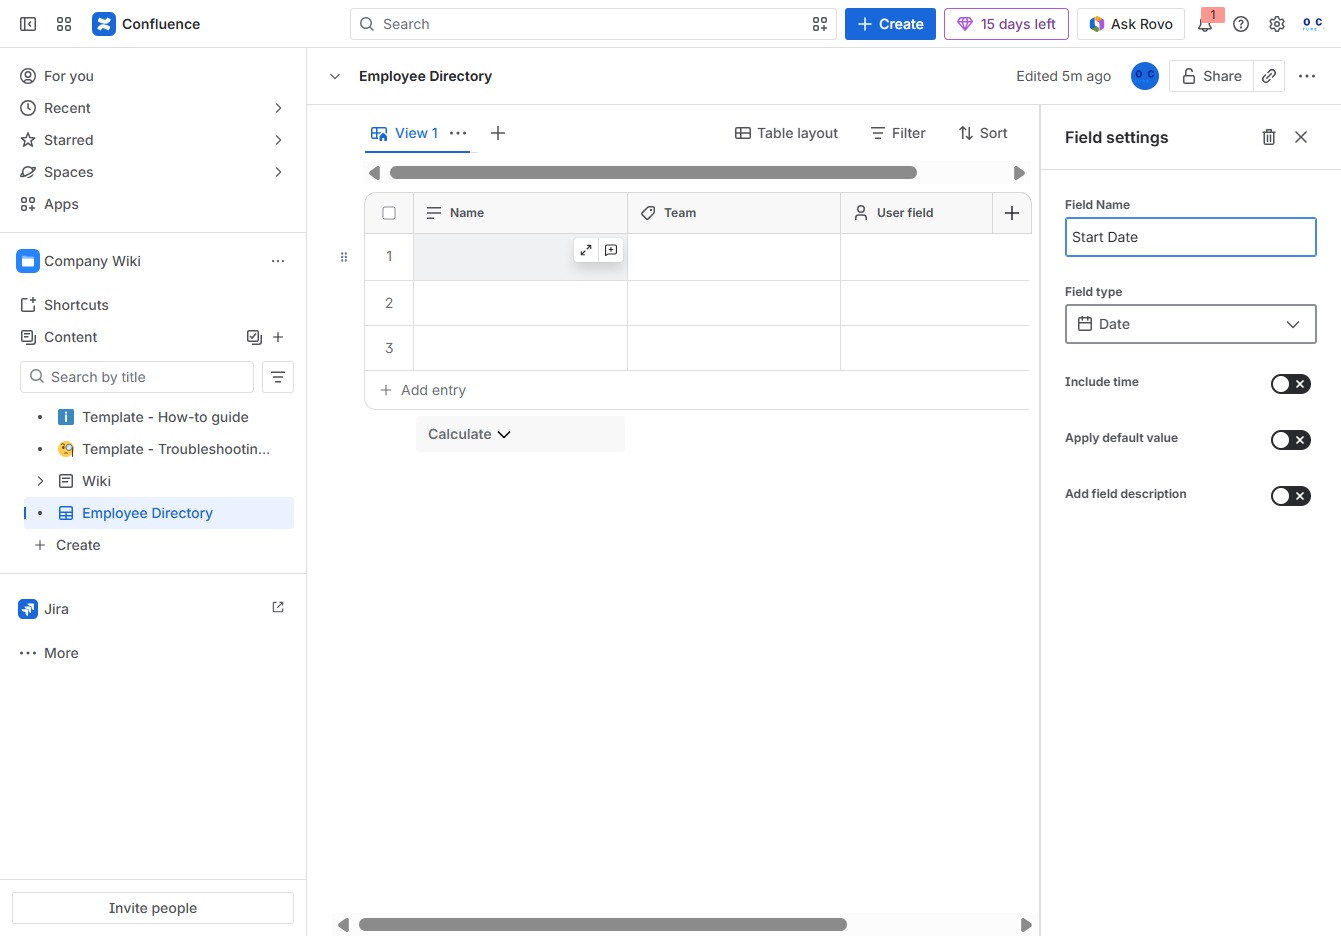
In the Ak editor textarea, enter 'Jane Doe' to add a new employee entry in the Employee Directory. This will update the list with the name you've specified.

Clicking this option allows you to create a new entry in the Employee Directory, letting you input relevant information such as name and team.

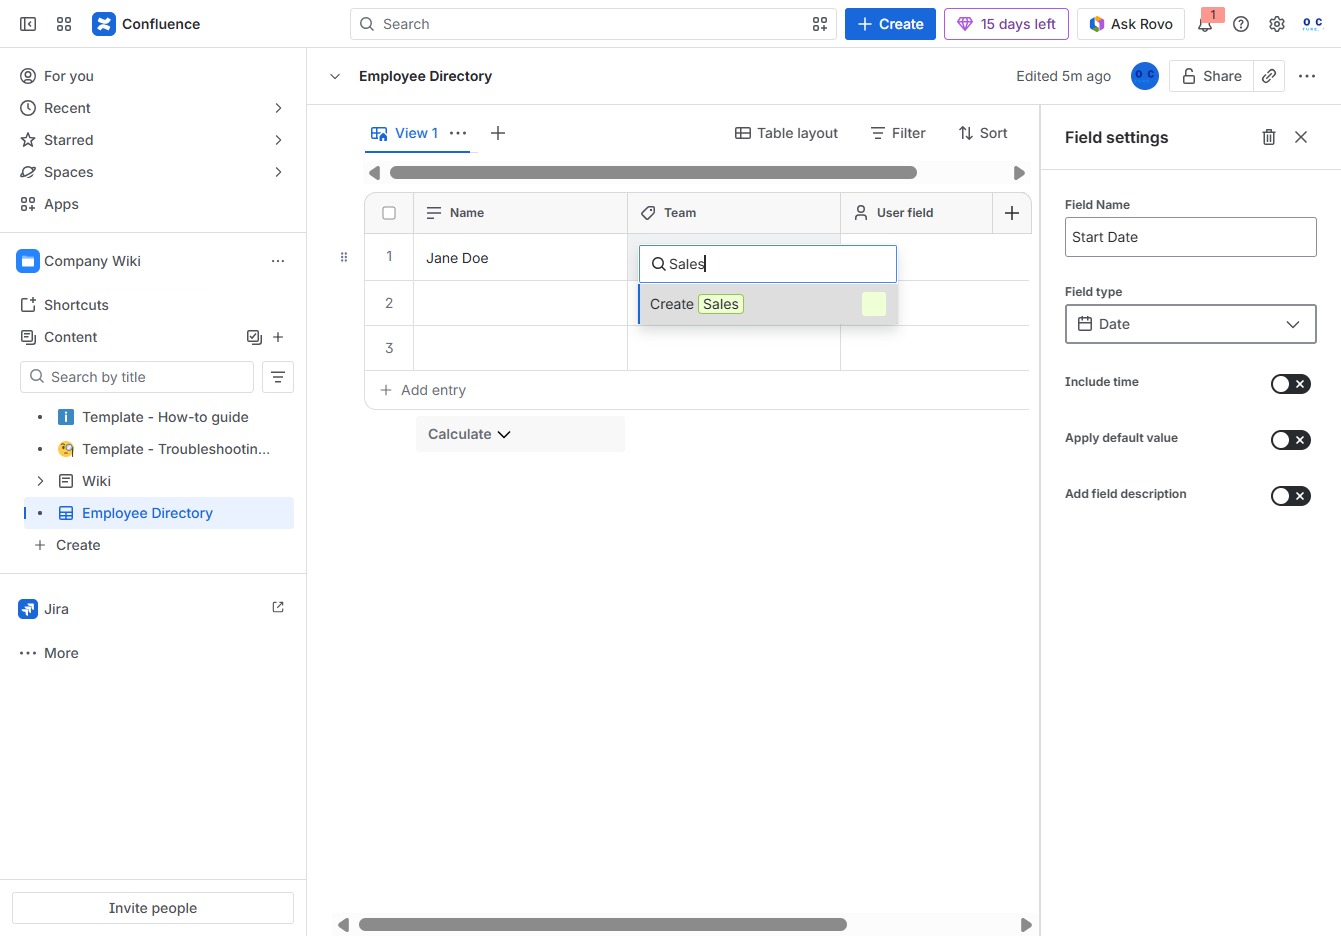
Enter 'Sales' in the Team input field to categorize the employee appropriately within the Employee Directory.

Clicking this button initiates the process to create a new sales entry within the Employee Directory, allowing you to input relevant sales data.
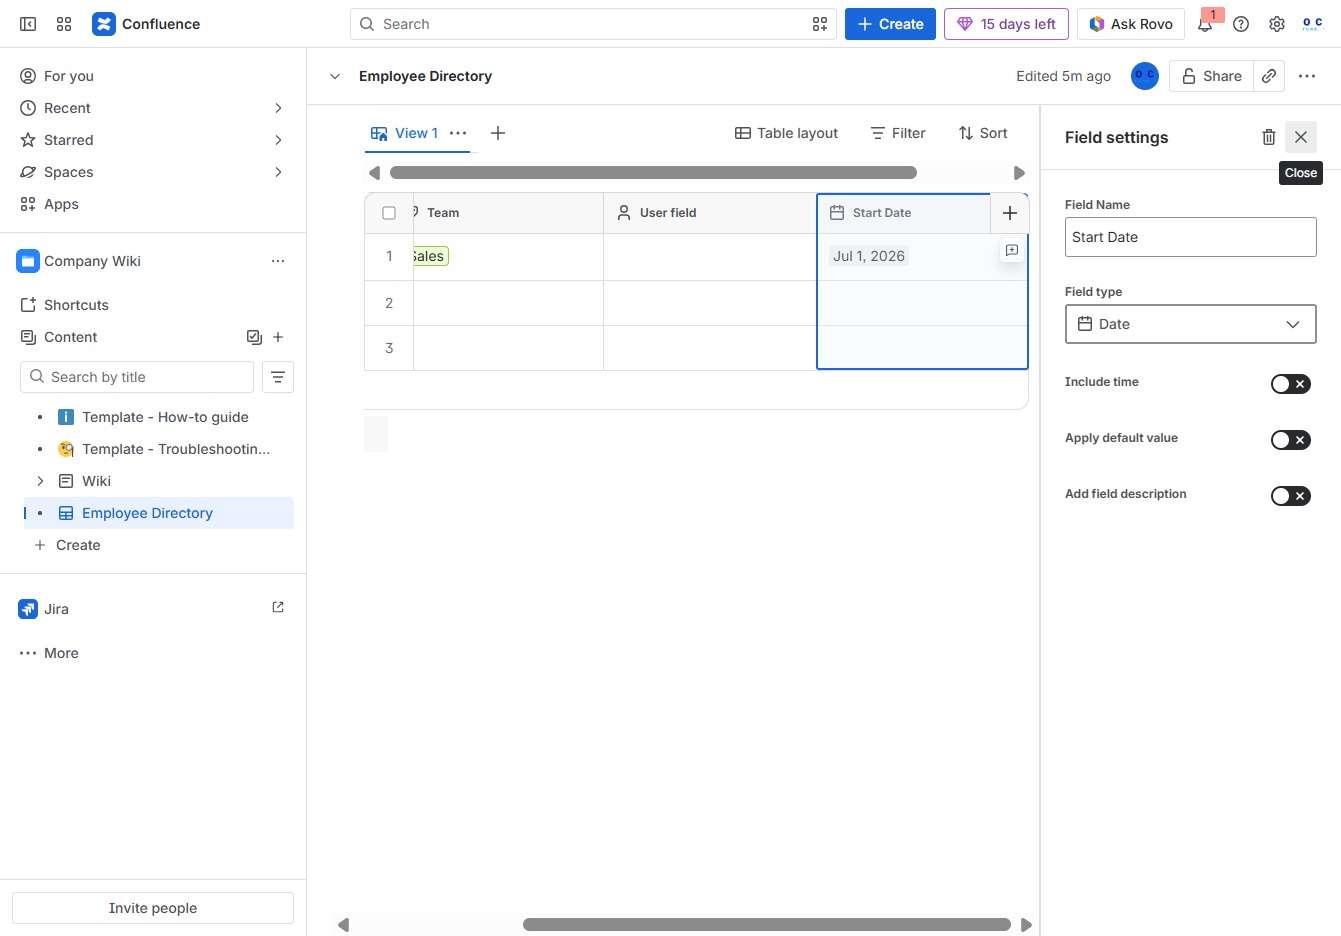
This action allows you to create a new custom field in the Employee Directory for better data organization. After clicking, a new field configuration will appear for you to specify the field name and type.

Clicking the Start Date button opens a calendar for selecting a specific date. You can choose 'Wednesday, July 1, 2026' to set as the start date for an employee entry.

Clicking the Close button will exit the current dialog or settings panel, returning you to the Employee Directory view.