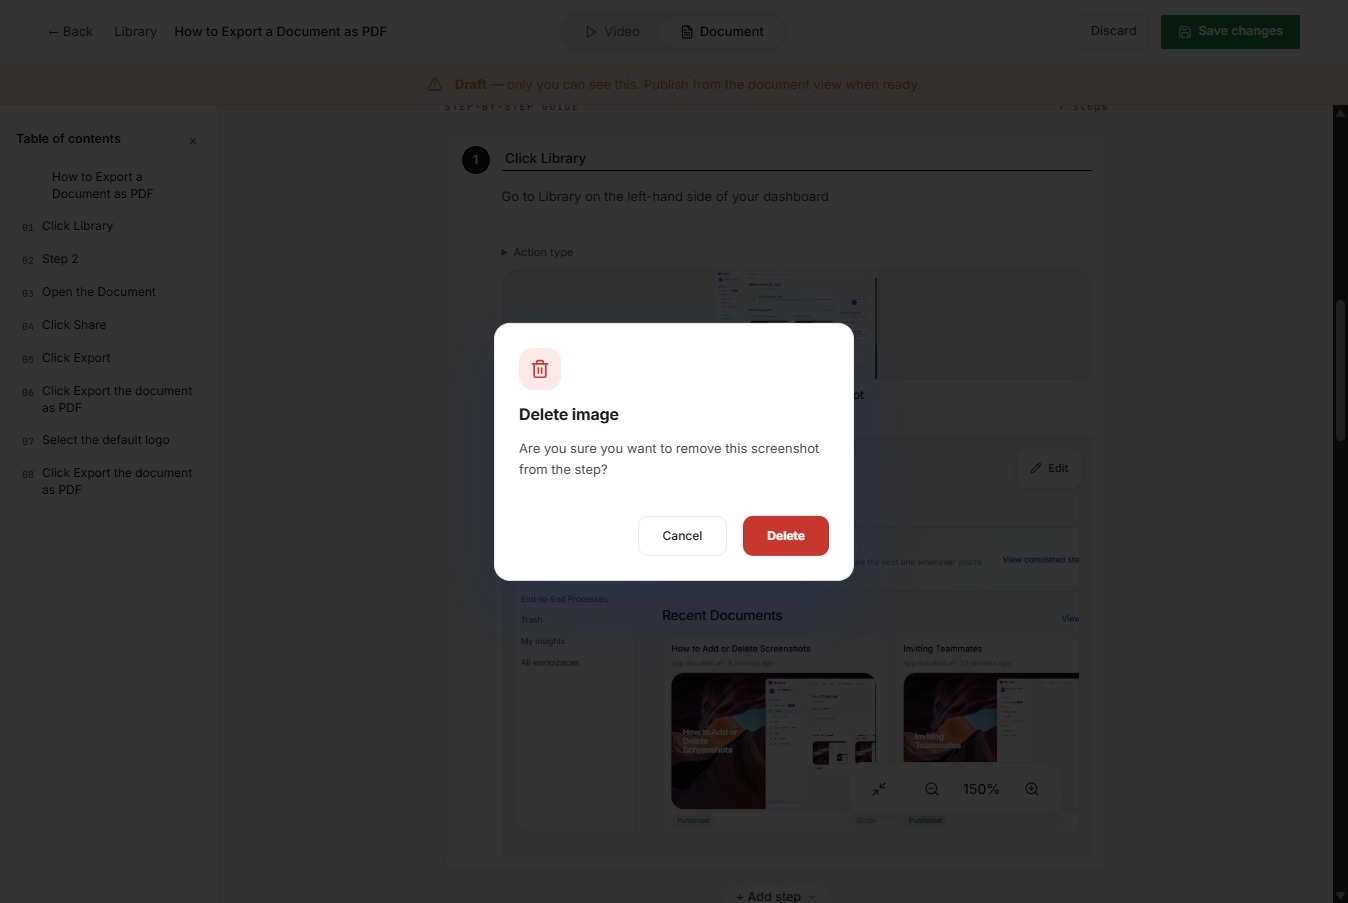
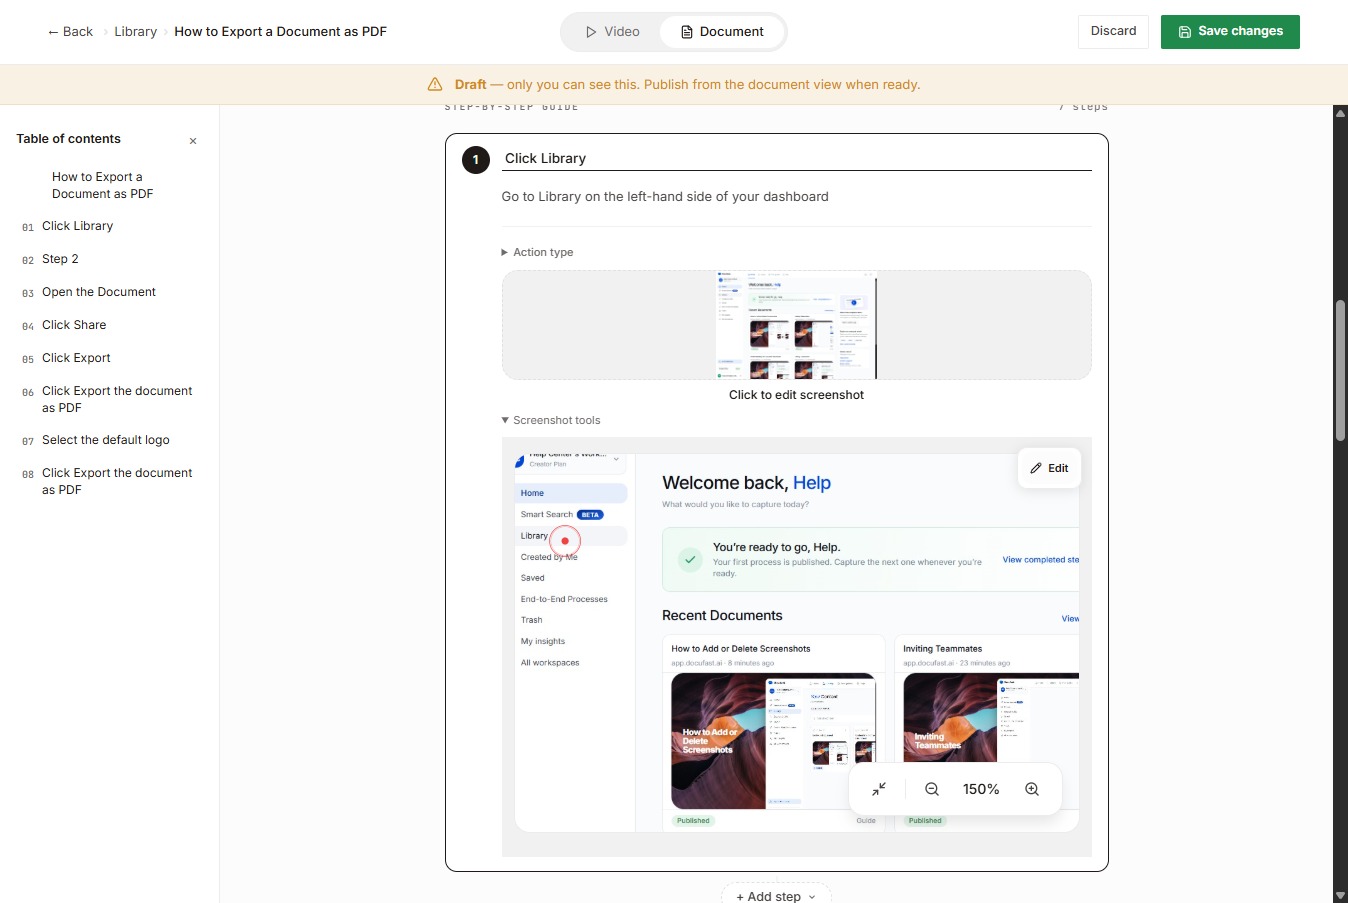
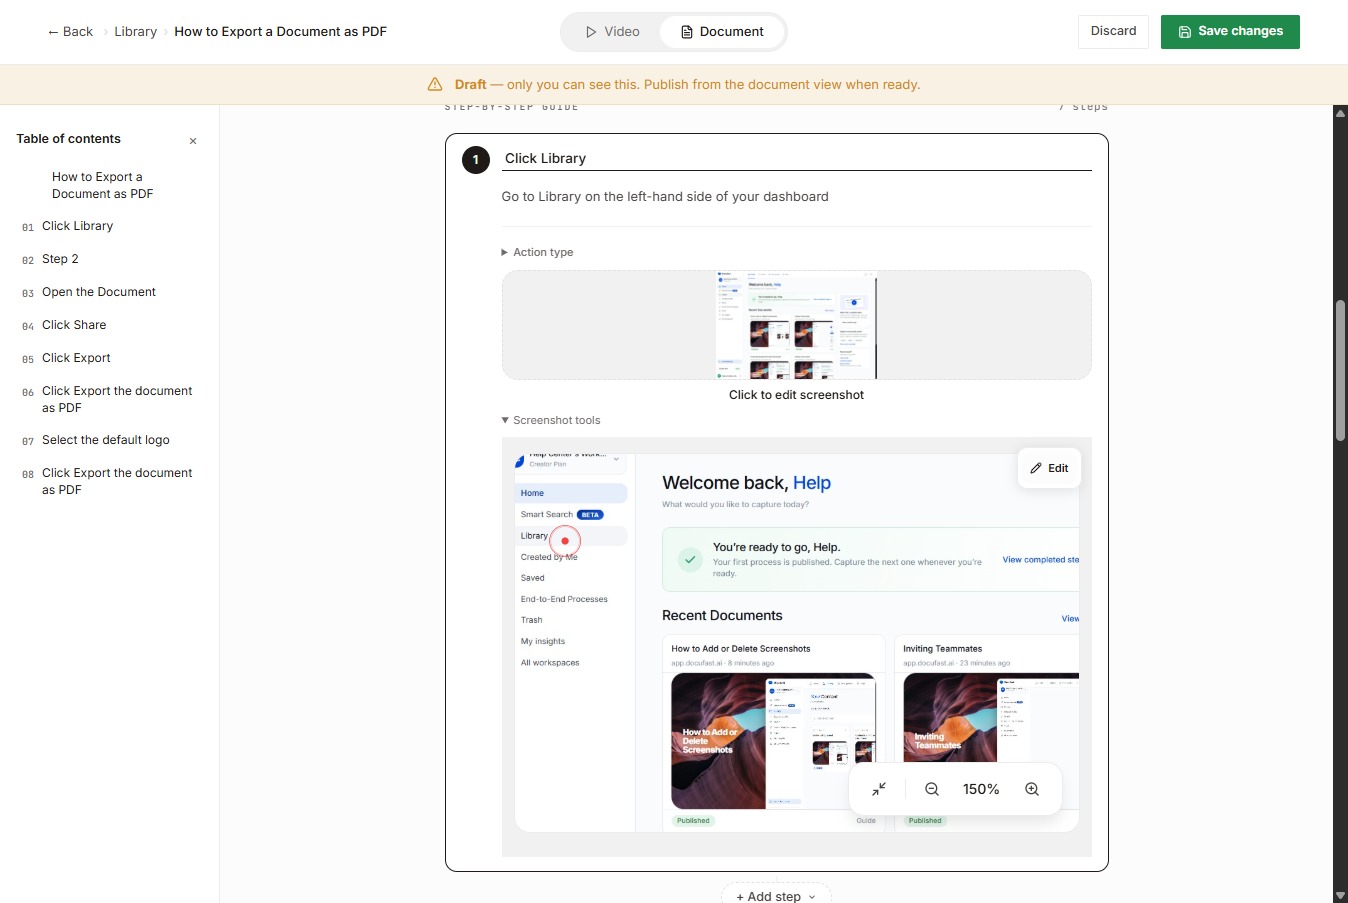
Click Library
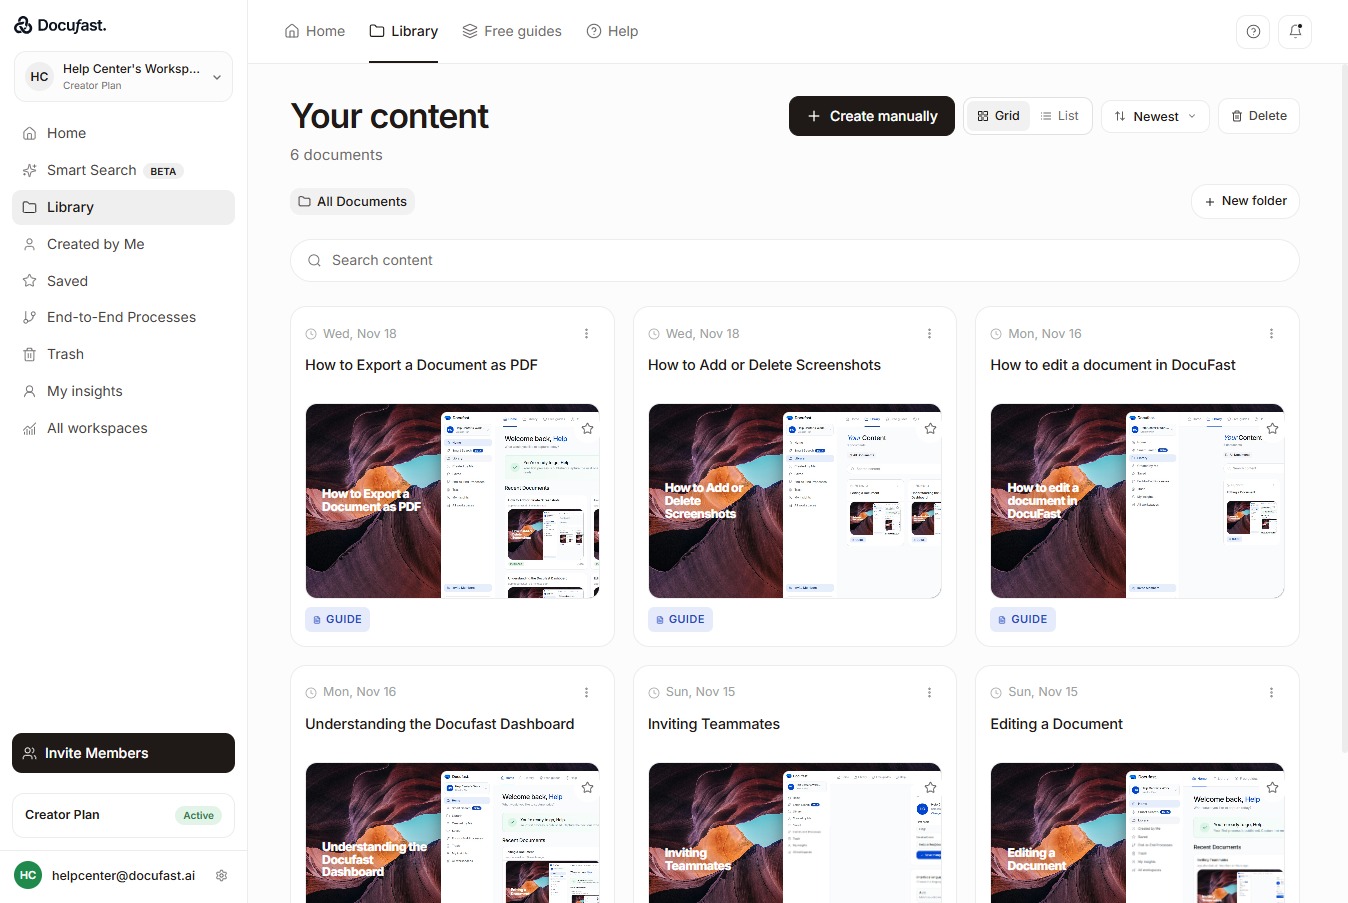
Go to Library on the left-hand side of your dashboard
Loading screenshot…
100%
Docufast automatically captures screenshots during workflow recording, but you may want to fine‑tune which images appear in your document.
Docufast automatically captures screenshots during workflow recording, but you may want to fine‑tune which images appear in your document. You can add custom screenshots or remove unnecessary ones to make your guide more useful and visually clear.
Go to Library on the left-hand side of your dashboard
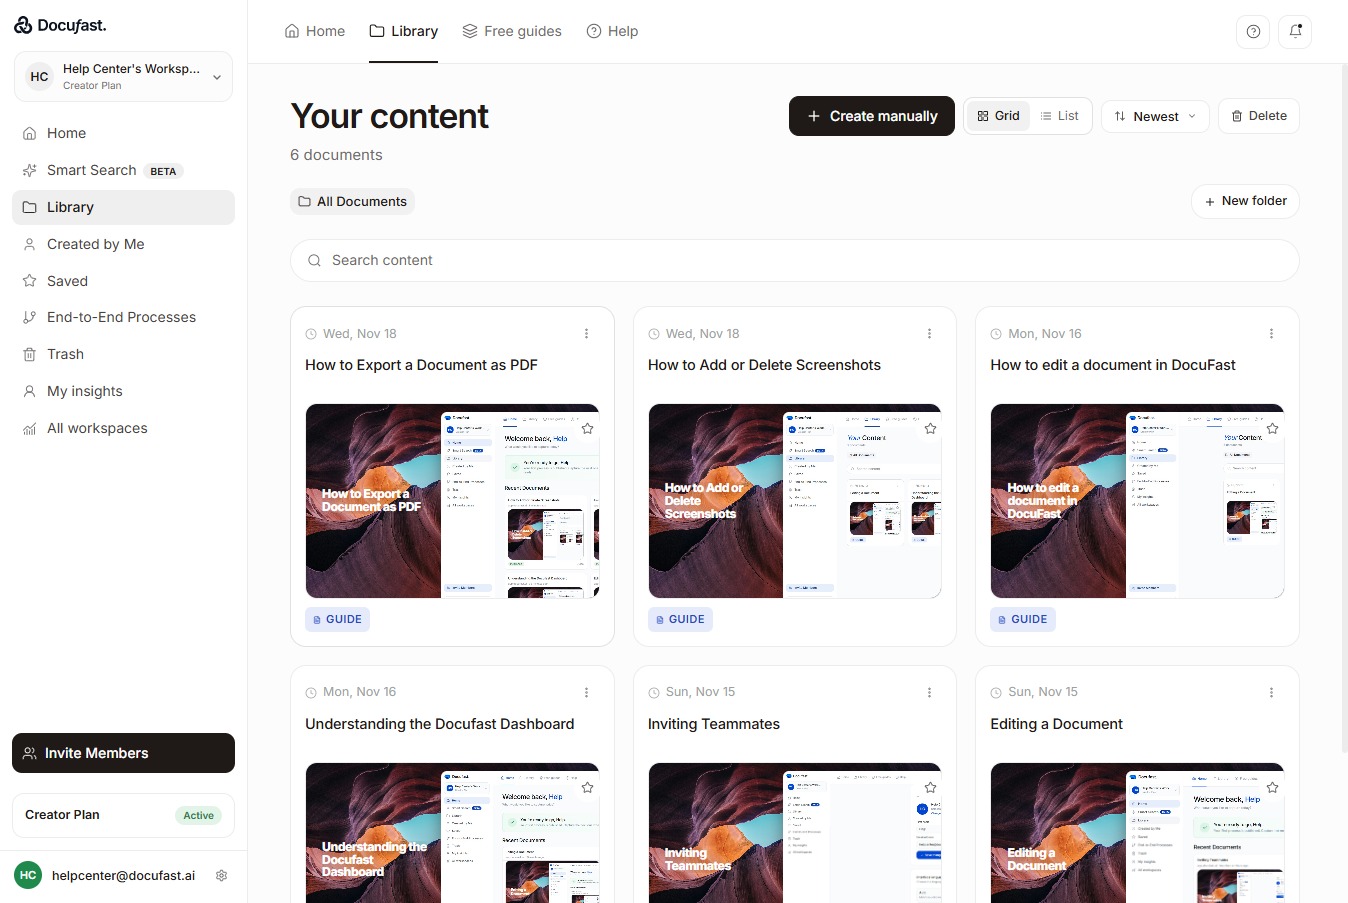
Select the recorded workflow you want to edit.
At the top of the document, you'll see "Edit" button
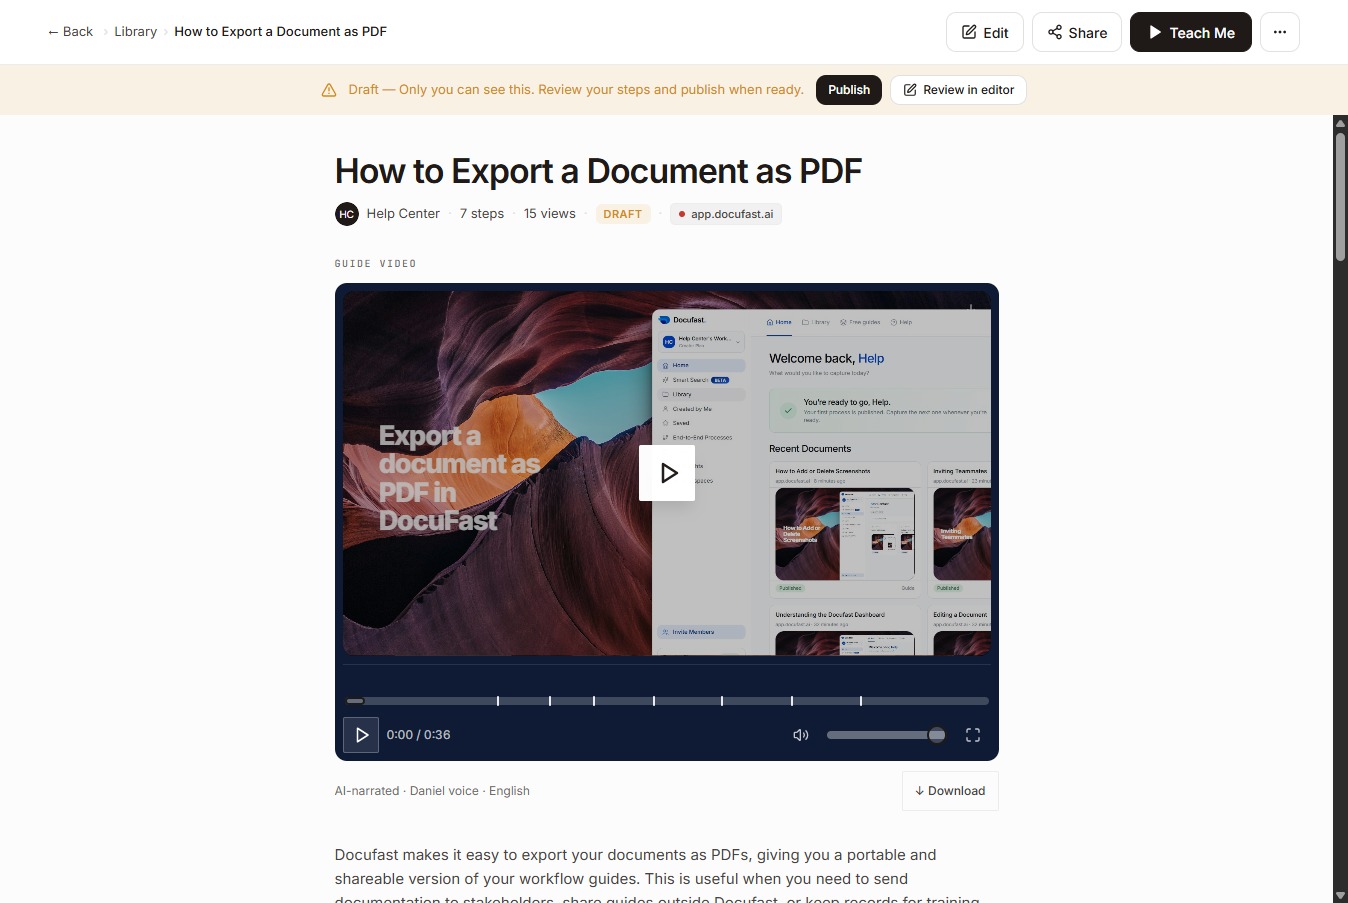
Select Edit to enter editing mode.
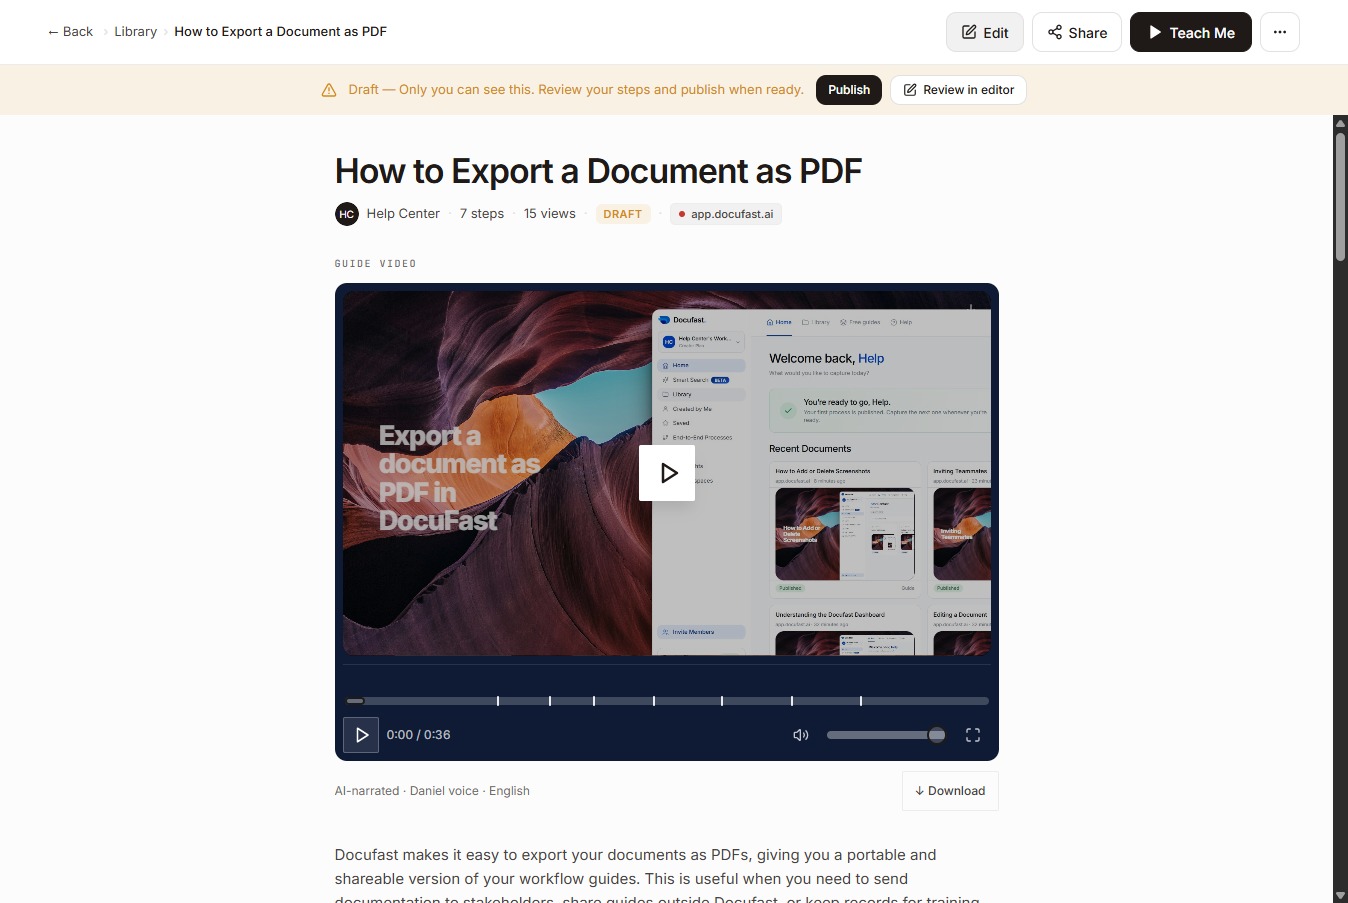
Just scroll down till you see the "Add Step" button
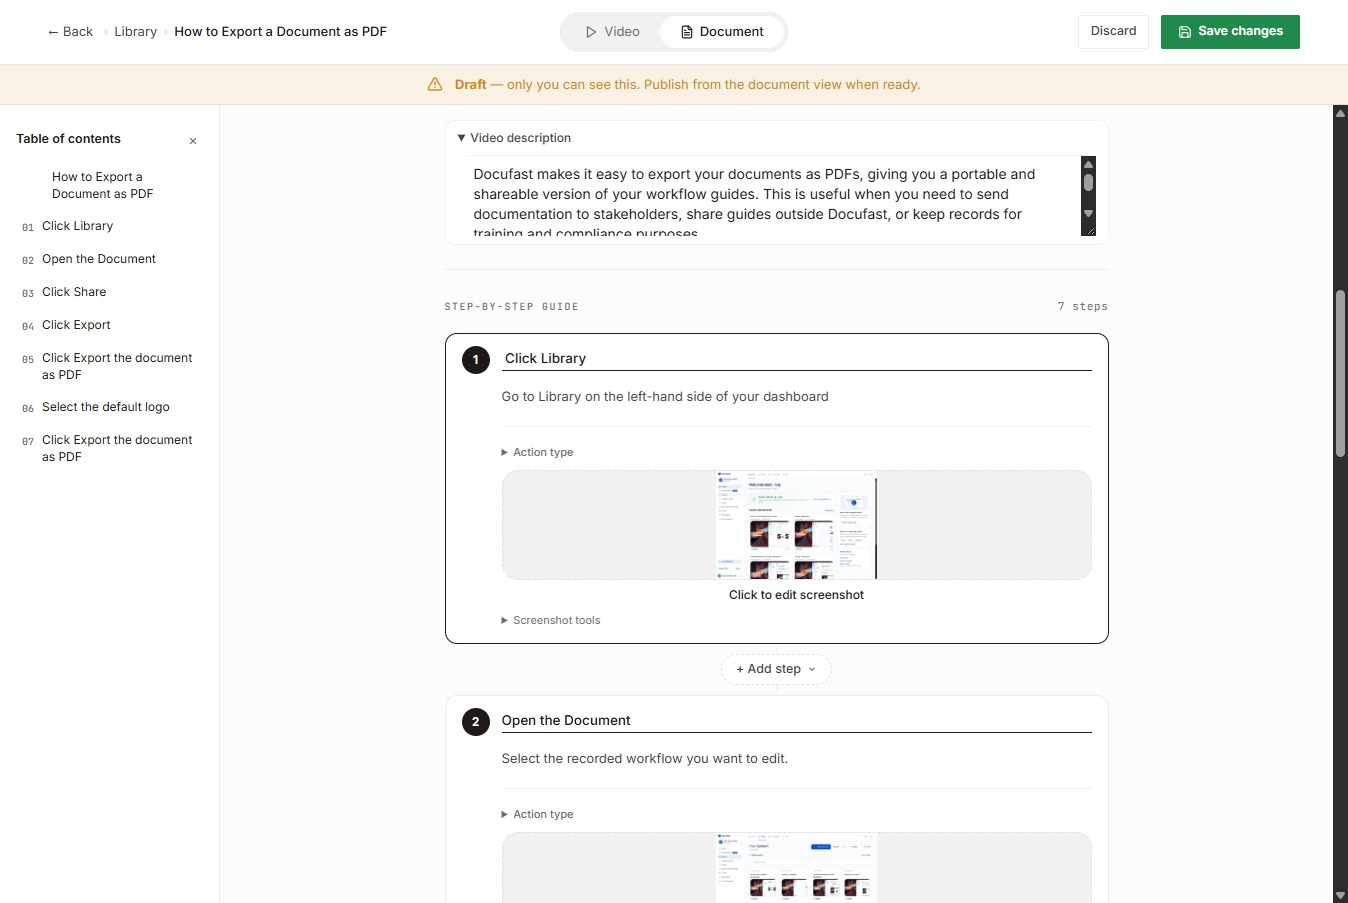
Select the Add step button to include an action in the workflow.
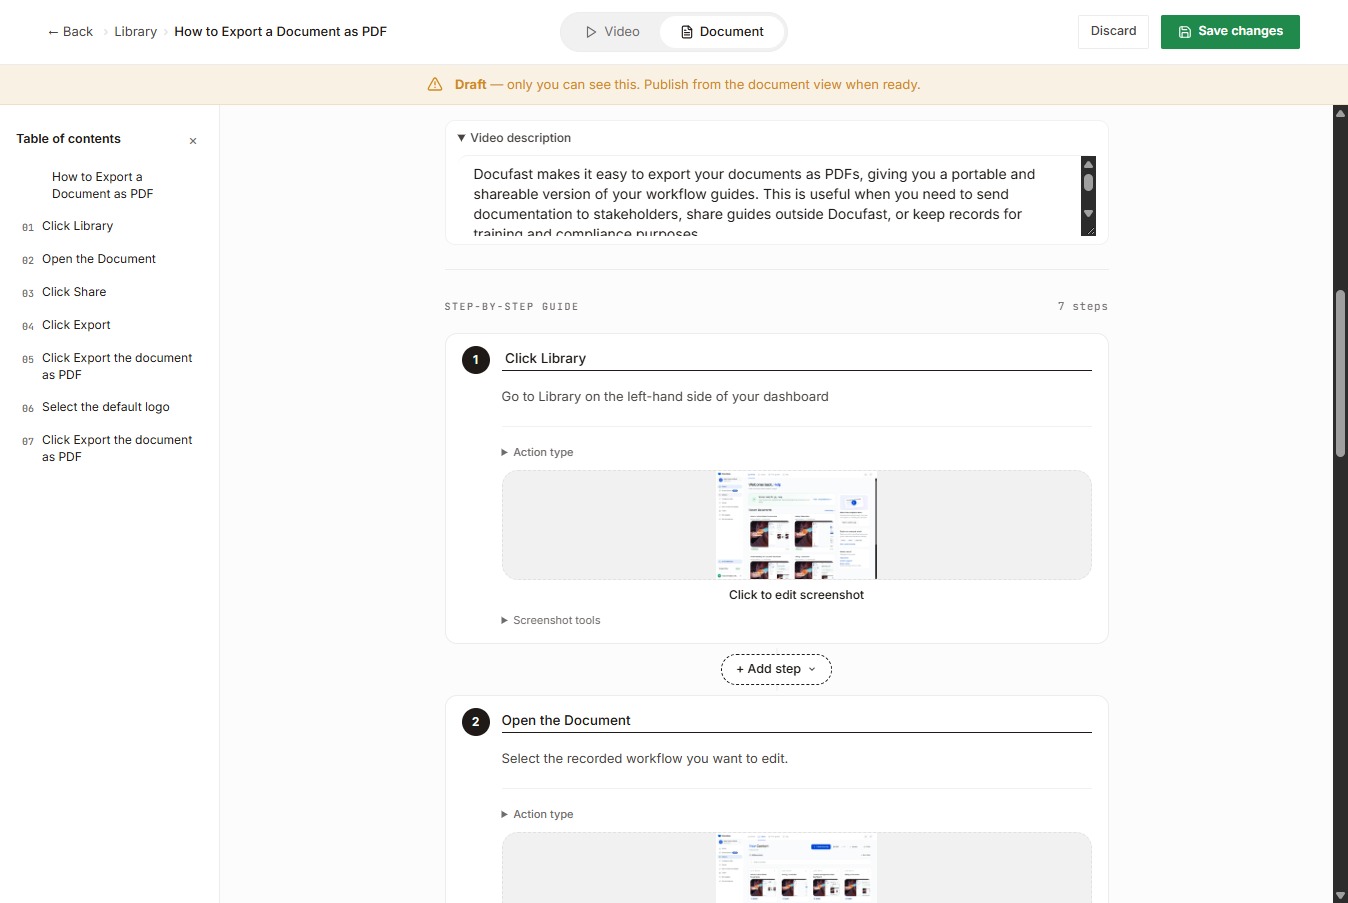
Choose the Action Step option to define a new step in your workflow.
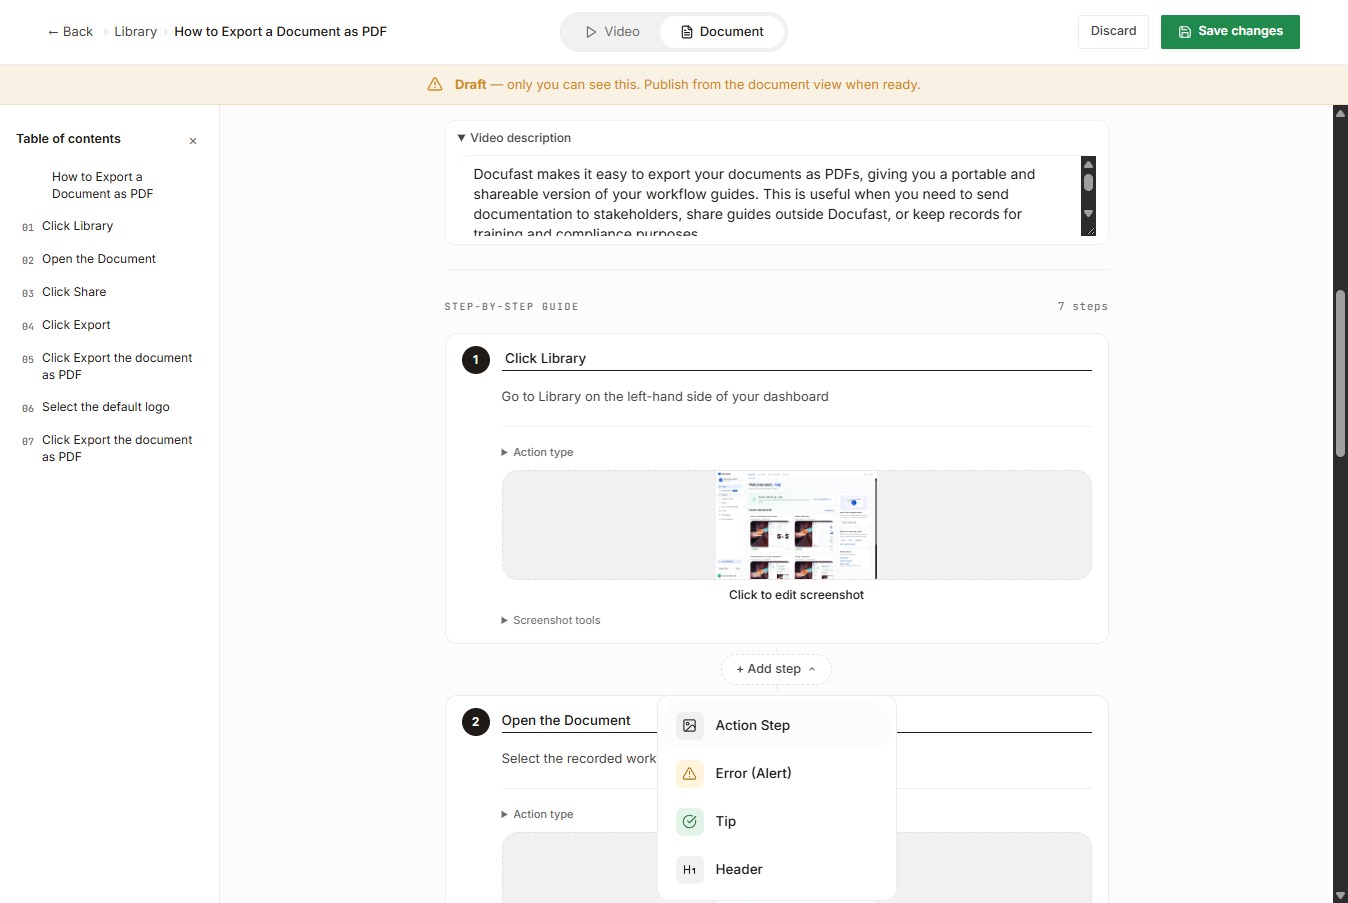
Click “Add a screenshot” to upload the image you want to insert.
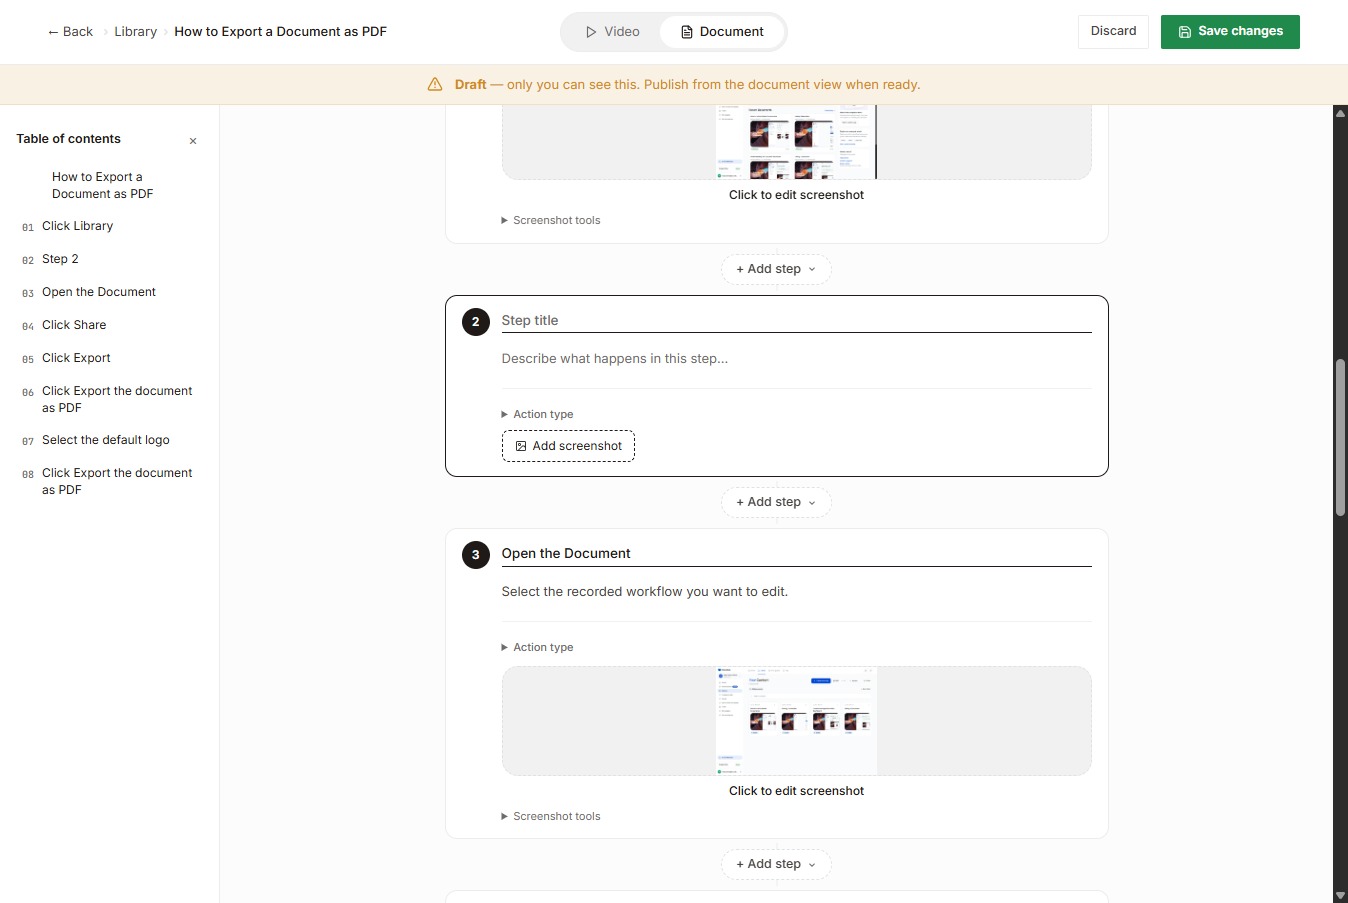
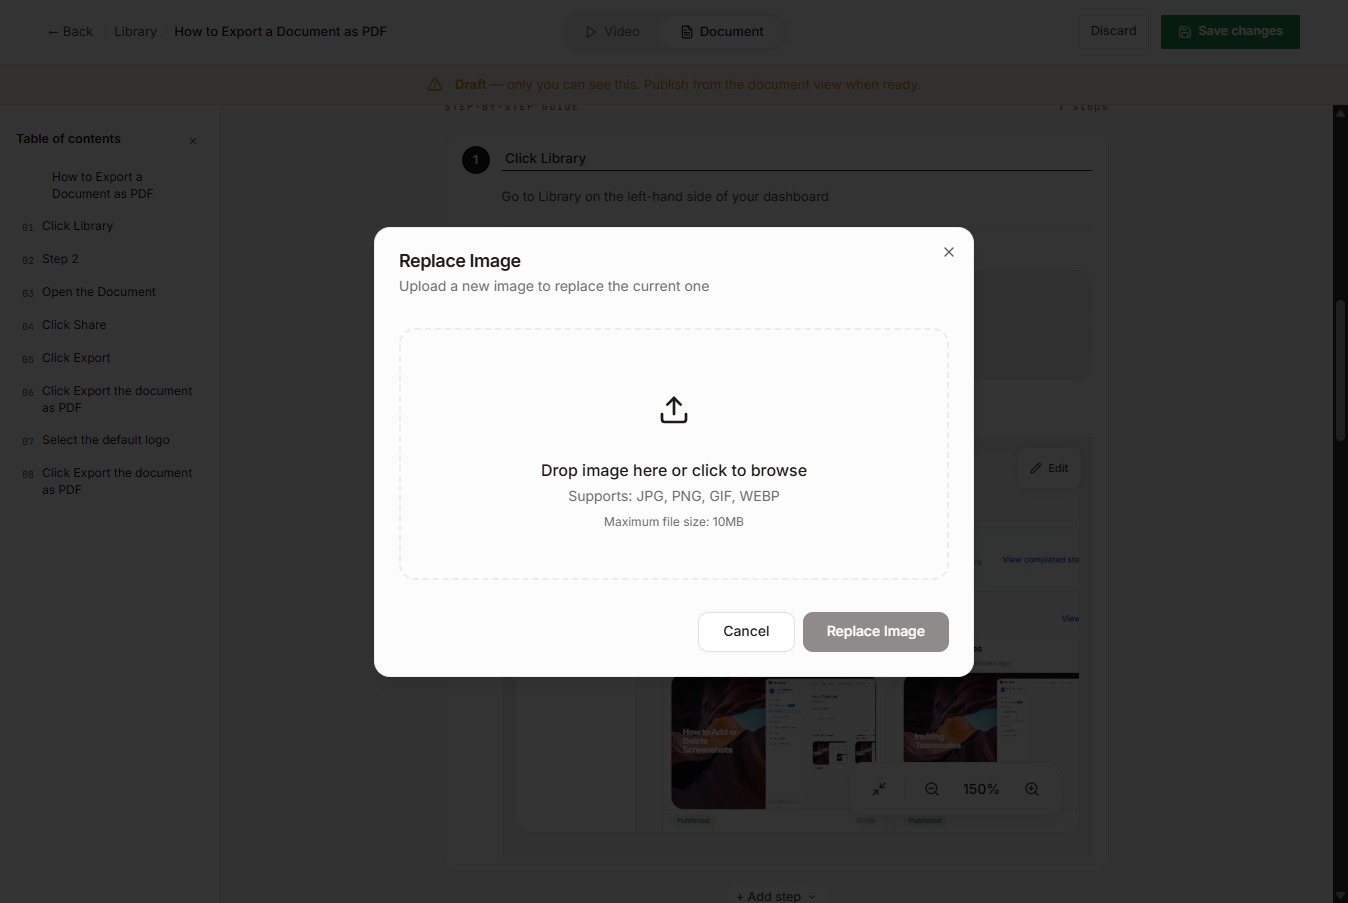
Select “Drop image here or click to browse” to upload the image.
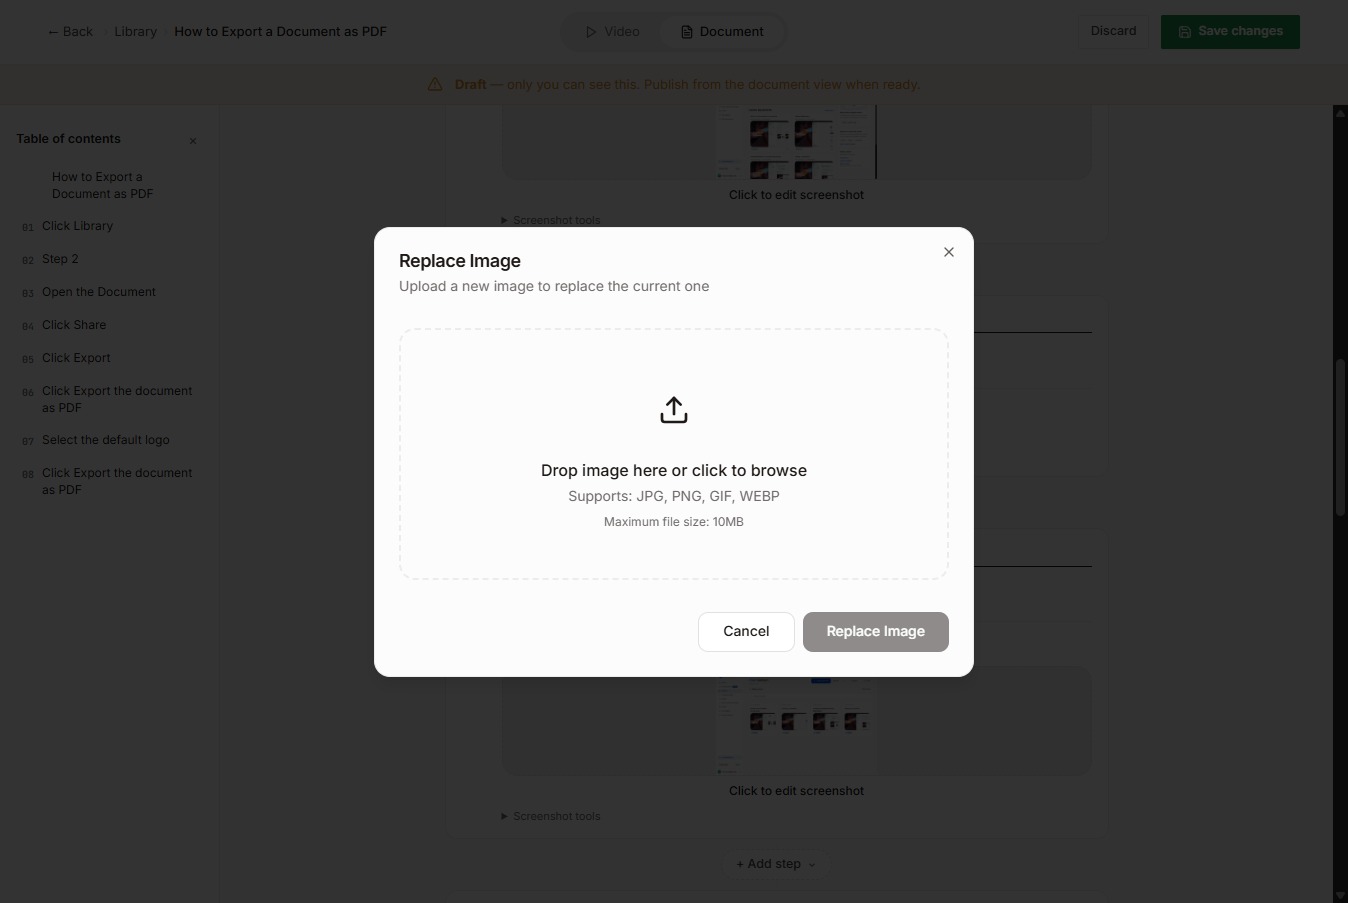
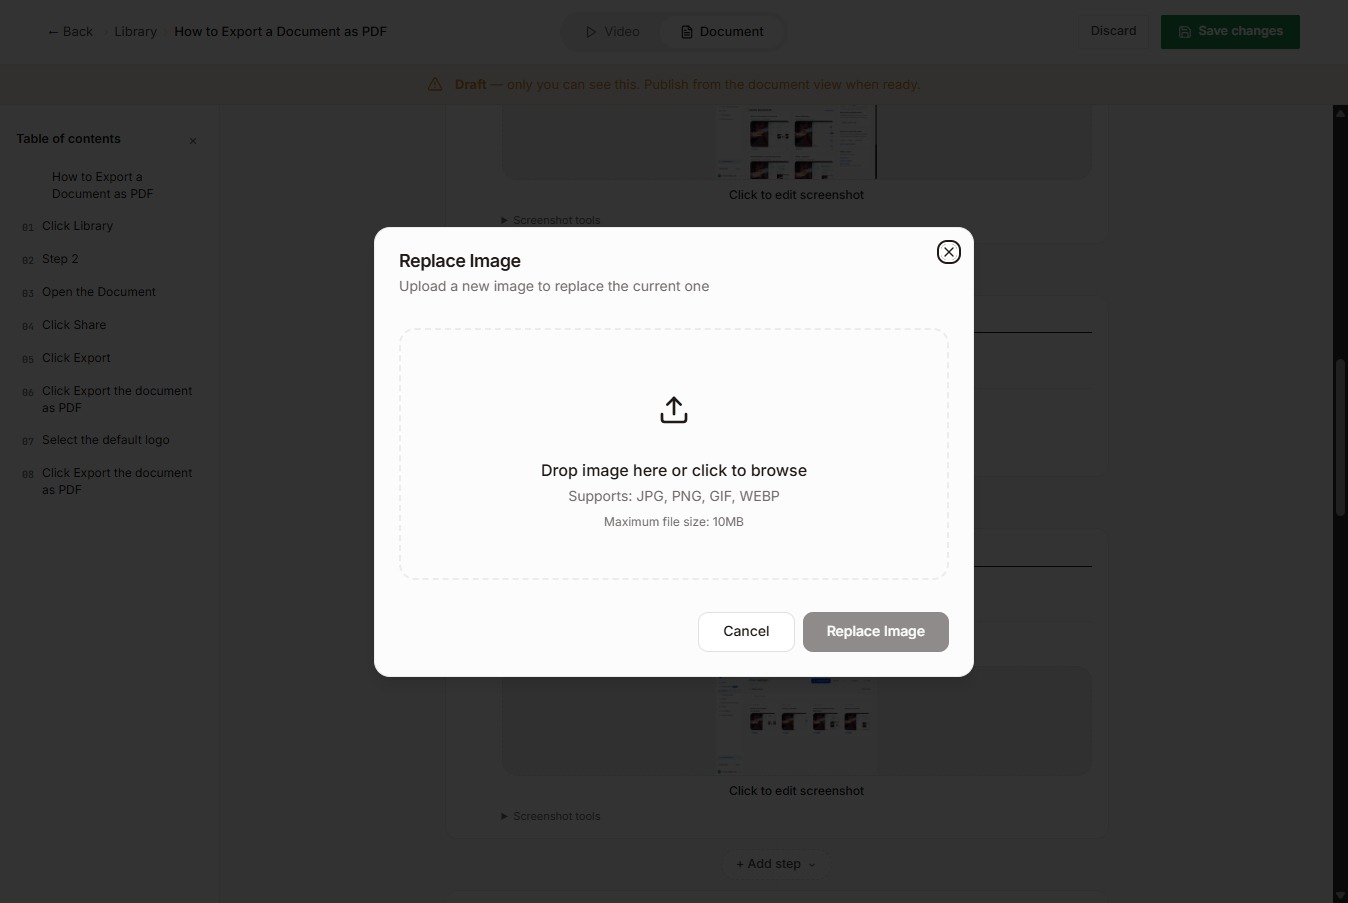
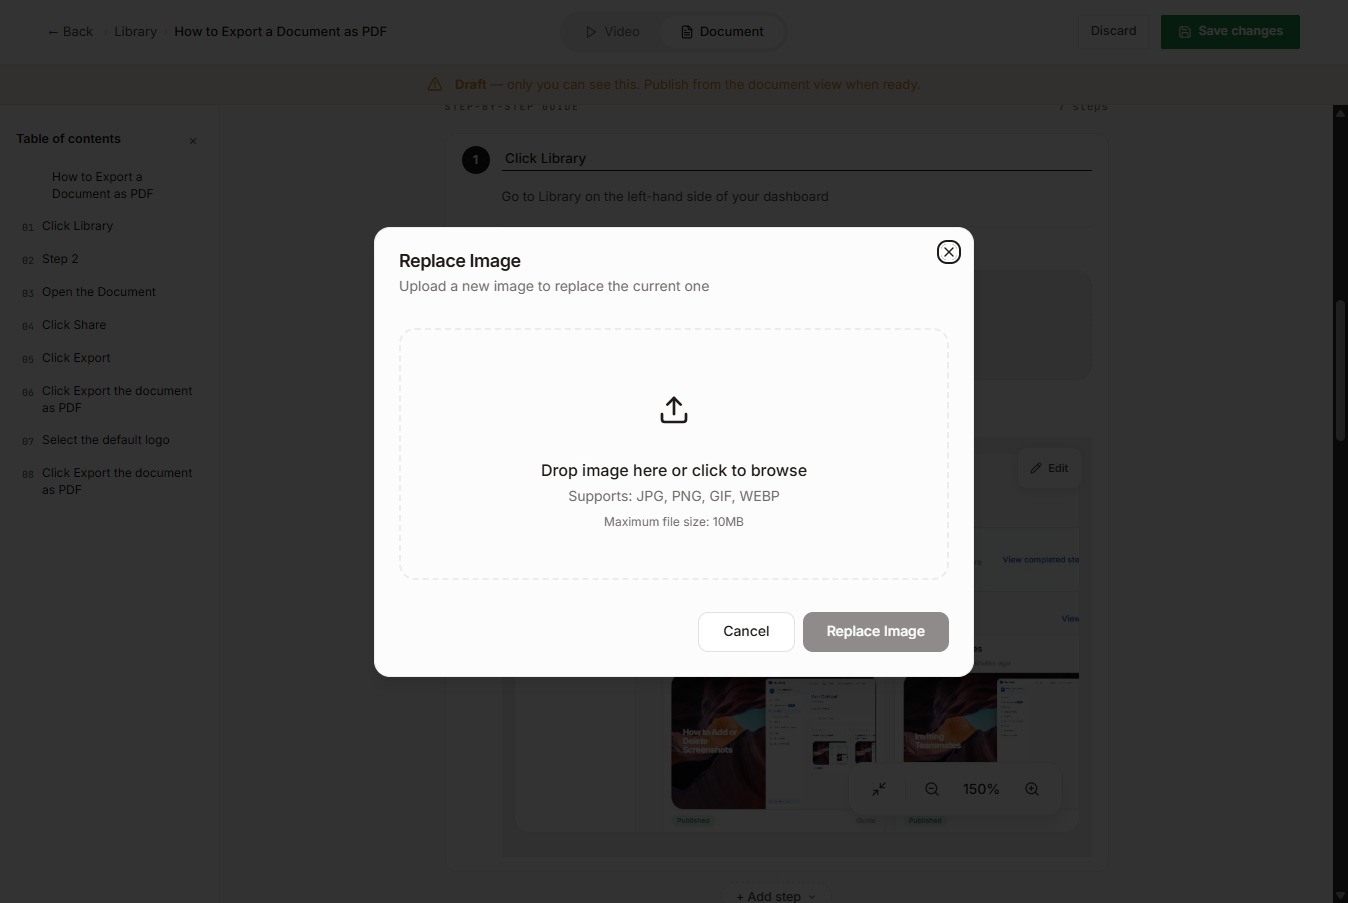
Once you have selected an image, just press “Replace Image” and it will upload. Now, I’ll show you how to replace an existing image.
Click “Screenshot tools” under the image you want to edit.
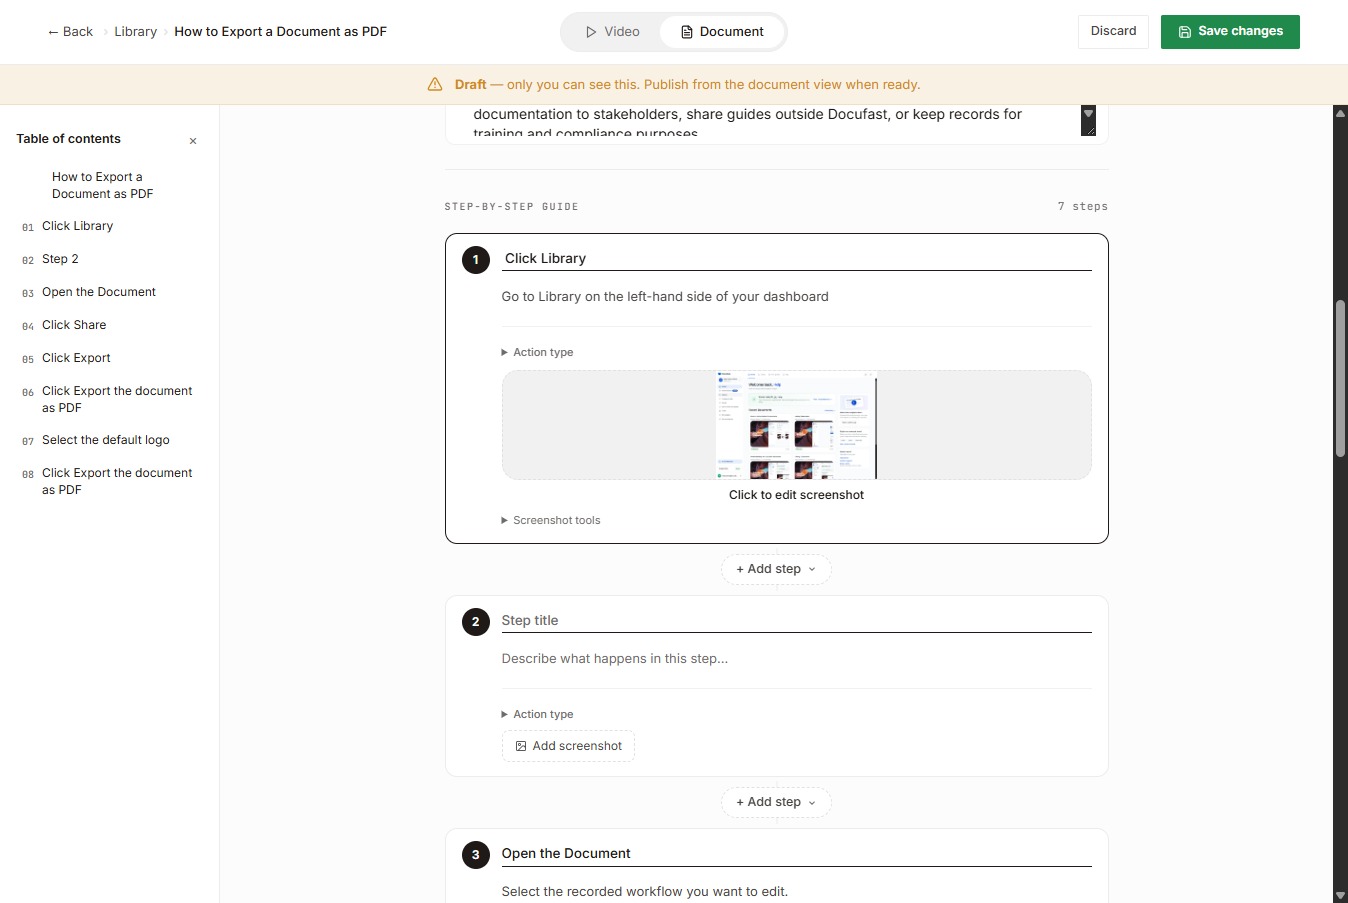
And, select the Edit button to modify this document.
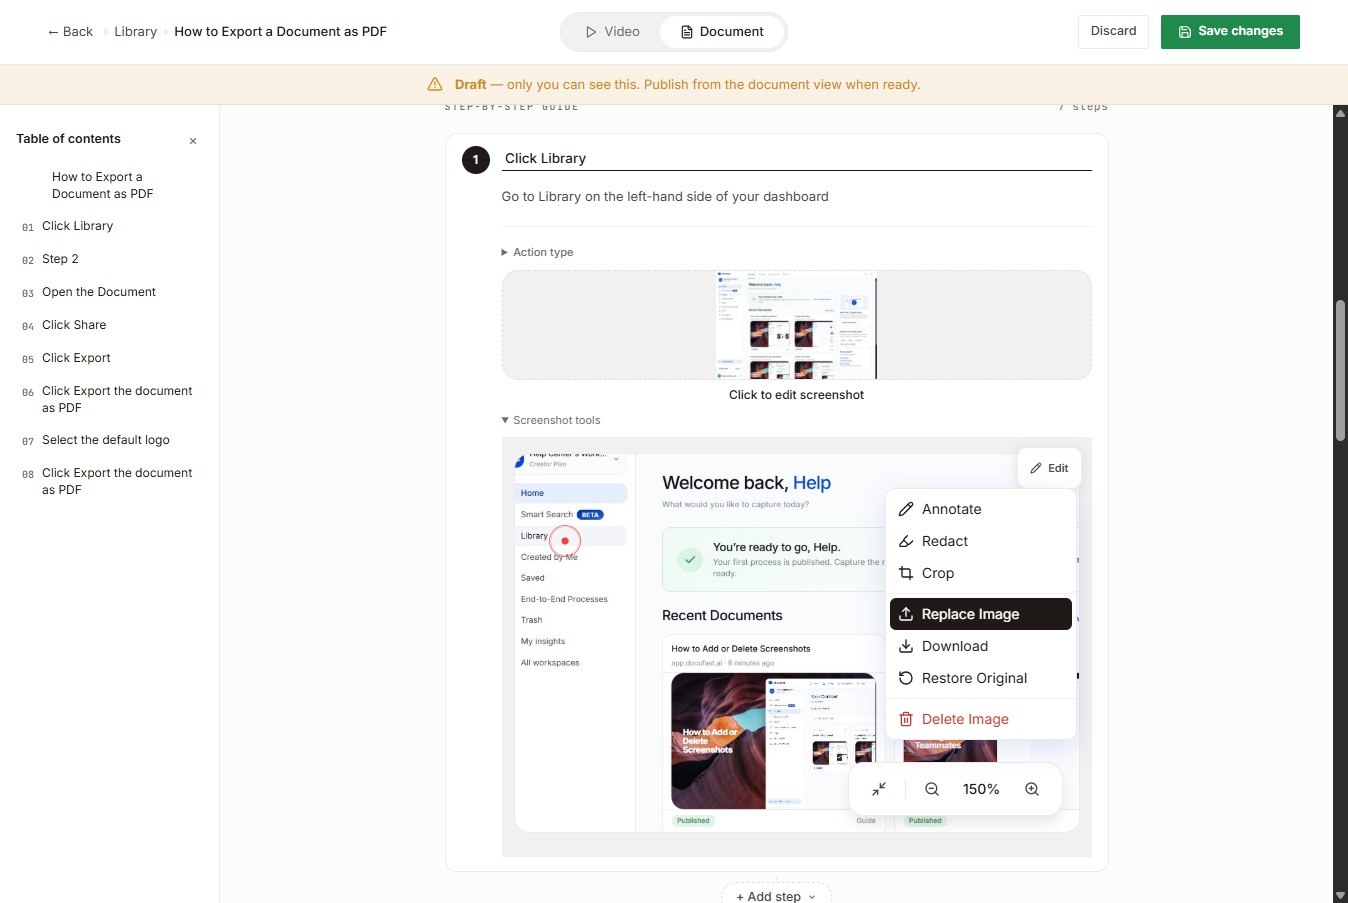
Then, we'll select Replace Image to upload or choose a new image for this step.
Select “Drop image here or click to browse” to upload the image.
Once you have selected an image, just press “Replace Image” and it will upload. Now, I’ll show you how to delete an image.
To delete an image, click the “Edit” button.
Choose Delete Image to remove the selected image.
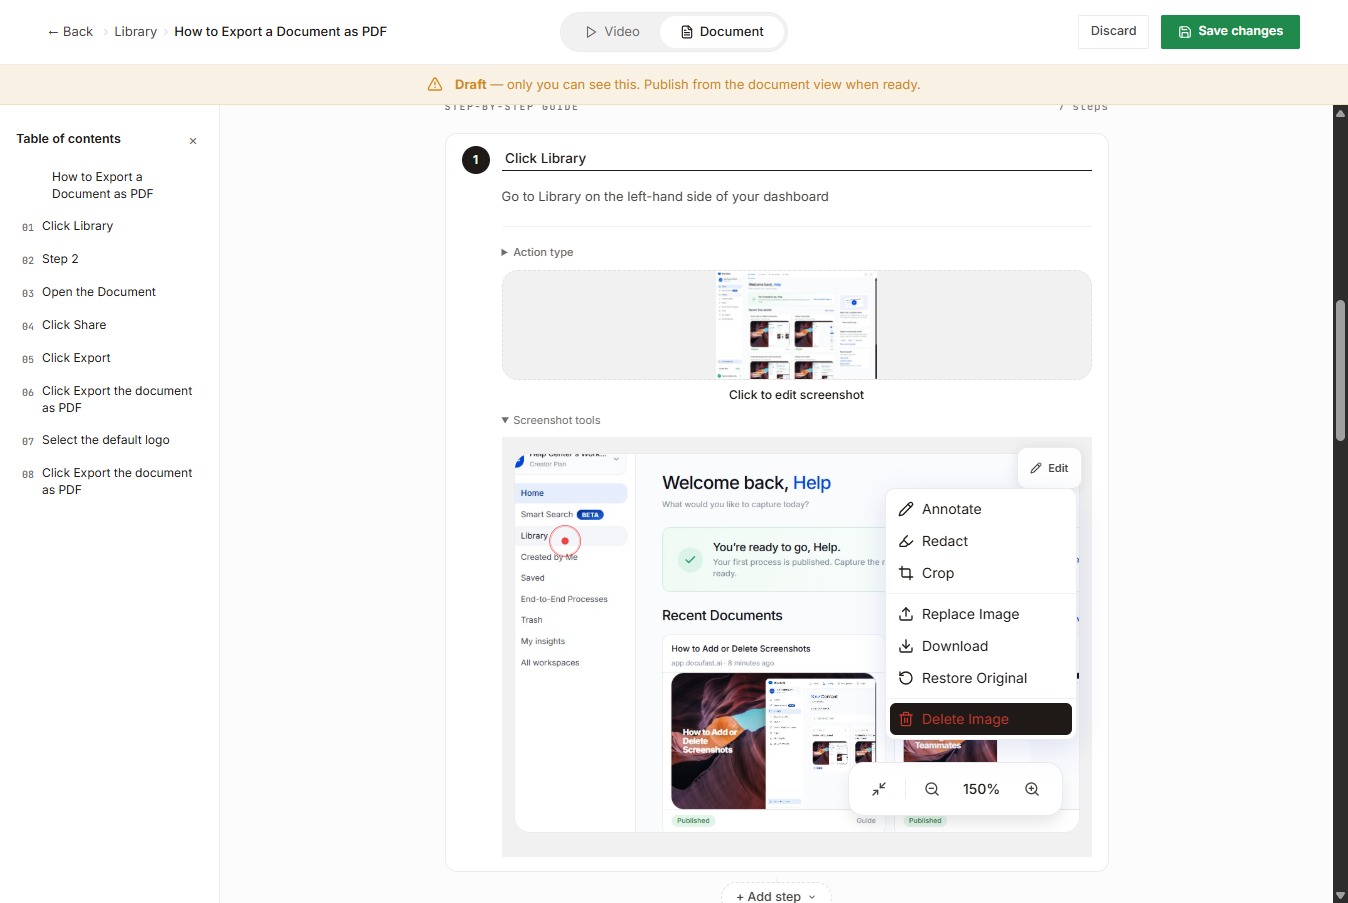
Click Delete to remove it completely.