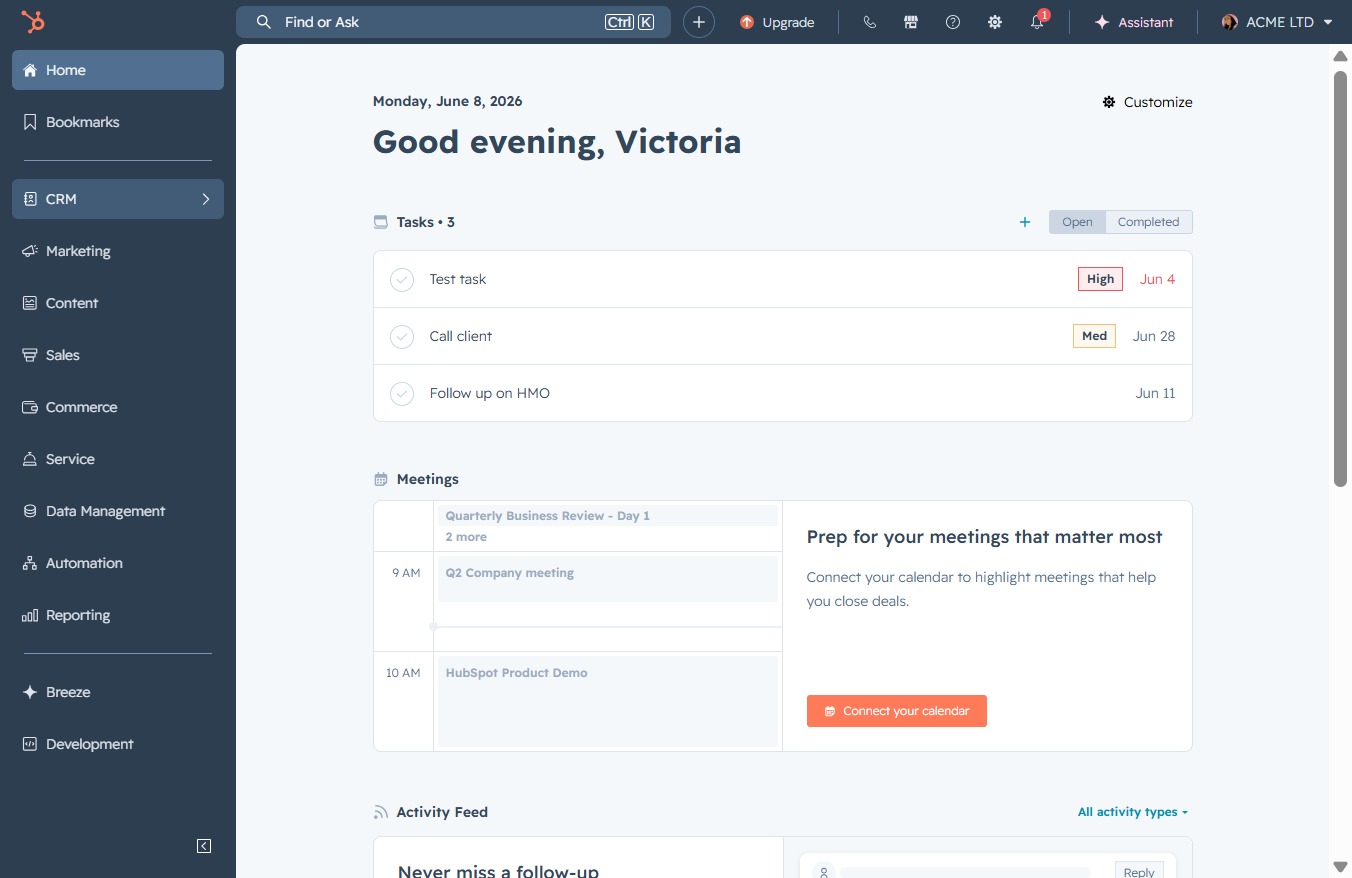
Click the CRM icon
Clicking the CRM icon will direct you to the Customer Relationship Management section, where you can manage your contacts, leads, and sales activities.
Loading screenshot…
100%
Manage and document closed lost reasons in your CRM by customizing your Deals view and entering specific feedback, ensuring accurate tracking of deal statuses.
 viktoria
Manage and document closed lost reasons in your CRM by customizing your Deals view and entering specific feedback, ensuring accurate tracking of deal statuses.
Clicking the CRM icon will direct you to the Customer Relationship Management section, where you can manage your contacts, leads, and sales activities.
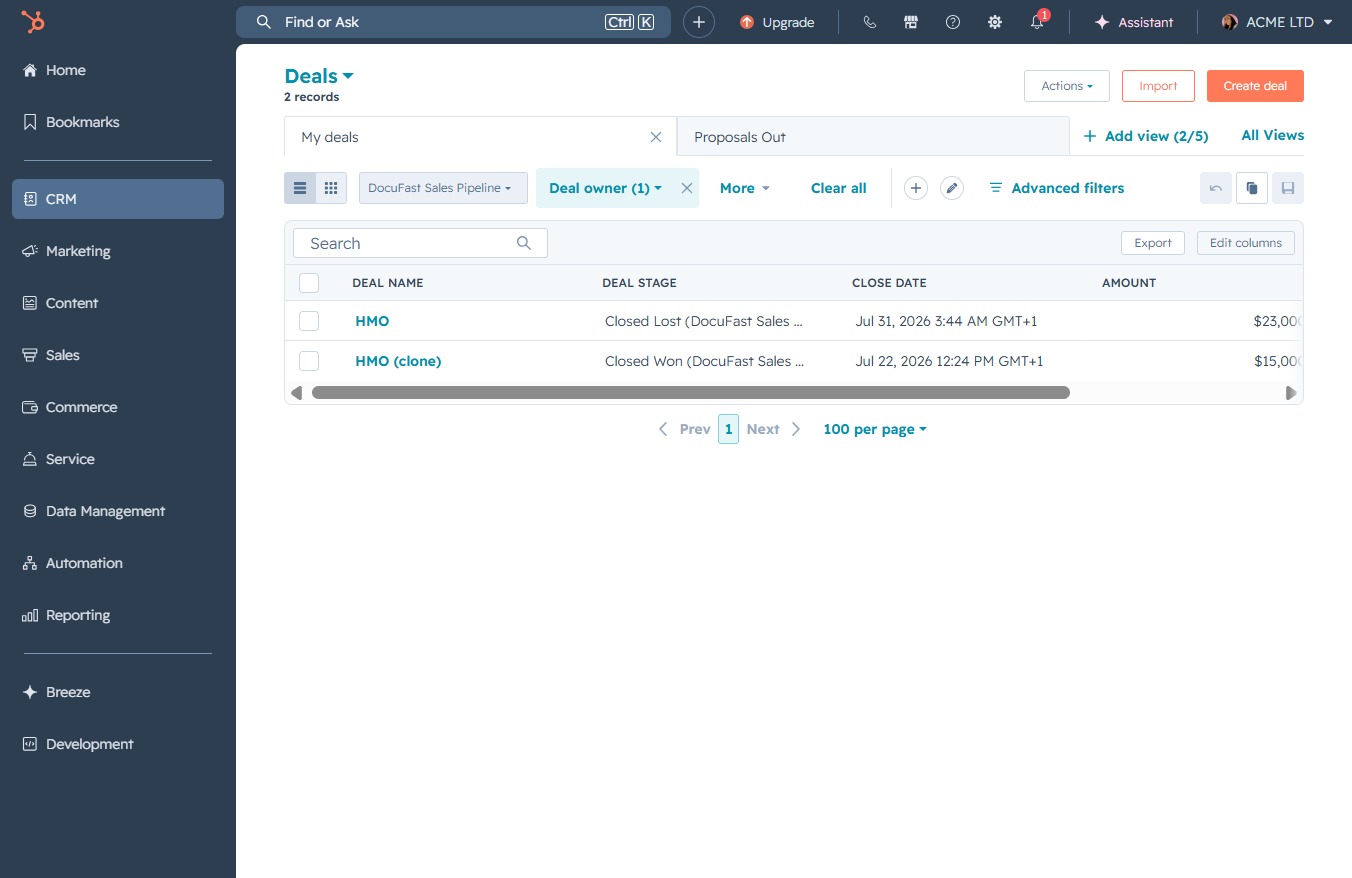
Selecting the 'Deals' section will take you to the area where you can manage and view all your active deals and opportunities.

This action opens a dialog where you can customize which columns are displayed in your Deals view, allowing you to tailor the information presented according to your preferences.
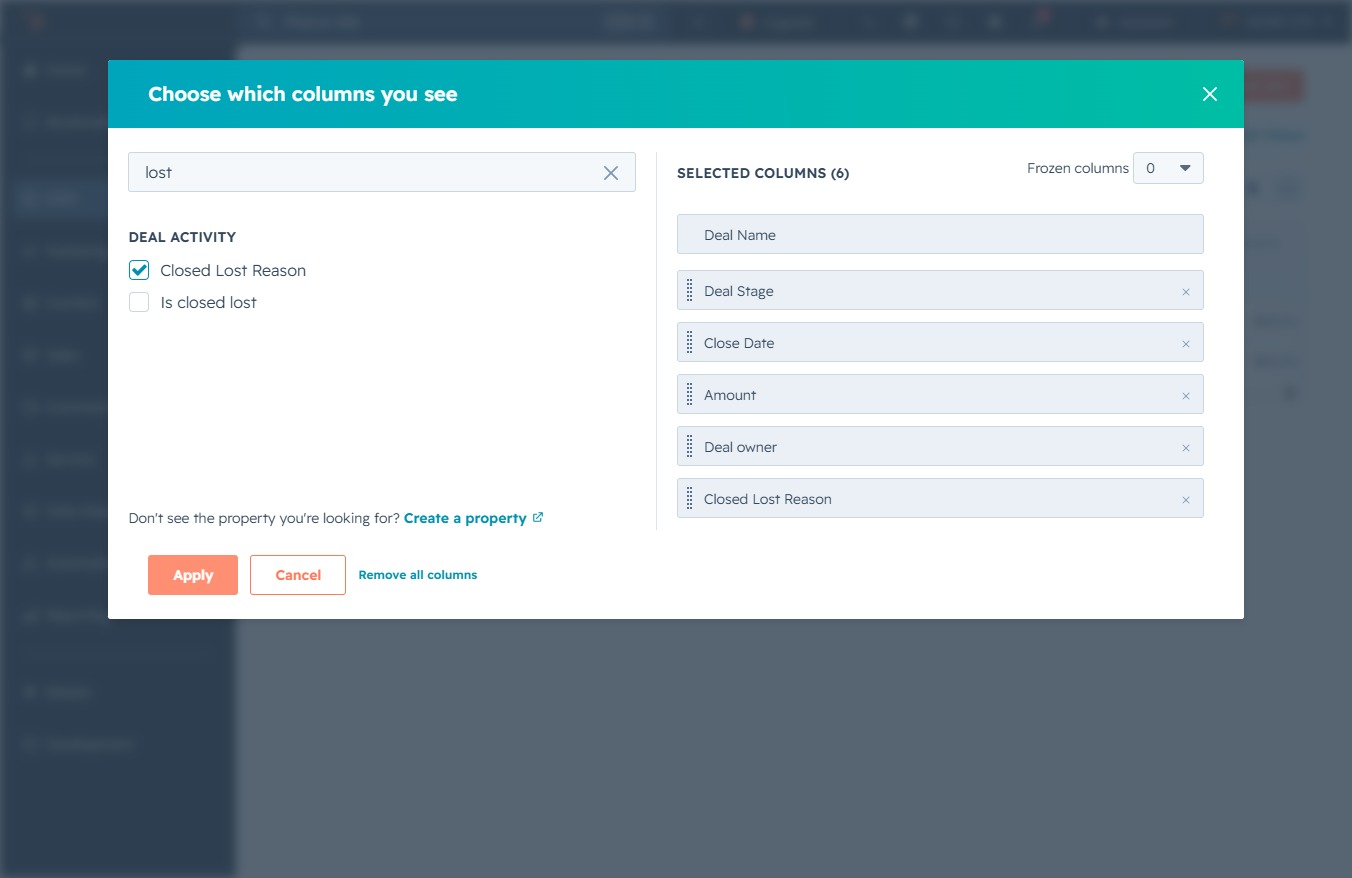
Clicking this button will save your selected columns and update the view. You will then see the newly configured columns reflected in your deals display.

Enter 'lost' in the search field to filter the available columns for 'Deal Activity'. This will help you quickly locate the relevant columns related to closed lost reasons in your selection.

This action will confirm your selected columns and update the view to display only the chosen data fields.

This action will confirm your selected columns and apply them to your view of the deal activity. The updated view will reflect the chosen columns, allowing you to analyze the relevant data more effectively.
This will open the Deals section where you can view and manage your active deals and related details.
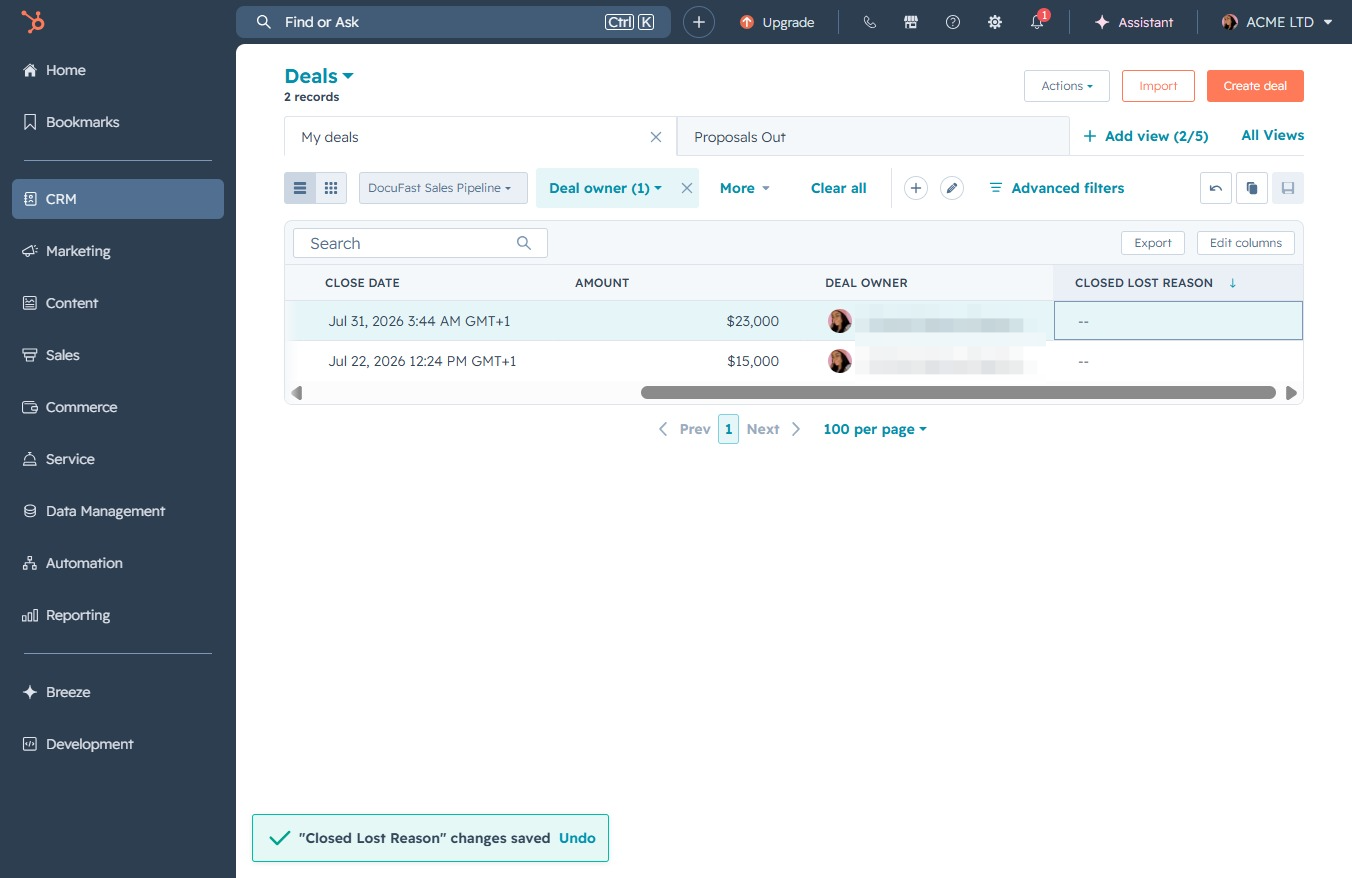
Enter 'No response' in the Closed Lost Reason text area to document the feedback regarding the deal's status. This will help clarify the reason for the deal's closure in your CRM.

This action dismisses the 'Edit Cloud Lost Reason' dialog, returning you to the main Deals view where you can continue managing your deals.
