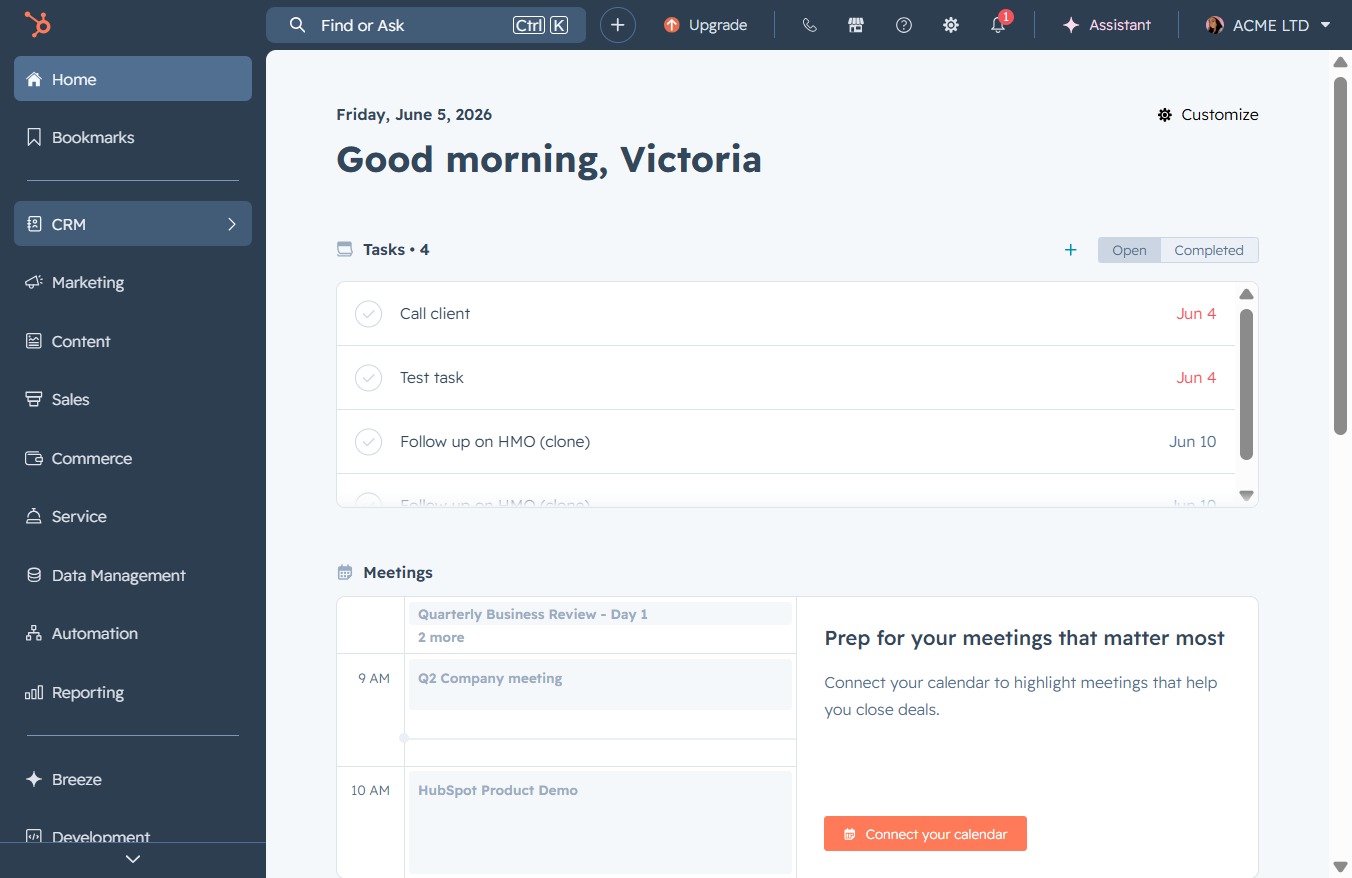
Click the CRM tab
By clicking the CRM tab, you will access the Customer Relationship Management section where you can manage tasks, contacts, and meetings related to your customers.
Loading screenshot…
100%
Create custom deal properties in your CRM by defining unique fields like 'Deals Priority' with specific dropdown options, enhancing your deal management and categorization…
 viktoria
Create custom deal properties in your CRM by defining unique fields like 'Deals Priority' with specific dropdown options, enhancing your deal management and categorization capabilities.
By clicking the CRM tab, you will access the Customer Relationship Management section where you can manage tasks, contacts, and meetings related to your customers.
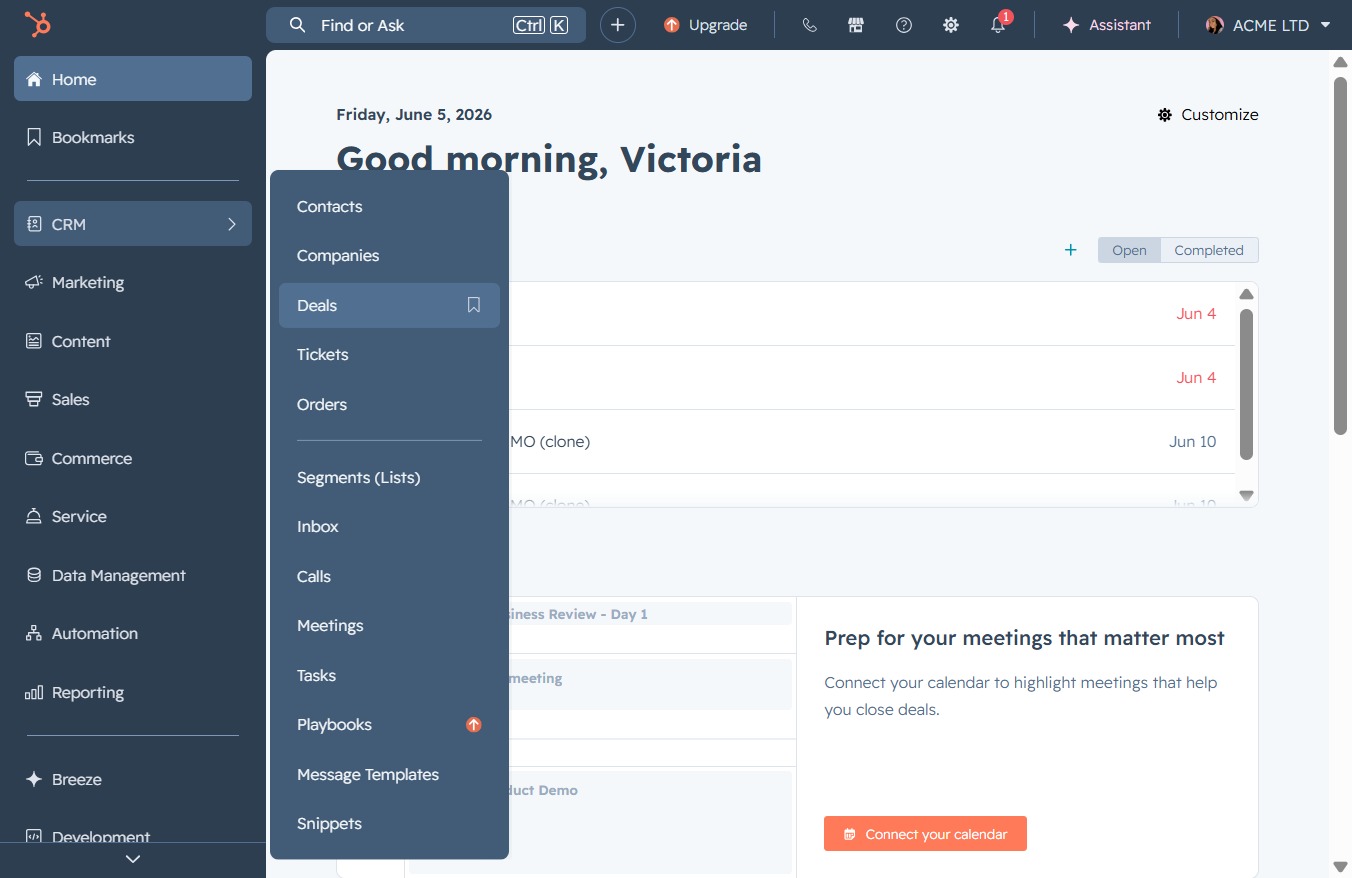
Clicking the 'Deals' link will navigate you to the Deals section, where you can manage and review your active deals and sales opportunities.
This will open a menu with various options available for managing your deals, such as adding new tasks or modifying existing records.
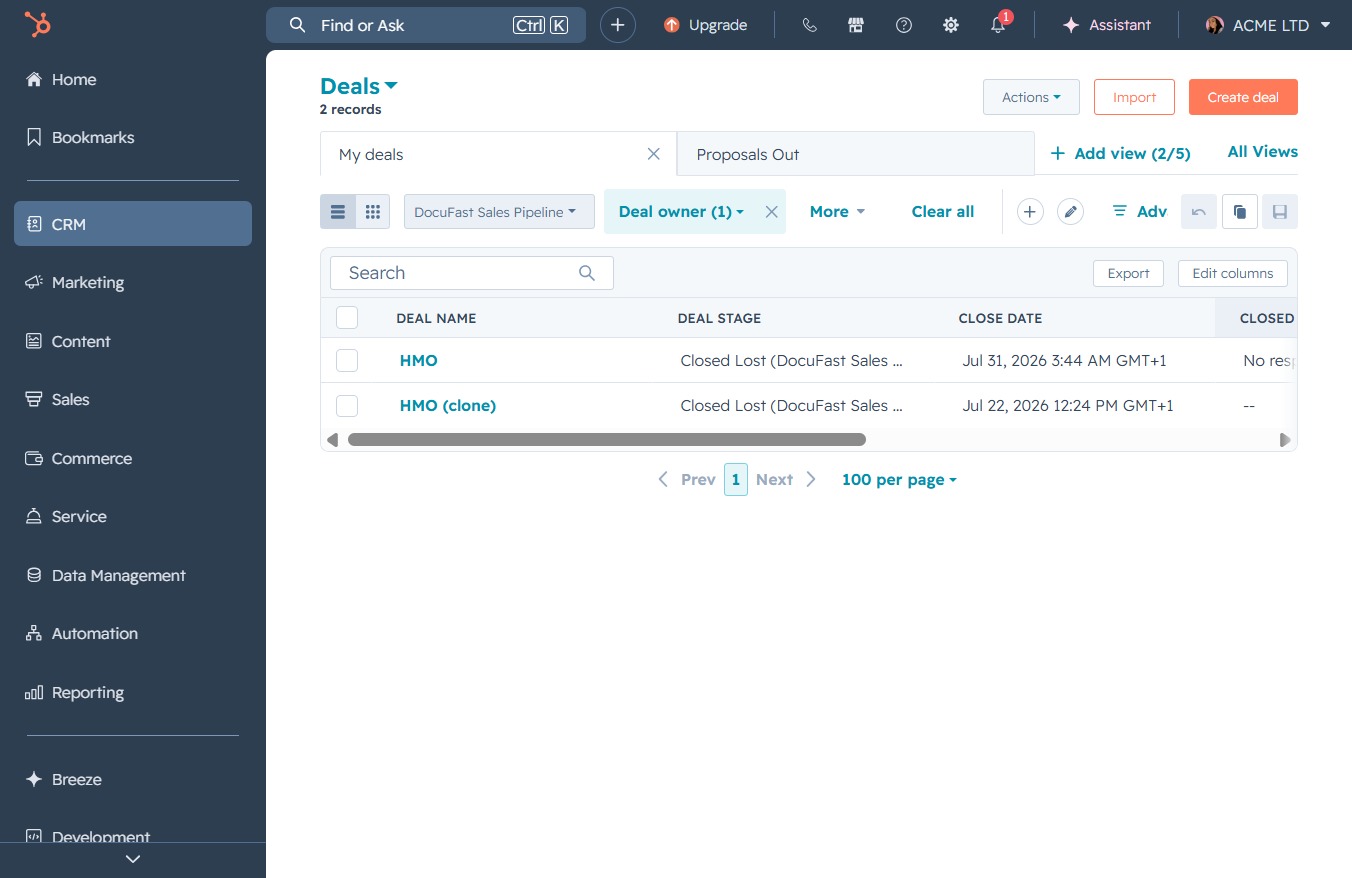
This action opens a dialog where you can modify the details and settings of the selected deal. You will be able to adjust fields such as deal stage, close date, and other relevant properties.
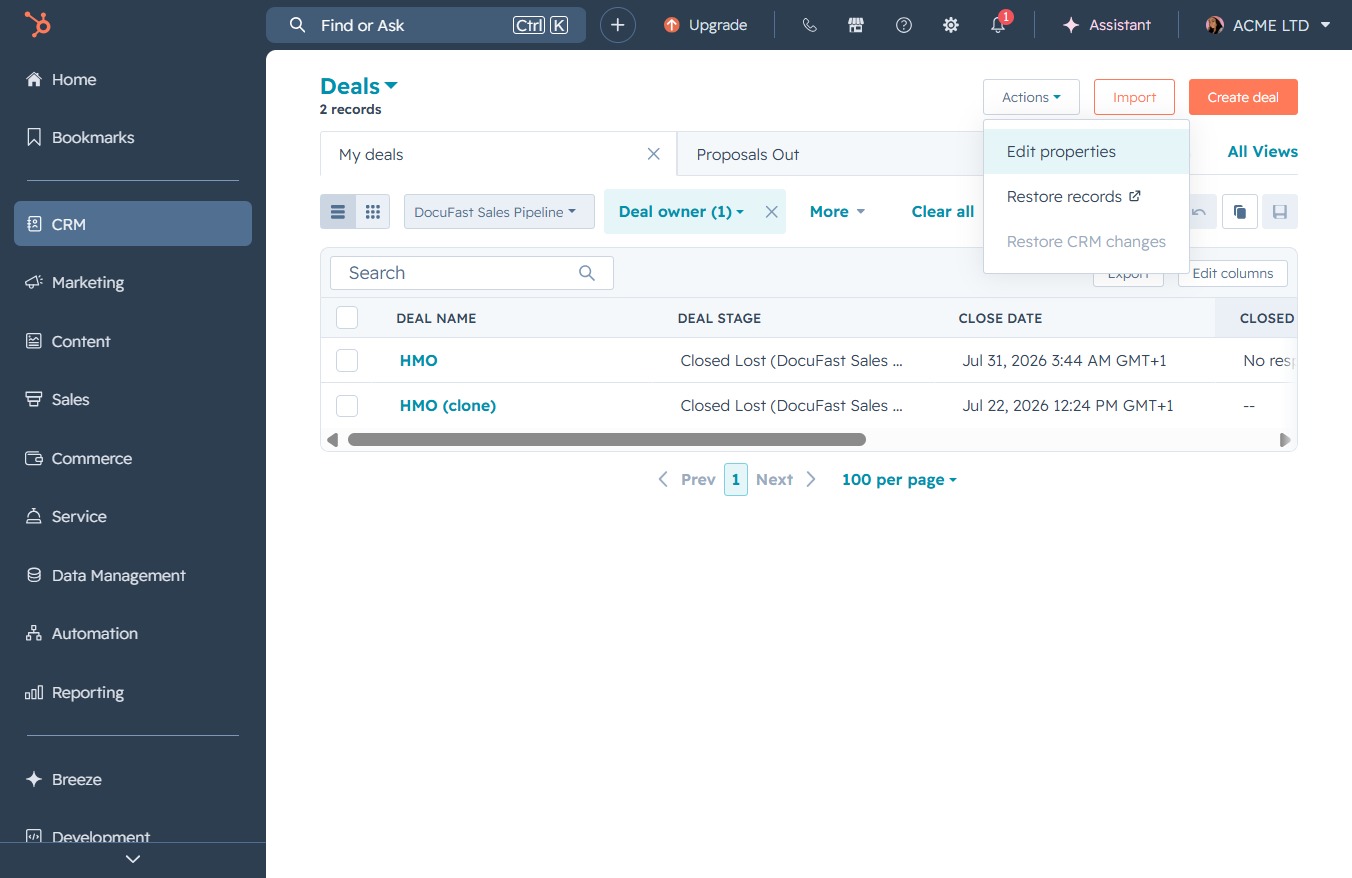
This will open a dialog for adding a new custom property to your Deal properties in HubSpot, allowing you to collect more specific information about your records.

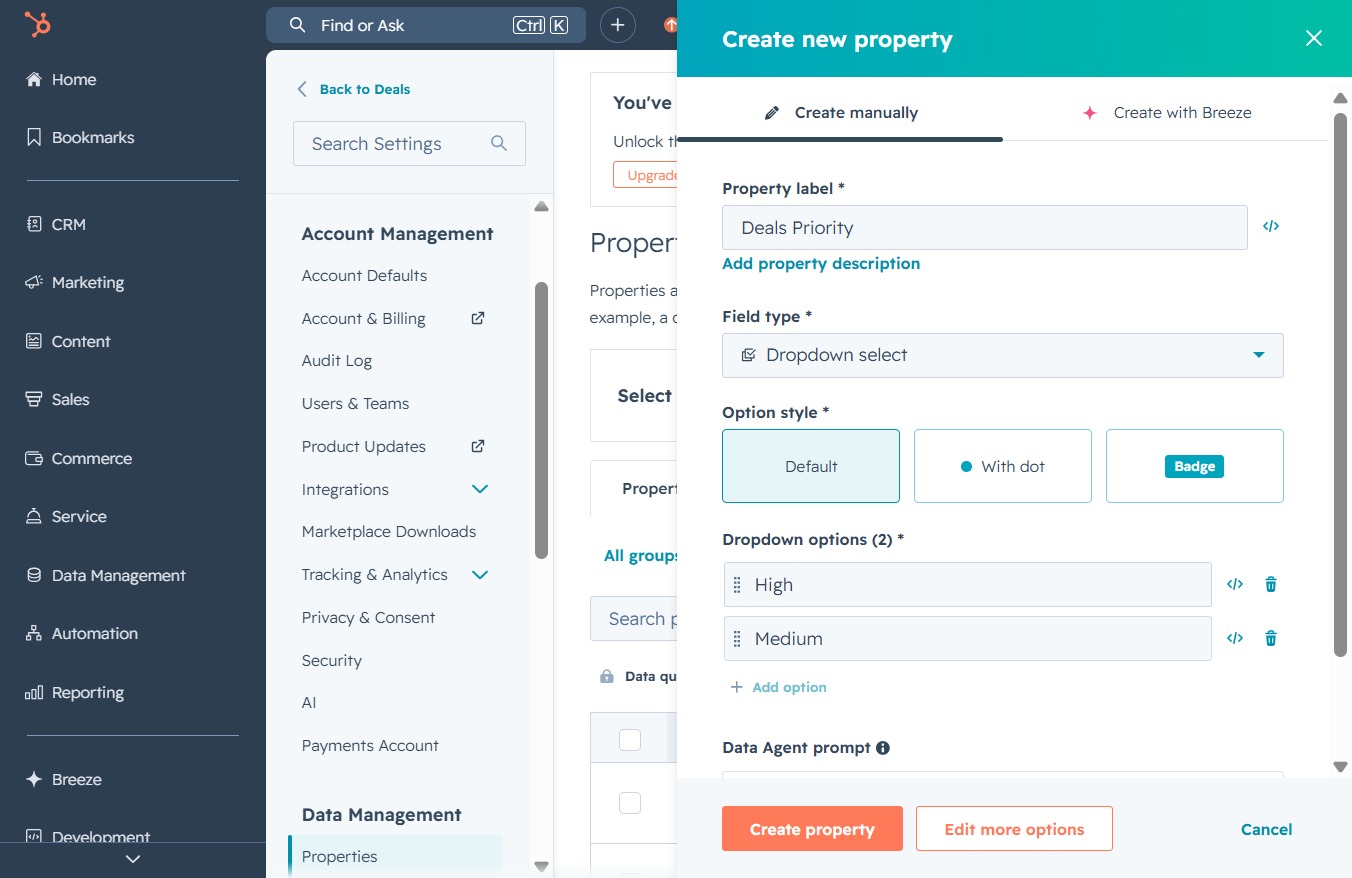
By clicking 'Create manually', you can access the form to define a new property, where you can specify its label, description, and field type.
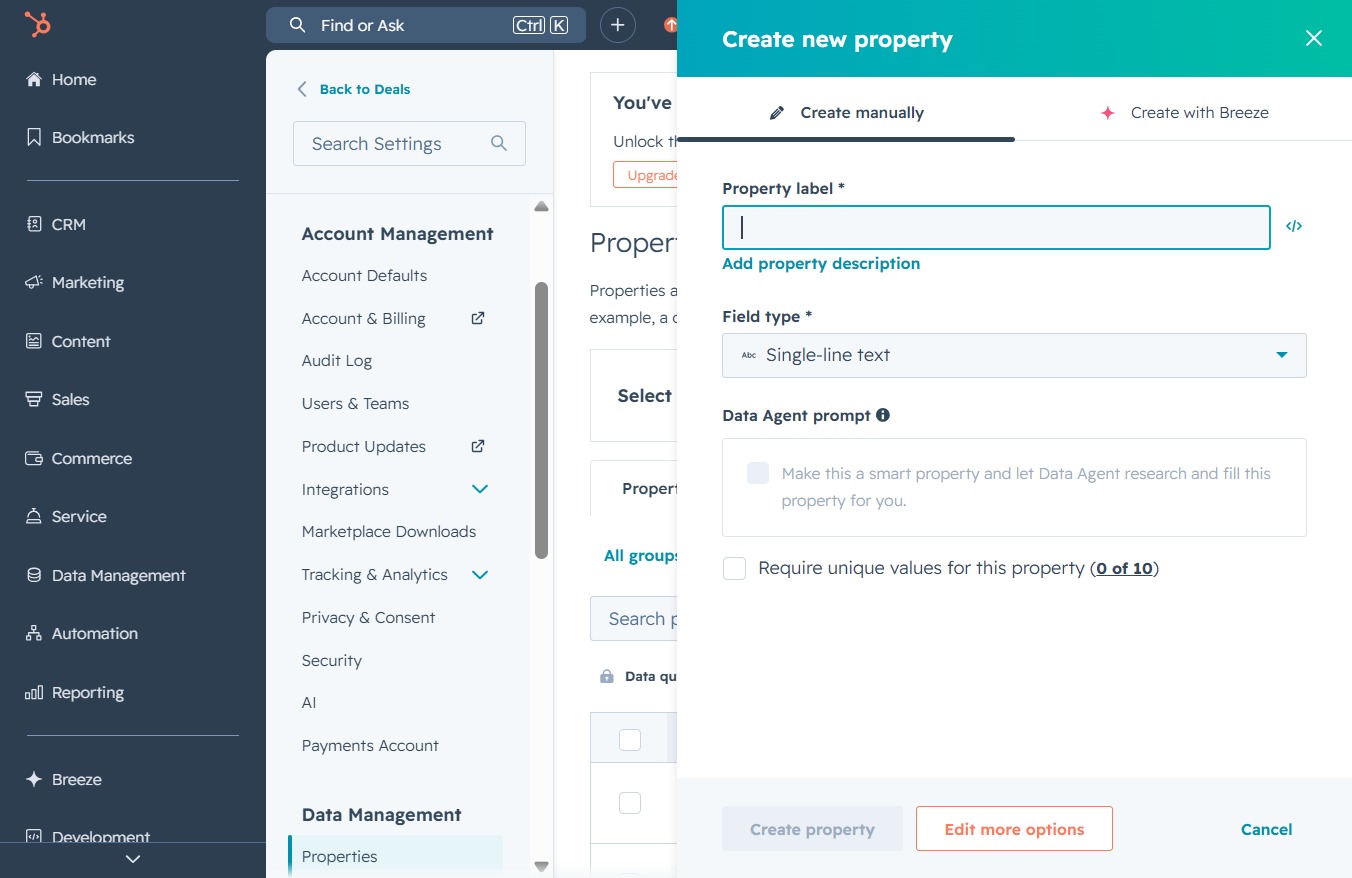
In the 'Property label' field, enter 'Deals Priority' to define the label for your new property. This label will help categorize and manage your deals effectively in the system.

Input the desired text for the property in the Single-line text field, which is used to define specific details about the property you're creating.

Select the desired field type for your new property from the dropdown menu, such as 'Single-line text' or 'Multi-line text'.

Clicking the Label input field allows you to enter a name for the new property. This label will be used to identify the property in your account settings.

Enter 'High' in the Dropdown options field to define a new option for the Deals Priority property. This will add 'High' as a selectable value for users when categorizing deals.
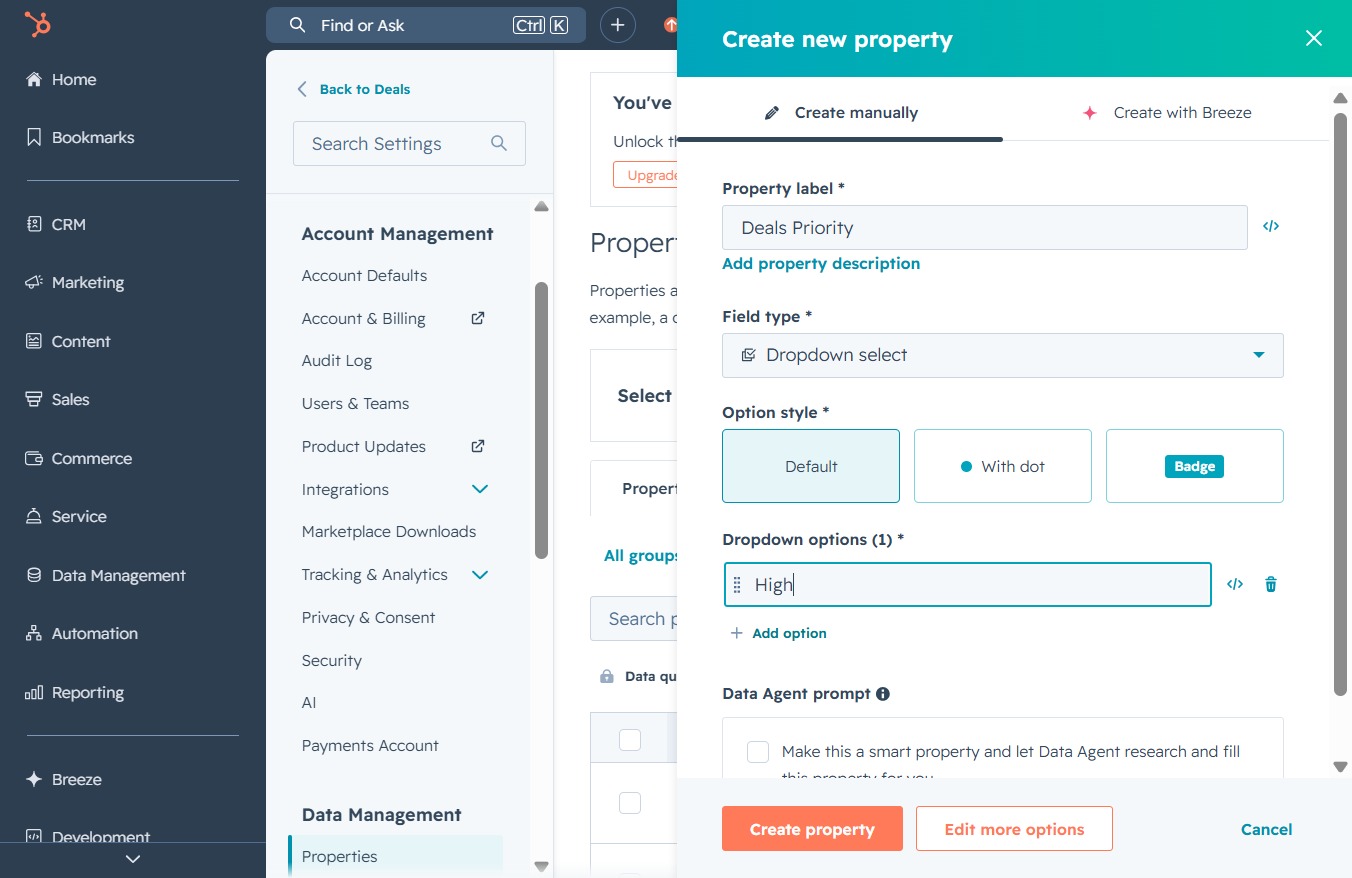
This will allow you to add a new dropdown option for the property being created, enabling you to customize the selection criteria for the 'Deals Priority' field.
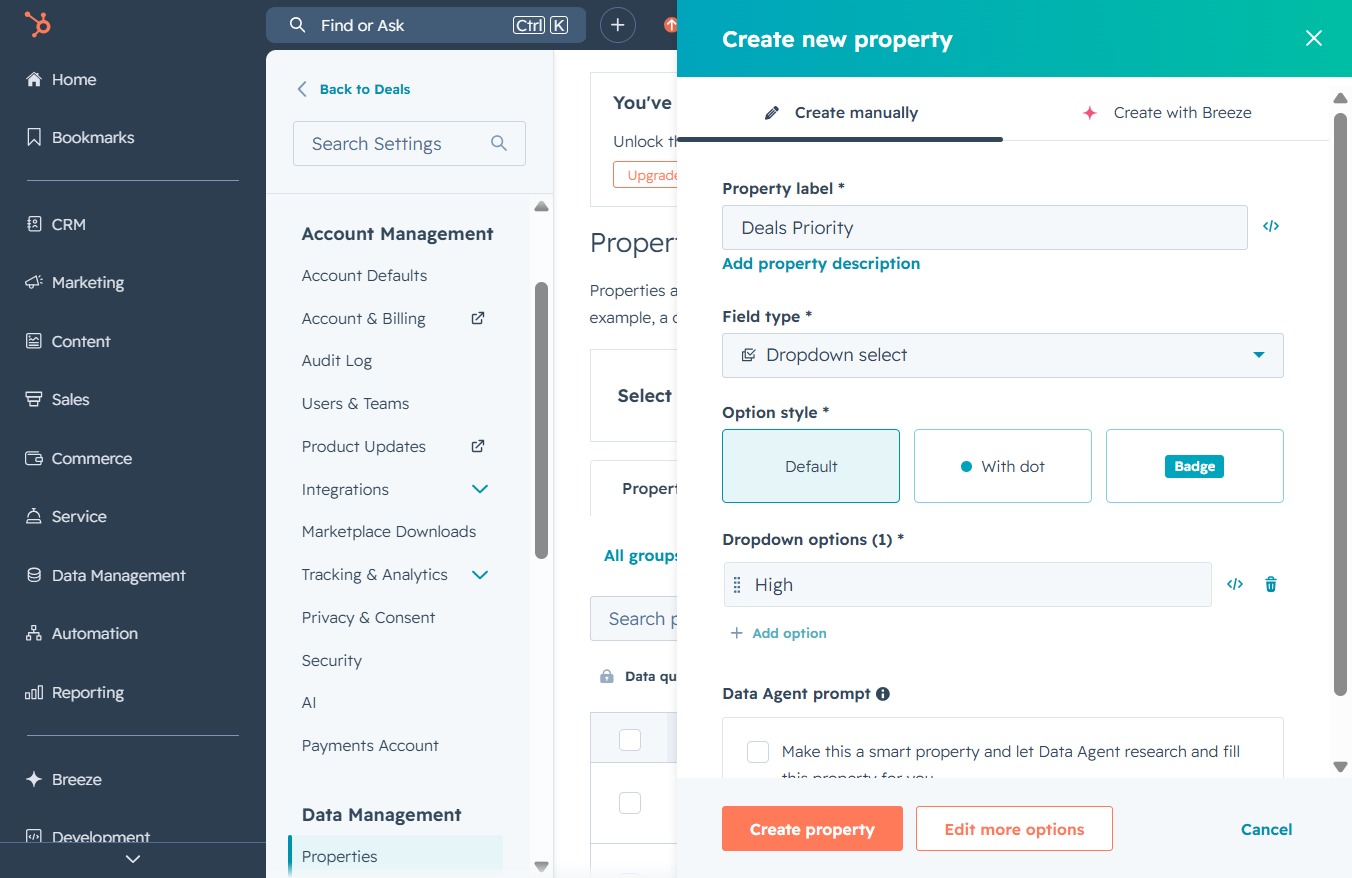
Enter 'Medium' into the Option label field to set the priority level for the newly created property, which adds it to your dropdown options for selection.
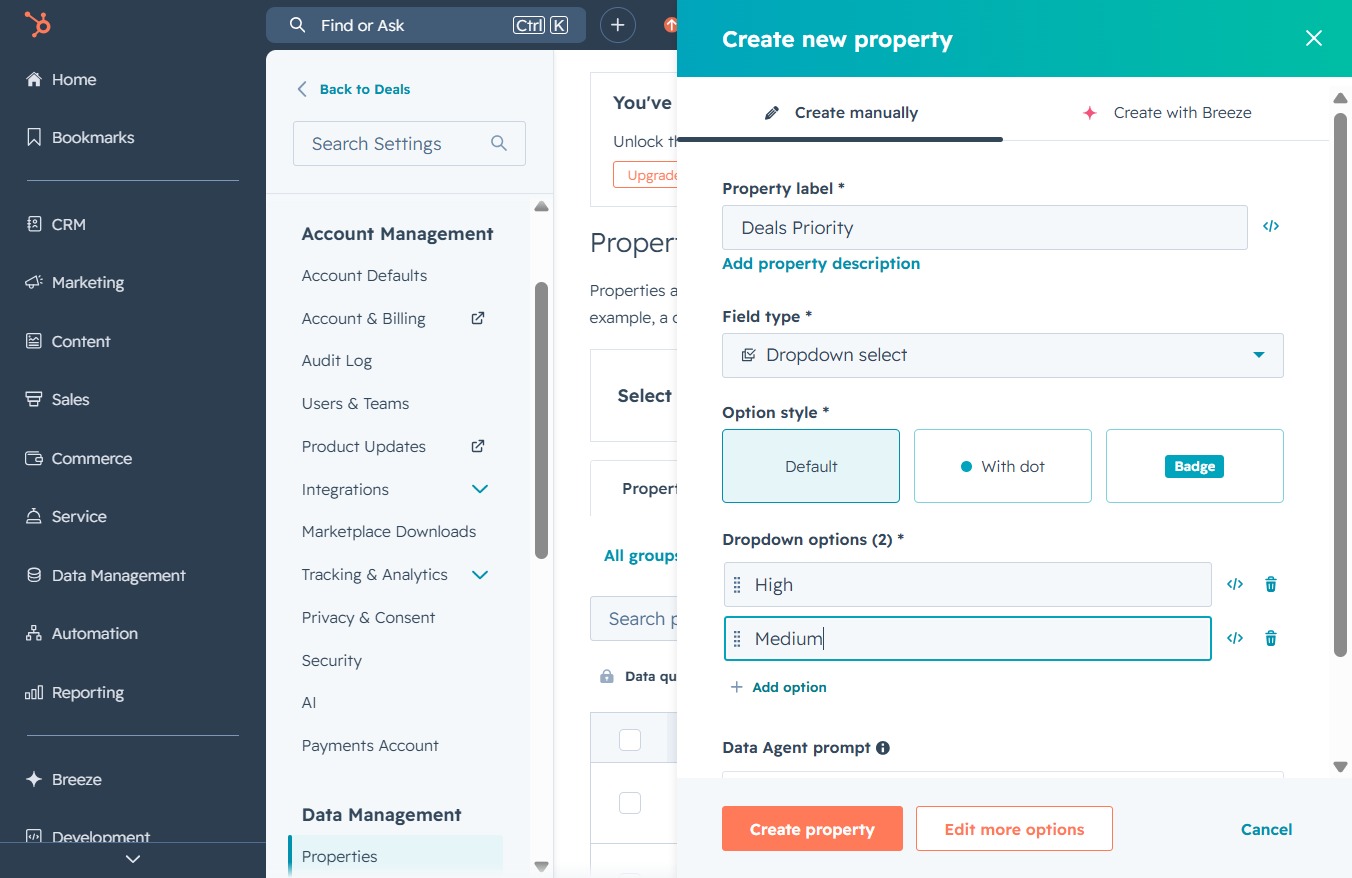
Clicking this button allows you to add new options for the dropdown selection in the Deals Priority property configuration. This enables you to customize the available choices for users when categorizing deals.
Enter 'Low' to set the priority level for the 'Deals Priority' property in the dropdown select options. This value will help in categorizing the deals based on their importance.
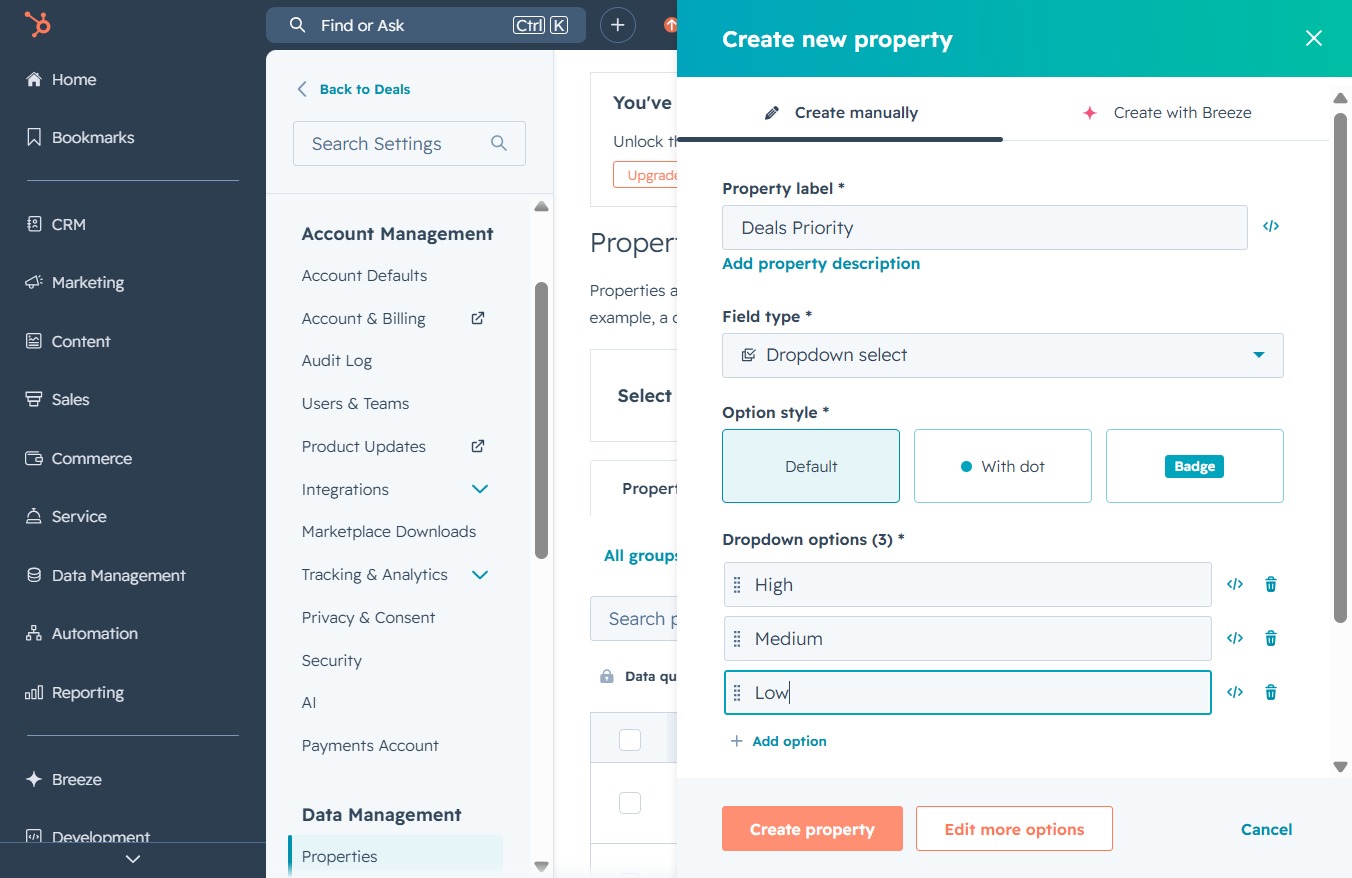
This action initiates the process of adding a new property within the Deals Priority settings, allowing you to define custom fields and options.
