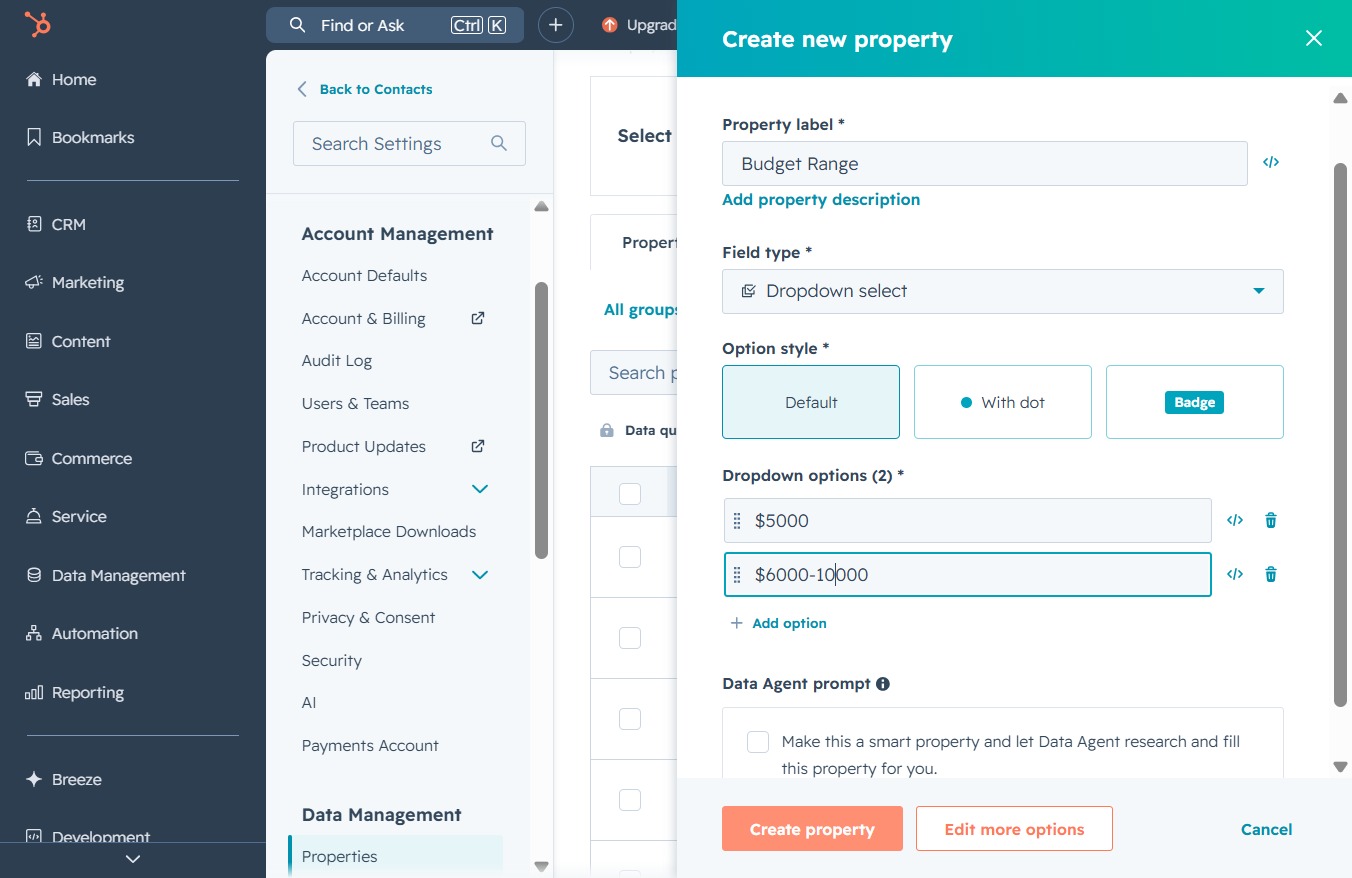
Click the CRM menu
This will expand the CRM section where you can access various features related to customer relationship management, including meetings, tasks, and contacts.

Loading screenshot…
100%
Customize your CRM contacts by adding new properties like "Budget Range," allowing for tailored data management and improved tracking of customer information and preferences.
 viktoria
Customize your CRM contacts by adding new properties like "Budget Range," allowing for tailored data management and improved tracking of customer information and preferences.
This will expand the CRM section where you can access various features related to customer relationship management, including meetings, tasks, and contacts.
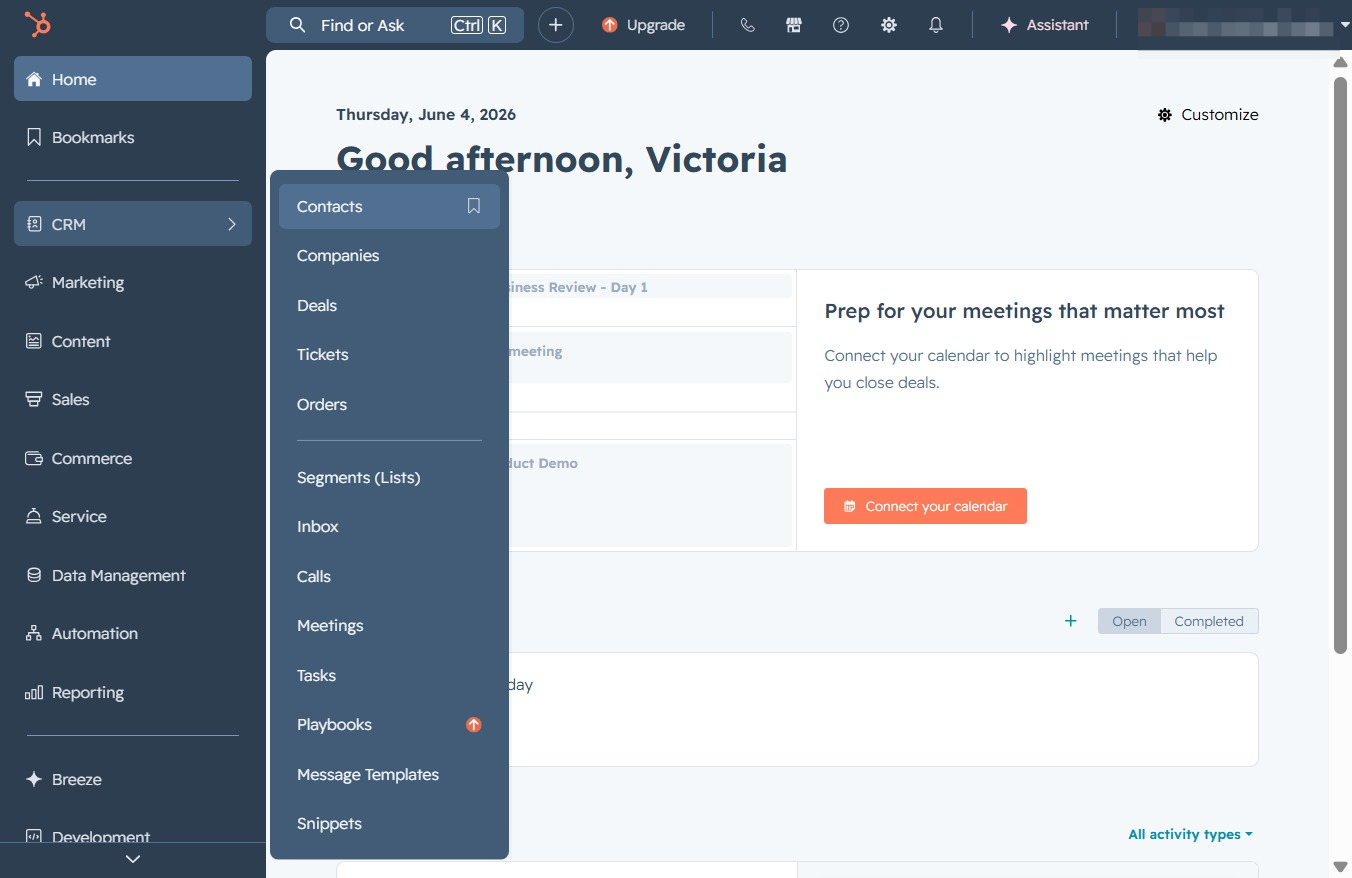
This will open the Contacts section, allowing you to manage your contacts and related information.
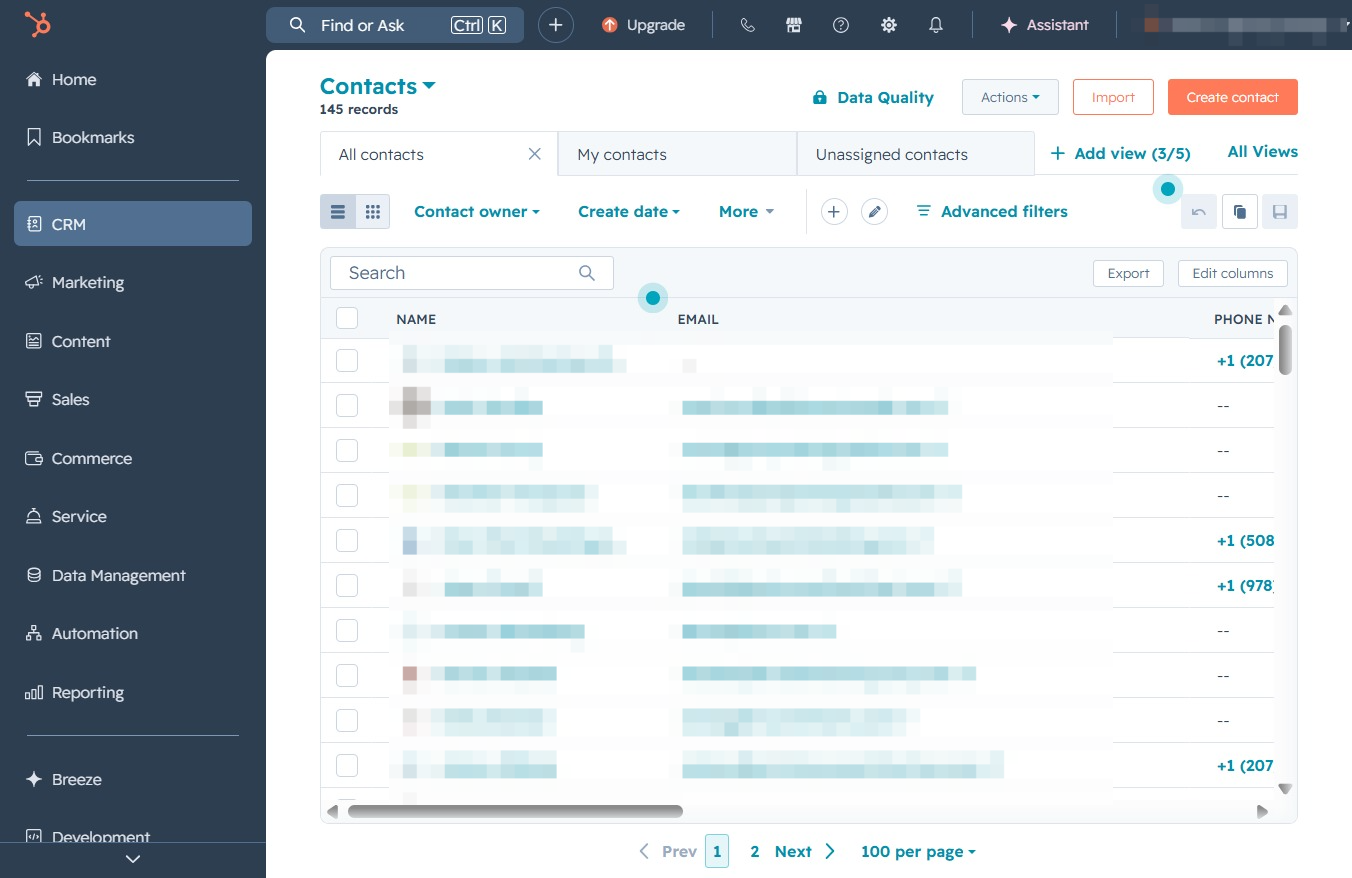
Selecting the 'Actions' menu allows you to access various options for managing contacts, such as exporting data or performing batch operations.
This allows you to modify the details of the selected contact record, including fields such as name, email, and phone number.
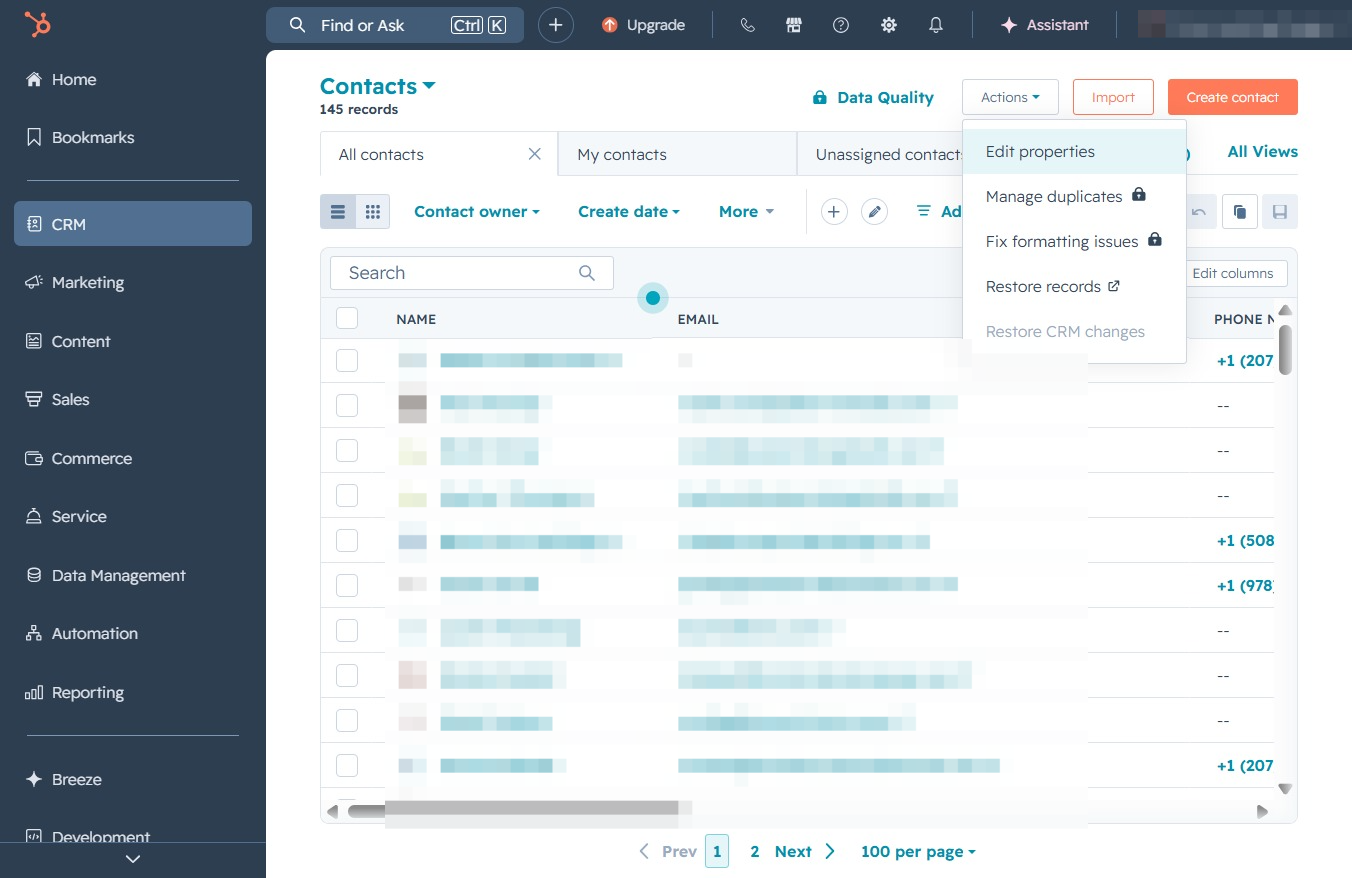
This action opens a form where you can define new properties for your contacts, allowing you to customize how you collect and manage data.
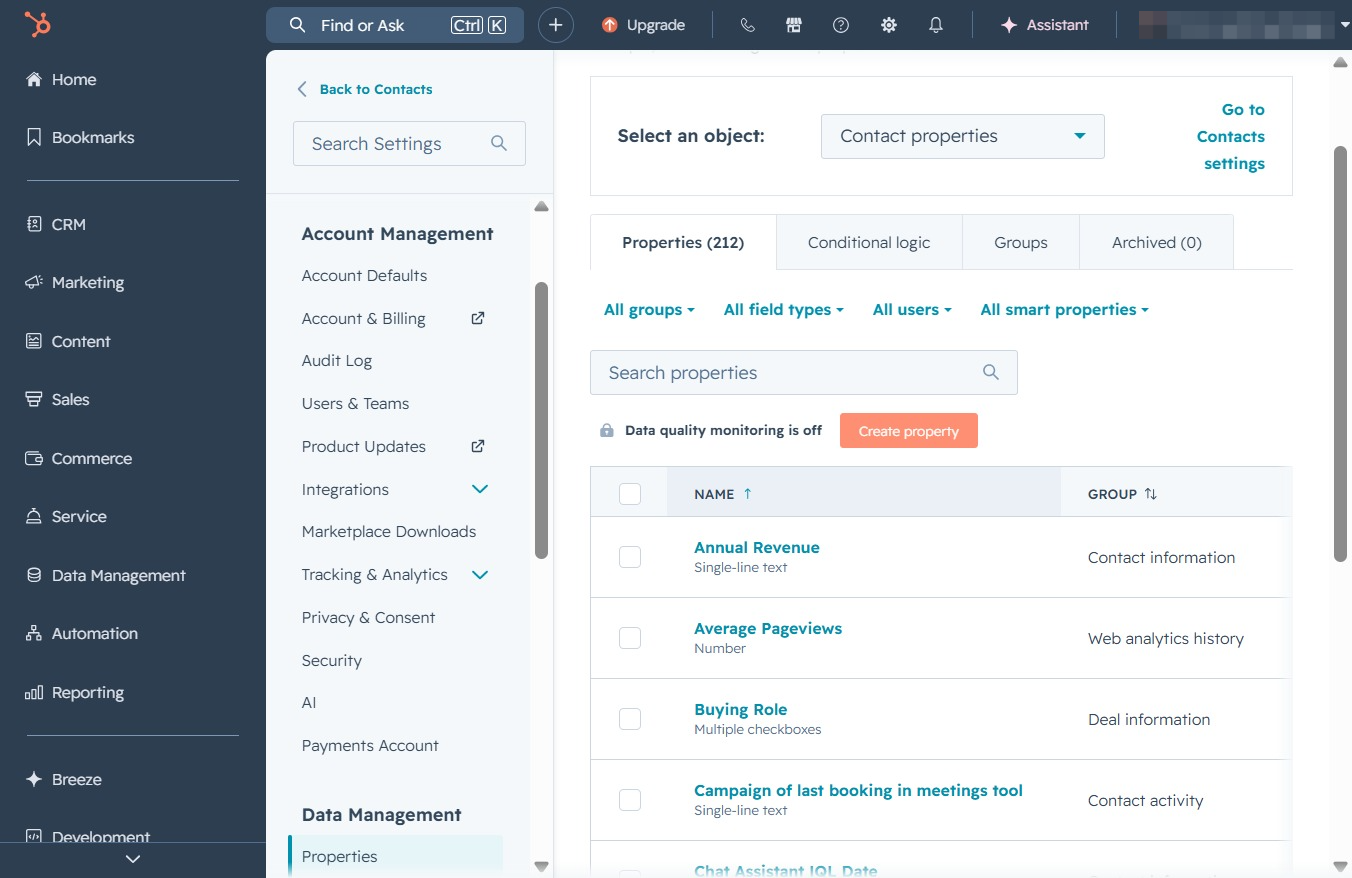
This allows you to enter a value for the property being created, in this case, the 'Budget Range'.
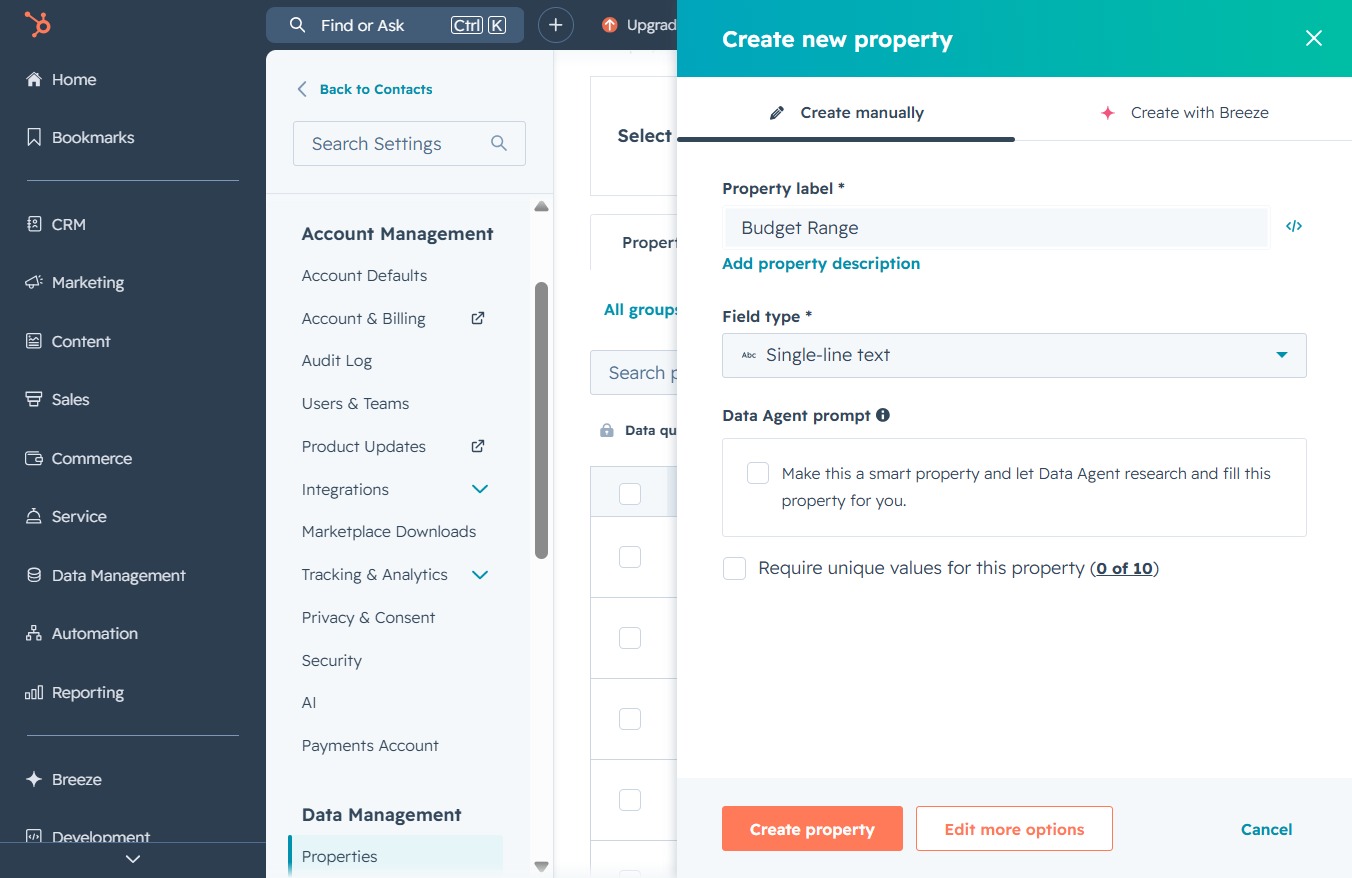
This action opens a menu allowing you to choose the desired field type for the new property, such as 'Single-line text' or 'Number'.

This allows you to enter a name for the new property being created. Ensure you provide a clear and descriptive label to identify the property within your settings.
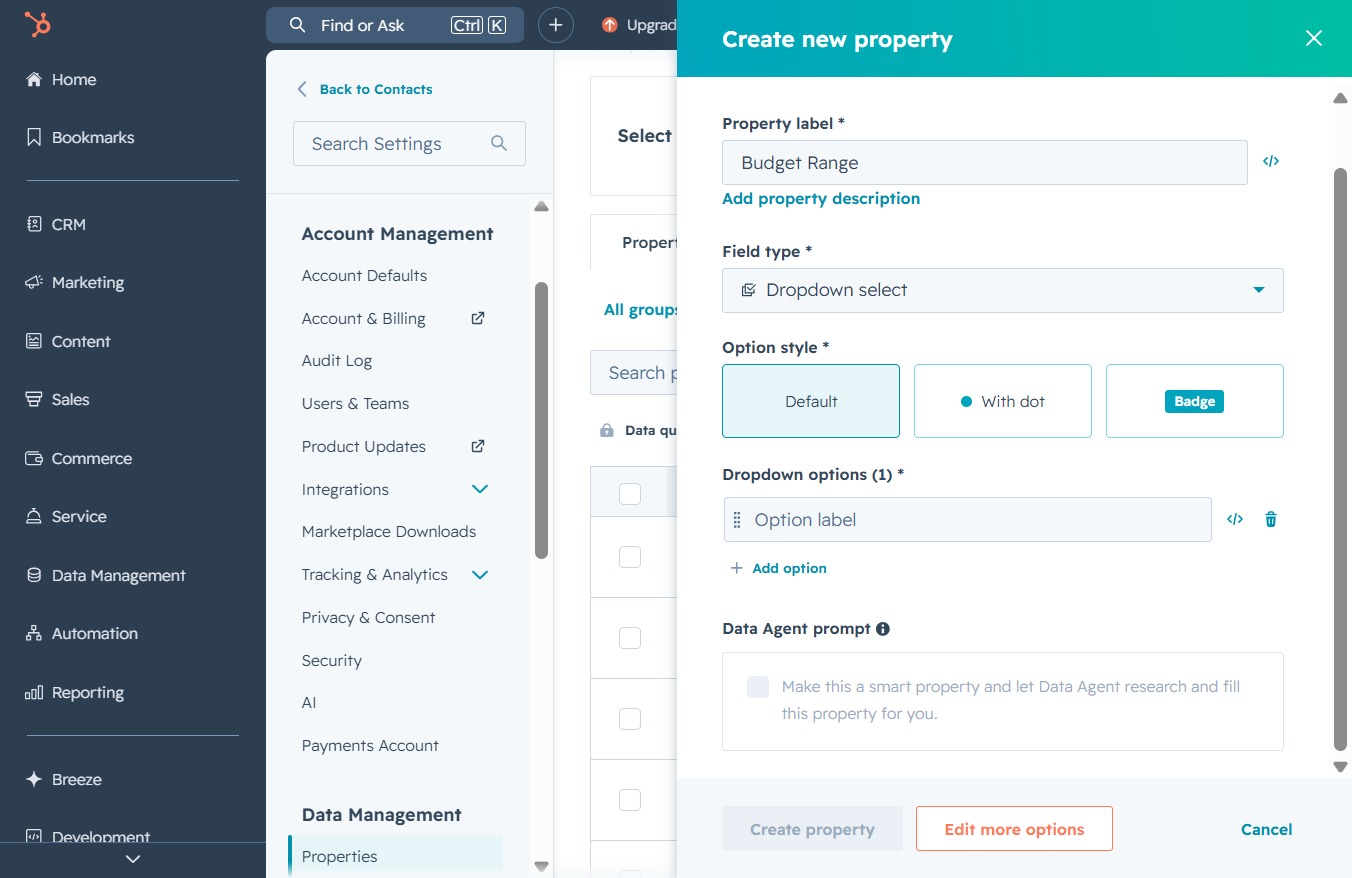
Enter the value "$5000" into the 'Dropdown options' field under the 'Create new property' section to define the budget range for your settings.
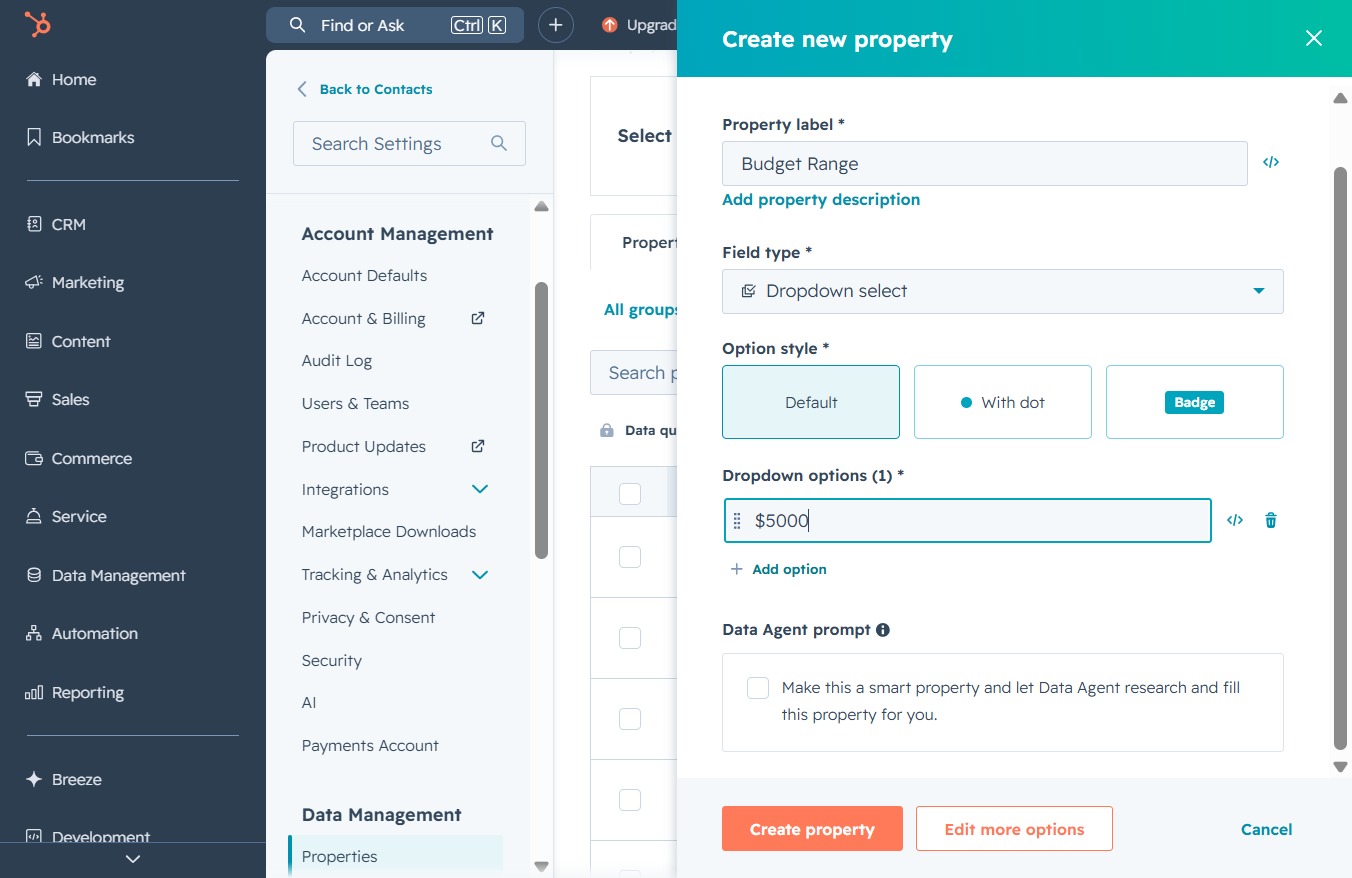
This action allows you to add new options to the dropdown menu for the 'Budget Range' property. Once clicked, a new input field will appear for you to specify additional values.
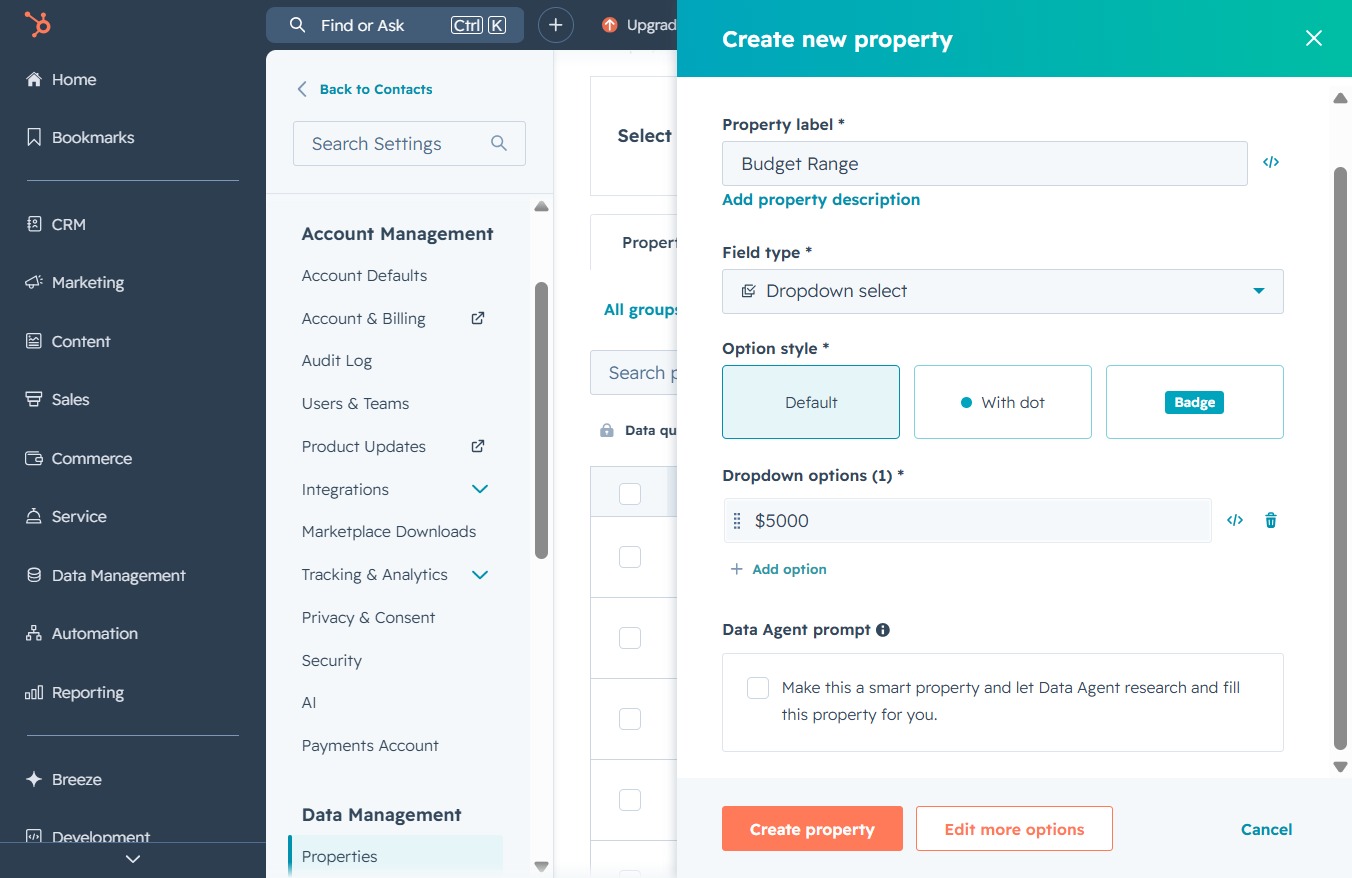
This action will save the new property details and add it to your account. Ensure all required fields are filled out before proceeding.